

1. First, download the installation package of the virtual machine
2. Download the Ubuntu image
3. Virtual machine hardware configuration
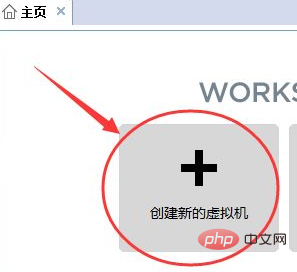
1. After the virtual machine is installed, the interface is as shown below:
Click the red circle icon in the picture to start creating a new virtual machine.
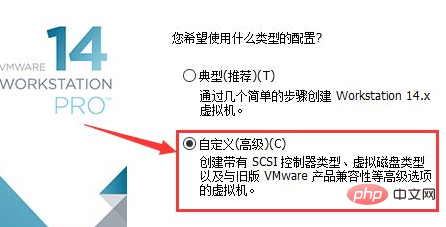
2. Select Custom in the pop-up dialog box, and then click Next
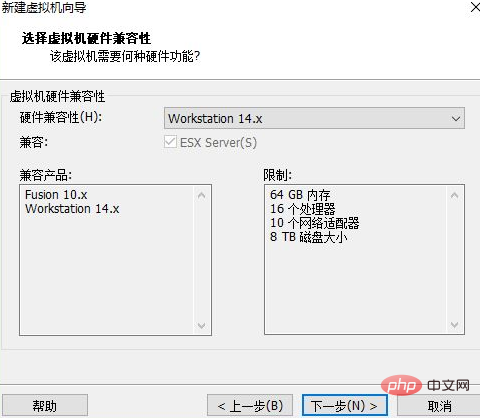
3. In " Just select the default in "Virtual Machine Hardware Compatibility" and go directly to the next step
Free video tutorial sharing:linux video tutorial
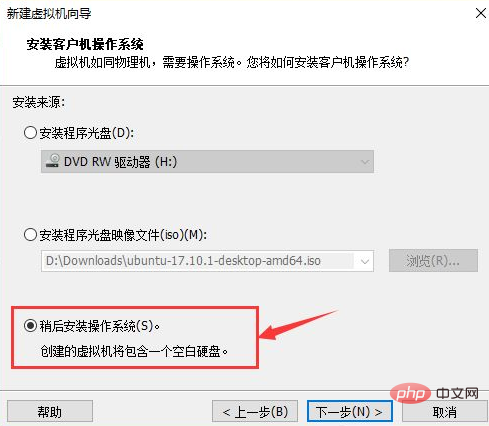
4. Select "Install the operating system later" in "Install Guest Operating System", and then click Next
5. Still select the default and go to the next step.
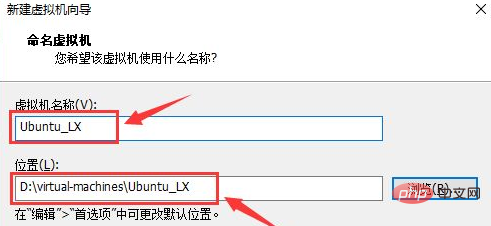
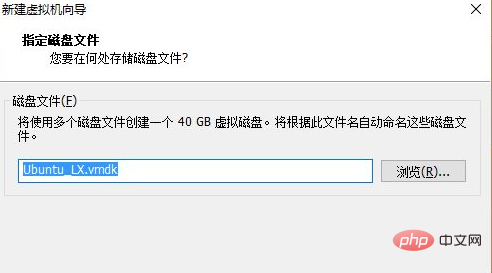
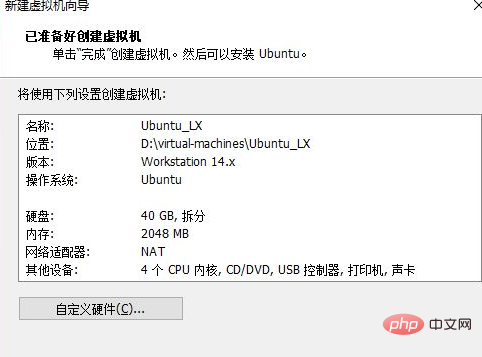
#6. In this step "Name the virtual machine", give your virtual machine a name, such as Ubuntu_LX, and then select the location where you want to install it. The files generated by the virtual machine are relatively large, so it is best to select a disk with a larger remaining space
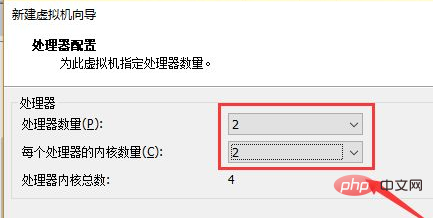
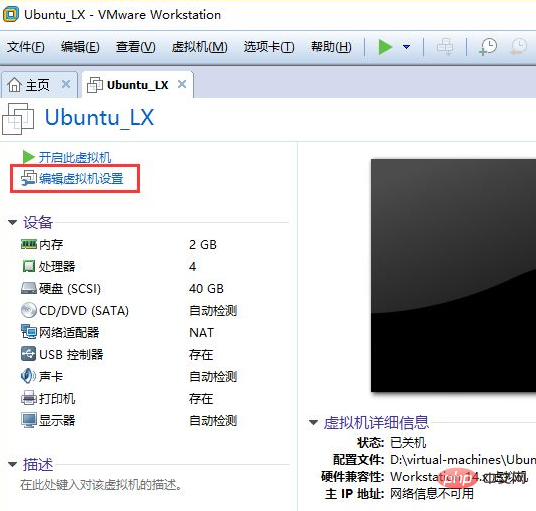
7. Select 2 for the number of virtual machine processors and cores. It's enough for development. Even if it is not enough, this parameter can be modified
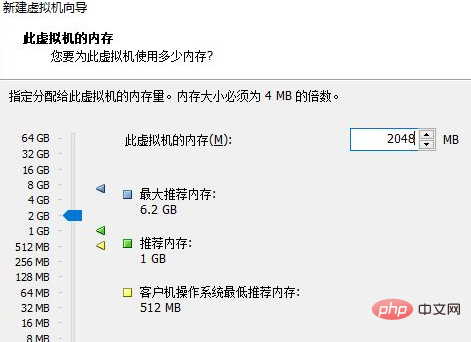
#8. Select 2048M for virtual machine memory, which is 2G. It is best to choose 1G, 2G, 4G, 8G. Do not Choose 3G. This parameter can also be modified later
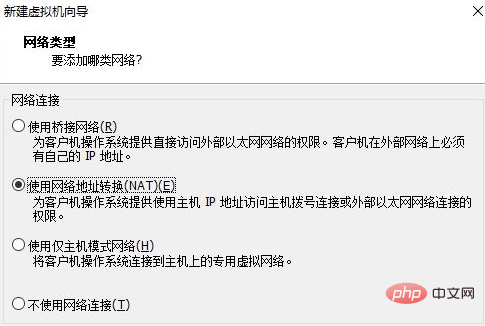
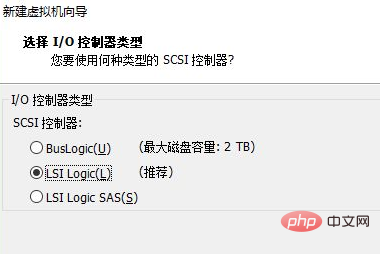
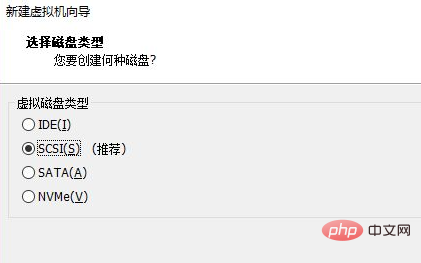
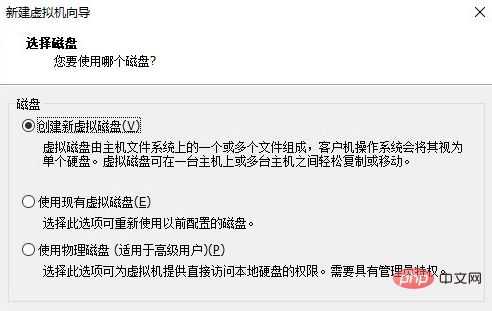
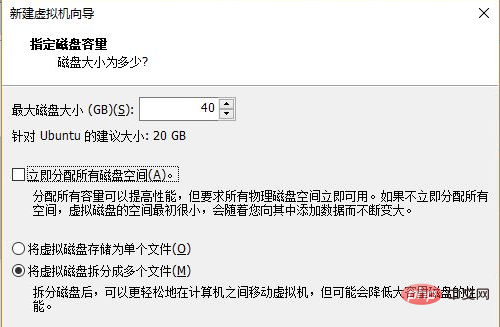
9. You can directly "next step" in the following steps. If 20G of disk space is not enough, you can choose 40G. This is dynamic. , that is, it does not occupy 40G of your disk at once, but takes up as much as you use
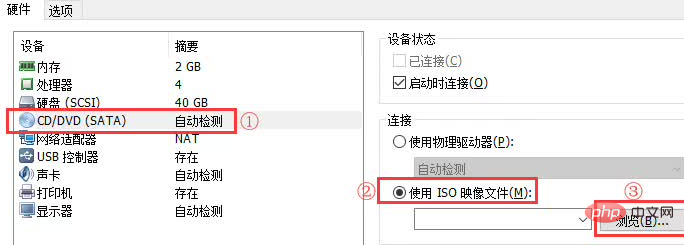
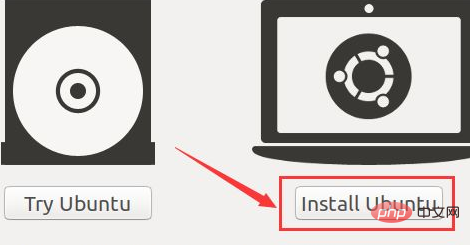
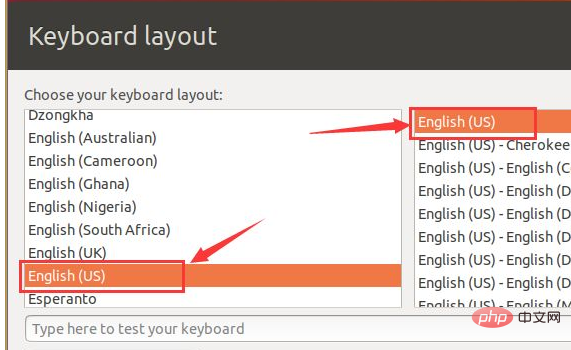
5. The next step is to select the keyboard layout. The layout we use here is the American standard, so we choose English(US)
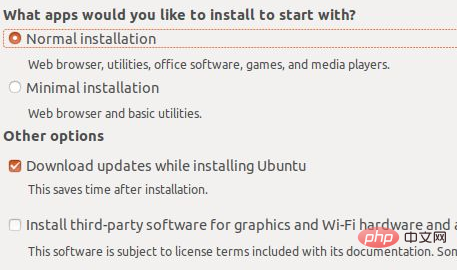
6. The next step is to default directly:
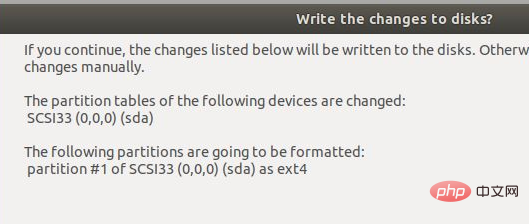
7. It is also the default in "Installation Type". Just click "Install Now" and click "continue" in the subsequent pop-up window
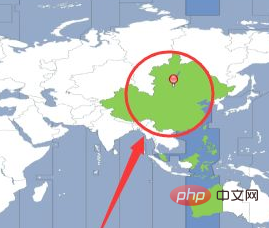
8. Click on Greater China in the "Where Are You?" map, and then click "continue"
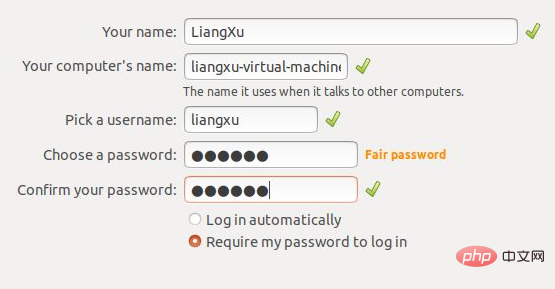
9. Fill in the personal information in "Who Are You?" Basic information, then click "continue", and then enter the download and installation process
10. After the installation is completed, select "restart now" to restart the virtual machine. At this point, the virtual machine and Linux system have been installed

Complete!
Recommended related articles and tutorials: linux tutorial
The above is the detailed content of Step-by-step tutorial on installing a linux virtual machine. For more information, please follow other related articles on the PHP Chinese website!