

1. Put the burned XP CD into the CD-ROM drive. After setting the BIOS to boot from the CD-ROM drive, you can see the following installation interface:
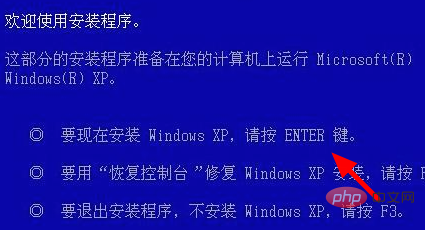
2. Select the first item, press Enter to confirm, and the Windows XP license agreement will appear, as shown below:
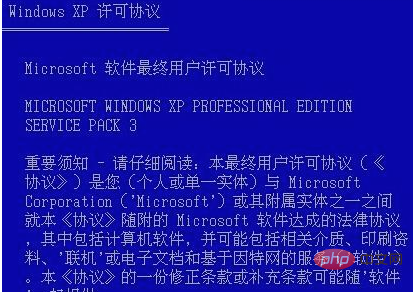
3. Press F8 on the keyboard to agree, and enter the next step. One screen:
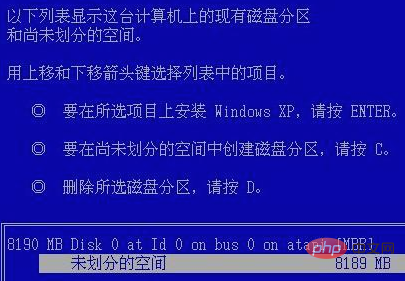
#4. The partition creation interface is as shown below. You only need to enter the partition size and press Enter to create a partition. If you do not need to create, please jump directly. After this step
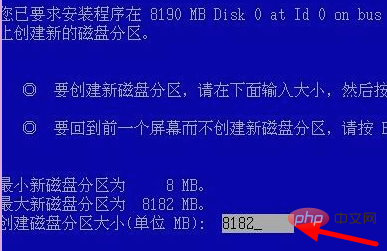
#5, two partitions are created continuously, and finally as shown below (so if you already have partitions, the effect may be similar to this picture):
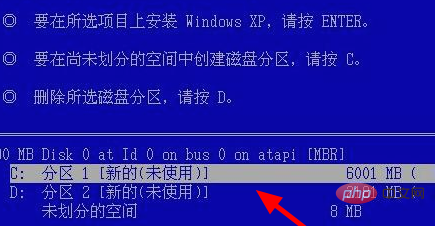
#6. Use the up and down keys on the keyboard to select installation on the C drive. (Note: Please confirm again that there is no important data on the installation disk. If there is, please exit the installation for backup). Select the C drive and press Enter
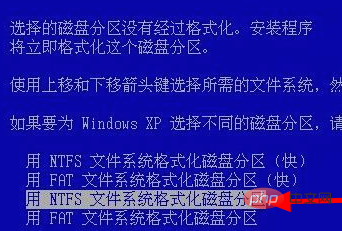
7. At this time, the installation program will format the C drive. We only need to wait for the formatting to be completed. The formatting is completed. Then it will start to copy the installation files, as shown below:

8. After copying the installation files, the installation program will automatically restart the machine and enter the interface installation mode, as shown below:
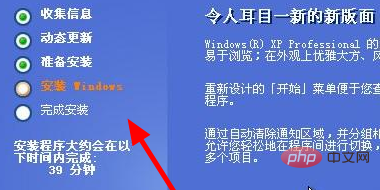
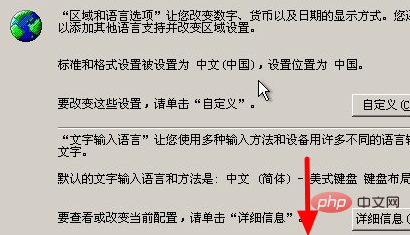
9. Here, you have to wait for a while. It depends on the speed of your machine. XP installation is relatively fast. During the installation process, the following windows will pop up one after another. You need to follow the prompts. Set or select, the picture below shows the regional and language options, click Next.
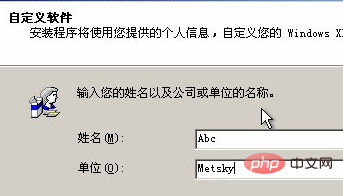
#10. Enter your name and unit, just write whatever you want. As shown below, click Next.
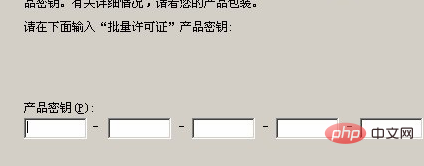
11. Enter the product key for Windows XP. The XP installation is different from the Windows 7 installation. If you do not enter the key, you will not be able to enter the next step. After the input is completed, click Next Step one,
#12. The configuration is completed, click Finish, and the system will automatically restart.
Recommended related articles and tutorials: windows tutorial
The above is the detailed content of WindowsXP upgraded to sp3. For more information, please follow other related articles on the PHP Chinese website!


