

Execute [File] - [New] to create a new canvas. The canvas size is set to 600 pixels wide, 400 pixels high, and 72 pixels resolution, or shortcut key [Ctrl] 【N】
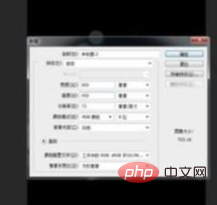
Let’s start customizing the brush preset, create a new layer, and execute the [Elliptical Marquee Tool] to draw a circular selection, because the light spot must be transparent. So to fill 50%, shortcut key [Shift] [F5]
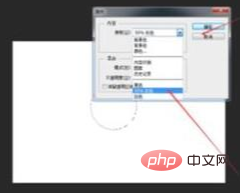
After filling, cancel the selection, and then execute [Layer Style] - [Stroke], Reduce the opacity and fill of the layer to 50%
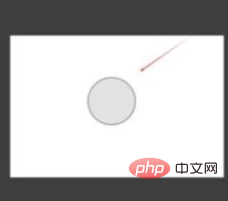
Hide the background layer and execute [Edit]-[Define Brush Preset]
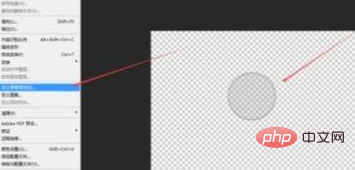
Enter the name to define the brush preset. It will be saved at the end of the brush preset by default. Click OK
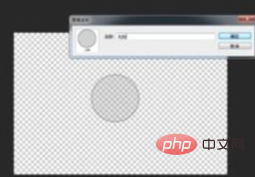
to save it. The brush preset's layer is hidden. Then drag the picture material into the canvas, execute [Free Transform], shortcut keys [Ctrl] [T], adjust to the appropriate size and position
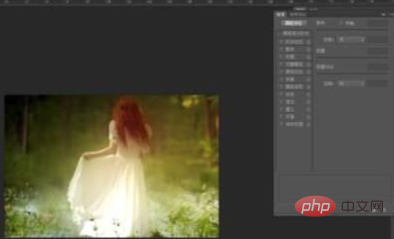
Use the brush tool, The brush is controlled by the foreground color. Here, the foreground color can be the color of the current image with a straw, or white. Select the preset spot brush. In the brush panel, adjust the brush size, spacing, scattering and other settings, and create a new layer on the layer panel
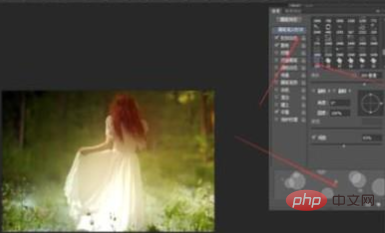
Use the brush to drag in the layer to create a light spot effect. Click once to display a light spot, then create a new layer and use a straw to suck the color on the current image as For the foreground color, drag the brush in the layer to create a light spot effect. By analogy, you can make several more layers and draw more light spots with different colors
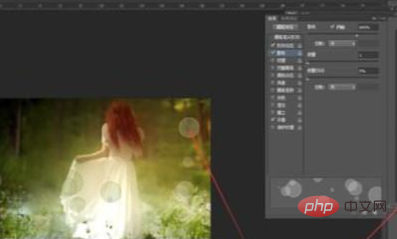
Execute [Filter] - [Blur] - [Gaussian Blur], you can blur and weaken the spots that are too obvious
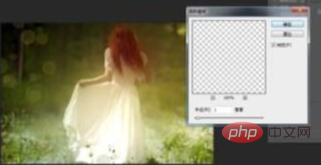
Execute [Picture Layer Style] - [Outer Glow], perform outer glow processing for the light spots of each layer. The color of the outer glow can be arbitrary

. Add several light spot layers, Reduce the opacity to make it appear both virtual and real, looming and visible, and increase the hazy effect
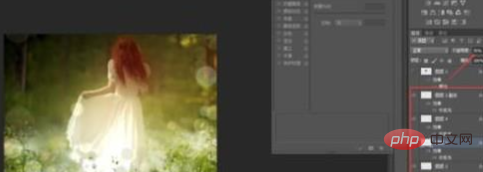
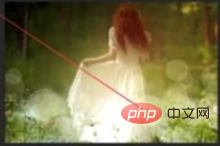
You can also treat all light spots with a white color, and just adjust it once. But, this depends on the material picture
The above is the detailed content of Create light spot effects with PS. For more information, please follow other related articles on the PHP Chinese website!