
I also learned this method after watching Huang Daozhu’s live broadcast last night. I took advantage of the break at noon today to practice this technique. Share it with everyone. When you are debugging Hyperf, you may always need to restart some services and click the interface request button of postman again to check whether the debugging results are normal. This article is to teach you How to complete this series of operations in PhpStorm.
Related learning recommendations: phpstorm usage tutorial
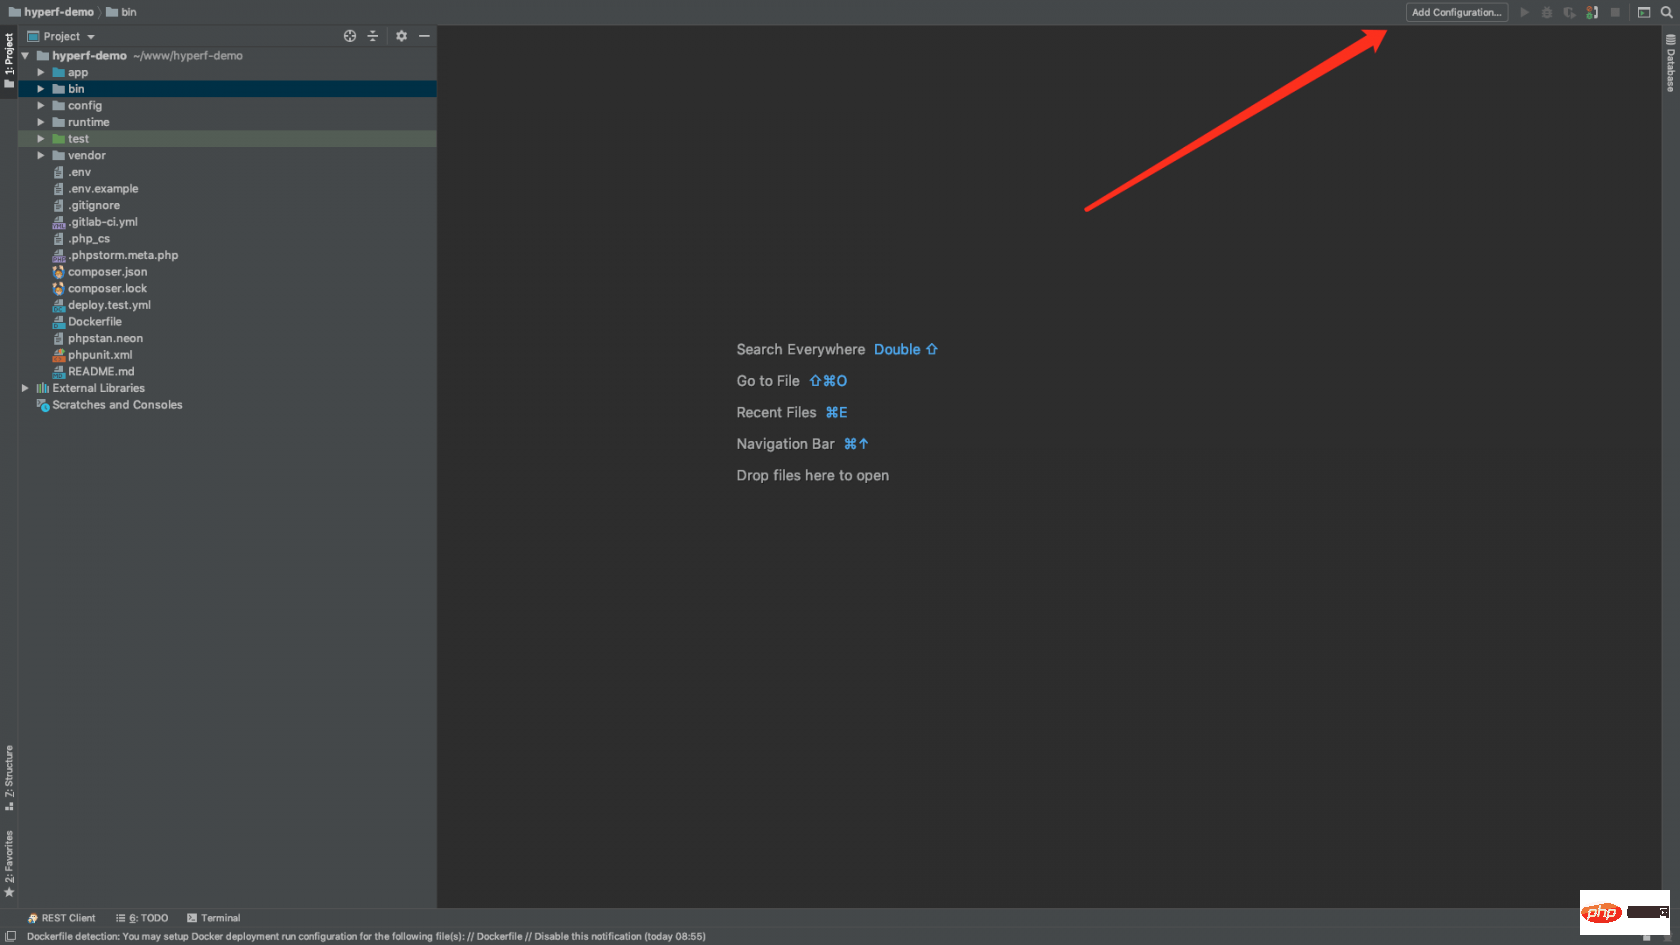
ClickPhpStorm The button in the upper right corner, as shown in the picture:
PHP Script, as shown in the figure: 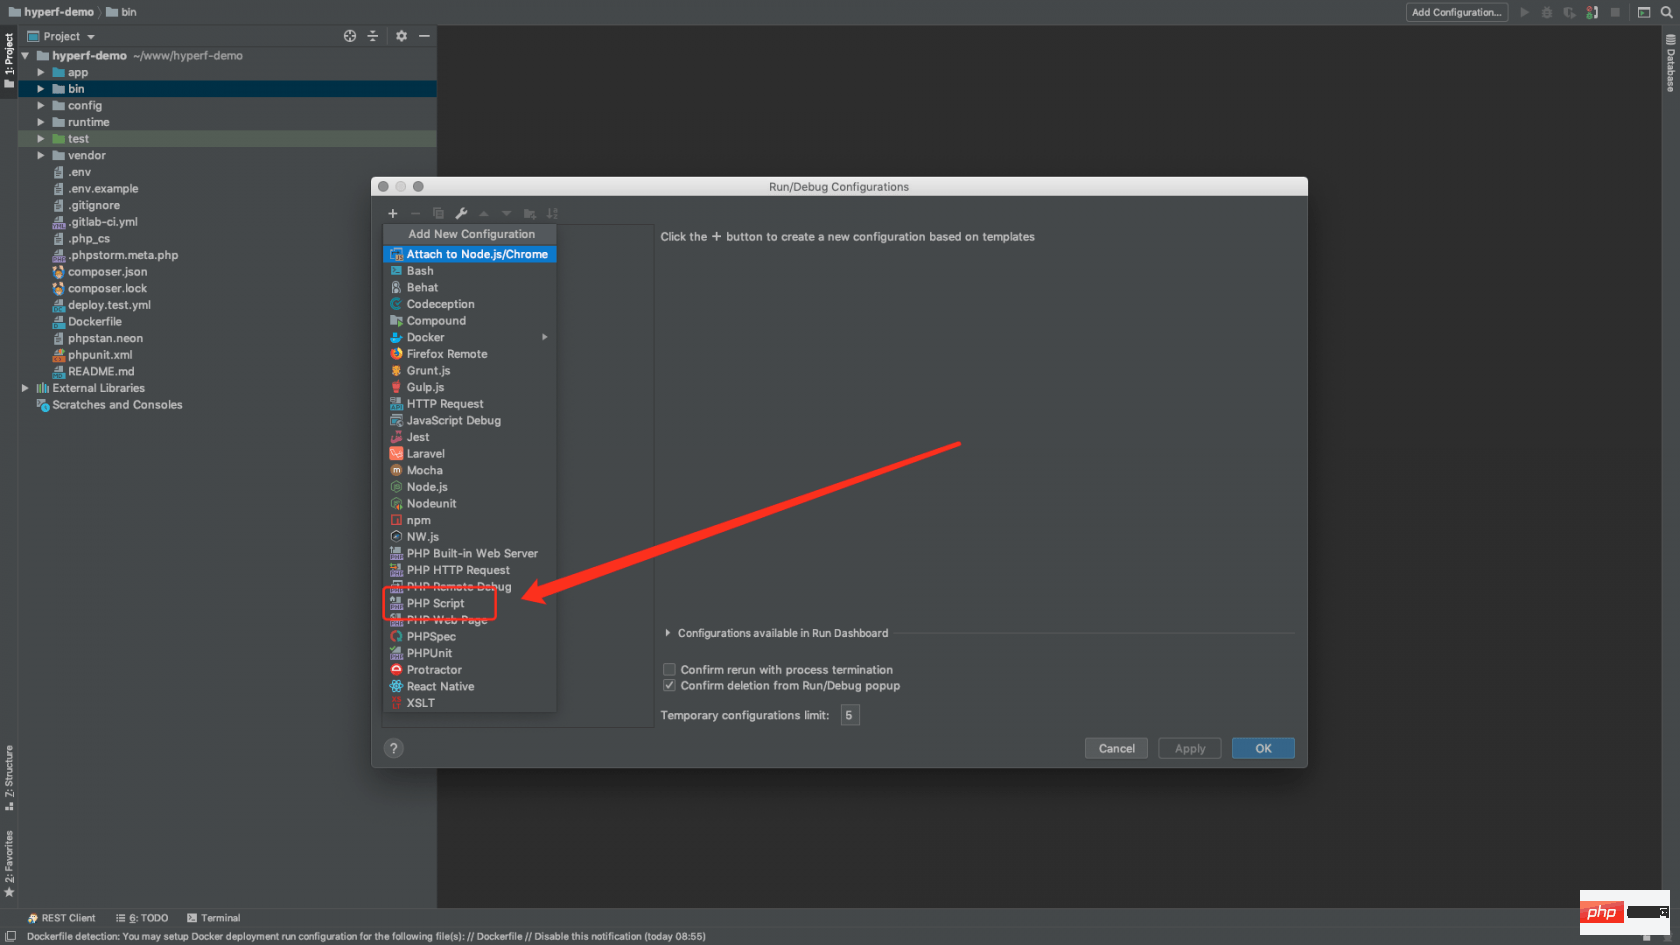
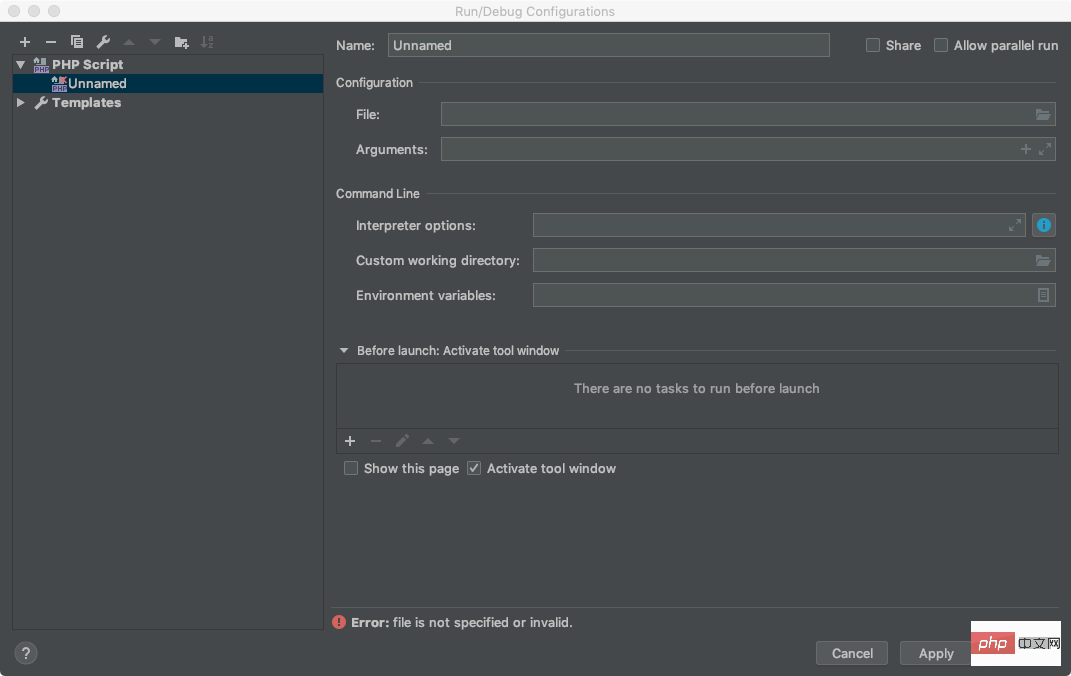
Name:脚本名称,这里我们取名叫Hyperf

File:脚本路径,我们选择Hyperf目录下,bin文件夹下的 hyperf.php,路径为:YourProject/bin/hyperf.php
Arguments:脚本参数,这里我们填写 start 开启命令就行了,如果有需要可以写一些别的

Command Line
Interpreter options:解释器选项,这里默认不填写
Custom Working directory:自定义工作目录,这里默认不填写
Environment variables:环境变量,这里默认不填写

Before launch:Activate tool window
启动前,我们需要做的事,默认不填写
If there is a pop-up option for you to choose a fix, you only need to open it and select the corresponding PHP version
After filling in the above information, as shown in the picture: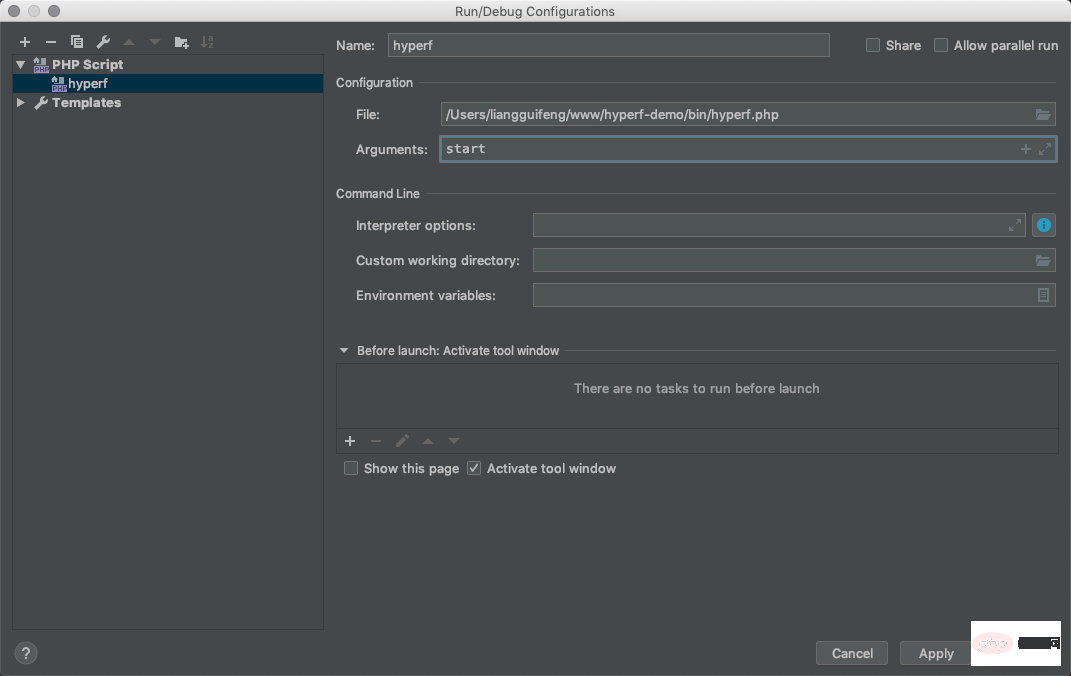 Click save.
PhpStorm upper right corner, and select the Hyperf script just configured, such as Picture:
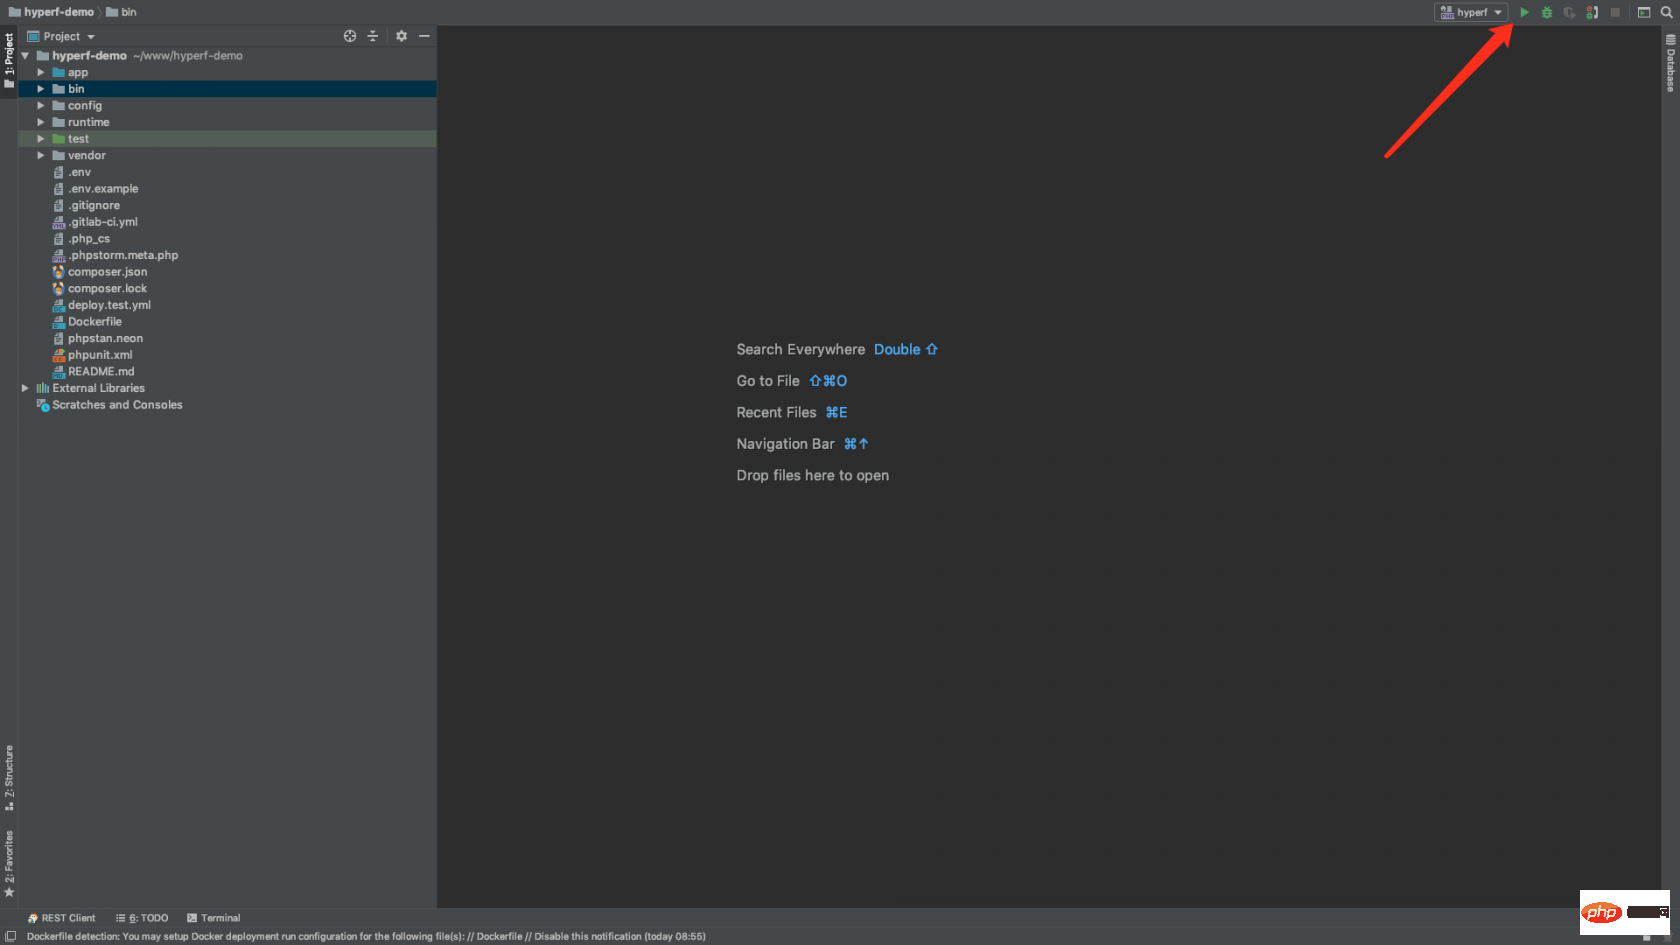
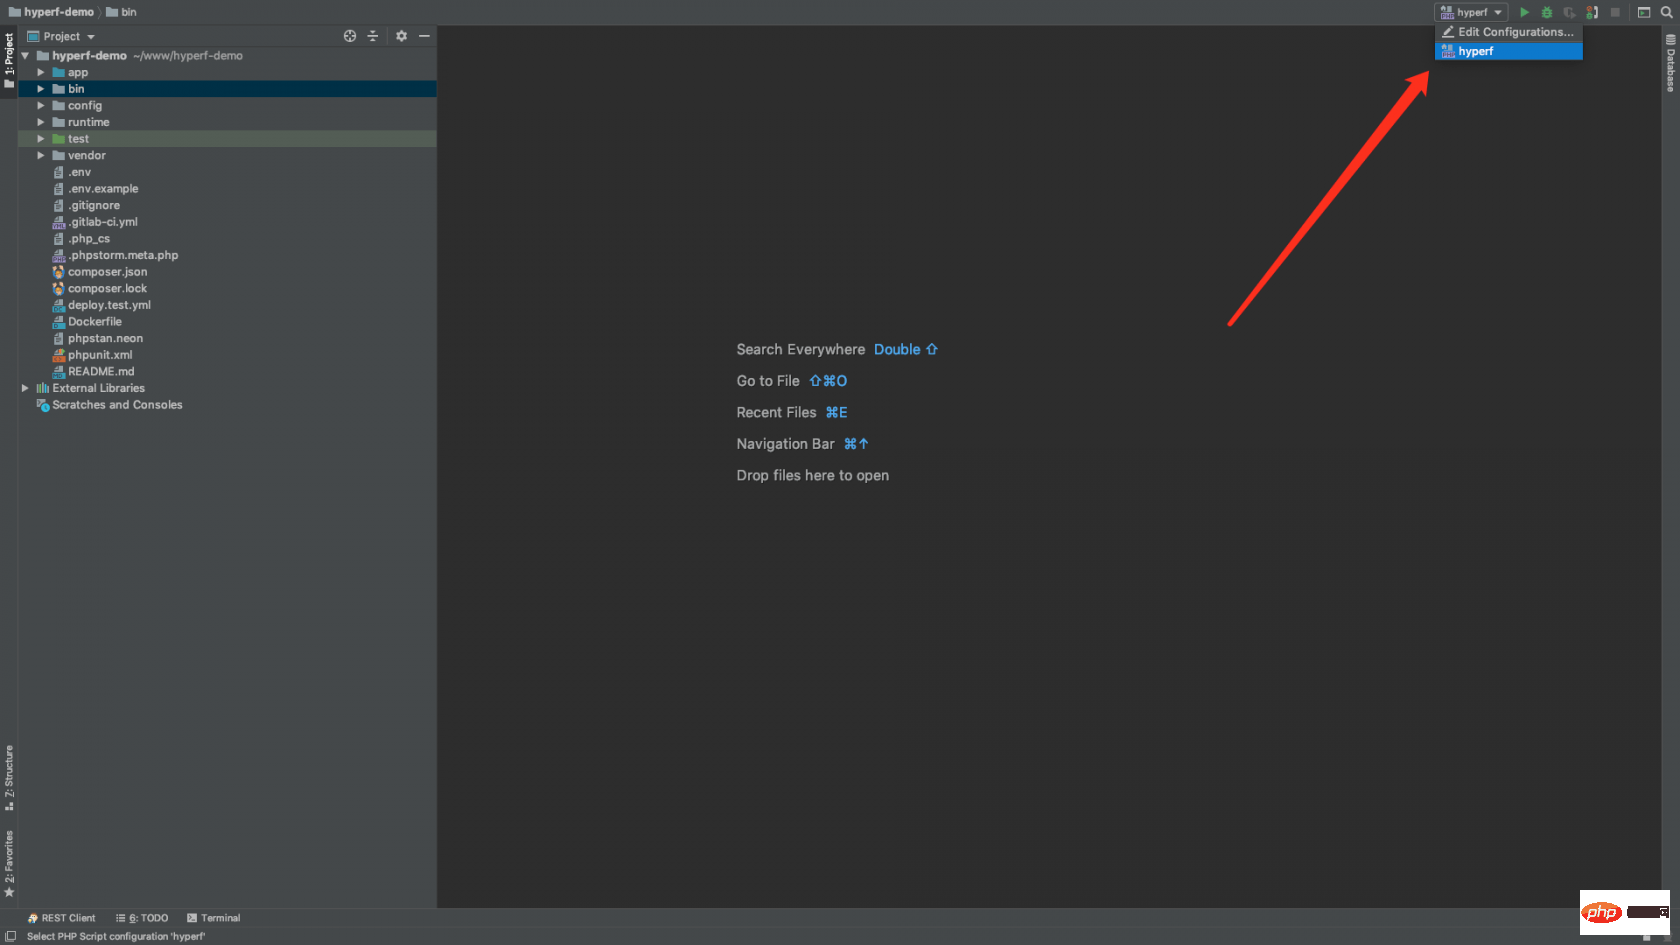 After selecting, click the start button next to it to run
Hyperf, as shown in the picture:
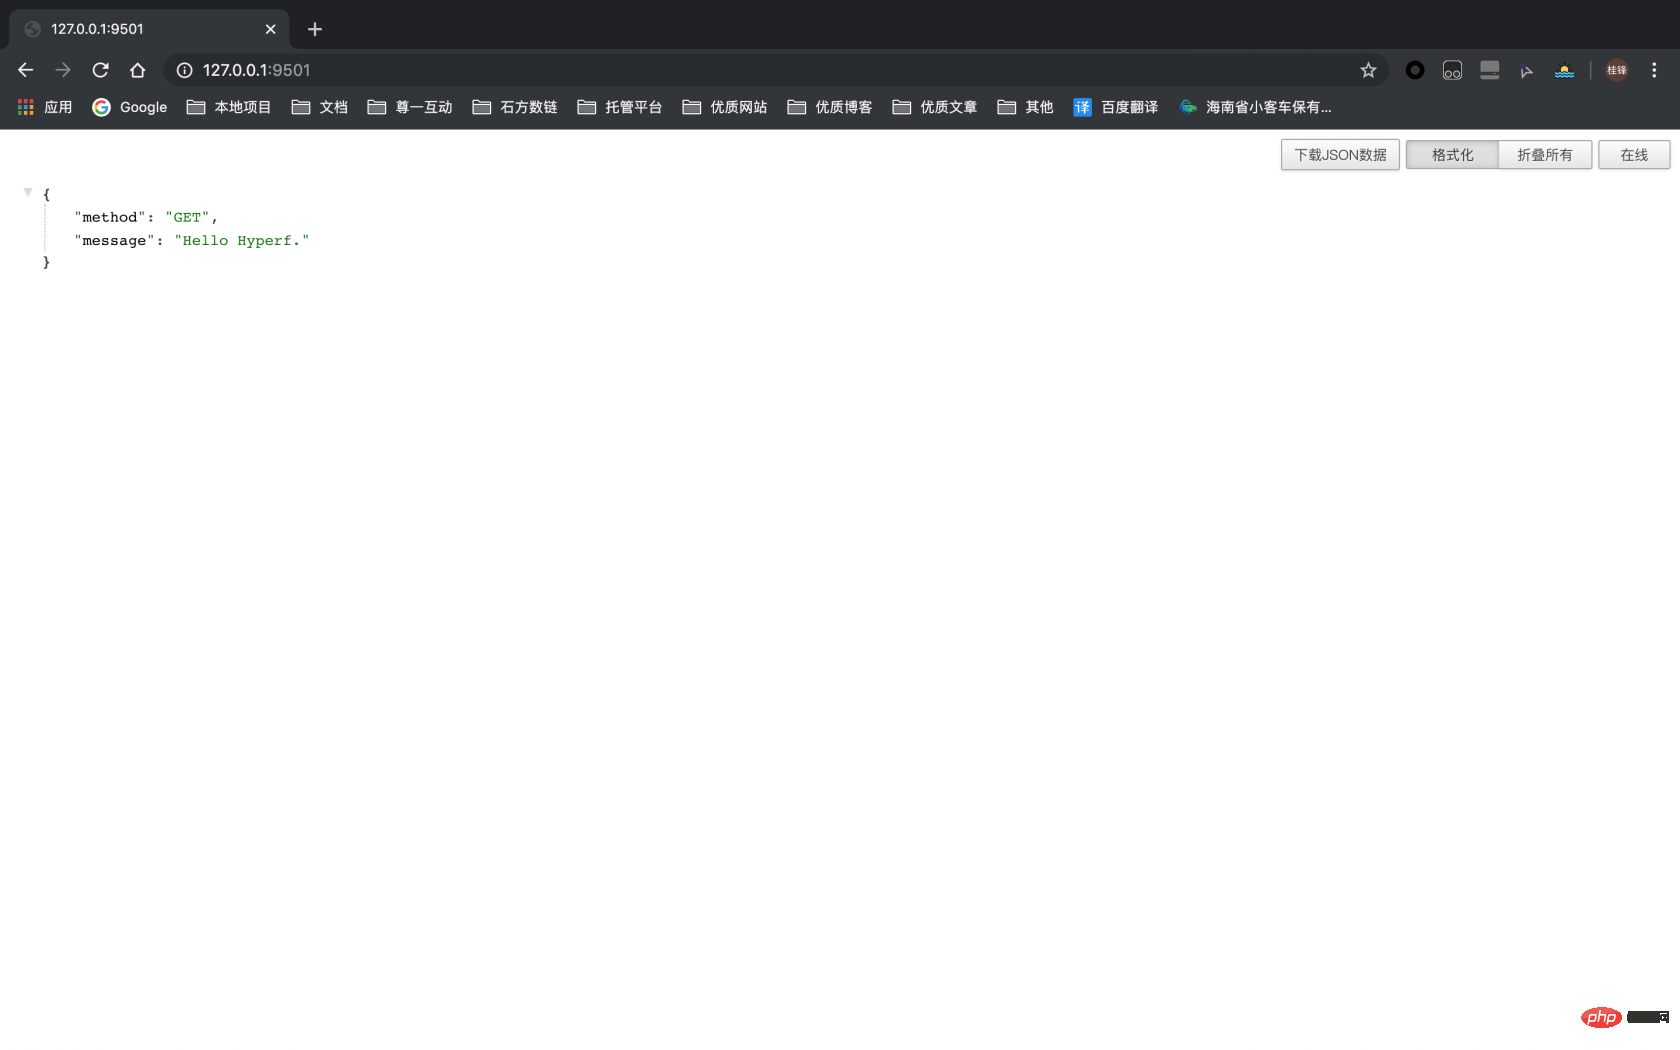
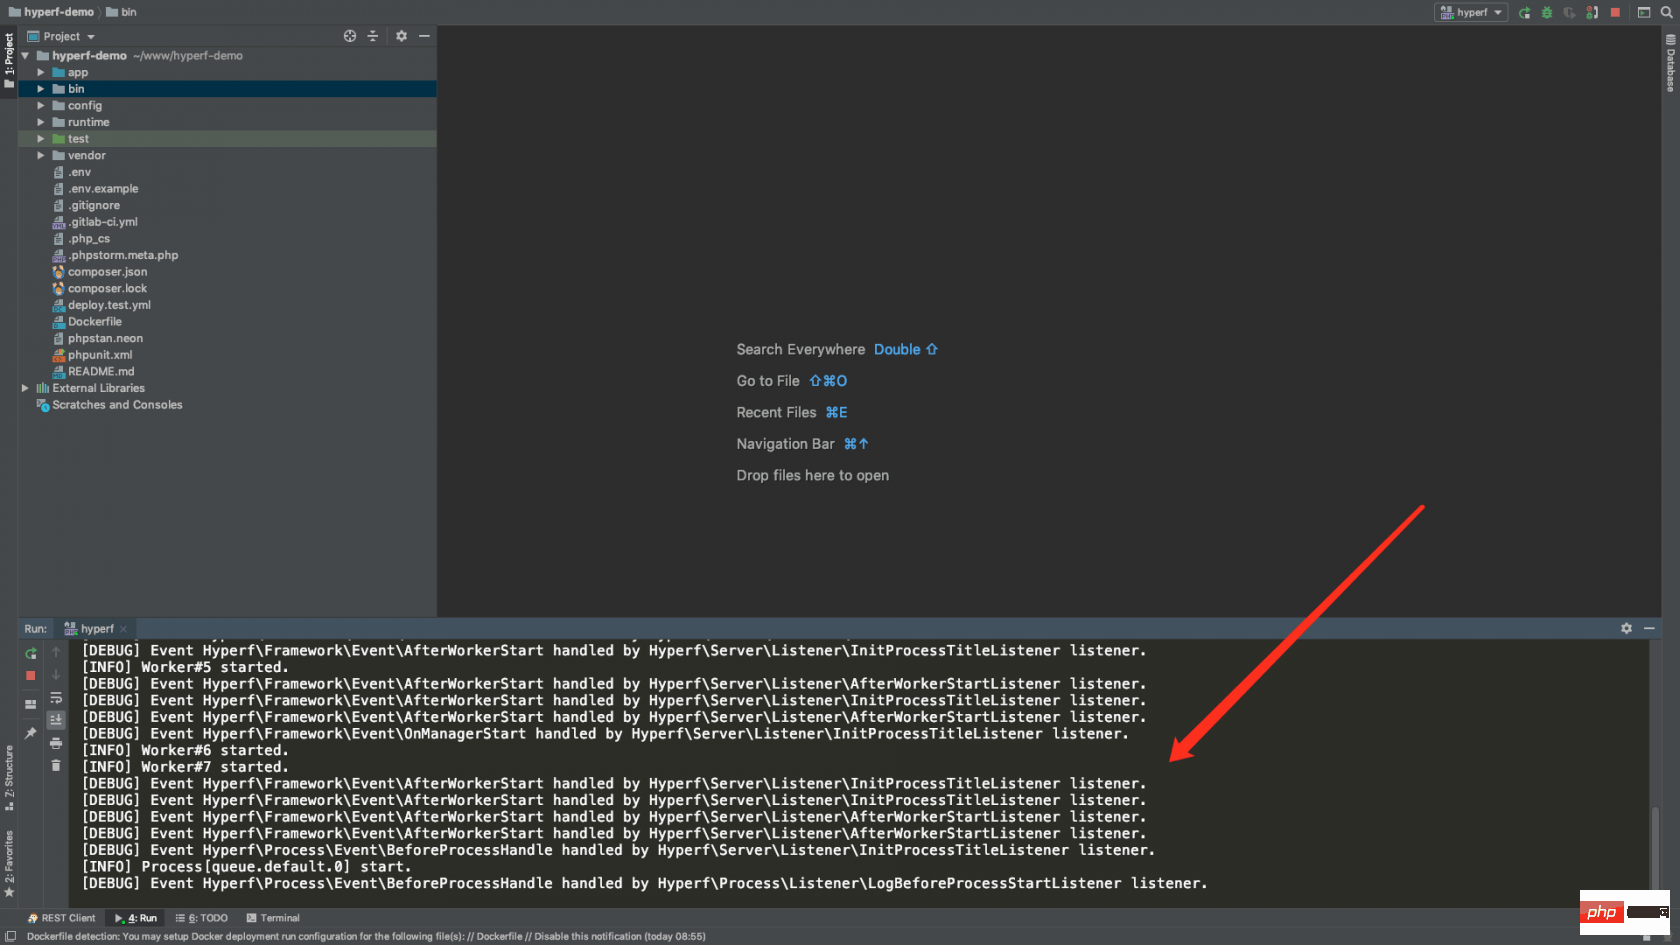 The activation is successful. Let’s visit and try, as shown in the picture:
 ##Step 5:
phpstorm
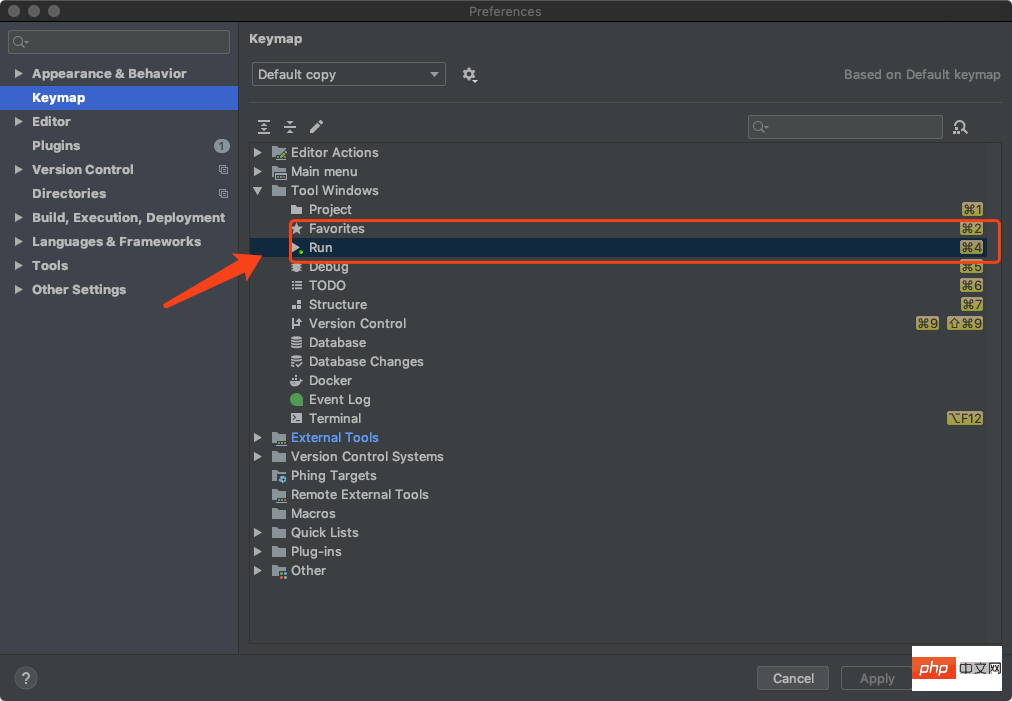
, click Keymap on the left, and view under Tool Windows What is the Run shortcut key? Here I am using a Mac, as shown in the picture:
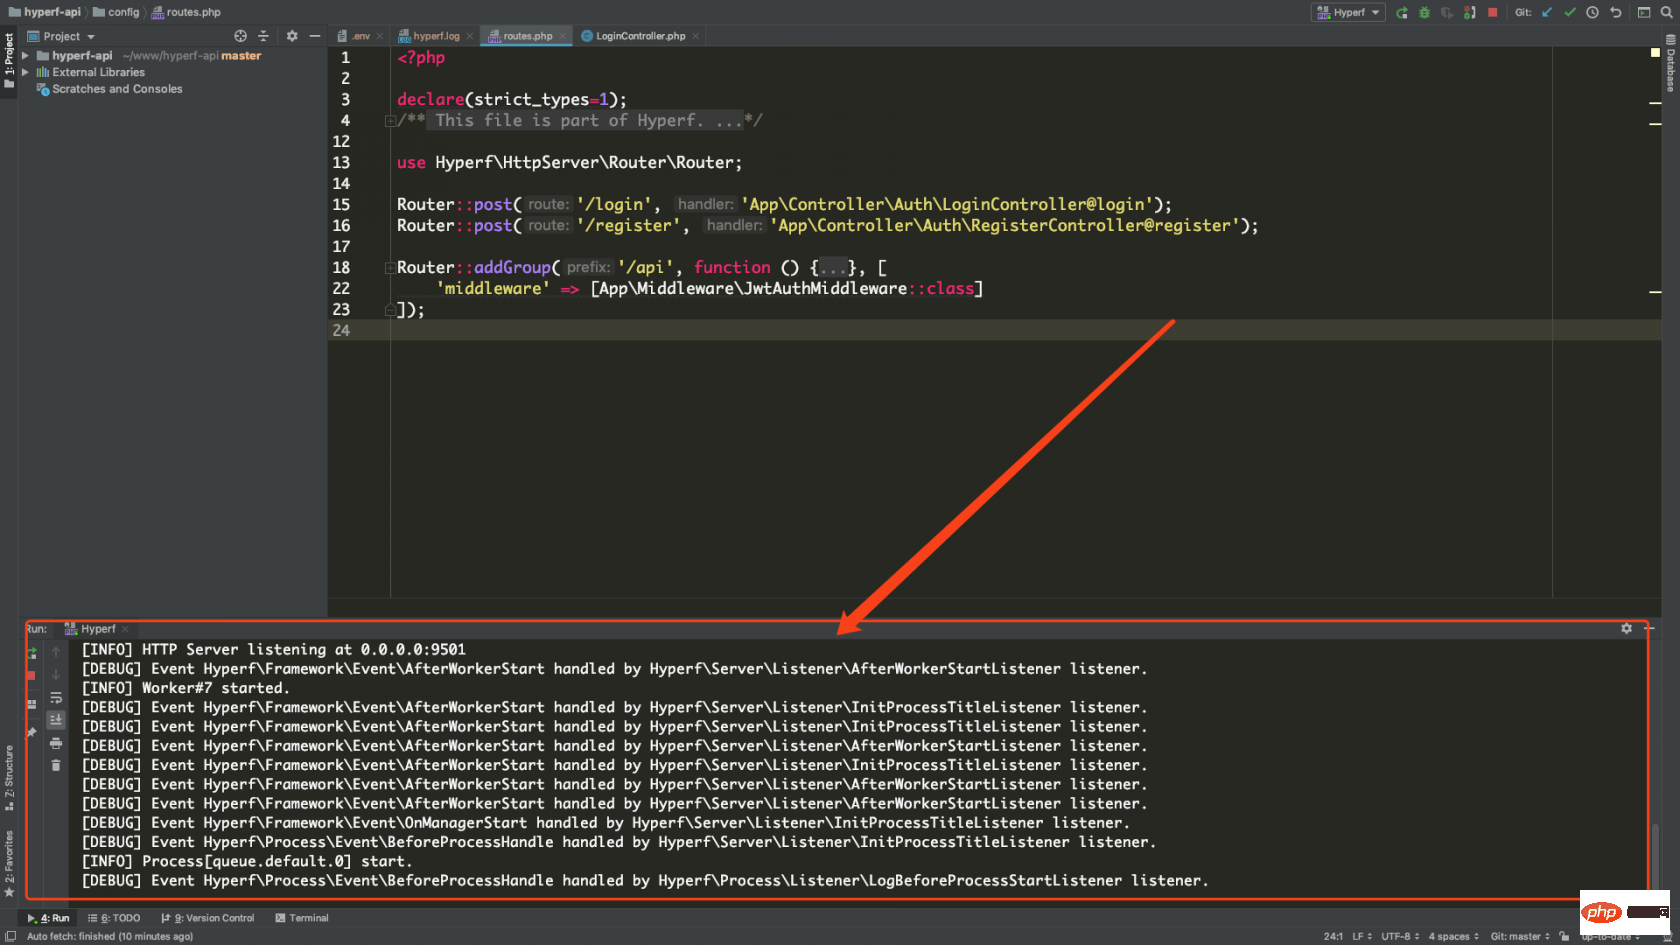
 My key is command 4, which can bring up the window where the script runs, as shown in the picture :
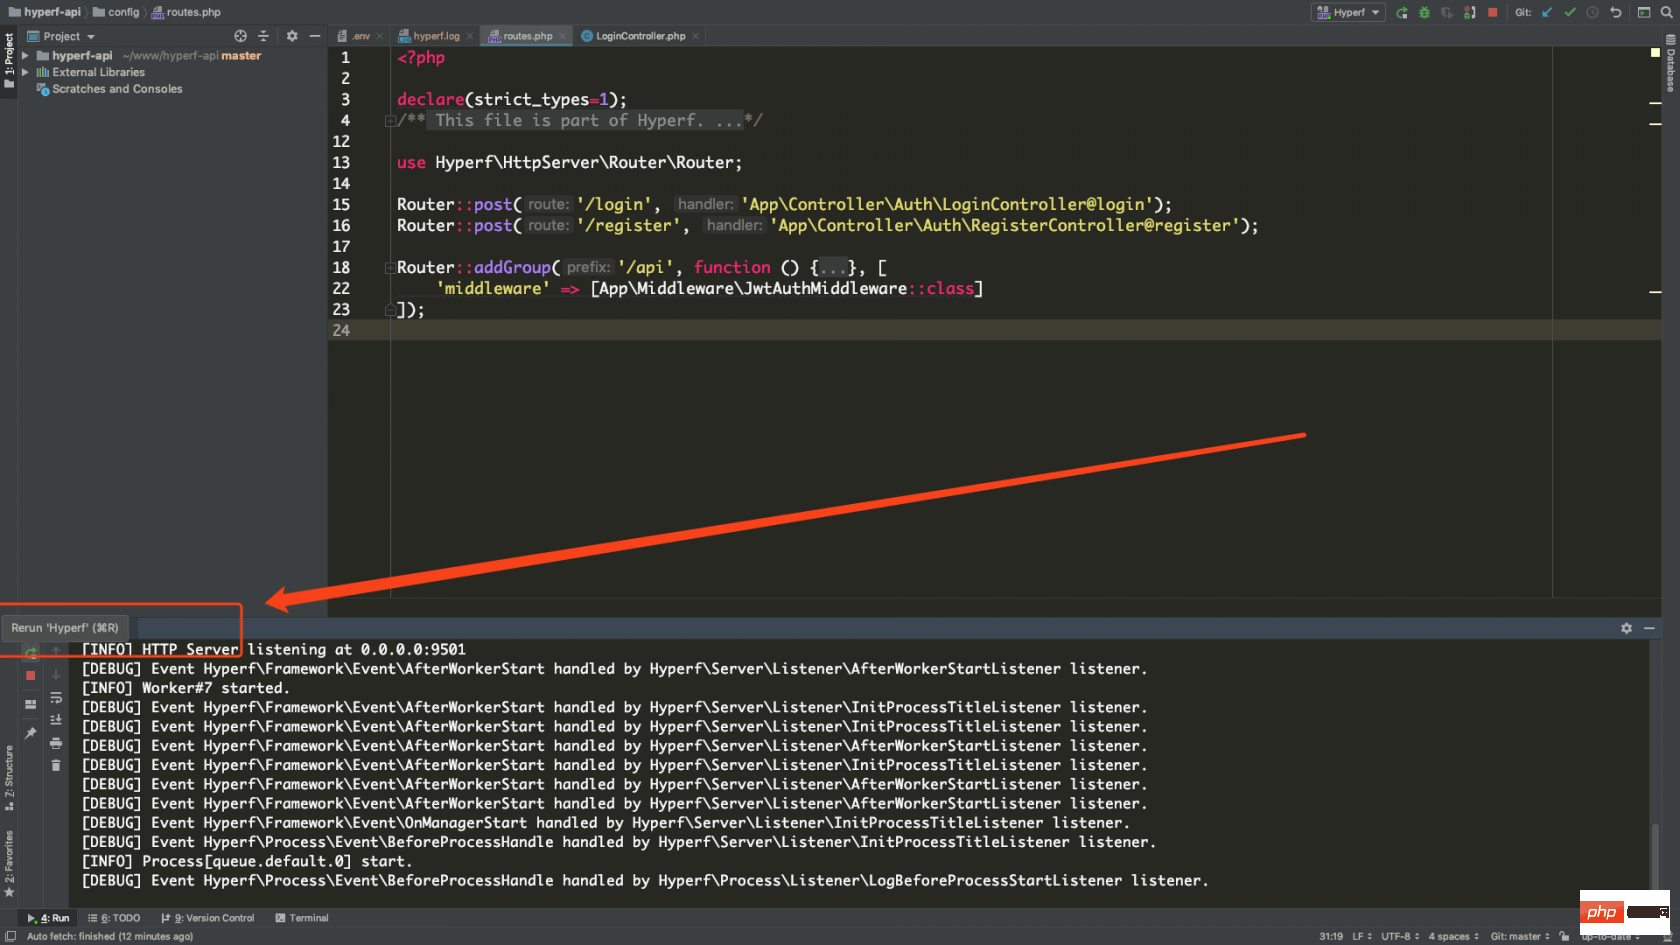
 Then the restart command is Command R, which is a bit like refreshing a browser. For Windows, put the mouse on the green restart icon in the lower left corner, and a shortcut key will be prompted. , as shown in the figure:
 Such a coherent operation is:
to quickly restart the Hyperf service. 2. Configure PhpStorm's REST client interface to request the client
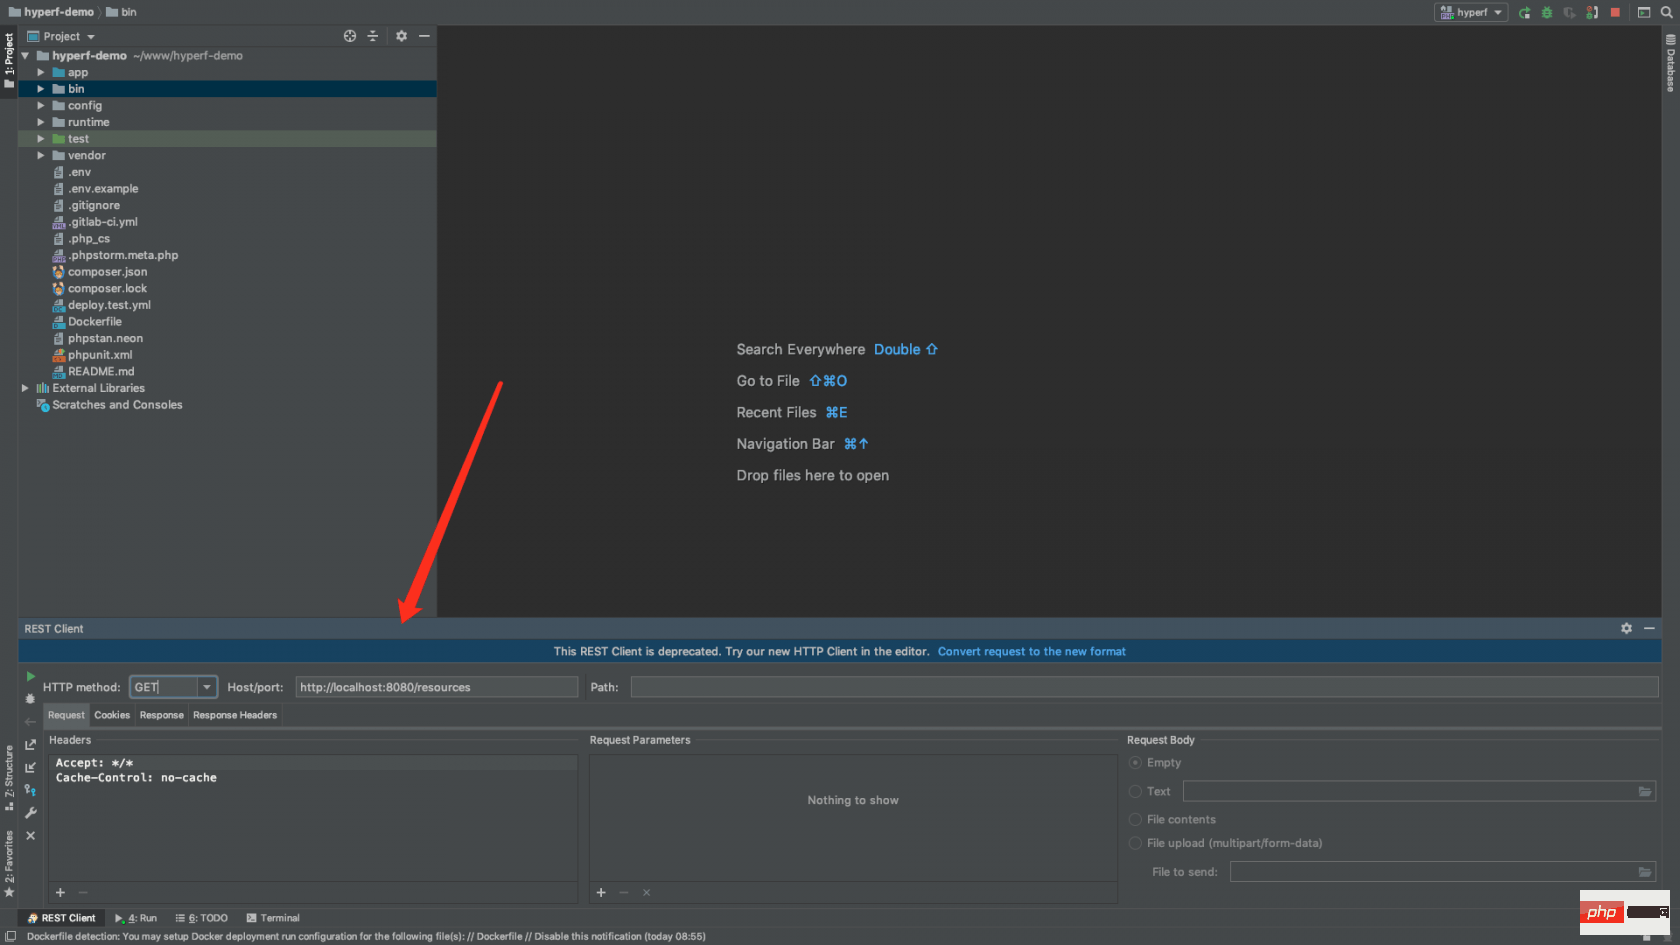
and find Tools After clicking, place the mouse on HTTP client, three options will appear, we choose Test RESTful Web Service After clicking it, it will look like this:
 2. How to use?
. Let me explain the above parameters to you! <div class="code" style="position:relative; padding:0px; margin:0px;"><pre class='brush:php;toolbar:false;'>HTTP method:请求方式
Host/Port:主机or域名地址和端口
Path:接口路径</pre><div class="contentsignin">Copy after login</div></div>The usage method is as shown in the figure, which means the request is successful: </p>
<p><br></p>
<h3>Conclusion: </h3>
<p>Although this tutorial is very simple and has no technical content, it is still released to the community to help more learners who are new to <code>Hyperf to learn and make progress together. !
The above is the detailed content of PhpStorm's elegant debugging Hyperf. For more information, please follow other related articles on the PHP Chinese website!
 How to export project in phpstorm
 The latest price of eth market
 What are character constants
 How to use python library
 System vulnerability type
 How to set up Douyin to prevent everyone from viewing the work
 Cost-effectiveness analysis of learning python and c++
 How to implement h5 to slide up and load the next page on the web side


