Easily implement self-signed certificate for HTTPS

[Related learning recommendations: php programming (video)]
Self-written certificates are often used in learning or testing environments. If the project is commercialized To operate, you should purchase a certificate issued by an authoritative third-party CA organization.
Deploy HTTPS in Apache
Create the directory /etc/httpd/ca and execute the command
# 非对称加密 rsa 算法生成2048 比特位的私钥
openssl genrsa -out server.key 2048
to generate a csr certificate signature Request file
# 指定私钥 server.key 生成新的 server.csr 文件
openssl req -new -key server.key -out server.csr
to fill in the registration information. Fill in your domain name or IP address in this column.
Common Name (eg, your name or your server's hostname) []:lamp.test.com
Copy the newly generated private key and certificate to the ssl configuration directory.
cp server.key /etc/pki/tls/private/cp server.crt /etc/pki/tls/certs/
Changessl.conf Configuration file
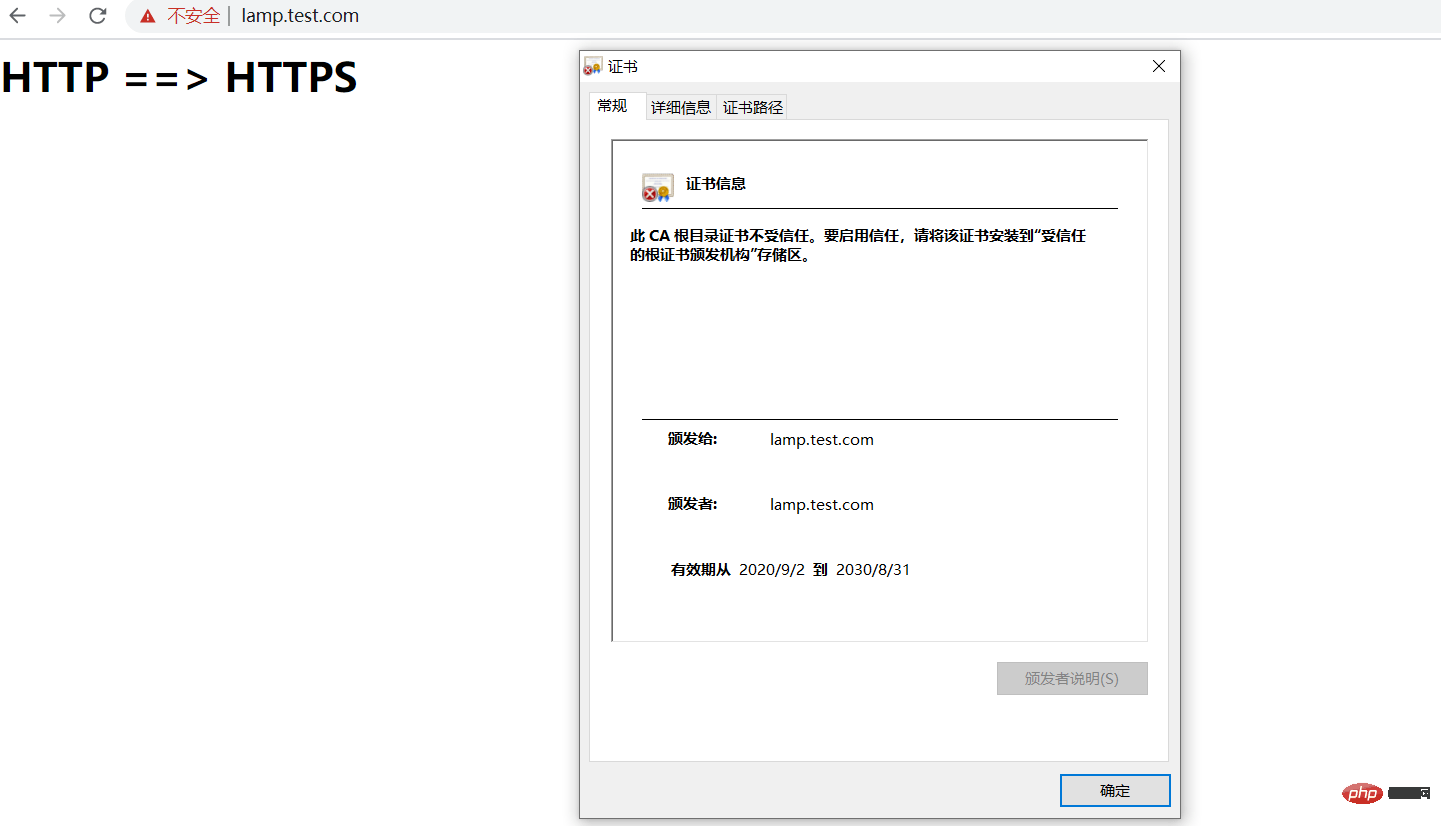
Visithttps://lamp.test.com

The validity period of the certificate has been changed from 1 year to 10 years.
Deploying HTTPS in Nginx
First check whether the local nginx has the http_ssl_module module installed. If not, reinstall nginx from the source code and use the parameters --with-http_ssl_module .
nginx -V

Enter the /etc/ssl directory and execute the command
# 使用 des3 算法 生成 4096 比特位服务器私钥
openssl genrsa -des3 -out server.key 4096# 生成证书签名请求文件
openssl req -new -key server.key -out server.csr

# 生成 4096 位 ca 私钥
openssl genrsa -des3 -out ca.key 4096# 去除服务器私钥避免以后每次载入文件需要输入密码
openssl rsa -in server.key -out server.key

# 以 x509 证书格式标准生成 10 年的 crt ,注意填写域名或者 IP 地址
openssl req -new -x509 -key ca.key -out ca.crt -days 3650# 请求有效期为 3650 天 传入文件为server.csr 指定 CA 文件为 ca.crt 指定私钥文件为ca.key 并自动创建 CA 序列文件 输出证书文件 server.crt 至此签名成功
openssl x509 -req -days 365 -in server.csr -CA ca.crt -CAkey ca.key -CAcreateserial -out server.crt
Modify the nginx configuration file
listen 80;# 监听 443 端口
listen 443 ssl;server_name lnmp.test.com;# 配置服务器证书
ssl_certificate /etc/ssl/server.crt;# 配置服务器私钥
ssl_certificate_key /etc/ssl/server.key;
Restart nginx
nginx -t
nginx -s reload
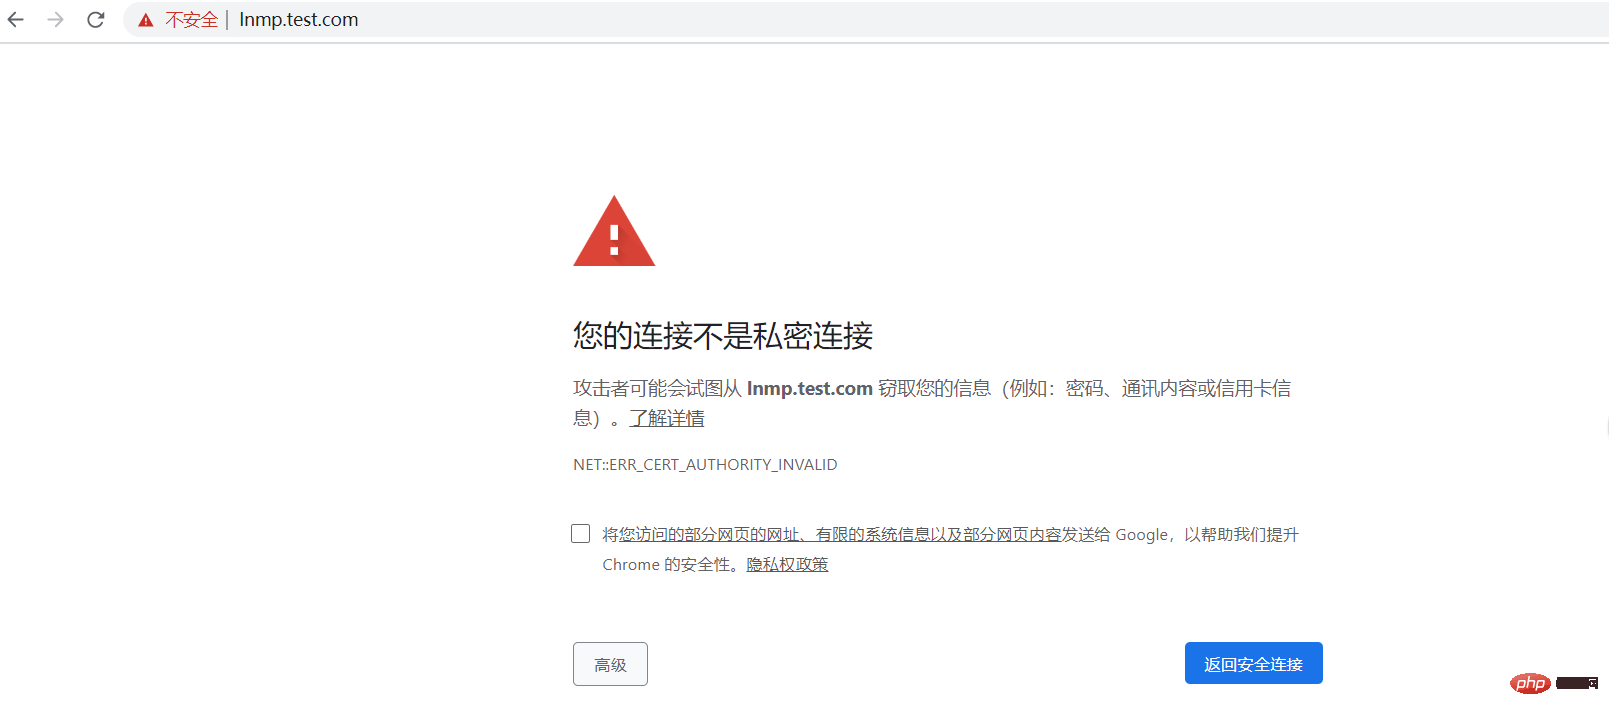
Visit lnmp.test.com

Successfully implemented nginx simple deployment of HTTPS.
If you want to know more about programming learning, please pay attention to the php training column!
The above is the detailed content of Easily implement self-signed certificate for HTTPS. For more information, please follow other related articles on the PHP Chinese website!

Hot AI Tools

Undresser.AI Undress
AI-powered app for creating realistic nude photos

AI Clothes Remover
Online AI tool for removing clothes from photos.

Undress AI Tool
Undress images for free

Clothoff.io
AI clothes remover

Video Face Swap
Swap faces in any video effortlessly with our completely free AI face swap tool!

Hot Article

Hot Tools

Notepad++7.3.1
Easy-to-use and free code editor

SublimeText3 Chinese version
Chinese version, very easy to use

Zend Studio 13.0.1
Powerful PHP integrated development environment

Dreamweaver CS6
Visual web development tools

SublimeText3 Mac version
God-level code editing software (SublimeText3)

Hot Topics
 1386
1386
 52
52
 How to use Nginx Proxy Manager to implement reverse proxy under HTTPS protocol
Sep 26, 2023 am 08:40 AM
How to use NginxProxyManager to implement reverse proxy under HTTPS protocol. In recent years, with the popularity of the Internet and the diversification of application scenarios, the access methods of websites and applications have become more and more complex. In order to improve website access efficiency and security, many websites have begun to use reverse proxies to handle user requests. The reverse proxy for the HTTPS protocol plays an important role in protecting user privacy and ensuring communication security. This article will introduce how to use NginxProxy
 How to use Nginx Proxy Manager to implement automatic jump from HTTP to HTTPS
Sep 26, 2023 am 11:19 AM
How to use NginxProxyManager to implement automatic jump from HTTP to HTTPS. With the development of the Internet, more and more websites are beginning to use the HTTPS protocol to encrypt data transmission to improve data security and user privacy protection. Since the HTTPS protocol requires the support of an SSL certificate, certain technical support is required when deploying the HTTPS protocol. Nginx is a powerful and commonly used HTTP server and reverse proxy server, and NginxProxy
 Nginx with SSL: Configure HTTPS to protect your web server
Jun 09, 2023 pm 09:24 PM
Nginx is a high-performance web server software and a powerful reverse proxy server and load balancer. With the rapid development of the Internet, more and more websites are beginning to use the SSL protocol to protect sensitive user data, and Nginx also provides powerful SSL support, making the security performance of the web server even further. This article will introduce how to configure Nginx to support the SSL protocol and protect the security performance of the web server. What is SSL protocol? SSL (SecureSocket
 What does the https workflow look like?
Apr 07, 2024 am 09:27 AM
The https workflow includes steps such as client-initiated request, server response, SSL/TLS handshake, data transmission, and client-side rendering. Through these steps, the security and integrity of data during transmission can be ensured.
 How to configure https in tomcat
Jan 05, 2024 pm 05:15 PM
Configuration steps: 1. Obtain the SSL certificate; 2. Configure the SSL certificate; 3. Edit the Tomcat configuration file; 4. Restart Tomcat. Detailed introduction: 1. You need to obtain an SSL certificate, either a self-signed certificate or a valid SSL certificate from a certification agency (such as Let's Encrypt); 2. Place the obtained SSL certificate and private key files on the server and ensure that these files Located in a safe location, only users with sufficient permissions can access; 3. Edit Tomcat configuration files, etc.
 Solution: urllib3 ProxySchemeUnknown(proxy.scheme)
Feb 29, 2024 pm 07:01 PM
The reason for the error is that the ProxySchemeUnknown(proxy.scheme) error of urllib3 is usually caused by the use of an unsupported proxy protocol. In this case, urllib3 does not recognize the proxy server's protocol type and therefore cannot use the proxy for network connections. To resolve this issue, you need to ensure that you are using a supported proxy protocol, such as HTTP or https. How to resolve To resolve this issue, you need to ensure that you are using a supported proxy protocol, such as HTTP or HTTPS. You can solve this problem by setting the proxy parameters of urllib3. If you are using an http proxy, the code example is as follows: importurllib3http
 How Nginx firewall ensures HTTPS secure communication
Jun 10, 2023 am 10:16 AM
In today's Internet era, secure communication has become an indispensable part. Especially in HTTPS communication, how to ensure its security is particularly important. As a popular web server and reverse proxy server, Nginx's firewall can also play an important role in ensuring HTTPS secure communication. This article will discuss the Nginx firewall from the following aspects. TLS/SSL encryption The security of HTTPS communication is mainly based on TLS/SSL encryption technology, which can prevent data from being transmitted during transmission.
 How to use Nginx to implement HTTPS two-way authentication
Jun 03, 2023 pm 08:38 PM
The difference between one-way verification and two-way verification: One-way verification: refers to the client verifying the server-side certificate, and the server does not need to verify the client certificate. Two-way verification: refers to the client verifying the server-side certificate, and the server also needs to verify the client certificate through the CA's public key certificate. Detailed handshake process: One-way authentication The browser sends a connection request to the security server. 1. The server sends its own certificate and certificate-related information to the client browser. 2. The client browser checks whether the certificate sent by the server is issued by the CA center it trusts. If it is, continue to execute the agreement; if not, the client's browser will give the client a warning message: warning the client that this certificate is not trustworthy and asking the client if it needs to continue. 3. Pick up customers


