

How to install mysql8.0 on centos

centosHow to install mysql8.0: First select the MYSQL version under Linux that suits your version; then install "mysql-8.0.15-el7-x86_64" to "/usr /local/mysql"; finally initialize mysql.
mysql video tutorial》
1. Go to the official website and choose the MYSQL version under Linux that suits your version.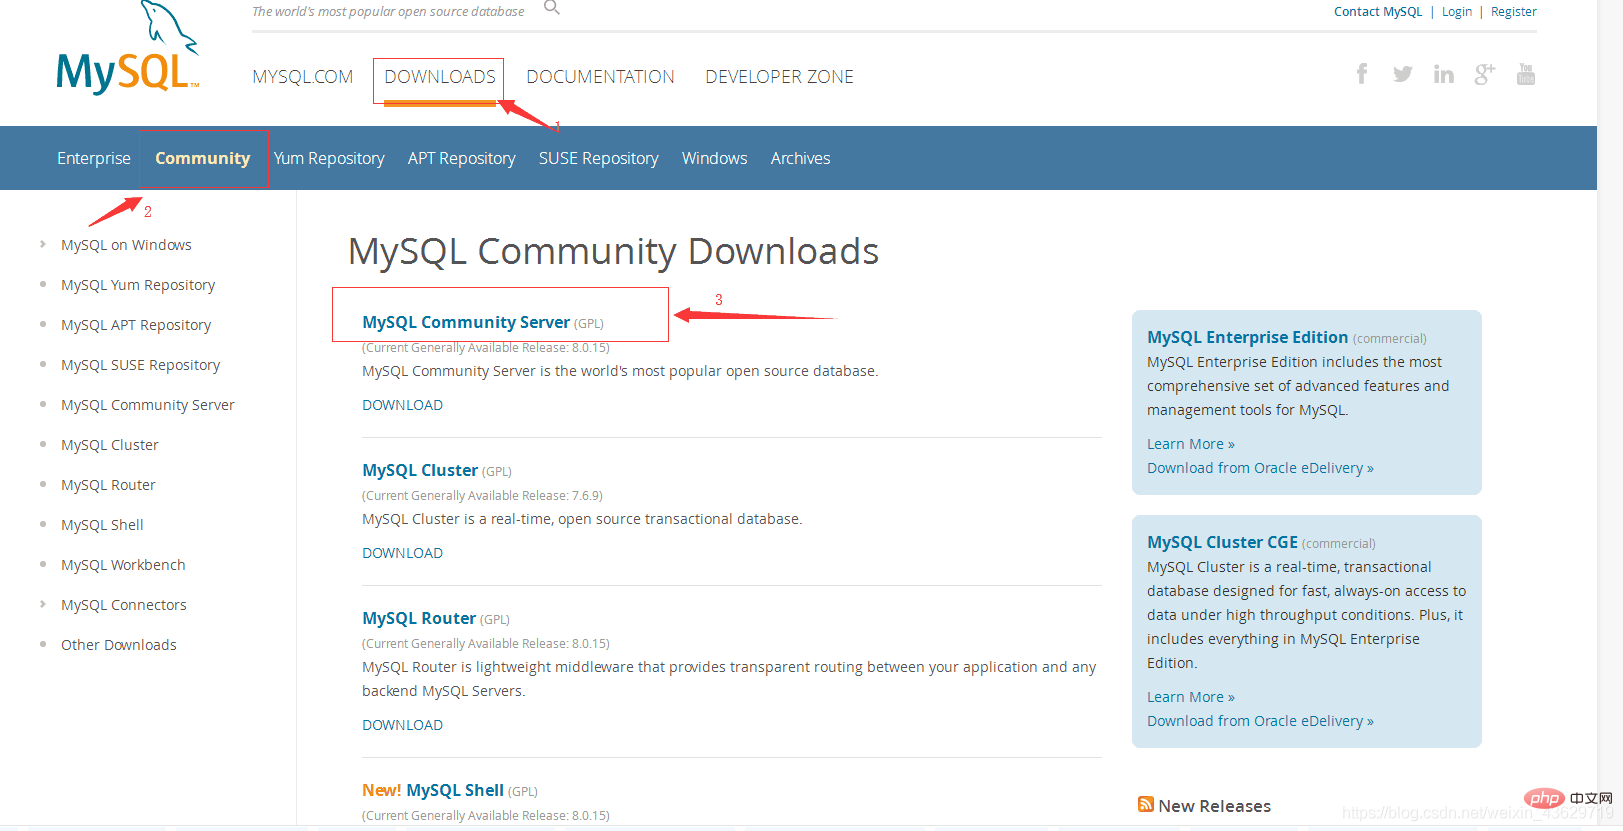
#Follow the numbers on the arrows and proceed one by one to enter the picture below. 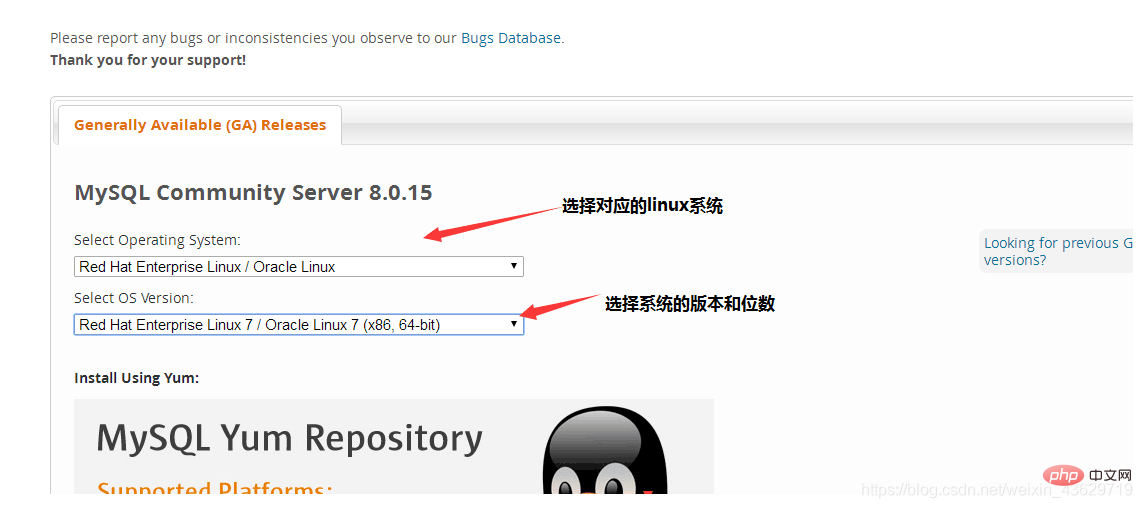
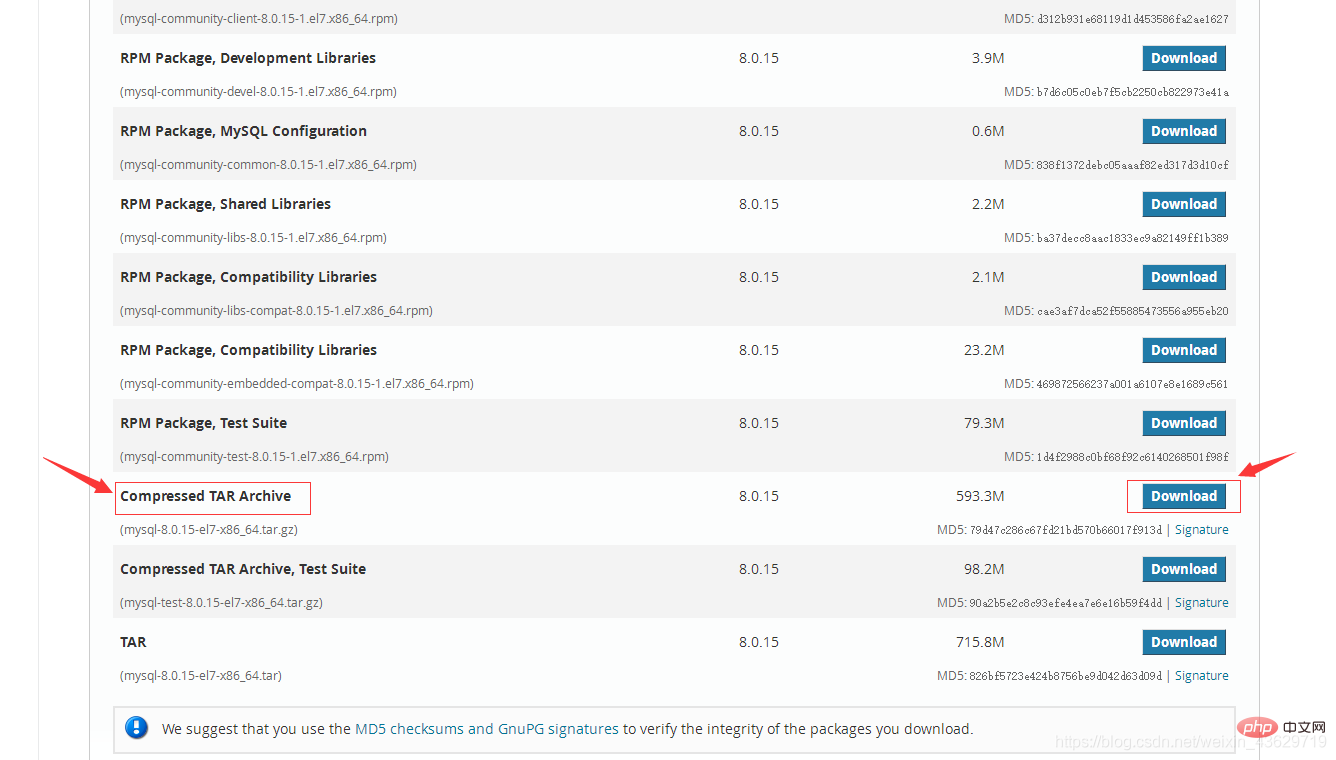 Wait for the download to complete, so the first step is completed.
2. Upload the downloaded mysql-8.0.15-el7-x86_64.tar.gz to the Linux system for decompression.
(1) I upload this file to the /root/ directory and first check the files in the /root/ directory. to ensure that this file exists on the system.
cd /root/
ls
 (2) Unzip the file.
tar -zxvf mysql-8.0.15-el7-x86_64.tar.gz
 3. Install mysql.
(1) Install mysql-8.0.15-el7-x86_64 under /usr/local/mysql.
mv mysql-8.0.15-el7-x86_64 /usr/local/mysql //将文件移动到 /usr/local/ 目录下,并更名为mysql 。
groupadd mysql和useradd -r -g mysql mysql
cd /usr/local/mysql    //进入/usr/local/mysql 目录
chown -R mysql:mysql ./  //修改当前目录为mysql用户
bin/mysqld --initialize --user=mysql --basedir=/usr/local/mysql --datadir=/usr/local/mysql/data //运行完成会生成一个暂时的密码。
 (5) Check whether the my.cnf file is automatically generated during the initialization process.
cd /etc/   //进入/etc/目录下
ls | grep my.cnf   //查看是否有my.cnf 文件。有则会产生结果。
 (7) If my.cnf is not generated during the initialization process, create a new my-defalut.cnf file and copy it to /etc/my.cnf
touch my-defalut.cnf   //新建一个文件
chmod 755 my-defalut.cnf   // 赋予权限
cp my-defalut.cnf /etc/my.cnf  // 将文件复制到/etc/ 目录下,并更名为my.cnf 文件名。
basedir=/usr/local/mysql
datadir=/usr/local/mysql/data
port=3306
socket =/tmp/mysql.sock
pid-file=/usr/local/mysql/$hostname.pid //Attention, small details, $hostname here is the host name of Linux. Generally, everyone's host name is different.
sql_mode=NO_ENGINE_SUBSTITUTION,STRICT_TRANS_TABLES
vim /etc/profile  // 打开profile文件。
export  MYSQL_HOME
MYSQL_HOME=/usr/local/mysql
export  PATH=$PATH:$MYSQL_HOME/lib:$MYSQL_HOME/bin
Execute the codes in sequence.
cp /usr/local/mysql/support-files/mysql.server   /etc/init.d/mysql
chmod +x  /etc/init.d/mysql  //添加可执行权限。
chkconfig  --add mysql   // 注册启动服务
 indicates success.
(11) Start the server and log in to mysql.
service mysql start   //开启服务器。
mysql -uroot -p      //登录进入mysql,然后提示输入密码。
 Enter the temporary password generated during the initialization process and press Enter. Enter the page.
 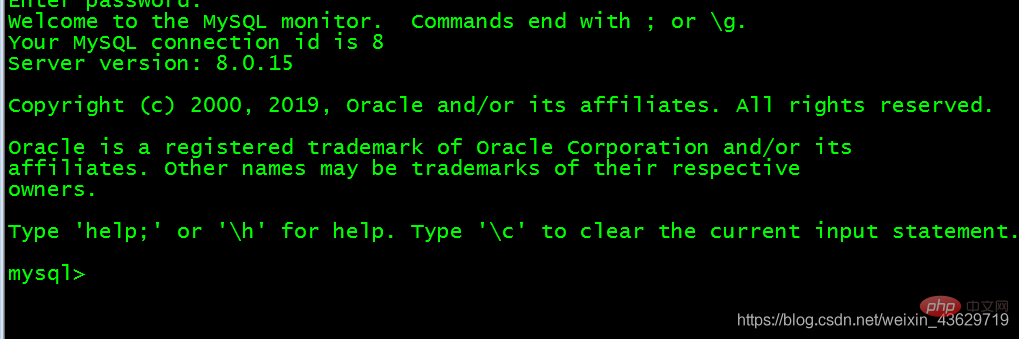 At this point, the installation has been successful.
(12) After entering mysql, change the password. Otherwise you can't do anything.
alter user 'root'@'localhost' identified by 'your_password';
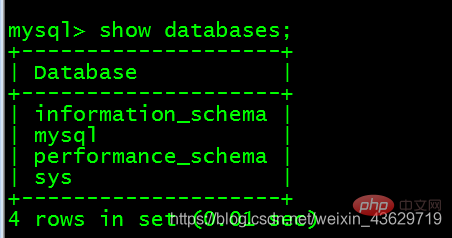
show databases;
 At this point, the entire process of installing mysql version 8.0.15 is over!
Finally, the editor is just a novice, I hope you can give me some advice if you have any questions! ! !
The above is the detailed content of How to install mysql8.0 on centos. For more information, please follow other related articles on the PHP Chinese website!

Hot AI Tools

Undresser.AI Undress
AI-powered app for creating realistic nude photos

AI Clothes Remover
Online AI tool for removing clothes from photos.

Undress AI Tool
Undress images for free

Clothoff.io
AI clothes remover

AI Hentai Generator
Generate AI Hentai for free.

Hot Article
Hot Tools

Notepad++7.3.1
Easy-to-use and free code editor

SublimeText3 Chinese version
Chinese version, very easy to use

Zend Studio 13.0.1
Powerful PHP integrated development environment

Dreamweaver CS6
Visual web development tools

SublimeText3 Mac version
God-level code editing software (SublimeText3)
Hot Topics
 1359
1359
 52
52

 How to input Chinese in centos
Apr 07, 2024 pm 08:21 PM
How to input Chinese in centos
Apr 07, 2024 pm 08:21 PM
Methods for using Chinese input in CentOS include: using the fcitx input method: install and enable fcitx, set shortcut keys, press the shortcut keys to switch input methods, and input pinyin to generate candidate words. Use iBus input method: Install and enable iBus, set shortcut keys, press the shortcut keys to switch input methods, and input pinyin to generate candidate words.
 How to read USB disk files in centos7
Apr 07, 2024 pm 08:18 PM
How to read USB disk files in centos7
Apr 07, 2024 pm 08:18 PM
To read U disk files in CentOS 7, you need to first connect the U disk and confirm its device name. Then, use the following steps to read the file: Mount the USB flash drive: mount /dev/sdb1 /media/sdb1 (replace "/dev/sdb1" with the actual device name) Browse the USB flash drive file: ls /media/sdb1; cd /media /sdb1/directory; cat file name
 How to enter root permissions in centos7
Apr 02, 2024 pm 08:57 PM
How to enter root permissions in centos7
Apr 02, 2024 pm 08:57 PM
There are two ways to enter the root authority of CentOS 7: use the sudo command: enter sudo su - in the terminal and enter the current user password. Log in directly as the root user: Select "Other" on the login screen, enter "root" and the root password. Note: Operate carefully with root privileges, perform tasks with sudo privileges, and change the root password regularly.
 SCP usage tips-recursively exclude files
Apr 22, 2024 am 09:04 AM
SCP usage tips-recursively exclude files
Apr 22, 2024 am 09:04 AM
One can use the scp command to securely copy files between network hosts. It uses ssh for data transfer and authentication. Typical syntax is: scpfile1user@host:/path/to/dest/scp -r/path/to/source/user@host:/path/to/dest/scp exclude files I don't think you can when using scp command Filter or exclude files. However, there is a good workaround to exclude the file and copy it securely using ssh. This page explains how to filter or exclude files when copying directories recursively using scp. How to use rsync command to exclude files The syntax is: rsyncav-essh-
 What to do if you forget your password to log in to centos
Apr 07, 2024 pm 07:33 PM
What to do if you forget your password to log in to centos
Apr 07, 2024 pm 07:33 PM
Solutions for forgotten CentOS passwords include: Single-user mode: Enter single-user mode and reset the password using passwd root. Rescue Mode: Boot from CentOS Live CD/USB, mount root partition and reset password. Remote access: Use SSH to connect remotely and reset the password with sudo passwd root.
 What should I do if I forget my centos username and password?
Apr 02, 2024 pm 08:54 PM
What should I do if I forget my centos username and password?
Apr 02, 2024 pm 08:54 PM
After forgetting your CentOS username and password, there are two ways to restore access: Reset the root password: Restart the server, edit the kernel command line in the GRUB menu, add "rw init=/sysroot/bin/sh" and press Ctrl+x ;Mount the root file system and reset the password in single-user mode. Use rescue mode: Start the server from the CentOS installation ISO image, select rescue mode; mount the root file system, copy the chroot environment from the ISO image, reset the password, exit the chroot environment and restart the server.
 How to enable root permissions in centos7
Apr 07, 2024 pm 08:03 PM
How to enable root permissions in centos7
Apr 07, 2024 pm 08:03 PM
CentOS 7 disables root permissions by default. You can enable it by following the following steps: Temporarily enable it: Enter "su root" on the terminal and enter the root password. Permanently enabled: Edit "/etc/ssh/sshd_config", change "PermitRootLogin no" to "yes", and restart the SSH service.
 What should I do if I forget my centos7 password?
Apr 02, 2024 pm 08:51 PM
What should I do if I forget my centos7 password?
Apr 02, 2024 pm 08:51 PM
Three solutions for forgotten passwords in CentOS 7: Single-user mode: Restart the system, edit the kernel options, change ro to rw init=/sysroot/bin/sh, and use the passwd command to reset the root password. Rescue mode: Boot from the installation media, select rescue mode, mount the root file system, chroot to the root file system, and use the passwd command to reset the root password. Grub2 command line: Restart the system, press c to enter the command line, load the kernel, mount the root file system, chroot to the root file system, and use the passwd command to reset the root password.
