

How webstrom creates a react project: first install webstorm and react.js; then open the software interface, click "File" - "New Project" - "React APP" in the top navigation bar; finally fill in " "Project name" and other relevant information.

The operating environment of this tutorial: Windows 7 system, webstorm2020.2 version, Dell G3 computer.
Recommendation: "javascript basic tutorial"
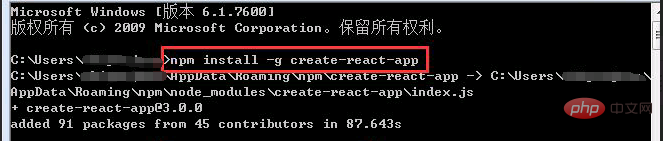
1. Before you want to use react.js, node.js needs to be installed on the computer. If it is not installed, you must first go to the official website or other channels to download and install it and configure the environment. Then enter the following command in the command window to download the create-react-app scaffolding toolkit:
npm install -g create-react-app
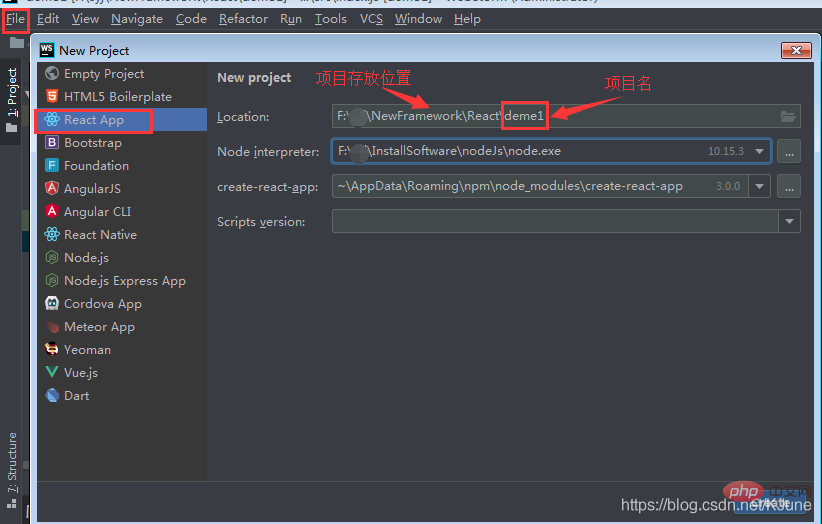
2. After installation, let’s install the webstorm tool.
3. After successful installation, open the software interface and choose to create a new project. The name of the new project here is demo1:
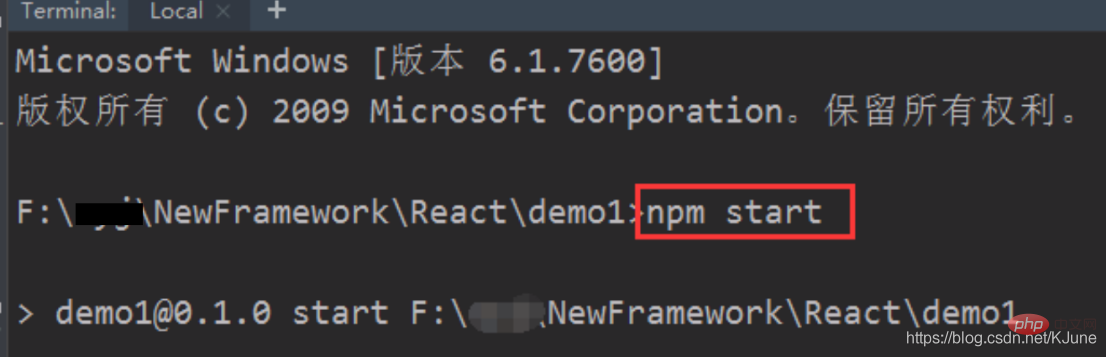
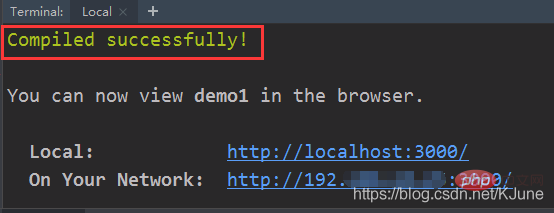
npm start

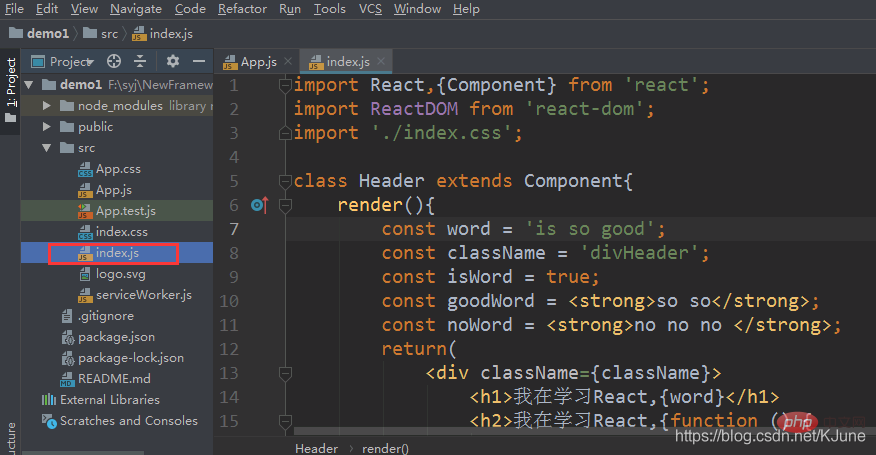

import React,{Component} from 'react';
import ReactDOM from 'react-dom';The above is the detailed content of How to create a react project in webstrom. For more information, please follow other related articles on the PHP Chinese website!


![[Web front-end] Node.js quick start](https://img.php.cn/upload/course/000/000/067/662b5d34ba7c0227.png)


