

How to install and run Python in Atom under Win10 environment

This article will introduce you to the tutorial on installing and running Python under Windows 10 Atom. It has certain reference value. Friends in need can refer to it. I hope it will be helpful to everyone.

Related recommendations: "atom tutorial"
1. Download Atom
1. Official website: Atom official website
2. Open this webpage, you can see that Atom is for the operating system Windows7 or above version
3. Download is complete, double-click the exe

4. Loading interface
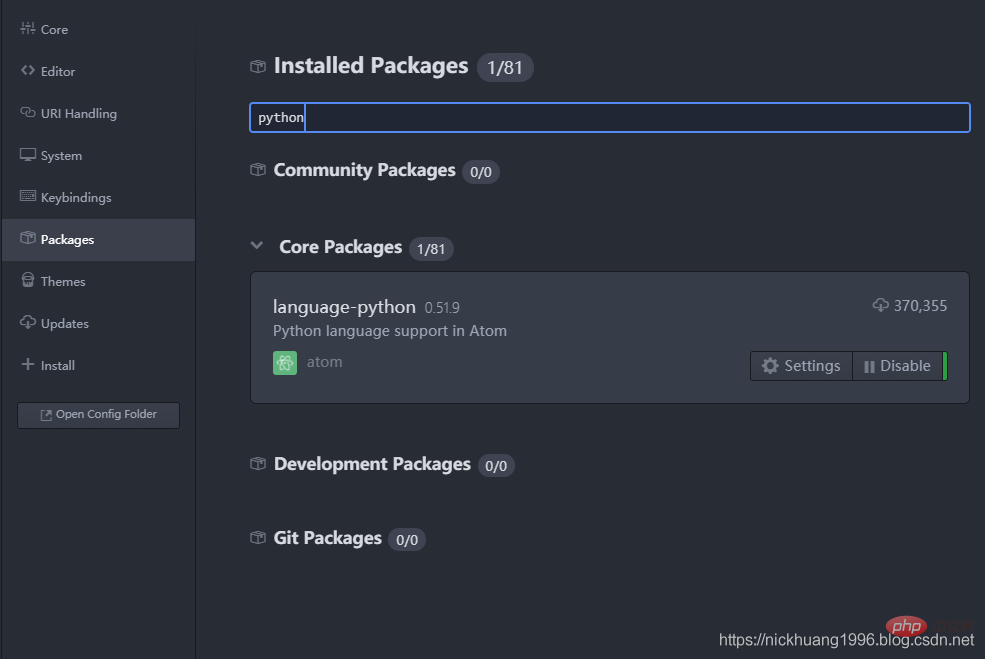
(1) First check in Settings whether has Python support
, blogger here Because the Python library is installed, Disable
is displayed (2) Click on the package name and we can also go to the web page to view related information about the package
2. Install Python’s IDE,
UI,# that are suitable for Atom ##Server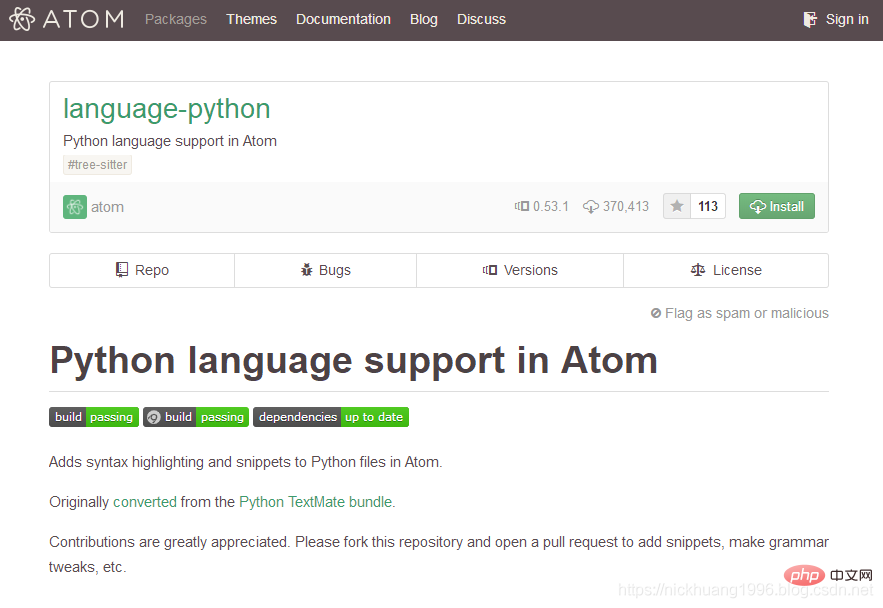 and
and
(1) Open cmd and run the following instructions to install python-language-server
1 |
|
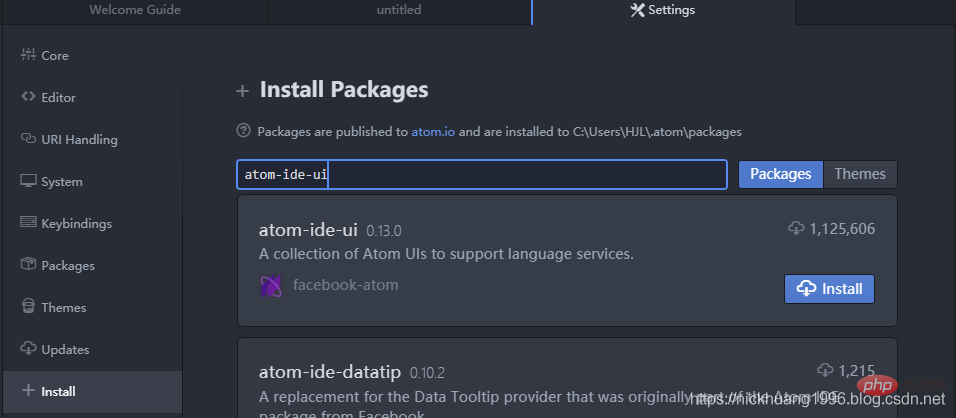
(2) Installation supports various language IDEs UI interface, search atom-ide-ui
1 |
|
Install as shown in the picture
(3) Similarly, install ide-python
:1 |
|
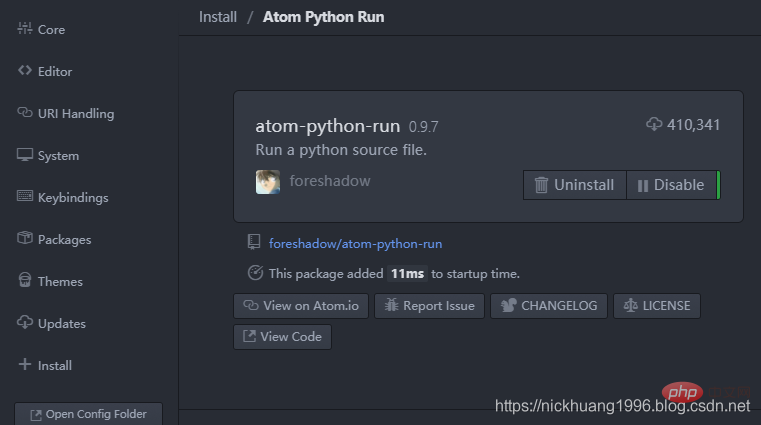
The most important, install the running toolatom-python-run
:
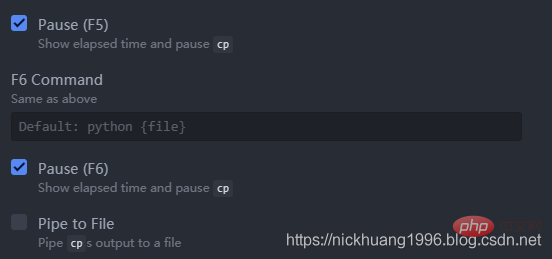
Press F5 to run, F6 to pause~
(5) The final downloaded package can be seen in this file C:\Users\your computer username\.atom\packages
*3. Running code example
1. Here I use my  Python to crawl and download Baidu pictures
2.打开这个项目,菜单栏里点击File->Add Project Folder
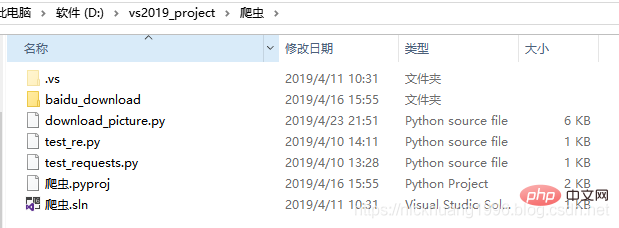
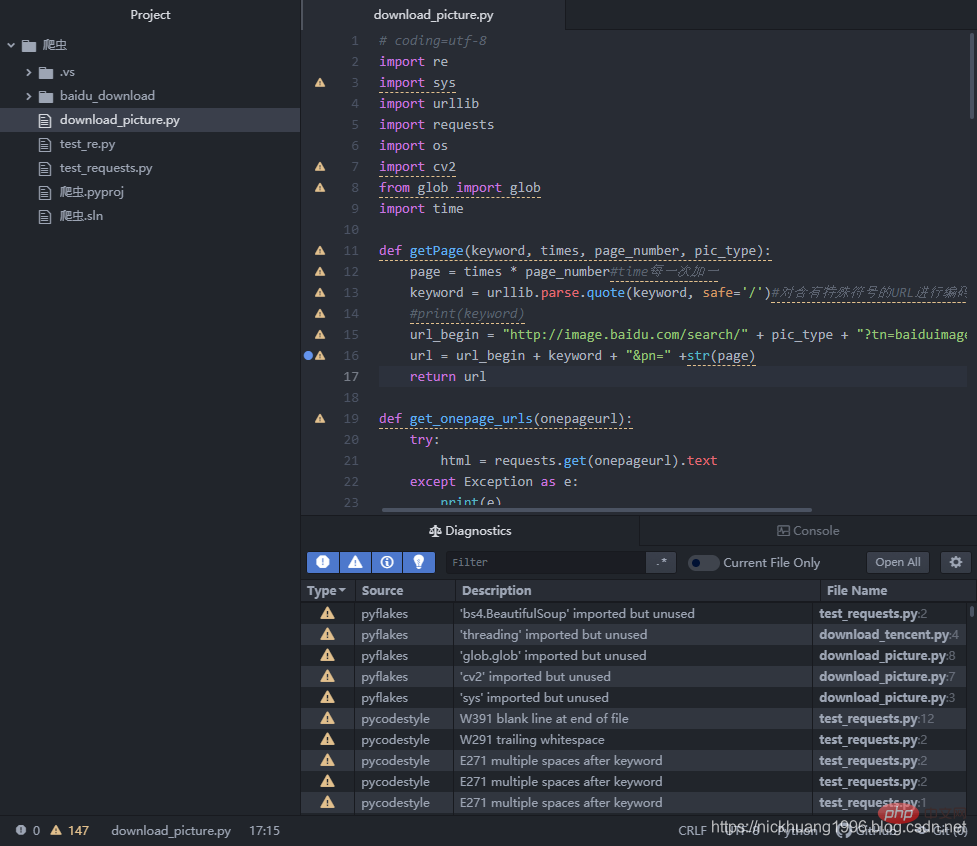
3.Atom里打开这个download_picture.py(以杉原杏璃为关键字)
1 2 3 4 5 6 7 8 9 10 11 12 13 14 15 16 17 18 19 20 21 22 23 24 25 26 27 28 29 30 31 32 33 34 35 36 37 38 39 40 41 42 43 44 45 46 47 48 49 50 51 52 53 54 55 56 57 58 59 60 61 62 63 64 65 66 67 68 69 70 71 72 73 74 75 76 77 78 79 80 81 82 83 84 85 86 87 88 89 90 91 92 93 94 95 96 97 98 99 100 101 102 103 104 105 106 107 108 109 110 111 112 113 114 115 116 117 118 119 120 |
|
效果如下(可以看到很多警告,也支持ctrl+鼠标访问函数和变量):
4.我们点击F5,可以看到程序运行成功!!
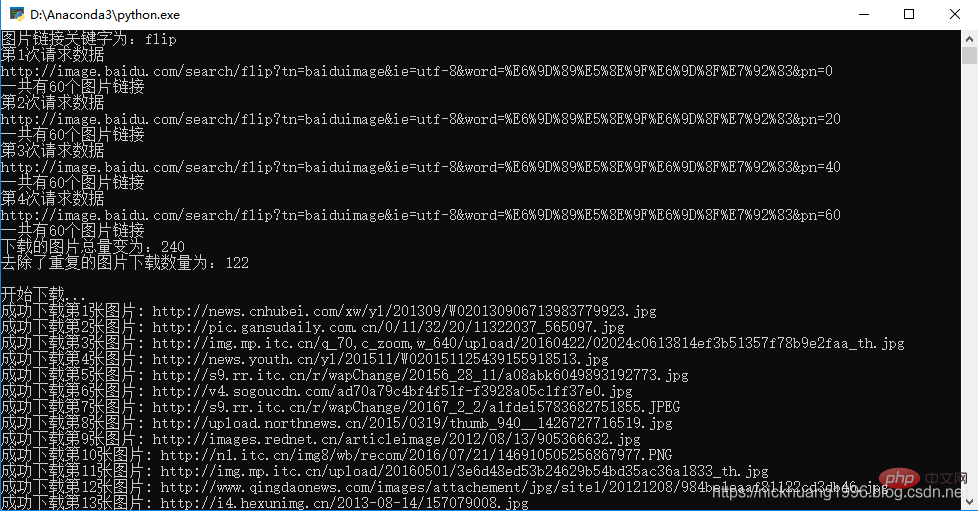

是不是用这个IDE也很不错呢~
更多编程相关知识,请访问:编程课程!!
The above is the detailed content of How to install and run Python in Atom under Win10 environment. For more information, please follow other related articles on the PHP Chinese website!

Hot AI Tools

Undresser.AI Undress
AI-powered app for creating realistic nude photos

AI Clothes Remover
Online AI tool for removing clothes from photos.

Undress AI Tool
Undress images for free

Clothoff.io
AI clothes remover

AI Hentai Generator
Generate AI Hentai for free.
Hot Article
Hot Tools

Notepad++7.3.1
Easy-to-use and free code editor

SublimeText3 Chinese version
Chinese version, very easy to use

Zend Studio 13.0.1
Powerful PHP integrated development environment

Dreamweaver CS6
Visual web development tools

SublimeText3 Mac version
God-level code editing software (SublimeText3)
Hot Topics
 1378
1378
 52
52

 PHP and Python: Code Examples and Comparison
Apr 15, 2025 am 12:07 AM
PHP and Python: Code Examples and Comparison
Apr 15, 2025 am 12:07 AM
PHP and Python have their own advantages and disadvantages, and the choice depends on project needs and personal preferences. 1.PHP is suitable for rapid development and maintenance of large-scale web applications. 2. Python dominates the field of data science and machine learning.
 How to train PyTorch model on CentOS
Apr 14, 2025 pm 03:03 PM
How to train PyTorch model on CentOS
Apr 14, 2025 pm 03:03 PM
Efficient training of PyTorch models on CentOS systems requires steps, and this article will provide detailed guides. 1. Environment preparation: Python and dependency installation: CentOS system usually preinstalls Python, but the version may be older. It is recommended to use yum or dnf to install Python 3 and upgrade pip: sudoyumupdatepython3 (or sudodnfupdatepython3), pip3install--upgradepip. CUDA and cuDNN (GPU acceleration): If you use NVIDIAGPU, you need to install CUDATool
 How is the GPU support for PyTorch on CentOS
Apr 14, 2025 pm 06:48 PM
How is the GPU support for PyTorch on CentOS
Apr 14, 2025 pm 06:48 PM
Enable PyTorch GPU acceleration on CentOS system requires the installation of CUDA, cuDNN and GPU versions of PyTorch. The following steps will guide you through the process: CUDA and cuDNN installation determine CUDA version compatibility: Use the nvidia-smi command to view the CUDA version supported by your NVIDIA graphics card. For example, your MX450 graphics card may support CUDA11.1 or higher. Download and install CUDAToolkit: Visit the official website of NVIDIACUDAToolkit and download and install the corresponding version according to the highest CUDA version supported by your graphics card. Install cuDNN library:
 Detailed explanation of docker principle
Apr 14, 2025 pm 11:57 PM
Detailed explanation of docker principle
Apr 14, 2025 pm 11:57 PM
Docker uses Linux kernel features to provide an efficient and isolated application running environment. Its working principle is as follows: 1. The mirror is used as a read-only template, which contains everything you need to run the application; 2. The Union File System (UnionFS) stacks multiple file systems, only storing the differences, saving space and speeding up; 3. The daemon manages the mirrors and containers, and the client uses them for interaction; 4. Namespaces and cgroups implement container isolation and resource limitations; 5. Multiple network modes support container interconnection. Only by understanding these core concepts can you better utilize Docker.
 Python vs. JavaScript: Community, Libraries, and Resources
Apr 15, 2025 am 12:16 AM
Python vs. JavaScript: Community, Libraries, and Resources
Apr 15, 2025 am 12:16 AM
Python and JavaScript have their own advantages and disadvantages in terms of community, libraries and resources. 1) The Python community is friendly and suitable for beginners, but the front-end development resources are not as rich as JavaScript. 2) Python is powerful in data science and machine learning libraries, while JavaScript is better in front-end development libraries and frameworks. 3) Both have rich learning resources, but Python is suitable for starting with official documents, while JavaScript is better with MDNWebDocs. The choice should be based on project needs and personal interests.
 How to choose the PyTorch version under CentOS
Apr 14, 2025 pm 02:51 PM
How to choose the PyTorch version under CentOS
Apr 14, 2025 pm 02:51 PM
When selecting a PyTorch version under CentOS, the following key factors need to be considered: 1. CUDA version compatibility GPU support: If you have NVIDIA GPU and want to utilize GPU acceleration, you need to choose PyTorch that supports the corresponding CUDA version. You can view the CUDA version supported by running the nvidia-smi command. CPU version: If you don't have a GPU or don't want to use a GPU, you can choose a CPU version of PyTorch. 2. Python version PyTorch
 How to do data preprocessing with PyTorch on CentOS
Apr 14, 2025 pm 02:15 PM
How to do data preprocessing with PyTorch on CentOS
Apr 14, 2025 pm 02:15 PM
Efficiently process PyTorch data on CentOS system, the following steps are required: Dependency installation: First update the system and install Python3 and pip: sudoyumupdate-ysudoyuminstallpython3-ysudoyuminstallpython3-pip-y Then, download and install CUDAToolkit and cuDNN from the NVIDIA official website according to your CentOS version and GPU model. Virtual environment configuration (recommended): Use conda to create and activate a new virtual environment, for example: condacreate-n
 How to install nginx in centos
Apr 14, 2025 pm 08:06 PM
How to install nginx in centos
Apr 14, 2025 pm 08:06 PM
CentOS Installing Nginx requires following the following steps: Installing dependencies such as development tools, pcre-devel, and openssl-devel. Download the Nginx source code package, unzip it and compile and install it, and specify the installation path as /usr/local/nginx. Create Nginx users and user groups and set permissions. Modify the configuration file nginx.conf, and configure the listening port and domain name/IP address. Start the Nginx service. Common errors need to be paid attention to, such as dependency issues, port conflicts, and configuration file errors. Performance optimization needs to be adjusted according to the specific situation, such as turning on cache and adjusting the number of worker processes.
