
The following is a simple application tutorial of PHP Laravel [Usage of ajax] from the Laravel Frameworktutorial column. I hope it will be helpful to friends in need!
This article is just a scattered application tutorial. The default Laravel project has been installed and running normally;
Run the command in the project root directory
php artisan make:controller TestController
If the creation is successful, you will be promptedController created successfully.
After successful creation, the TestController.php file will be generated in the app/Http/Controllers/ directory
Add to the TestController.php file
public function index(){
    return view('test');}public function testAjax(){
    echo '请求成功了';die;}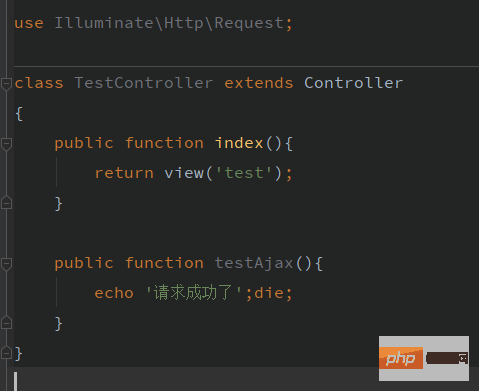
Create a new view file in the resources/views directory test.blade.php
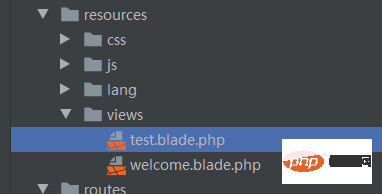
The contents of the file are as follows

Open the routing fileroutes/web.php, the default route is as follows:
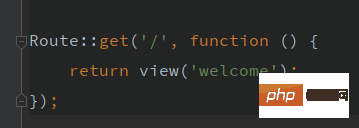
Add a route below to display the test Ajax page
Route::get('test', [TestController::class, 'index'])->name('test.index');Add a new route to receive Ajax requests
Route::post('test', [TestController::class, 'testAjax'])->name('test.ajax');For more routing related information, please check the document routing "Laravel 8 Chinese Documentation" (Address: https://learnku.com/docs /laravel/8.x/routing/9365)
Openresources/views/welcome.blade. php file, find about line 111:

Copy the content and modify it to the required test page entrance
<a href="{{route('test.index')}}" class="ml-1 underline">
测试入口</a>
After saving, refresh the page and you will see the test entrance
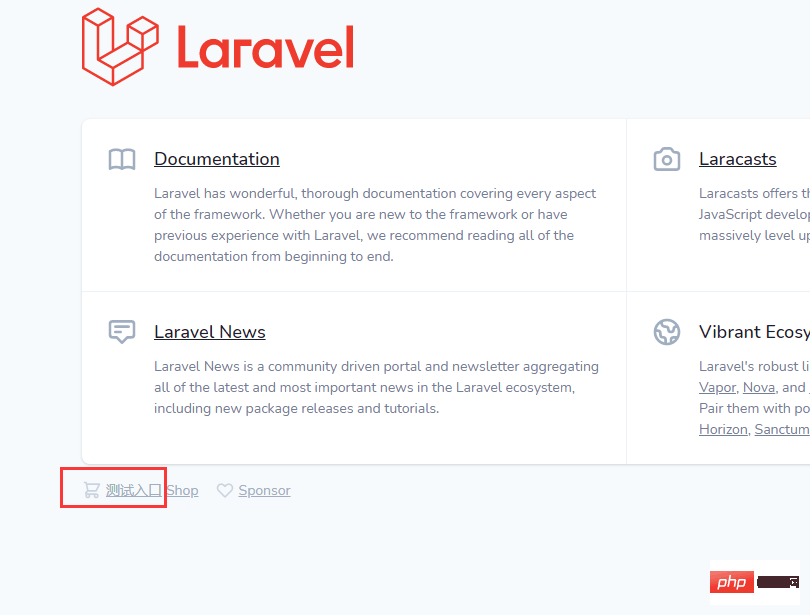
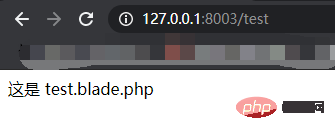
Click on the test entrance to enter the test page and you will see the following content
Put the downloaded jquery.min.js into public/assets/ Directory

Modify the contents of the resources/views/test.blade.php file
<!DOCTYPE html><html><head>
<meta charset="utf-8">
<title>Test Ajax</title>
<script src="{{asset('assets/jquery.min.js')}}"></script></head><body>
返回的内容:<p style="color: red" class="response-message"></p>
<form method="post" action="{{route('test.ajax')}}">
{!! csrf_field() !!}
提交的内容:<input type="text" name="text">
<span class="submit-btn">提交</span>
</form></body><script>
$('.submit-btn').click(function () {
let url = $(this).closest('form').attr('action');
let formData = $(this).closest('form').serialize();
$.post(url,formData,function (response) {
$('.response-message').text(response);
})
})</script></html>Click on the ## of the test page #Submit You can see that the content returned by testAjax() in the controller has been displayed on the page


app/Http/Controllers/TestController.php Original content
 Modified content:
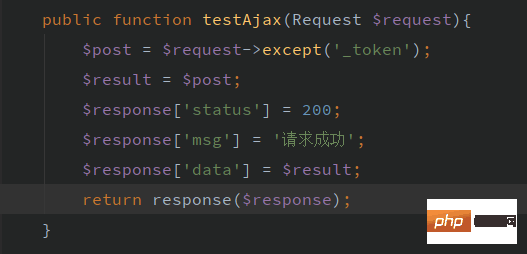
文件路径 resources/views/test.blade.php
$('.submit-btn').click(function () {
        let url = $(this).closest('form').attr('action');
        let formData = $(this).closest('form').serialize();
        $.post(url,formData,function (response) {
            let responseData = response.data;
            let appendStr = '<span style="border: 1px solid blue">'+responseData.text+'</span>';
            $('.response-message').empty().append(appendStr);
})})保存后在页面输入框中输入内容,点击提交后即可看到最新内容
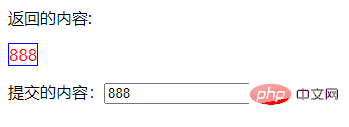
本文讲的是基础的接口应用,还有比如 Vue、Recat、mui 等项目中请求接口的示例请自行了解
The above is the detailed content of Simple application tutorial of PHP+Laravel [Usage of ajax]. For more information, please follow other related articles on the PHP Chinese website!