

A brief discussion on three ways to install vue.js

How to install vue.js? The following article will introduce you to three ways to install vue.js. It has certain reference value. Friends in need can refer to it. I hope it will be helpful to everyone.

Vue.js (pronounced /vjuː/, similar to view) is a progressive framework for building data-driven web interfaces. The goal of Vue.js is to enable responsive data binding and composed view components with the simplest possible API. Not only is it easy to get started, it is also easy to integrate with third-party libraries or existing projects.
The following introduces three installation methods of Vue.js:
1. Independent version
We can install it in Vue. Download vue.js directly from the js official website and reference it in the .html through the <script> tag. -> <script src = ../vue.js> </script> Do not use the minimally compressed version in the development environment, otherwise there will be no error prompts and warnings! (Used directly in the page)
Use vue for multi-page development:
- Introduce vue.js
- Create a vue root instance new Vue({option})
2. Use CDN method
- BootCDN (domestic): https://cdn.bootcss.com/vue/2.2.2/vue .min.js, (domestic instability)
- unpkg: https://unpkg.com/vue/dist/vue.js, will remain consistent with the latest version released by npm. (Recommended)
- cdnjs: https://cdnjs.cloudflare.com/ajax/libs/vue/2.1.8/vue.min.js, such as ()
## 3.NPM method (recommended)
When building large-scale applications with Vue.js, it is recommended to use the NPM installation method. NPM can be used well with module packagers such as Webpack or Browserify. Vue.js also provides supporting tools to develop single-file components. First, let’s list what we need next:- node.js environment (npm package manager)
- vue-cli scaffolding construction tool
- CNPM NPM's Taobao Mirror
 2) Install cnpm
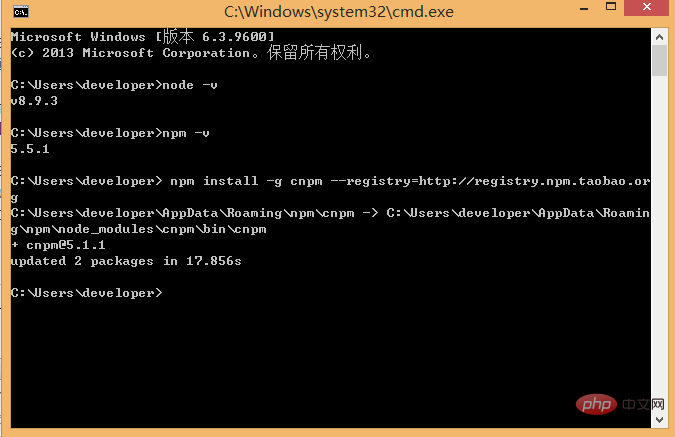
Enter npm install -g cnpm --registry in the command line =http://registry.npm.taobao.org , and then wait. If no error is reported, it means the installation is successful (mine has been installed, and the update success message is displayed), as shown below:
After completion, we can use cnpm instead of npm to install dependency packages. If you want to know more about cnpm, check out the Taobao npm mirror official website.
3) Install the vue-cli scaffolding building tool (must be installed globally)
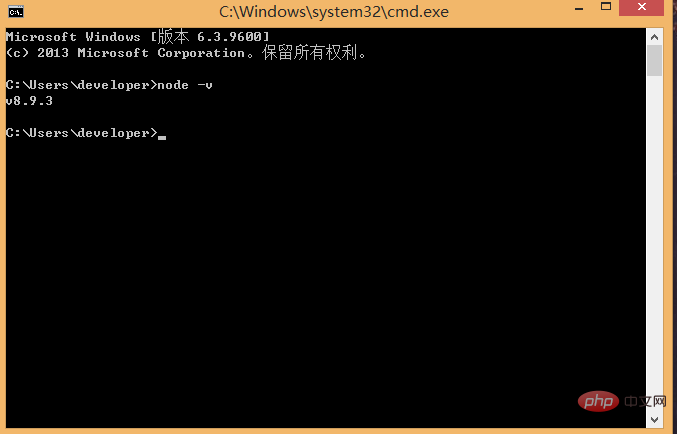
Run the command npm install -g vue-cli on the command line, and then Wait for the installation to complete.
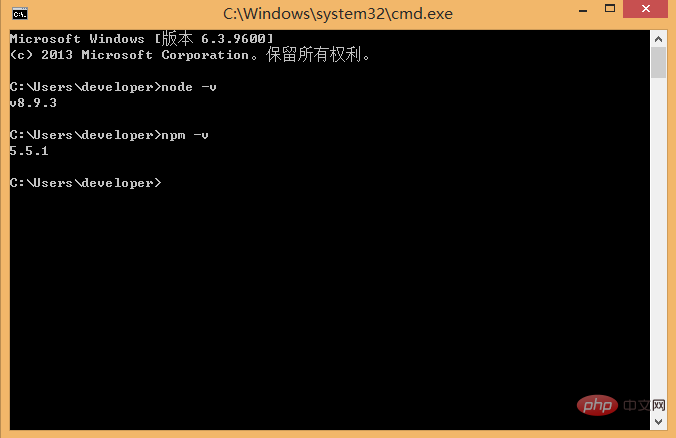
Is the installation successful: vue -V
Through the above three steps, the environment and tools we need to prepare are ready, and then we will start using vue-cli to build the project.
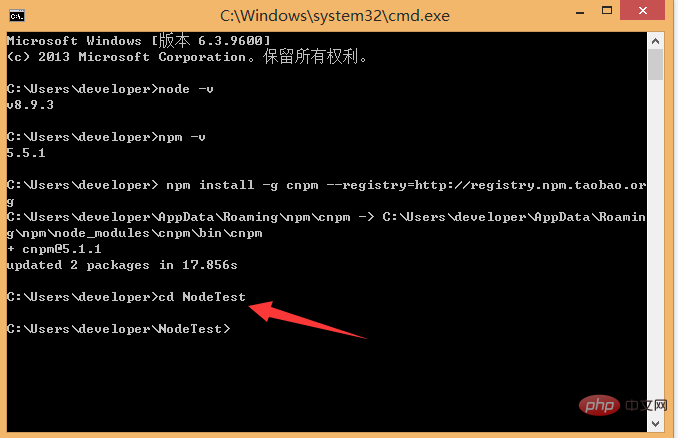
First we need to choose the location to store the project, and then use the command line to cd to the project directory. Here, I choose to create a new directory (NodeTest directory) under the c drive. , use cd to cut the directory to this directory, as shown below:
In the NodeTest directory, run the command vue init webpack firstApp in the command line (initialize a full version project) . Explain this command. This command means to initialize a project, where webpack is the build tool, that is, the entire project is based on webpack. where firstApp is the name of the entire project folder. This folder will be automatically generated in the directory you specify (in my example, the folder will be generated in the NodeTest directory), as shown below:
If we are in The folder where this project is stored has been manually created in the editor and cd to the project: vue init webpack; just initialize it, and also load the packages that webpack depends on:
 Is it in this folder? Create it in the directory

After entering the command, we will be asked a few simple options, we can just fill them in according to our needs.
- Project name: Project name, if you don’t need to change, just press Enter. Note: Capital letters cannot be used here, so I changed the name to vueclitest
- Project description: Project description, the default is A Vue.js project, just press Enter, no need to write.
- Author: Author, if you have configured git author, he will read it.
- Install vue-router? Do you want to install vue's routing plug-in? We need to install it here, so choose Y
- Use ESLint to lint your code? Do you want to use ESLint to limit your code errors and style? . We do not need to enter n here (recommendation). If you are developing in a large team, it is best to configure it.
- setup unit tests with Karma Mocha? Do you need to install the unit testing tool Karma Mocha? We don’t need it here, so enter n.
- Setup e2e tests with Nightwatch? Do you want to install e2e for user behavior simulation testing? We don’t need it here, so enter n
When running the initialization command, the user will be asked to enter a few Basic configuration options, such as project name, project description, and author information. For information that you don’t understand or don’t want to fill in, you can just press Enter to fill it in. After a while, the project will be created successfully, as shown below:
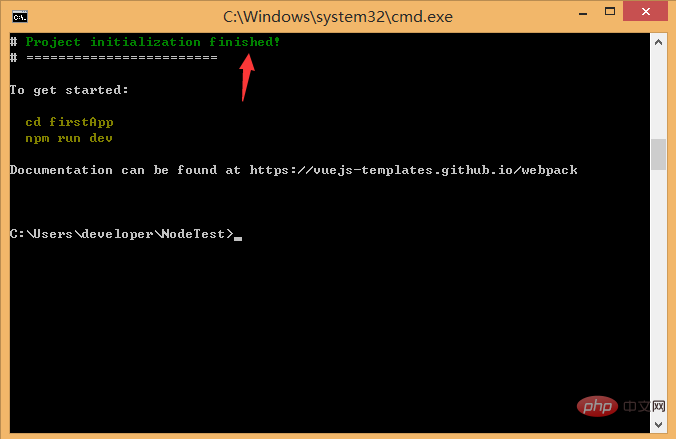
Next, we go to the NoteTest directory to see if the file has been created:
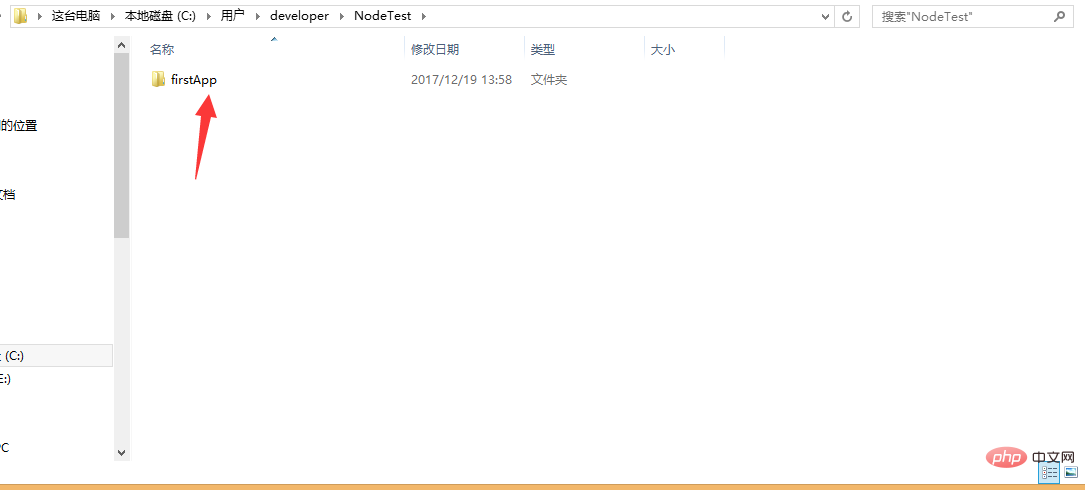
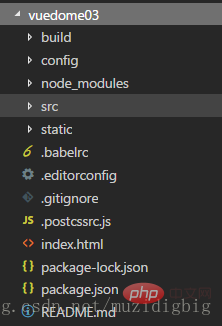
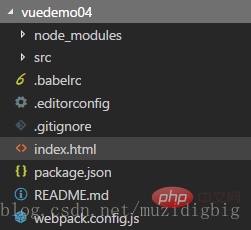
Open the firstApp project, in the project The directory is as follows:

Let’s introduce the directory and its function:
Build: The storage location of the final released code.
config: configure the path, port number and other information. When we first started learning, we chose the default configuration.
node_modules: Various dependent modules required by the project loaded by npm.
src: This is the main directory (source code) for our development. Basically everything we need to do is in this directory, which contains several directories and files:
assets: Place some Pictures, such as logos, etc.
components: The directory contains component files one by one
router/index.js: Where to configure routing
App.vue: Project For entry components (with components), we can also write components here instead of using the components directory. The main function is to connect our own defined components with the page for rendering. The
Main.js: The core file of the project (the entry js of the entire project) introduces dependency packages, default page styles, etc. (an app.js file will be formed in index.html after the project is run).
static: Static resource directory, such as pictures, fonts, etc.
test: initial test directory, can be deleted
.XXXX file: configuration file.
Index.html: The entry page of a single HTML page. You can add some meta information or statistics code or page reset style, etc.
Package.json: Project configuration information file/version information of the development package it depends on and plug-in information it depends on.
README.md: Project description file.
Webpack.config.js: The configuration file of webpack, which packages .vue files into files that the browser can read.
.babelrc: It is the configuration of the file that detects es6 syntax
.getignore: Ignore the configuration of the file (such as simulating local data mock and not allowing it to be submitted/packaged in get Ignore it when going online. If you don’t use it, you can configure it here)
.postcssrc.js: Prefix configuration
.eslintrc.js: Configure eslint syntax rules (configure it in the rules attribute) Which grammar rule is invalid)
.eslintignore: Ignore eslint’s check of the grammar rules of certain files in the project
This is the directory structure of the entire project, among which, we mainly Make modifications in the src directory (modular development). This project is still just a structural framework, and all the dependent resources required for the entire project have not been installed yet.
cd project name; enter the project
Install the dependency packages/plug-ins required for the project (viewable in package.json): execute cnpm install (npm may There is a warning. You can use cnpm instead of npm here. To run other people's code, you need to install dependencies first)If no error is reported when creating the project, this step can be omitted. If an error is reported, cd to the project and run cnpm install / npm install
#If you get other people's projects or projects downloaded from gethub, the first step is to cnpm install; download in the project Plug-ins that the project depends on, and then npm run dev to run the project
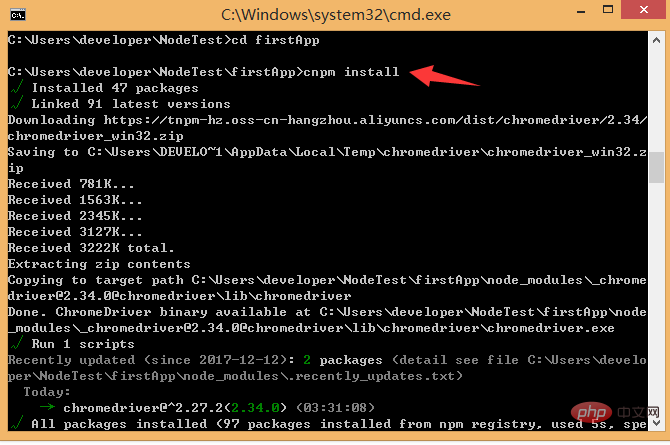
After the installation is completed, we go to our own project to see that there will be an additional node_modules folder. Here are the dependency package resources we need.
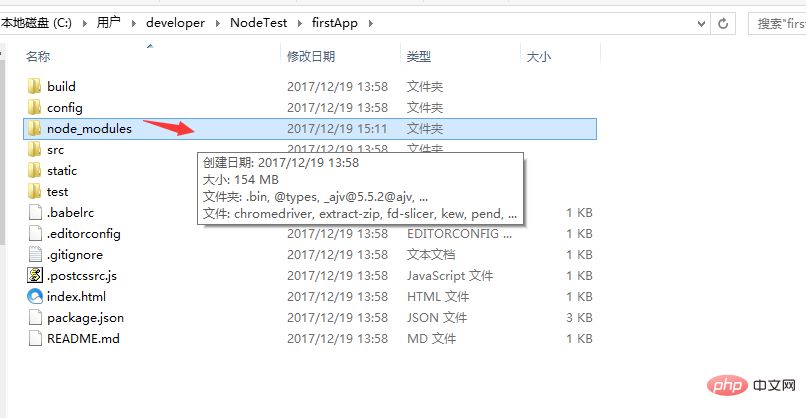
After installing the dependent package resources, we can run the entire project.
Run the project
In the project directory, run the command npm run dev (npm run start), you will use Run our application with hot loading. Hot loading allows us to see the modified effect in real time without manually refreshing the browser after modifying the code.
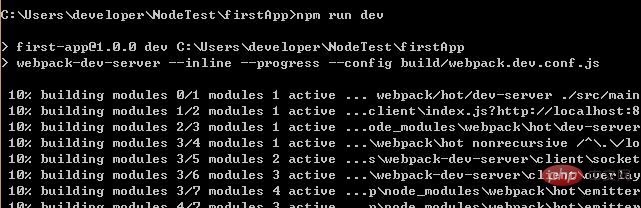
After the project is started, enter the address after the project is started in the browser:
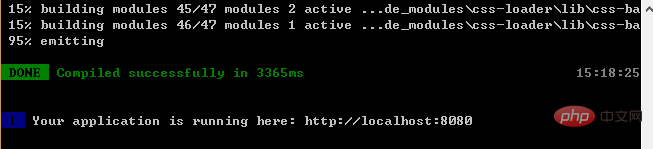
It will be displayed in the browser The vue logo appears:
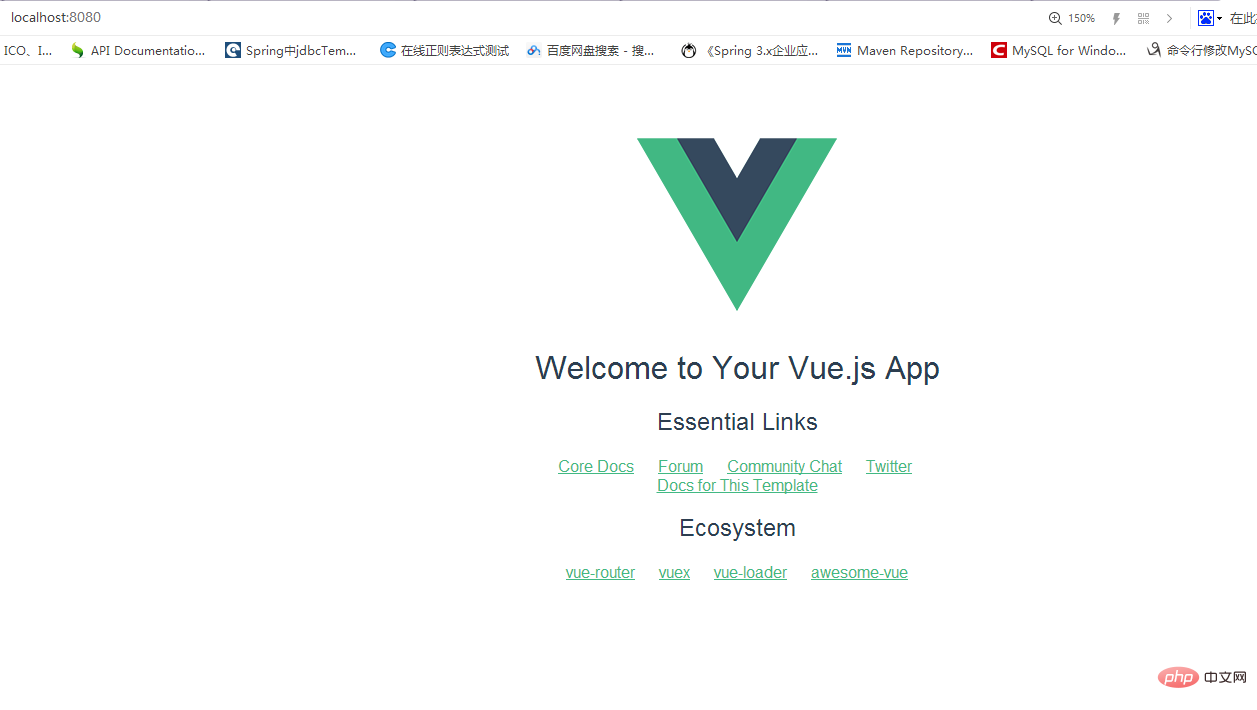
At this point, the three installation methods of vue have been introduced.
After the project is completed, enter the packaging command: cnpm run build; a dist file will be generated, which is our packaging file. If you click on the .html file to run it, it will be successful.
1. Build the development environment of vue (outline)
- Must install node.js
- Build the development environment of vue, install the scaffolding tool of vue Official command line Tool
npm install - -global vue-cli
3. Create the project You must cd into the corresponding project
vue init webpack vue-demo01
cd vue-demo01
cnpm install / npm install If no error is reported when creating the project, this step can be omitted. If an error is reported, cd to the project and run cnpm install / npm install
npm run dev/npm run start
4. Another way to create projects for small and medium-sized projects (recommended) ***
vue init webpack-simple vuedemo02
cd vuedemo02
cnpm install / npm install
npm run dev
After getting someone else’s project and it cannot run normally, see if there is a node_modules file (all of the project dependencies), if there is no cd to the project to install the project dependencies: cnpm install/npm install
2. Upgrade: vue-cli3.0
1. Use vue-cli3.0
- The package name of Vue CLI has been changed from vue-cli to @vue/cli
- If you have installed the old version of vue-cli (3.0 globally) below), you need to uninstall it first via npm uninstall vue-cli -g/yarn global remove vue-cli.
- Node.js8.9
- Install vue3.0 npm install -g @vue/cli or yarn global add @vue/cli
- Is the version 3.x vue --version/vue -V
- Create project through vue-cli
- Create project command
vue create project name; It is not recommended that the project name be in uppercase letters, separated by -
At this time, you need to pay attention to the plug-ins that need to be pre-installed to create the project:
The default will be Babel ESLint; but it is not recommended By default, the following is selected:

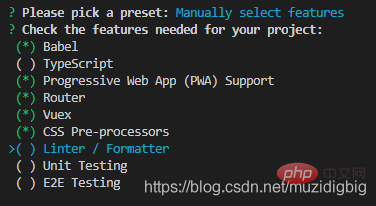
##? Check the features needed for your project: (Pressto select, to toggle all, to invert selection) >( ) Babel //Transcoder can convert ES6 code to ES5 code so that it can be executed in the existing environment.
( ) TypeScript// TypeScript is a superset (suffix .ts) of JavaScript (suffix .js) that includes and extends the syntax of JavaScript. It needs to be compiled and output as JavaScript to run in the browser. Currently, few people use it.
( ) Progressive Web App (PWA) Support// Progressive Web Application
( ) Router // vue-router (vue routing)
( ) Vuex // vuex (vue’s state management mode)
( ) CSS Pre-processors // CSS preprocessors (such as: less, sass)
( ) Linter / Formatter // Code style checking and formatting (such as: ESlint)
( ) Unit Testing // Unit tests (unit tests)
( ) E2E Testing // e2e (end to end) Testing
After reading so many vue.js installation methods, let’s summarize. If you have any questions, please give me some advice! Hope it helps! For more programming-related knowledge, please visit:
Programming Teaching! !
The above is the detailed content of A brief discussion on three ways to install vue.js. For more information, please follow other related articles on the PHP Chinese website!

Hot AI Tools

Undresser.AI Undress
AI-powered app for creating realistic nude photos

AI Clothes Remover
Online AI tool for removing clothes from photos.

Undress AI Tool
Undress images for free

Clothoff.io
AI clothes remover

Video Face Swap
Swap faces in any video effortlessly with our completely free AI face swap tool!

Hot Article
Hot Tools

Notepad++7.3.1
Easy-to-use and free code editor

SublimeText3 Chinese version
Chinese version, very easy to use

Zend Studio 13.0.1
Powerful PHP integrated development environment

Dreamweaver CS6
Visual web development tools

SublimeText3 Mac version
God-level code editing software (SublimeText3)
Hot Topics
 1386
1386
 52
52

 In-depth discussion of how vite parses .env files
Jan 24, 2023 am 05:30 AM
In-depth discussion of how vite parses .env files
Jan 24, 2023 am 05:30 AM
When using the Vue framework to develop front-end projects, we will deploy multiple environments when deploying. Often the interface domain names called by development, testing and online environments are different. How can we make the distinction? That is using environment variables and patterns.
 Detailed graphic explanation of how to integrate the Ace code editor in a Vue project
Apr 24, 2023 am 10:52 AM
Detailed graphic explanation of how to integrate the Ace code editor in a Vue project
Apr 24, 2023 am 10:52 AM
Ace is an embeddable code editor written in JavaScript. It matches the functionality and performance of native editors like Sublime, Vim, and TextMate. It can be easily embedded into any web page and JavaScript application. Ace is maintained as the main editor for the Cloud9 IDE and is the successor to the Mozilla Skywriter (Bespin) project.
 What is the difference between componentization and modularization in vue
Dec 15, 2022 pm 12:54 PM
What is the difference between componentization and modularization in vue
Dec 15, 2022 pm 12:54 PM
The difference between componentization and modularization: Modularization is divided from the perspective of code logic; it facilitates code layered development and ensures that the functions of each functional module are consistent. Componentization is planning from the perspective of UI interface; componentization of the front end facilitates the reuse of UI components.
 Let's talk in depth about reactive() in vue3
Jan 06, 2023 pm 09:21 PM
Let's talk in depth about reactive() in vue3
Jan 06, 2023 pm 09:21 PM
Foreword: In the development of vue3, reactive provides a method to implement responsive data. This is a frequently used API in daily development. In this article, the author will explore its internal operating mechanism.
 Explore how to write unit tests in Vue3
Apr 25, 2023 pm 07:41 PM
Explore how to write unit tests in Vue3
Apr 25, 2023 pm 07:41 PM
Vue.js has become a very popular framework in front-end development today. As Vue.js continues to evolve, unit testing is becoming more and more important. Today we’ll explore how to write unit tests in Vue.js 3 and provide some best practices and common problems and solutions.
 A brief analysis of how to handle exceptions in Vue3 dynamic components
Dec 02, 2022 pm 09:11 PM
A brief analysis of how to handle exceptions in Vue3 dynamic components
Dec 02, 2022 pm 09:11 PM
How to handle exceptions in Vue3 dynamic components? The following article will talk about Vue3 dynamic component exception handling methods. I hope it will be helpful to everyone!
 A simple comparison of JSX syntax and template syntax in Vue (analysis of advantages and disadvantages)
Mar 23, 2023 pm 07:53 PM
A simple comparison of JSX syntax and template syntax in Vue (analysis of advantages and disadvantages)
Mar 23, 2023 pm 07:53 PM
In Vue.js, developers can use two different syntaxes to create user interfaces: JSX syntax and template syntax. Both syntaxes have their own advantages and disadvantages. Let’s discuss their differences, advantages and disadvantages.
 Analyze the principle of Vue2 implementing composition API
Jan 13, 2023 am 08:30 AM
Analyze the principle of Vue2 implementing composition API
Jan 13, 2023 am 08:30 AM
Since the release of Vue3, the word composition API has entered the field of vision of students who write Vue. I believe everyone has always heard how much better the composition API is than the previous options API. Now, due to the release of the @vue/composition-api plug-in, Vue2 Students can also get on the bus. Next, we will mainly use responsive ref and reactive to conduct an in-depth analysis of how this plug-in achieves this.
