How to create a clipping mask in PS
Method: 1. Create a new blank document in PS software; 2. Create a new transparent layer 1 in the layer panel; 3. Use the "Pattern Tool" to draw a pattern in layer 1; 4. , click "Place" in the file menu to place a picture into the document; 5. Select the picture layer in the layer panel and use "Ctrl Alt G" to create a clipping mask.

The operating environment of this tutorial: Windows 7 system, Adobe Photoshop CS6 version, Dell G3 computer.
How to create a clipping mask in ps
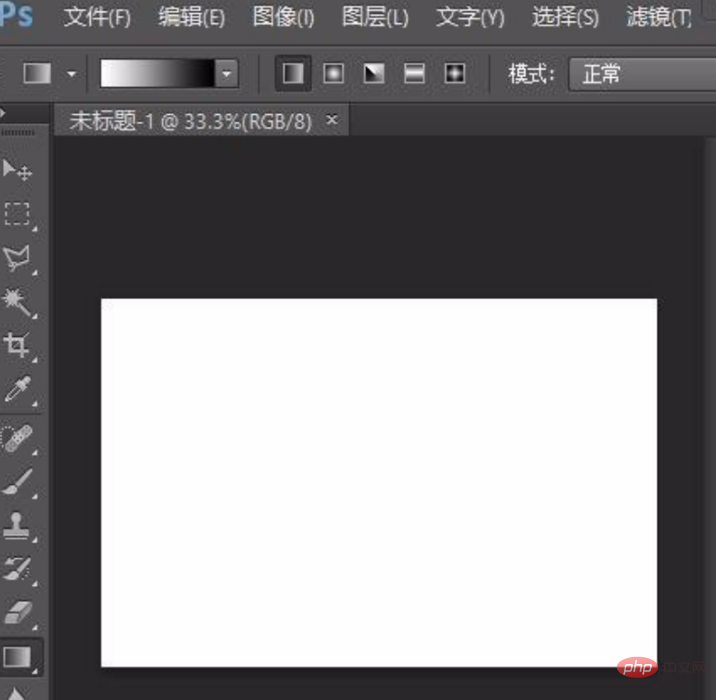
1. First open the PS software, click the File menu, and create a new blank document.

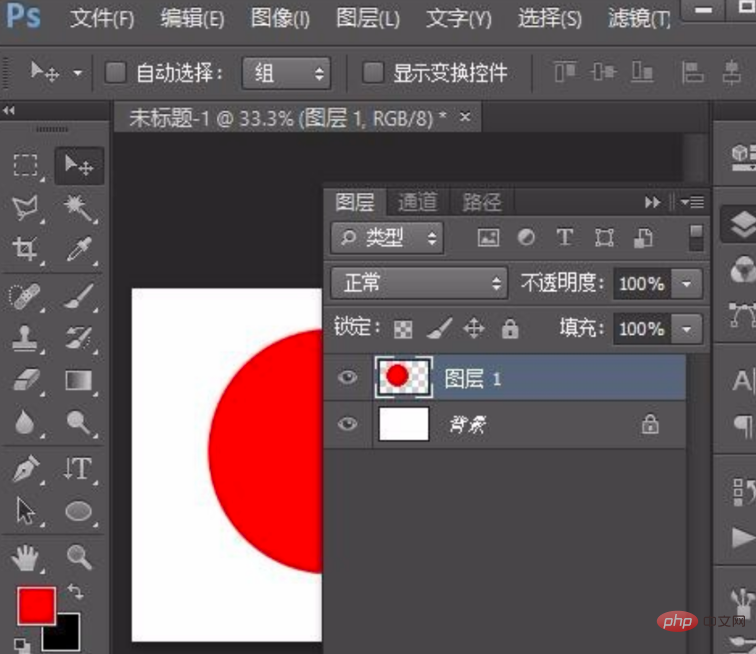
#2. Next, click the layers panel on the right, click the New Layer button at the bottom of the layers panel, and create a new layer 1.

3. Select a foreground color from the left toolbar, select the Ellipse tool, and select pixels on the left side of the property bar above,

4. Hold down the Shift key and draw a perfect circle in layer 1. The Shift key is used to maintain proportion, whether you are drawing a square or an equilateral triangle, press this key.

5. Next, click Place in the File menu. The Place dialog box will pop up. Select a picture to insert into the document and adjust the size of the picture. and location.

#6. Right-click the picture layer in the layers panel and select Create Clipping Mask, or press the shortcut Ctrl Alt G.

The above is the detailed content of How to create a clipping mask in PS. For more information, please follow other related articles on the PHP Chinese website!

Hot AI Tools

Undresser.AI Undress
AI-powered app for creating realistic nude photos

AI Clothes Remover
Online AI tool for removing clothes from photos.

Undress AI Tool
Undress images for free

Clothoff.io
AI clothes remover

AI Hentai Generator
Generate AI Hentai for free.

Hot Article

Hot Tools

Notepad++7.3.1
Easy-to-use and free code editor

SublimeText3 Chinese version
Chinese version, very easy to use

Zend Studio 13.0.1
Powerful PHP integrated development environment

Dreamweaver CS6
Visual web development tools

SublimeText3 Mac version
God-level code editing software (SublimeText3)

Hot Topics
 ps serial number cs5 permanently free 2020
Jul 13, 2023 am 10:06 AM
PS serial numbers cs5 permanent free 2020 include: 1. 1330-1384-7388-4265-2355-8589 (Chinese); 2. 1330-1409-7892-5799-0412-7680 (Chinese); 3. 1330-1616-1993 -8375-9492-6951 (Chinese); 4. 1330-1971-2669-5043-0398-7801 (Chinese), etc.
 How to delete selected area in ps
Aug 07, 2023 pm 01:46 PM
Steps to delete the selected area in PS: 1. Open the picture you want to edit; 2. Use the appropriate tool to create a selection; 3. You can use a variety of methods to delete the content in the selection, use the "Delete" key, use the "Healing Brush Tool" , use "Content-Aware Fill", use the "Stamp Tool", etc.; 4. Use tools to repair any obvious traces or defects to make the picture look more natural; 5. After completing editing, click "File" > in the menu bar "Save" to save the editing results.
 What to do if ps installation cannot write registry value error 160
Mar 22, 2023 pm 02:33 PM
Solution to error 160 when ps installation cannot write registry value: 1. Check whether there is 2345 software on the computer, and if so, uninstall the software; 2. Press "Win+R" and enter "Regedit" to open the system registry, and then Find "Photoshop.exe" and delete the Photoshop item.
 What should I do if the PS interface font is too small?
Dec 01, 2022 am 11:31 AM
How to fix the PS interface font that is too small: 1. Open PS, click the "Edit" button on the top menu bar of PS to expand the editing menu; 2. Click the "Preferences" button in the expanded editing menu, and then click "Interface. .." button; 3. In the interface settings, set the user interface font size to "Large", set the UI scaling to "200%" and save the settings, then restart PS to take effect.
 Introduction to the process of extracting line drawings in PS
Apr 01, 2024 pm 12:51 PM
1. Open the software and import a piece of material, as shown in the picture below. 2. Then ctrl+shift+u to remove color. 3. Then press ctrl+J to copy the layer. 4. Then reverse ctrl+I, and then set the layer blending mode to Color Dodge. 5. Click Filter--Others--Minimum. 6. In the pop-up dialog box, set the radius to 2 and click OK. 7. Finally, you can see the line draft extracted.
 How to automate tasks using PowerShell
Feb 20, 2024 pm 01:51 PM
If you are an IT administrator or technology expert, you must be aware of the importance of automation. Especially for Windows users, Microsoft PowerShell is one of the best automation tools. Microsoft offers a variety of tools for your automation needs, without the need to install third-party applications. This guide will detail how to leverage PowerShell to automate tasks. What is a PowerShell script? If you have experience using PowerShell, you may have used commands to configure your operating system. A script is a collection of these commands in a .ps1 file. .ps1 files contain scripts executed by PowerShell, such as basic Get-Help
 Complete list of ps shortcut keys
Mar 11, 2024 pm 04:31 PM
1. Ctrl + N: Create a new document. 2. Ctrl + O: Open a file. 3. Ctrl + S: Save the current file. 4. Ctrl + Shift + S: Save as. 5. Ctrl + W: Close the current document. 6. Ctrl + Q: Exit Photoshop. 7. Ctrl + Z: Undo. 8. Ctrl + Y: Redo. 9. Ctrl + X: Cut the selected content. 10. Ctrl + C: Copy the selected content.
 Cannot use PS shortcut keys to fill
Feb 19, 2024 am 09:18 AM
With the development of the digital age, image processing software has become an indispensable part of our life and work. Among them, Photoshop (PS for short) developed by Adobe is one of the most famous image processing software. It has powerful functions and flexible operation, and is deeply loved by users. However, when using PS, some users reported that the shortcut key "Fill" cannot be used normally, which brings troubles to the user experience. Shortcut keys are a quick operation method provided in the software to avoid tedious mouse click operations.


