How to realize automatic filling of word serial numbers: first click on the numbering to define a new numbering format and enter the numbering format; then right-click to open the adjustment list indentation; then set the text indentation to 0 cm; finally in Click "Insert" below in the layout to add rows and the serial number will be added automatically.

The operating environment of this article: Windows 7 system, Microsoft Office Word 2010 version, Dell G3 computer.
How to realize automatic filling of word serial numbers:
1. As shown in the figure, select the blank cell in the serial number column - HOME - click Edit Down Arrow - Click to define a new numbering format.

#2. Then enter in the numbering format: 1 - Alignment selection: Center - click OK.
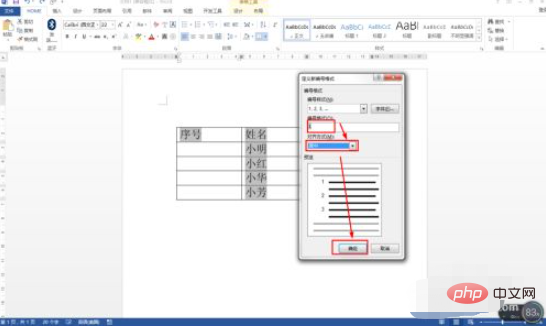
#3. Click on the first number 1 - then right-click - select: Adjust list indentation.

#4. Then set the text indent to 0 cm - after the number, select: No special marking - click OK.

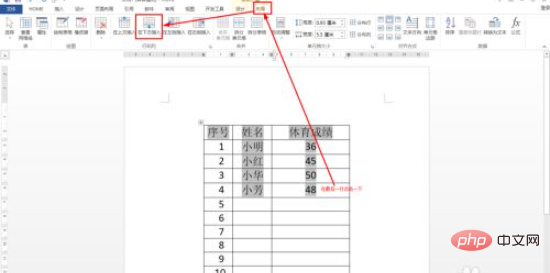
5. Click once on the last row - click Layout - click on the rows and columns: Insert below - click a few more times to insert multiple rows, like this Newly inserted rows will also have their sequence numbers automatically filled in.
#6. Finally, you can press Ctrl S at the same time to save or click the save icon in the upper right corner to save quickly.

Related learning recommendations: Word novice tutorial
The above is the detailed content of How to automatically fill word serial number. For more information, please follow other related articles on the PHP Chinese website!
 How to change word background color to white
 How to delete the last blank page in word
 Why can't I delete the last blank page in word?
 Word single page changes paper orientation
 word to ppt
 Word page number starts from the third page as 1 tutorial
 Tutorial on merging multiple words into one word
 word insert table


