How to implement image layout in html
Methods to implement image layout in HTML: 1. Create a new file and create a box; 2. Set up image boxes and use p tags to distinguish paragraphs; 3. Create style to modify content; 4. Save the file Preview the effect in the browser.
The operating environment of this tutorial: windows7 system, html5&&Adobe Dreamweaver cc2020 version, DELL G3 computer.
Methods to implement image layout in HTML:
1. Before typing the code, first think about the structure, and finally draw a structure on paper. In this example, it can be divided into three parts as a whole, the upper and left parts, the top is the title bar, the left side below can be placed with pictures, and the right side is text matching.
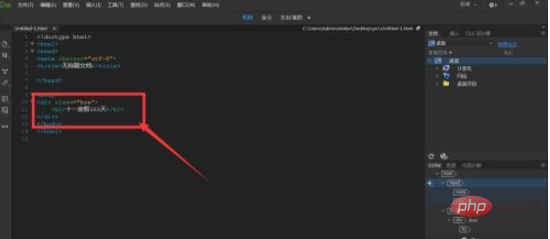
Then we open DW, create a new HTML file, and then create a large box under the body tag. Give the big box containing the three parts a class name of box; then add the title bar of the first row Represent it as h1
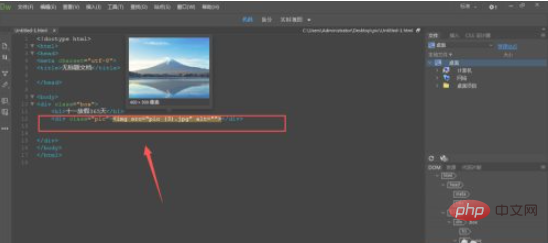
2. Then set a picture box in the left column with the class name pic, and then insert the picture img under the label
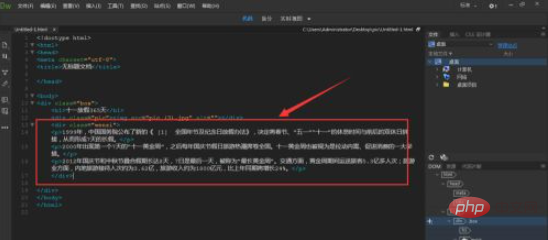
3. The text is on the right side. It is set in a separate box. The paragraphs inside can be distinguished by p tags.
4. After completing the content, start creating style-modified content under the head tag. First, set a width for the overall box, and then align it in the center
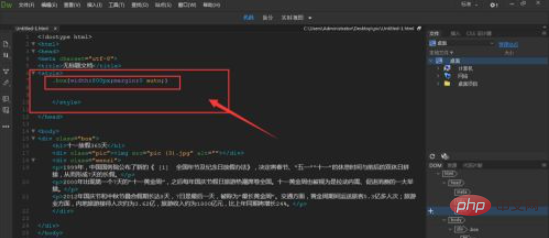
5. Title bar text , basically don’t need to move, you can add a link to it or change the font color; then set the fixed width and height of the image, and float it to the left
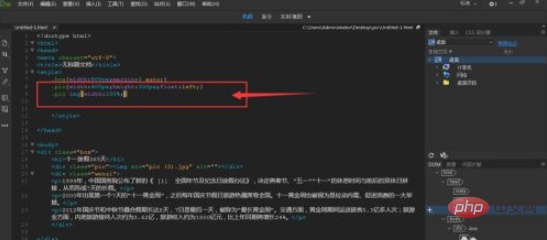
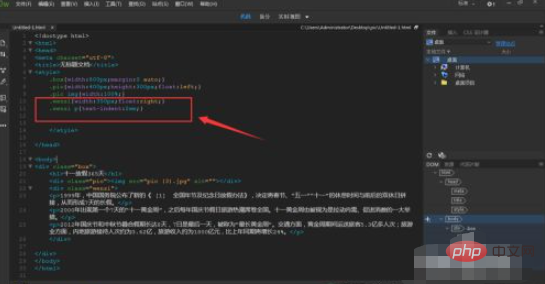
6, Then modify the text on the right, float it to the right, and then save the file to preview the effect in the browser.
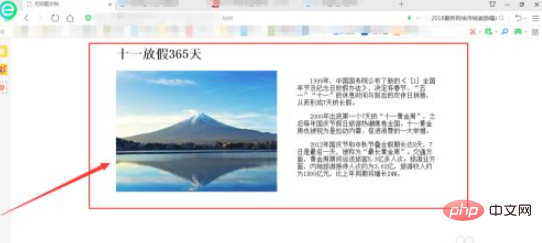
#7. As shown in the figure, the effect after previewing in the browser. In practical applications, it may be necessary to clear floating objects.
Related learning recommendations: html tutorial
The above is the detailed content of How to implement image layout in html. For more information, please follow other related articles on the PHP Chinese website!

Hot AI Tools

Undresser.AI Undress
AI-powered app for creating realistic nude photos

AI Clothes Remover
Online AI tool for removing clothes from photos.

Undress AI Tool
Undress images for free

Clothoff.io
AI clothes remover

Video Face Swap
Swap faces in any video effortlessly with our completely free AI face swap tool!

Hot Article

Hot Tools

Notepad++7.3.1
Easy-to-use and free code editor

SublimeText3 Chinese version
Chinese version, very easy to use

Zend Studio 13.0.1
Powerful PHP integrated development environment

Dreamweaver CS6
Visual web development tools

SublimeText3 Mac version
God-level code editing software (SublimeText3)

Hot Topics
 Table Border in HTML
Sep 04, 2024 pm 04:49 PM
Guide to Table Border in HTML. Here we discuss multiple ways for defining table-border with examples of the Table Border in HTML.
 Nested Table in HTML
Sep 04, 2024 pm 04:49 PM
This is a guide to Nested Table in HTML. Here we discuss how to create a table within the table along with the respective examples.
 HTML margin-left
Sep 04, 2024 pm 04:48 PM
Guide to HTML margin-left. Here we discuss a brief overview on HTML margin-left and its Examples along with its Code Implementation.
 HTML Table Layout
Sep 04, 2024 pm 04:54 PM
Guide to HTML Table Layout. Here we discuss the Values of HTML Table Layout along with the examples and outputs n detail.
 HTML Input Placeholder
Sep 04, 2024 pm 04:54 PM
Guide to HTML Input Placeholder. Here we discuss the Examples of HTML Input Placeholder along with the codes and outputs.
 HTML Ordered List
Sep 04, 2024 pm 04:43 PM
Guide to the HTML Ordered List. Here we also discuss introduction of HTML Ordered list and types along with their example respectively
 Moving Text in HTML
Sep 04, 2024 pm 04:45 PM
Guide to Moving Text in HTML. Here we discuss an introduction, how marquee tag work with syntax and examples to implement.
 HTML onclick Button
Sep 04, 2024 pm 04:49 PM
Guide to HTML onclick Button. Here we discuss their introduction, working, examples and onclick Event in various events respectively.


