
Recommended (free): Git Getting Started
Article Directory
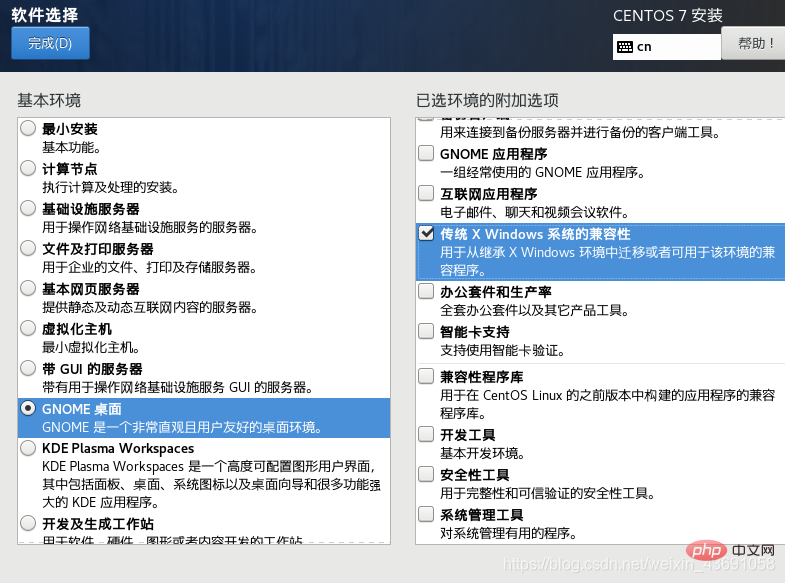
Download and install CentOS7
Click to jump to the CentOS7 download address and directly download the second CentOS-7-x86_64-DVD-2003.iso, the size is 4.5G , need to wait patiently. (It is not recommended to install the Gitlab server in the CentOS6 version)
The specific steps for installing CentOS7 have been discussed in the Linux series of articles and will not be introduced in detail here. 
After logging in to the system, use the cd /etc/sysconfig/network-scripts command to open the configuration file, then use ll | less to view the configuration, use Change the first file in the vim editor:
You can refer to the Linux network configuration to make this modification.
TYPE=Ethernet
PROXY_METHOD=none
BROWSER_ONLY=no
BOOTPROTO=static
DEFROUTE=yes
IPV4_FAILURE_FATAL=no
IPV6INIT=yes
IPV6_AUTOCONF=yes
IPV6_DEFROUTE=yes
IPV6_FAILURE_FATAL=no
IPV6_ADDR_GEN_MODE=stable-privacy
NAME=ens33
UUID=bc7cf8c9-c0f2-4089-9692-093efb65ba0c
DEVICE=ens33
ONBOOT=yes
IPADDR=192.168.217.131
GATEWAY=192.168.217.2
DNS1=192.168.217.2
Here you use the installation package to download: Gitlab's rmp package can be downloaded from the Gitlab official website. 
Download the gitlab rpm package and then use the Xftp tool to upload it to the Linux opt directory.
Install Gitlab
If you downloaded it according to the rpm package of gitlab-ce, then paste the following code into the Linux terminal Run:
sudo rpm -ivh /opt/gitlab-ce-10.8.2-ce.0.el7.x86_64.rpm
sudo yum install -y curl policycoreutils-python openssh-server cronie
sudo lokkit -s http -s ssh
sudo yum install postfix
sudo service postfix start
sudo chkconfig postfix on
curl https://packages.gitlab.com/install/repositories/gitlab/gitlab-ce/script.rpm.sh | sudo bash
sudo EXTERNAL_URL="http://gitlab.example.com" yum -y install gitlab-ce
Of course, if the VM virtual machine has not downloaded vmtool, it cannot be pasted. At this time, you can choose to use shell script to install: (Installation requires patience)
Step one: Create a file in the Linu terminal: vim install.sh
Step two: Paste the above installation command.
Step 3: Change to executable permissions: chmod 755 install.sh
Step 4: Execute the installation script: ./install.sh
Perform initial configuration: gitlab-ctl reconfigure
Start the gitlab service: gitlab-ctl start (The command to stop the gitlab service is: gitlab-ctl stop )
Reboot: reboot
Turn off the firewall after restarting: service firewalld stop
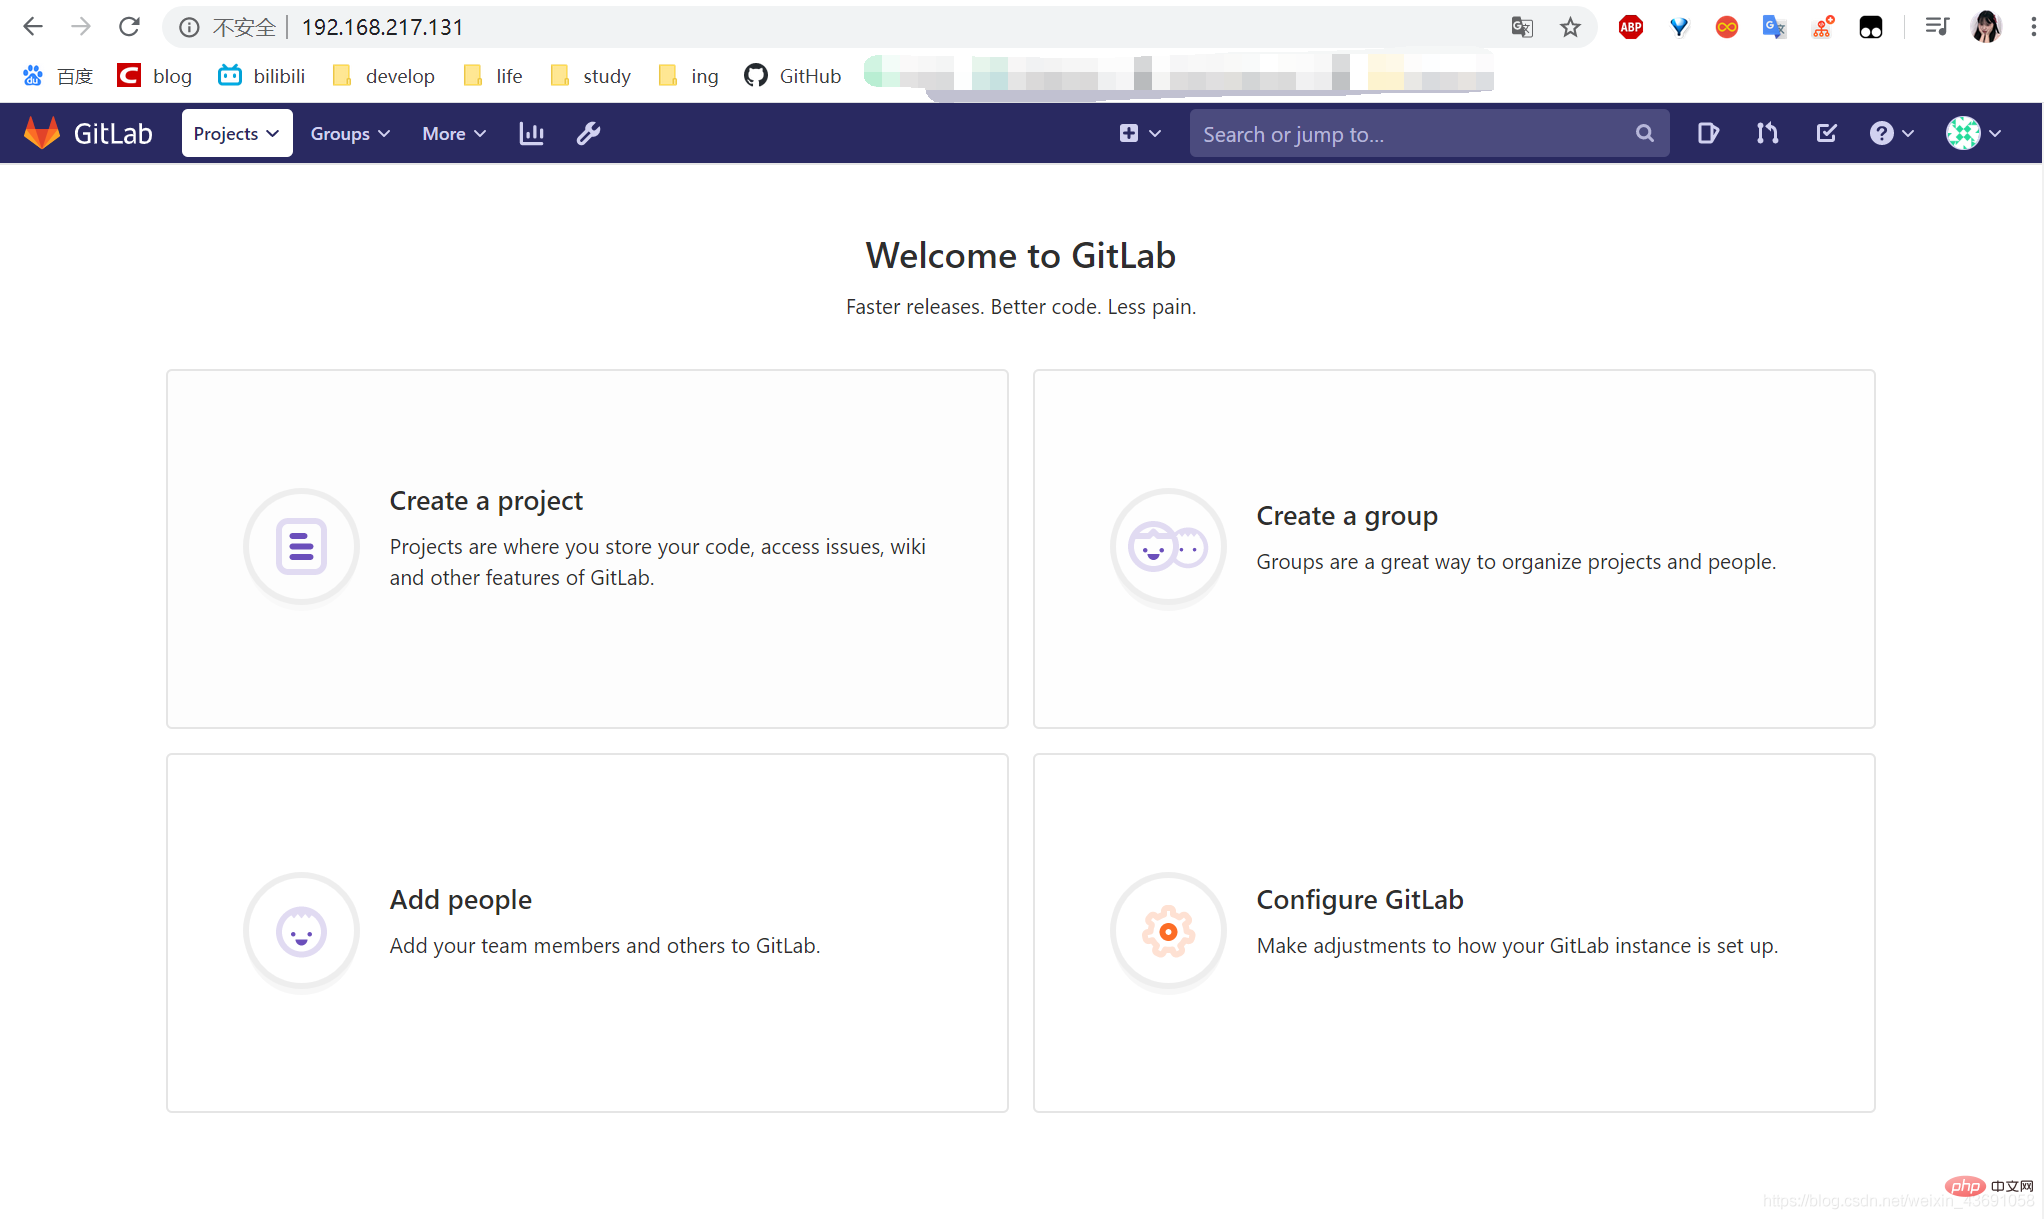
After all settings are completed , just access the Linux server IP address in a Windows browser, mine is 192.168.217.131. If you want to access the domain name specified by EXTERNAL_URL, you also need to configure a domain name server or local hosts file.

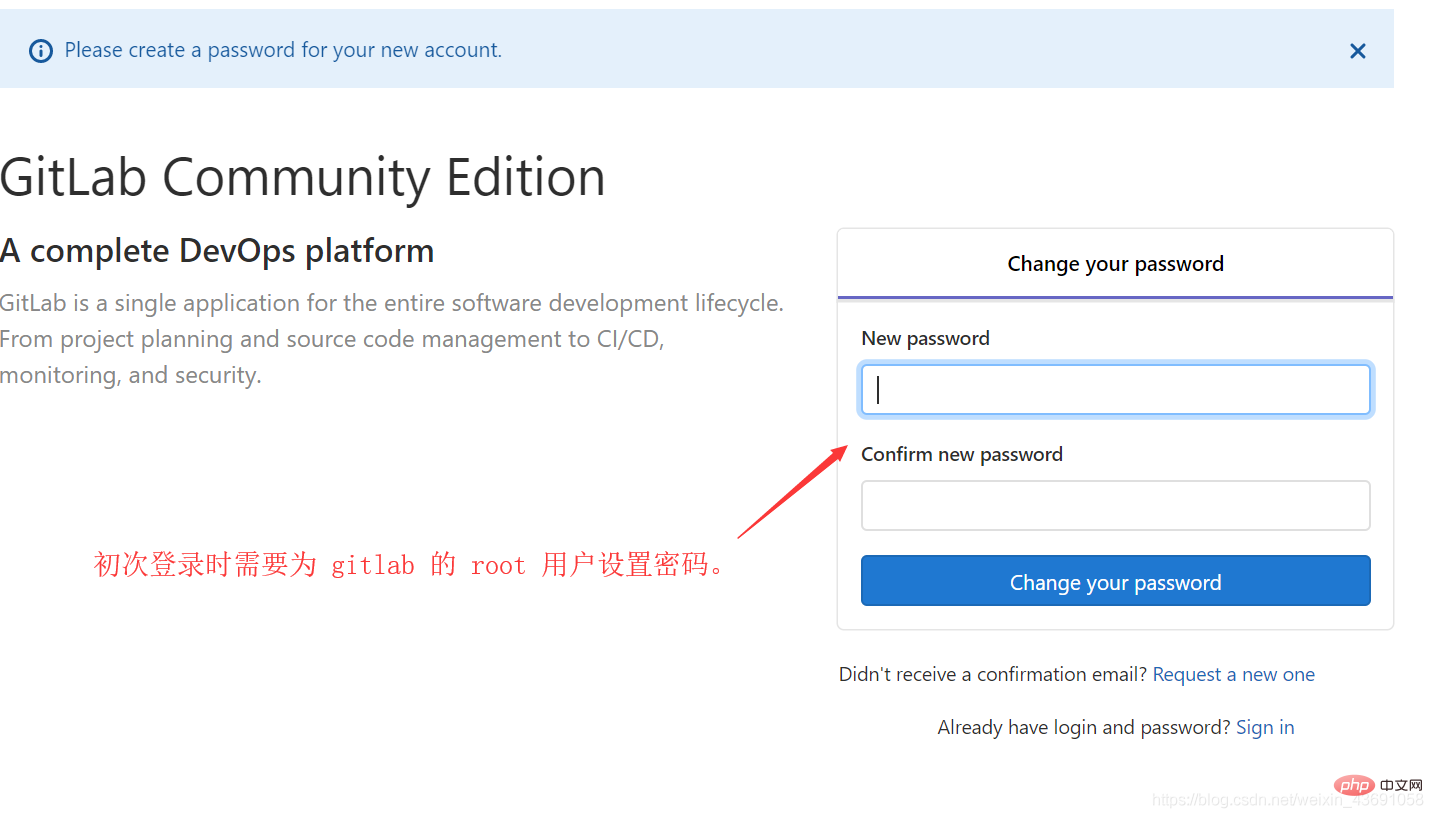
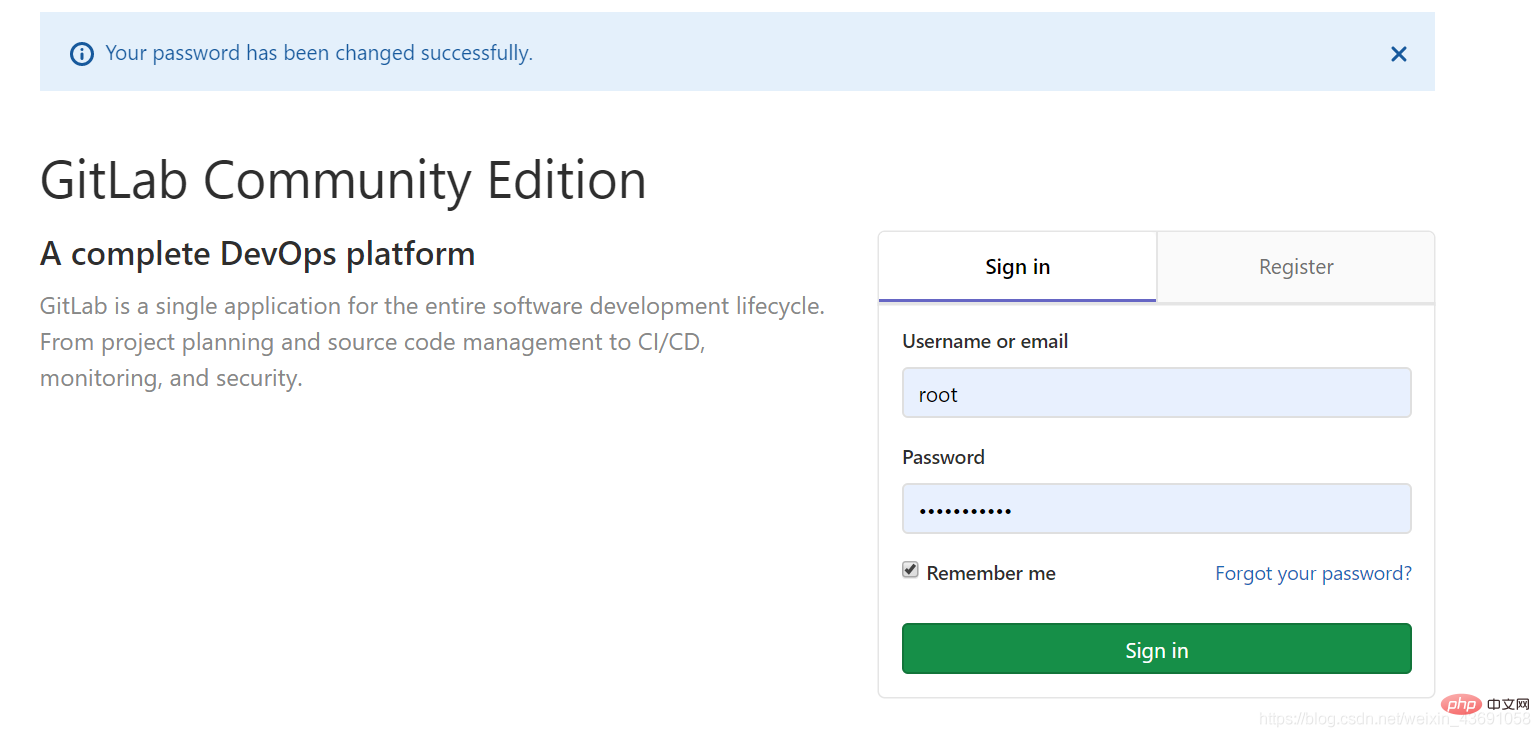
Set the root password and log in with the root account: 
At this time, the series of operations are not much different from GitHub, so no more details Demo. 
More related free learning recommendations: Git usage tutorial
The above is the detailed content of Introduction to Git&GitHub GitLab server environment construction. For more information, please follow other related articles on the PHP Chinese website!