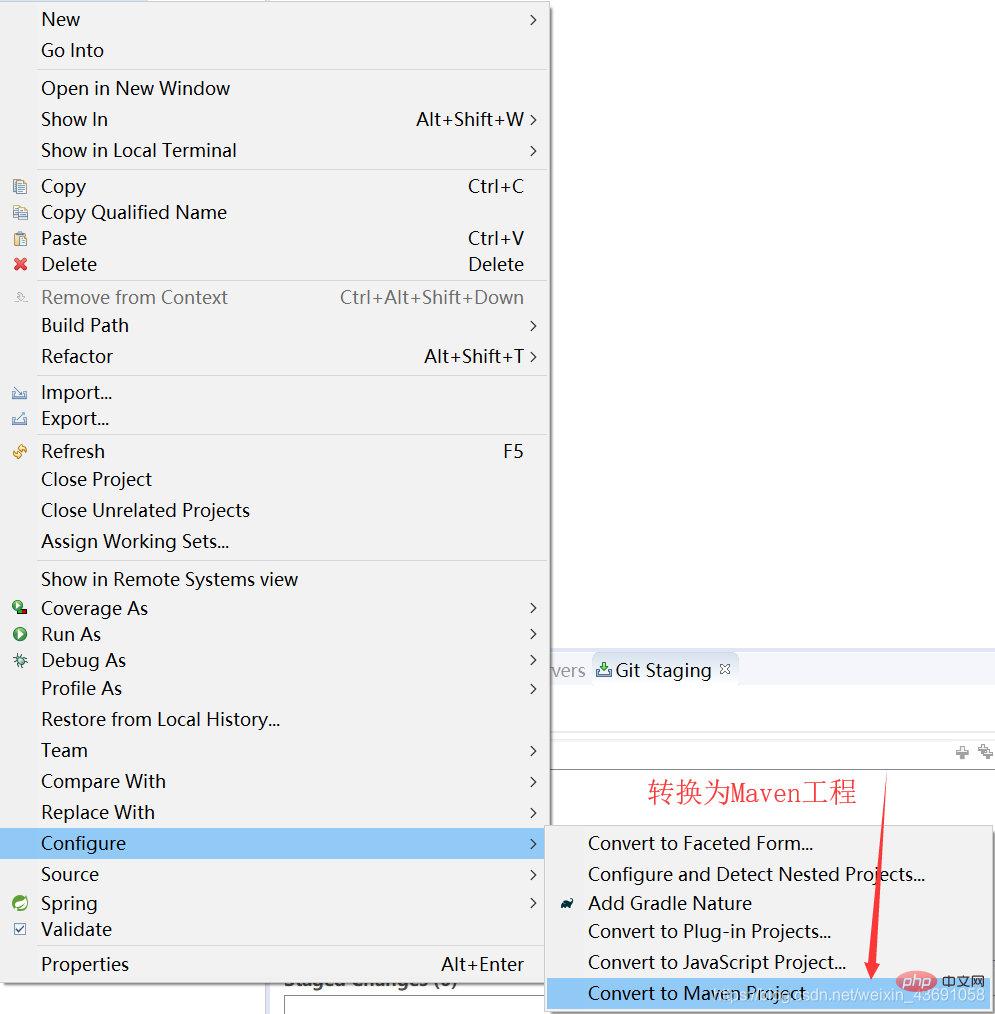
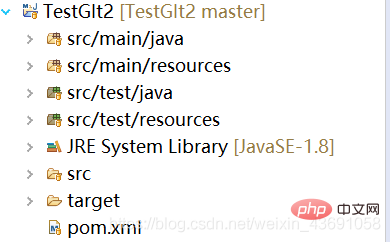
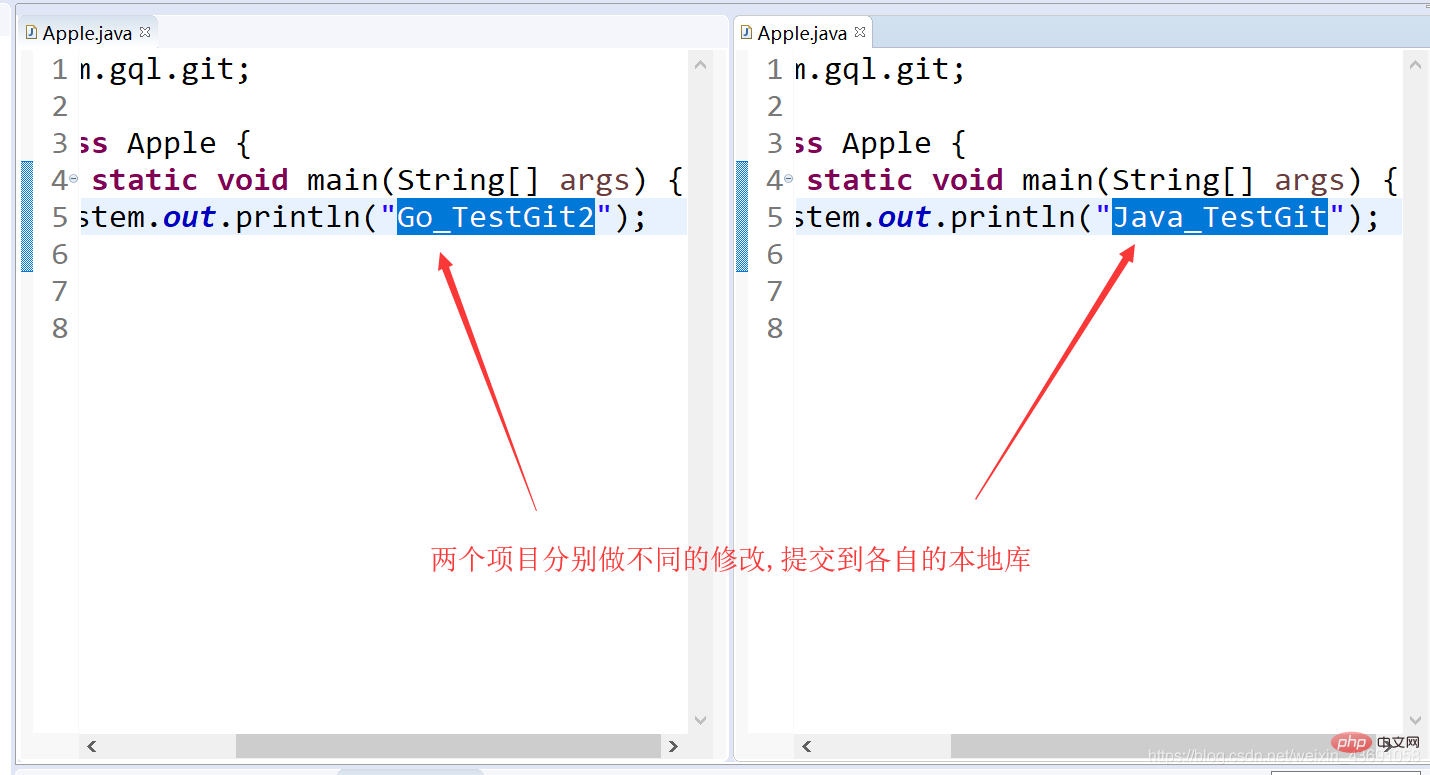
Git&GitHub graphical interface operation, use of Git plug-in in Eclipse

Recommended (free): Git Tutorial
##Article Directory
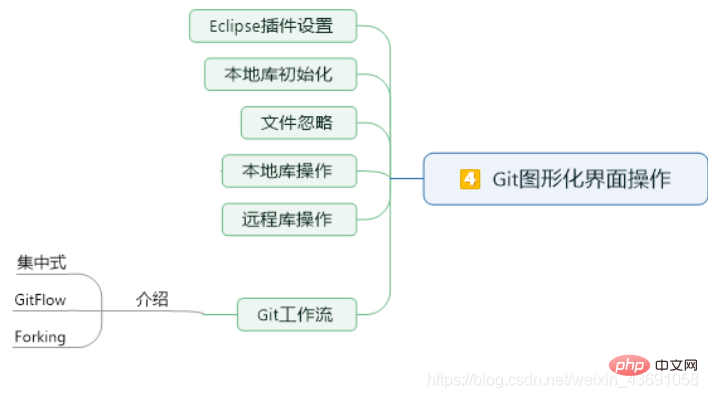
- Eclipse plug-in settings
- Eclipse initializes the local library
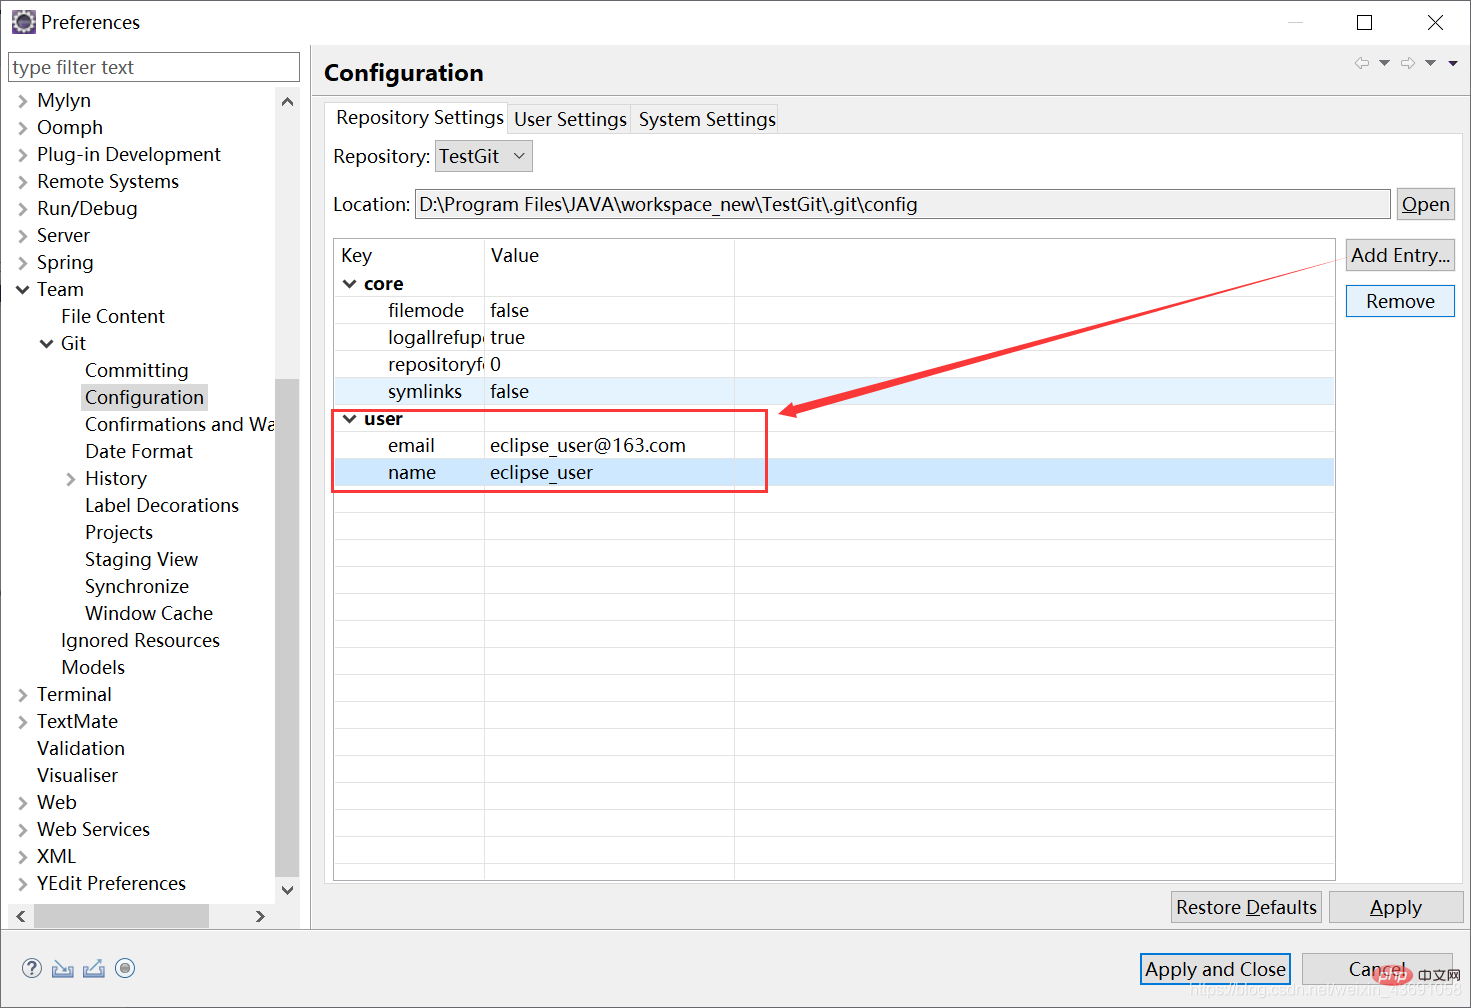
- Set the local library signature range in Eclipse
- Introduction to Git related icons in Eclipse
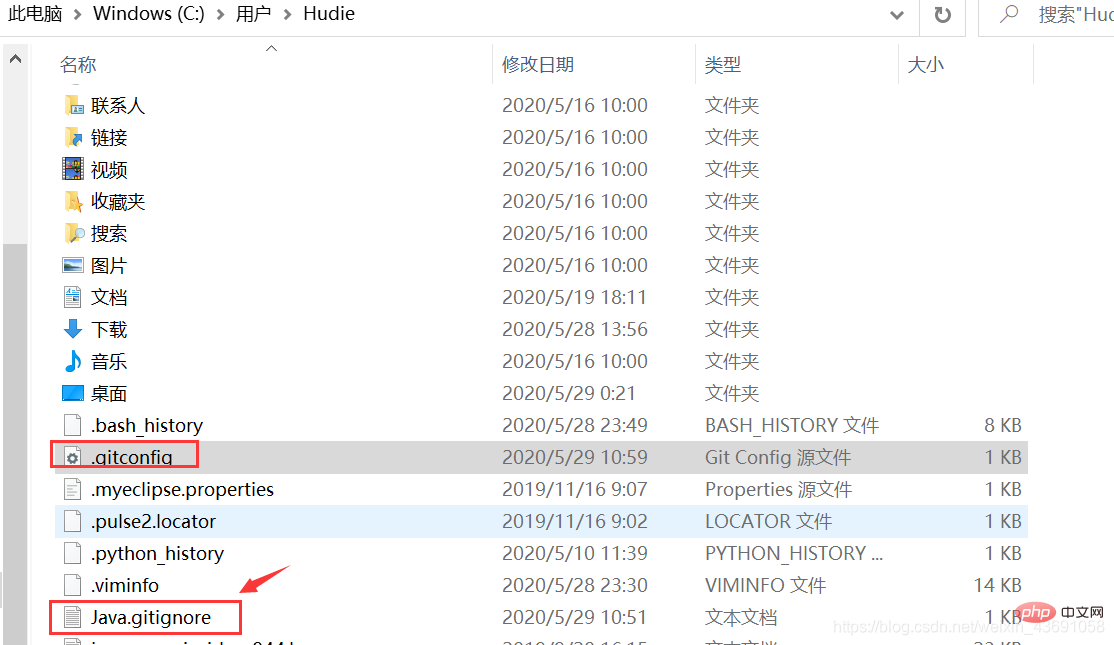
- Ignore specific files in Eclipse
- Basic operations of local libraries in Eclipse
- Push the local warehouse to the remote library
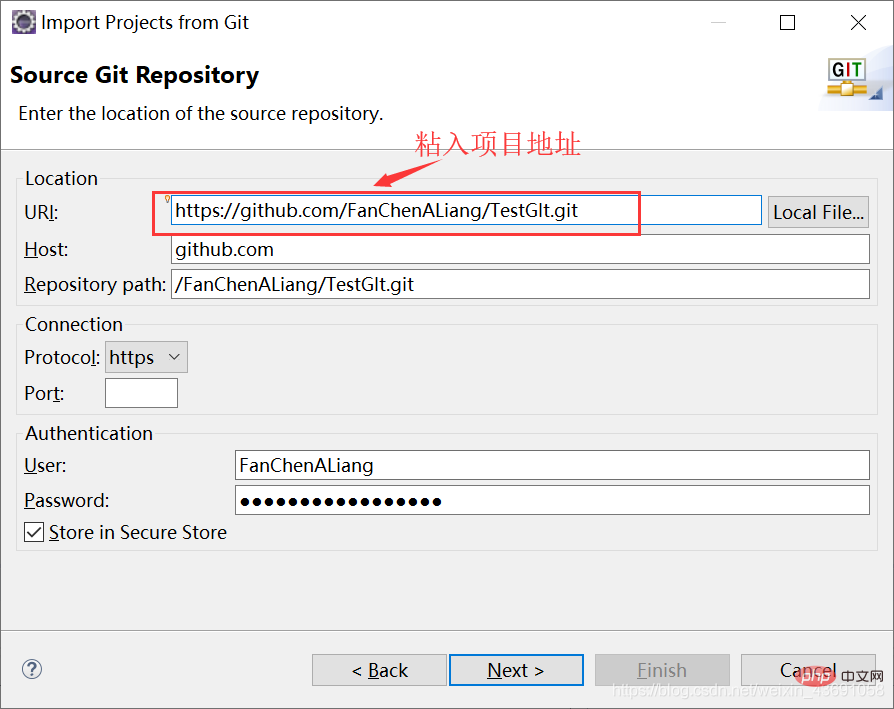
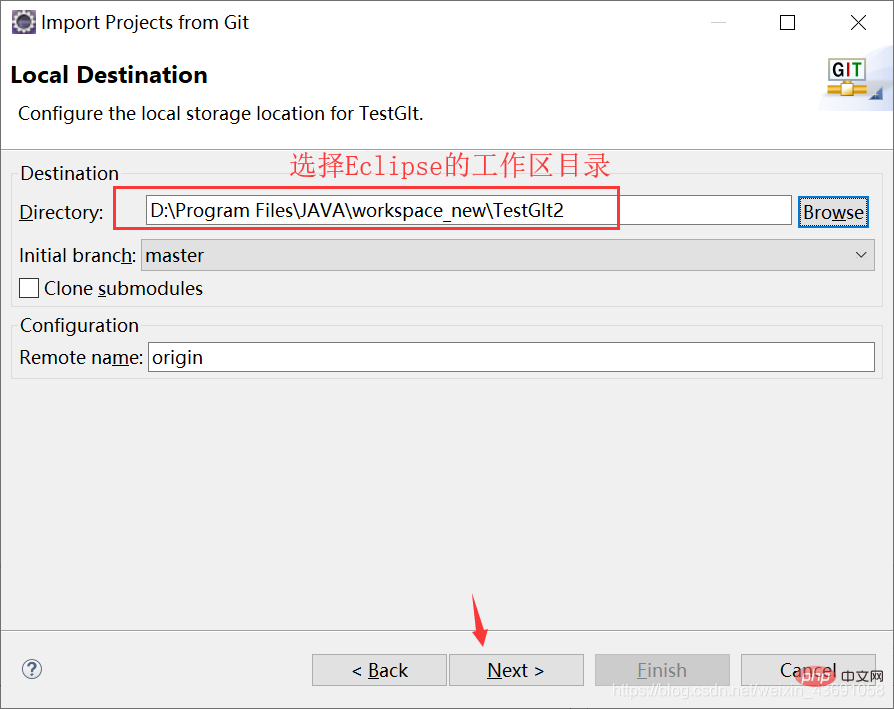
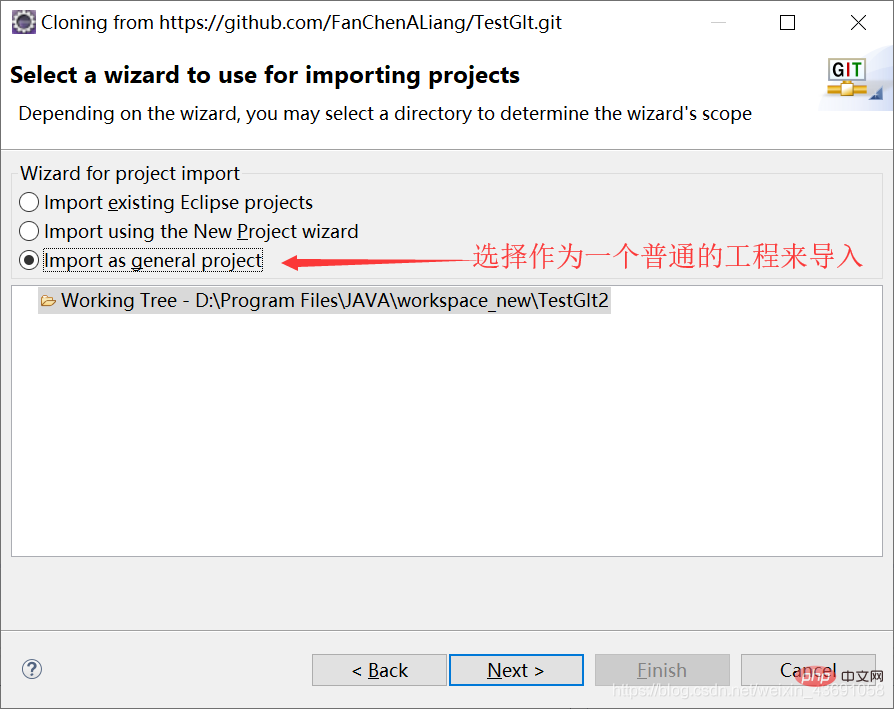
- Clone the project of the remote library to the local
- Resolving conflicts in Eclipse
Eclipse performs local library initialization
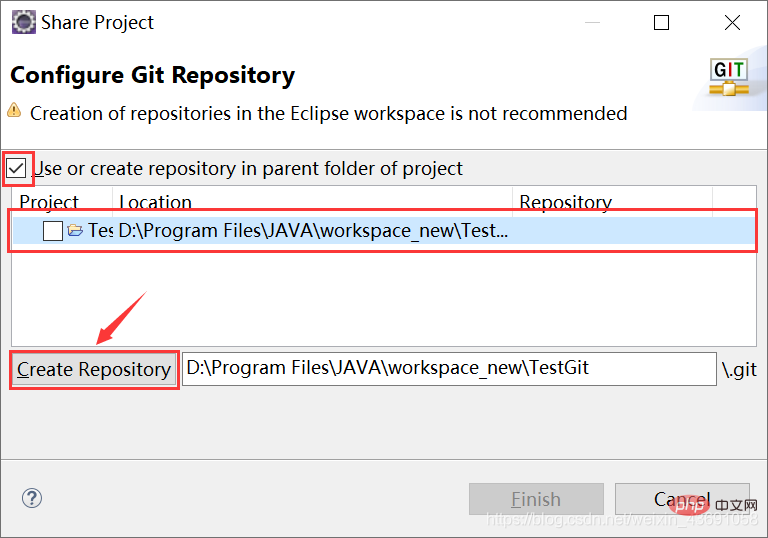
To perform local library initialization on the project, the corresponding command is
git init- Project→right click→Team→Share Project→Git, enter the following interface:
-


Use the graphical interface directly, click Add Entry, and add the two configurations
user.name and user.email. 
| Description | |
|---|---|
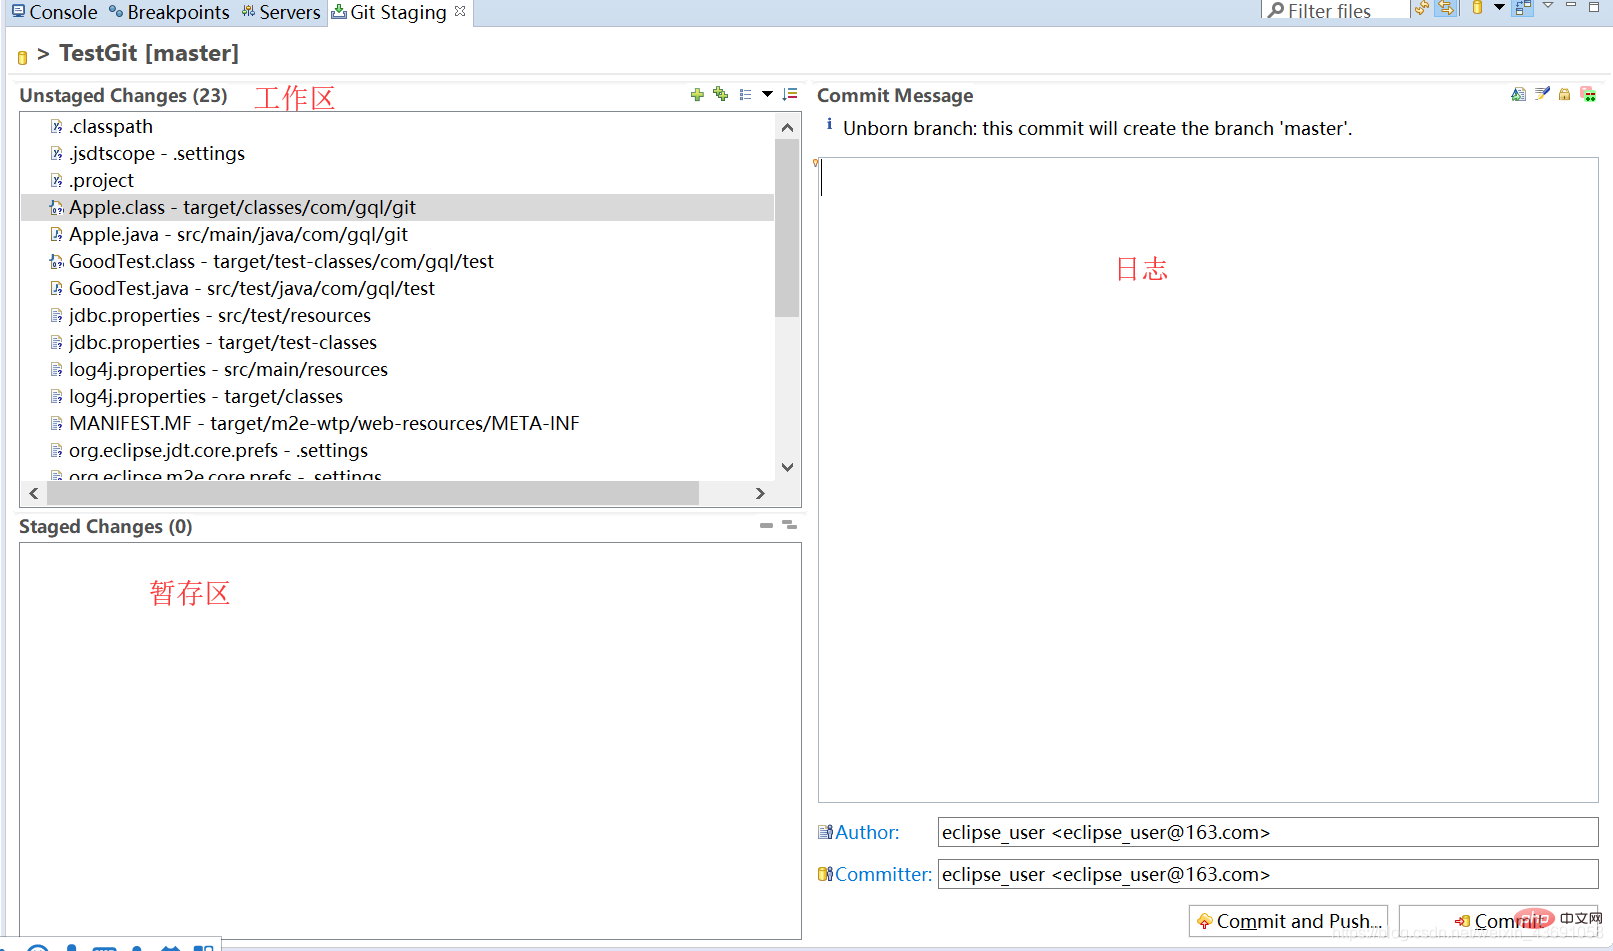
 ##Uncommitted changes ##Uncommitted changes
|
|
The file is not tracked and is not within git version management
|
|
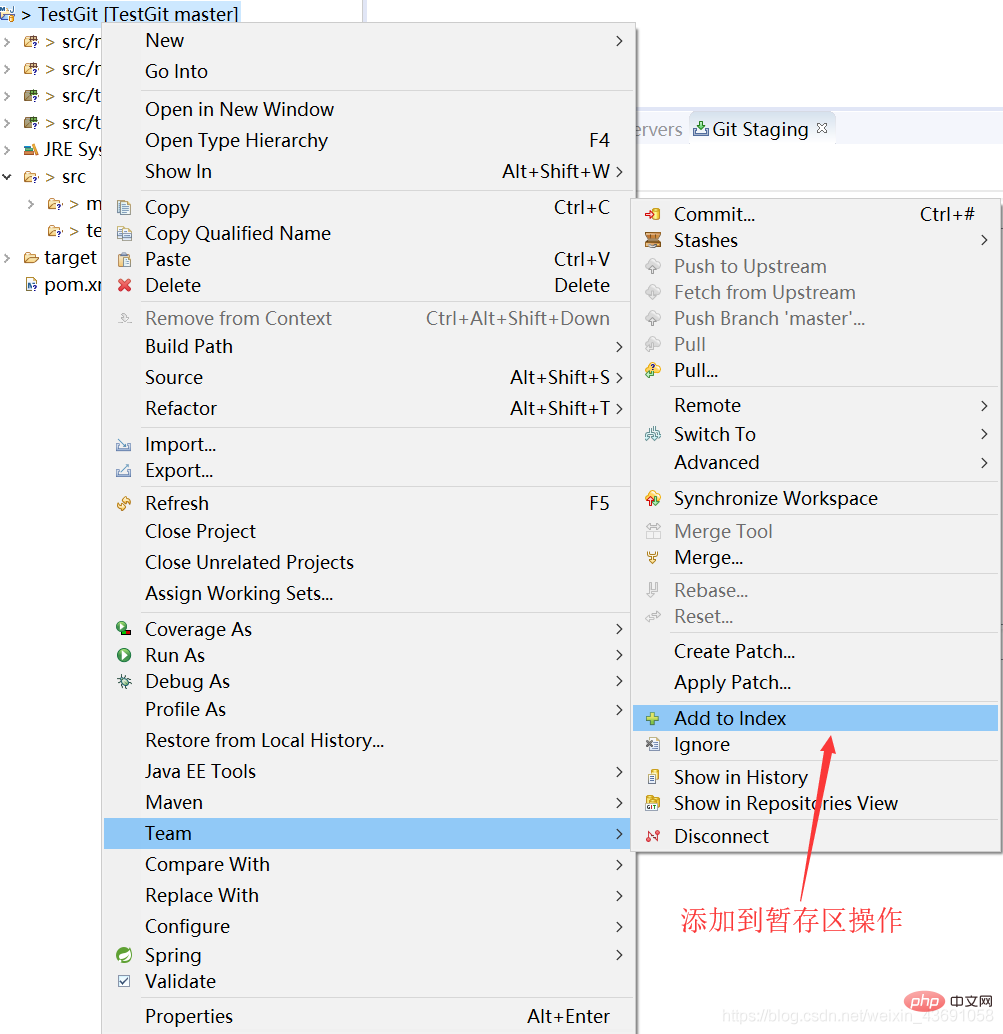
Added to the staging area |
|
Just joined the staging area
|
The above is the detailed content of Git&GitHub graphical interface operation, use of Git plug-in in Eclipse. For more information, please follow other related articles on the PHP Chinese website!

Hot AI Tools

Undresser.AI Undress
AI-powered app for creating realistic nude photos

AI Clothes Remover
Online AI tool for removing clothes from photos.

Undress AI Tool
Undress images for free

Clothoff.io
AI clothes remover

Video Face Swap
Swap faces in any video effortlessly with our completely free AI face swap tool!

Hot Article

Hot Tools

Notepad++7.3.1
Easy-to-use and free code editor

SublimeText3 Chinese version
Chinese version, very easy to use

Zend Studio 13.0.1
Powerful PHP integrated development environment

Dreamweaver CS6
Visual web development tools

SublimeText3 Mac version
God-level code editing software (SublimeText3)

Hot Topics
 1386
1386
 52
52
 What to do if the git download is not active
Apr 17, 2025 pm 04:54 PM
Resolve: When Git download speed is slow, you can take the following steps: Check the network connection and try to switch the connection method. Optimize Git configuration: Increase the POST buffer size (git config --global http.postBuffer 524288000), and reduce the low-speed limit (git config --global http.lowSpeedLimit 1000). Use a Git proxy (such as git-proxy or git-lfs-proxy). Try using a different Git client (such as Sourcetree or Github Desktop). Check for fire protection
 How to delete a repository by git
Apr 17, 2025 pm 04:03 PM
To delete a Git repository, follow these steps: Confirm the repository you want to delete. Local deletion of repository: Use the rm -rf command to delete its folder. Remotely delete a warehouse: Navigate to the warehouse settings, find the "Delete Warehouse" option, and confirm the operation.
 How to download git projects to local
Apr 17, 2025 pm 04:36 PM
To download projects locally via Git, follow these steps: Install Git. Navigate to the project directory. cloning the remote repository using the following command: git clone https://github.com/username/repository-name.git
 How to generate ssh keys in git
Apr 17, 2025 pm 01:36 PM
In order to securely connect to a remote Git server, an SSH key containing both public and private keys needs to be generated. The steps to generate an SSH key are as follows: Open the terminal and enter the command ssh-keygen -t rsa -b 4096. Select the key saving location. Enter a password phrase to protect the private key. Copy the public key to the remote server. Save the private key properly because it is the credentials for accessing the account.
 How to solve the efficient search problem in PHP projects? Typesense helps you achieve it!
Apr 17, 2025 pm 08:15 PM
When developing an e-commerce website, I encountered a difficult problem: How to achieve efficient search functions in large amounts of product data? Traditional database searches are inefficient and have poor user experience. After some research, I discovered the search engine Typesense and solved this problem through its official PHP client typesense/typesense-php, which greatly improved the search performance.
 How to update code in git
Apr 17, 2025 pm 04:45 PM
Steps to update git code: Check out code: git clone https://github.com/username/repo.git Get the latest changes: git fetch merge changes: git merge origin/master push changes (optional): git push origin master
 How to add public keys to git account
Apr 17, 2025 pm 02:42 PM
How to add a public key to a Git account? Step: Generate an SSH key pair. Copy the public key. Add a public key in GitLab or GitHub. Test the SSH connection.
 How to connect to the public network of git server
Apr 17, 2025 pm 02:27 PM
Connecting a Git server to the public network includes five steps: 1. Set up the public IP address; 2. Open the firewall port (22, 9418, 80/443); 3. Configure SSH access (generate key pairs, create users); 4. Configure HTTP/HTTPS access (install servers, configure permissions); 5. Test the connection (using SSH client or Git commands).



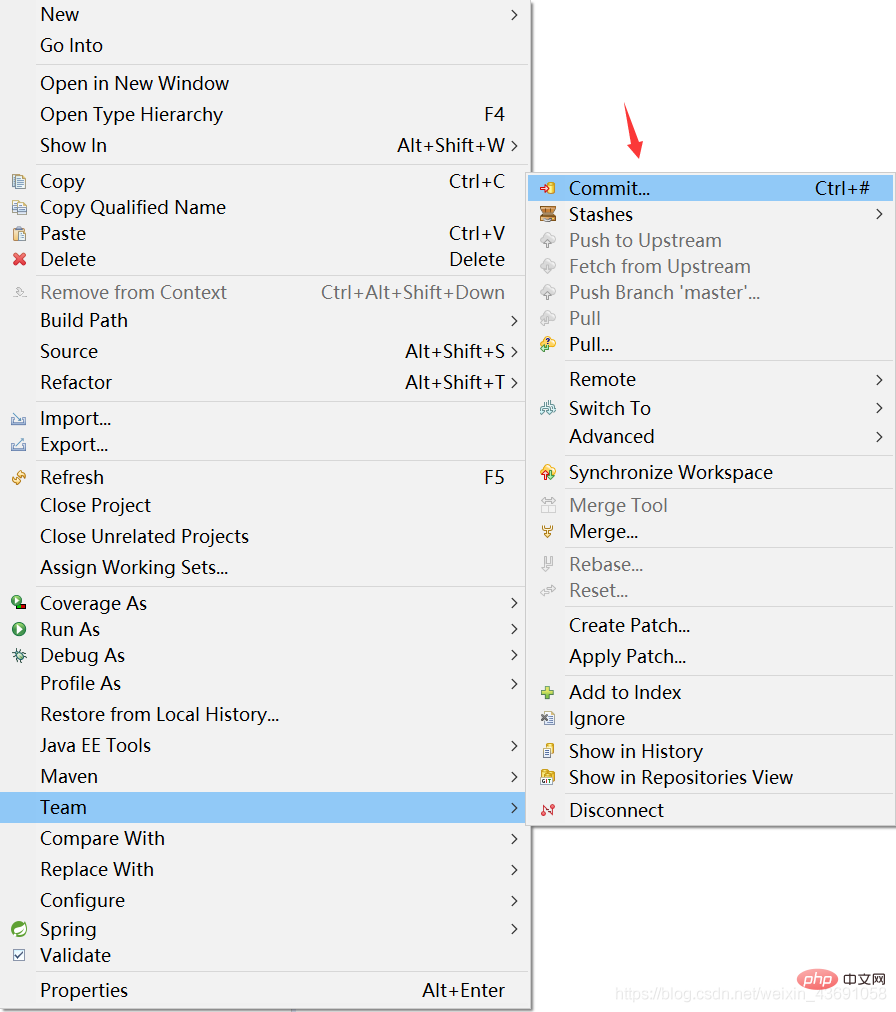
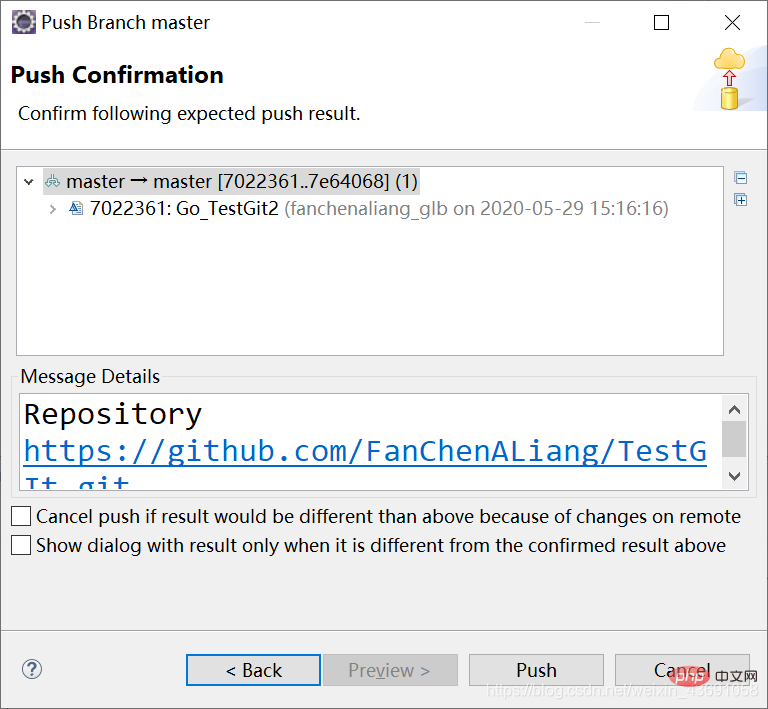
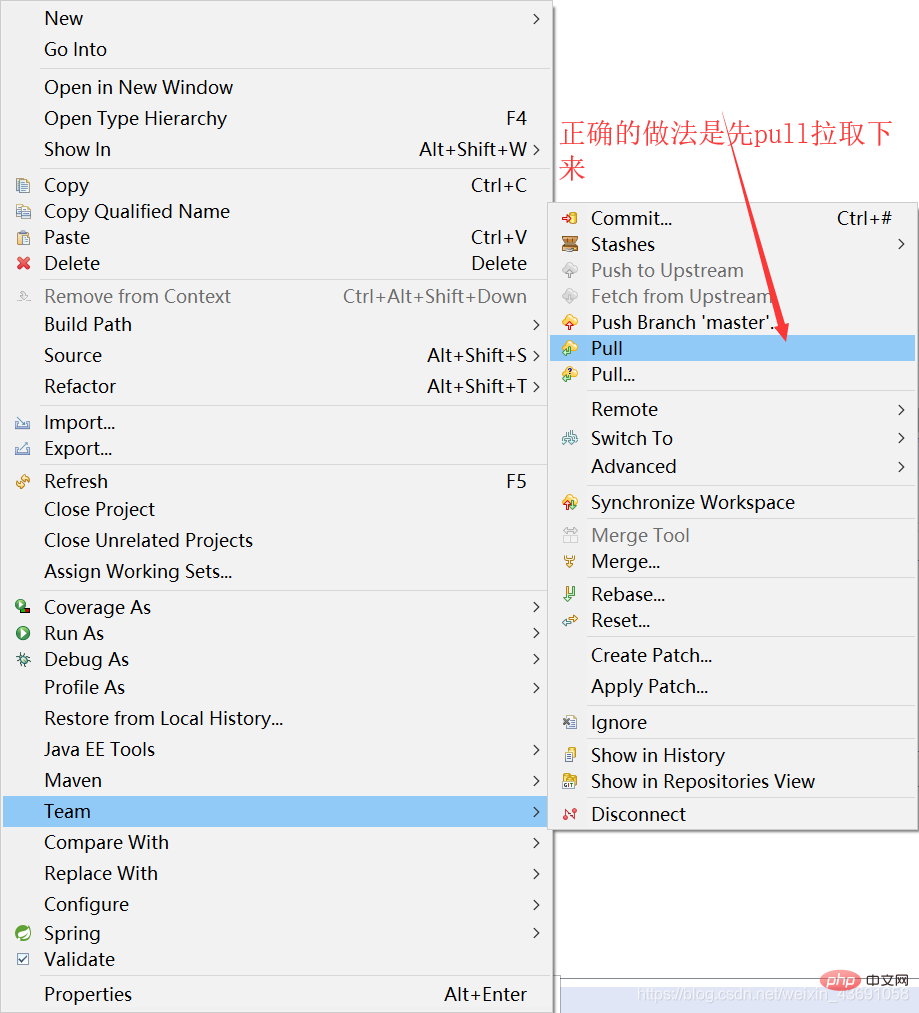
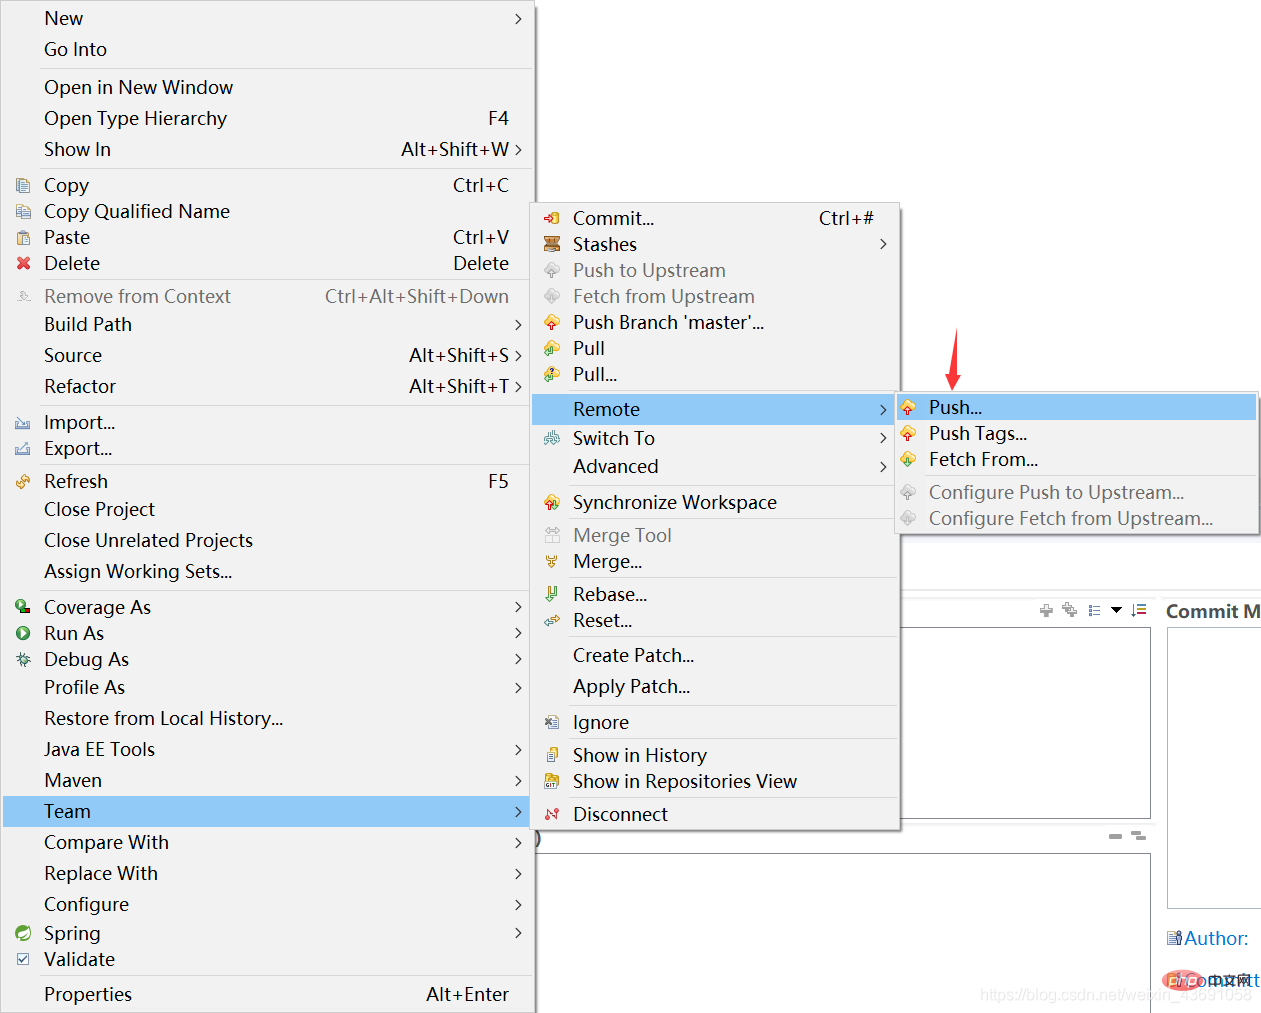
 Return to Eclipse, click Team→Remote→Push
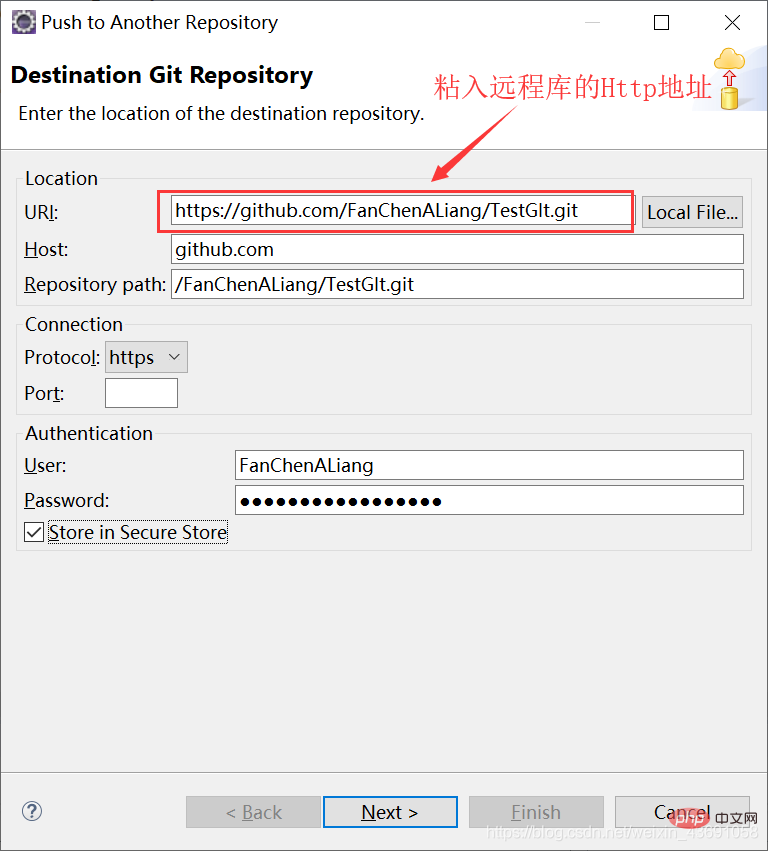
 After pasting the Http address of the remote library into the URI, Click next:
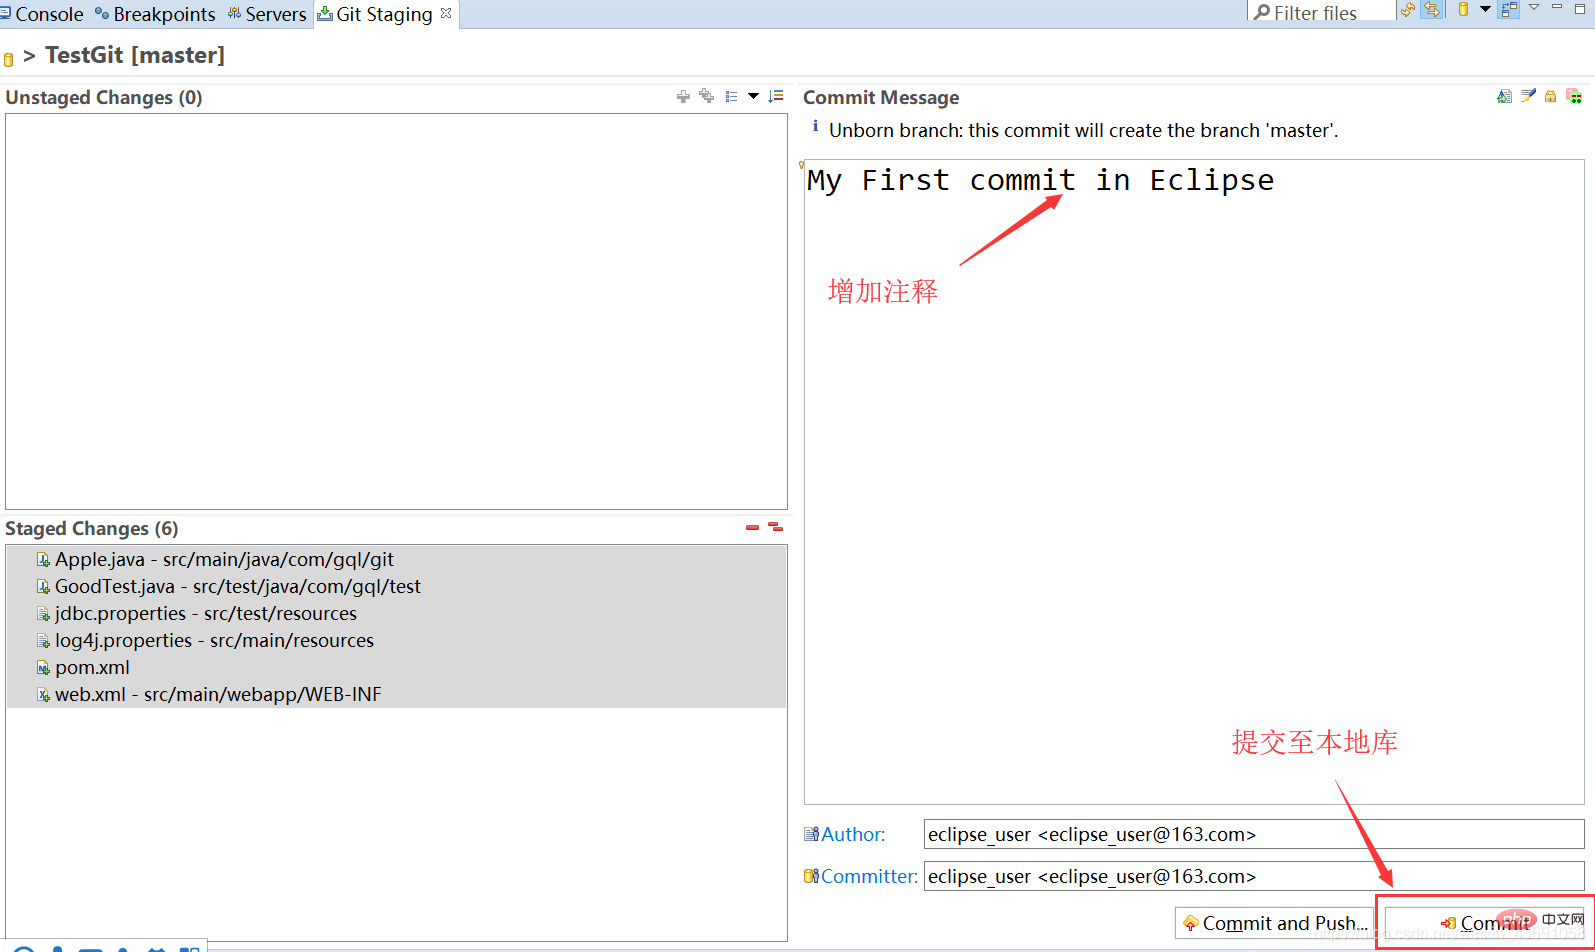
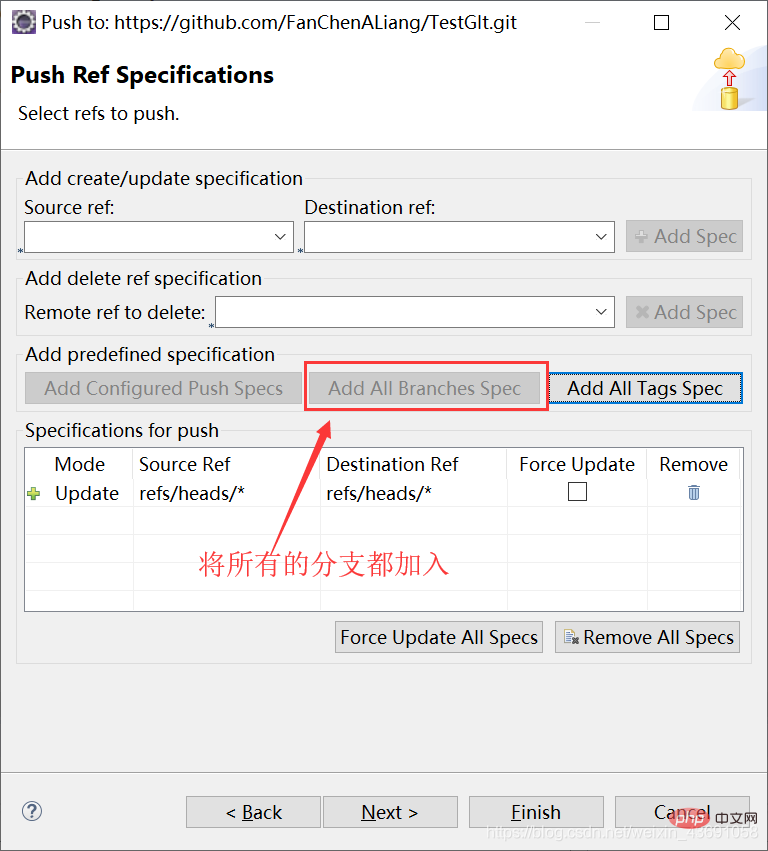 You can enter log information in the interface below.
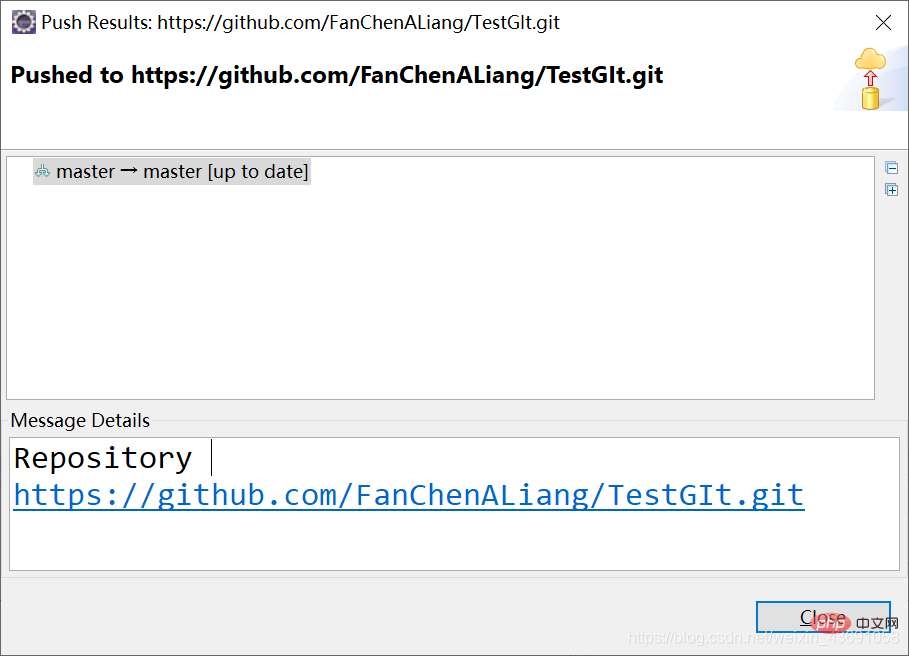
 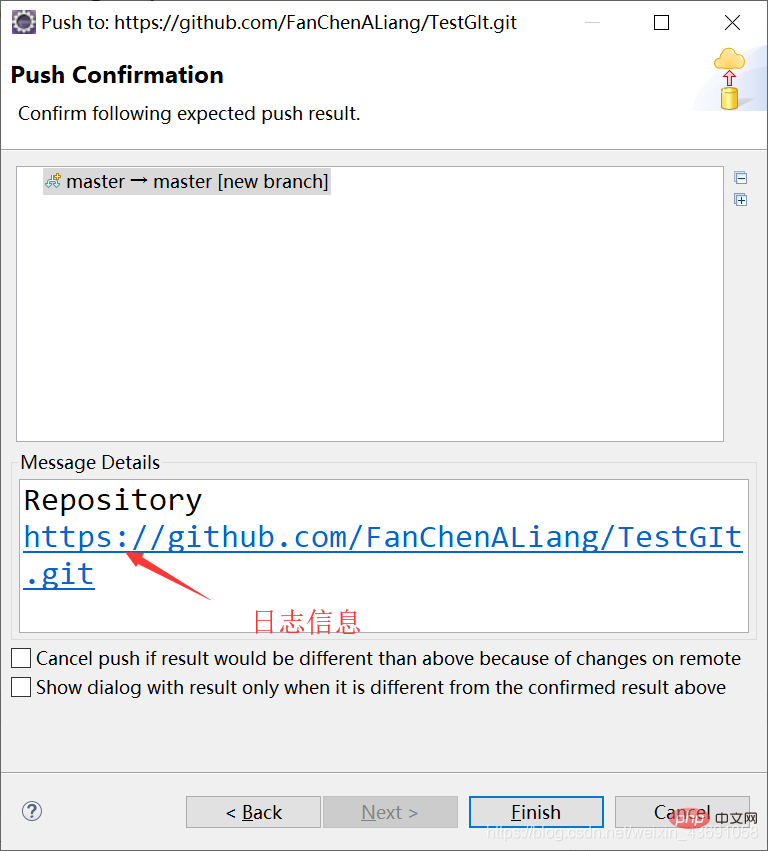 Successful push: