
Git method to resolve conflicts: first right-click on the project directory and click on the two-way red arrow; then select the conflicting file that needs to be modified and select merge tool; then merge the code; finally right-click again and select commit Submit code.

The operating environment of this article: Windows 7 system, git2.30.0 version, Dell G3 computer.
Git's method of resolving conflicts:
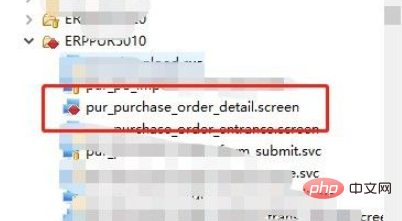
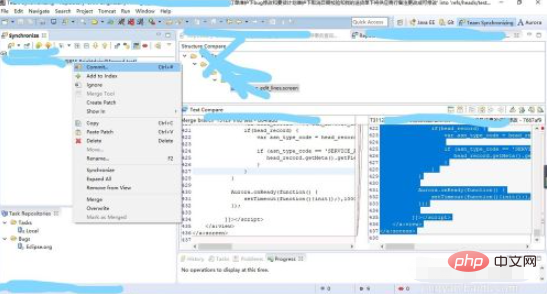
1. First, if there is a conflict in our file, the file will be displayed in red. Then we move the mouse to the project directory, right-click, and select the team column. This column is the attributes and processing methods of git. Then select the synchronize workspace, which is synchronize workspace

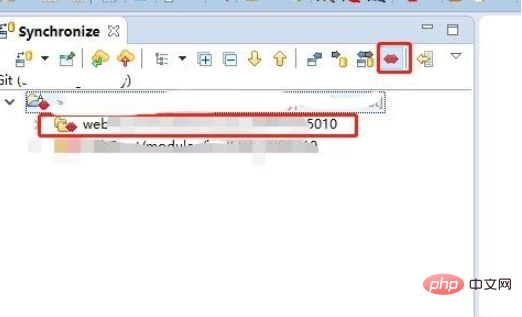
2. After that, we will enter the conflict resolution interface. Then we click on the position of the two-way red arrow, which means that all conflicting files are displayed. The purpose of this is to allow us to see file conflicts more intuitively.
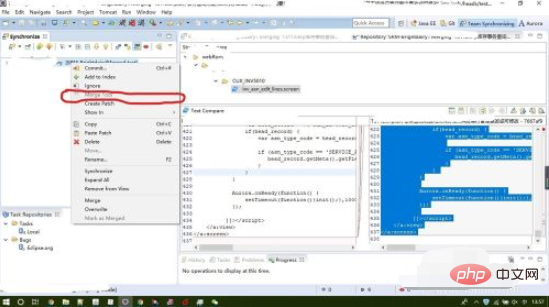
#3. Then select the conflicting file we need to modify, then right-click and select merge tool, and then two code comparison interfaces will appear in the lower right corner. Remember that the code on the left is the latest code of the server, and the code on the right is your own code. At this time, you need to compare the server code and your code for any inconsistencies, then modify and save them on the left.
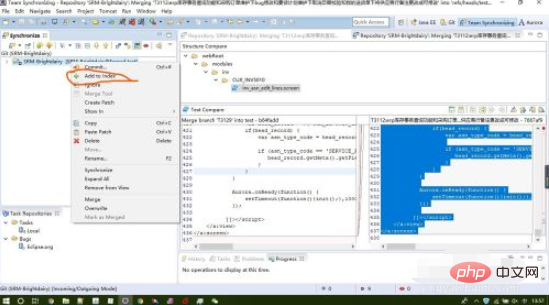
4. After saving, we select the conflict file and still right-click the mouse and select add to index to merge the code,
5. After merging, right-click again and select commit to submit the code. Note that this process will take a little longer when submitting the code again. After the submission is completed, we will find that the project will have an arrow to be pushed. When we see the arrow to be pushed, it means that the conflict has been resolved.
More learning recommendations: git tutorial
The above is the detailed content of How git resolves conflicts. For more information, please follow other related articles on the PHP Chinese website!
 What is the use of java
 Domestic Bitcoin buying and selling platform
 psrpc.dll not found solution
 Three mainstream frameworks for web front-end
 The difference between indexof and includes
 How to calculate the factorial of a number in python
 Computer system vulnerability repair methods
 How to solve the problem of access denied when booting up Windows 10
 Latest ranking of digital currency exchanges