Teach you step by step how to learn CSS systematically
Let me briefly talk about how I learned CSS. It is just my own little experience and is for reference only.
I think no matter what kind of knowledge you are learning, you should be inseparable from books! As far as CSS is concerned, I think there are several books that are worth your time to read, such as:

[Recommended learning: css video tutorial 】
If you are no longer a junior CSSer, then the CSS-related specification documents in W3C are worth reading:
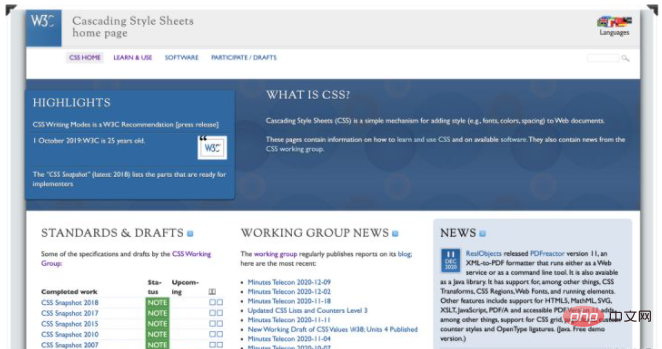
To be honest, read the specifications. It is a painful thing, but reading the specifications at different times and at different stages will yield different gains. Just like myself, when I re-read these regulations this year, I gained a lot. Maybe when I read the specification, I focused more on the use of CSS attributes, but when I re-read the specification in the past year, I paid more attention to the knowledge related to the critical points of attribute usage. In other words, the problems we encounter when using CSS are actually described in the specifications, and we can also find corresponding answers.
In addition to reading the specifications, many excellent blogs in the community are also worth reading:
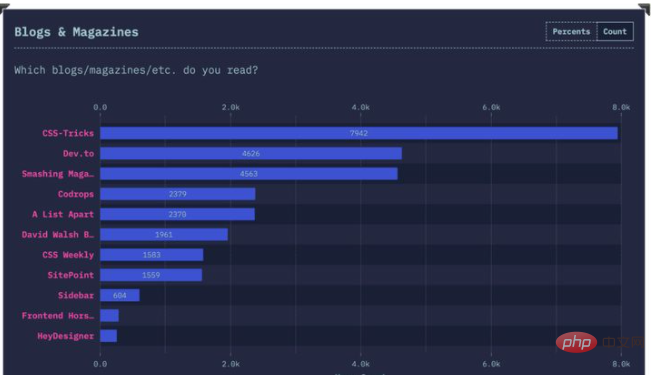
In the Chinese community, there are blogs about CSS, Special recommendations:
- Teacher Zhang Xinxu’s Xin Space, Xin Life
- chokcoco Teacher’s Love CSS (ICSS)
Discover good blogs in the community or websites, you can also use RSS applications to subscribe to them:
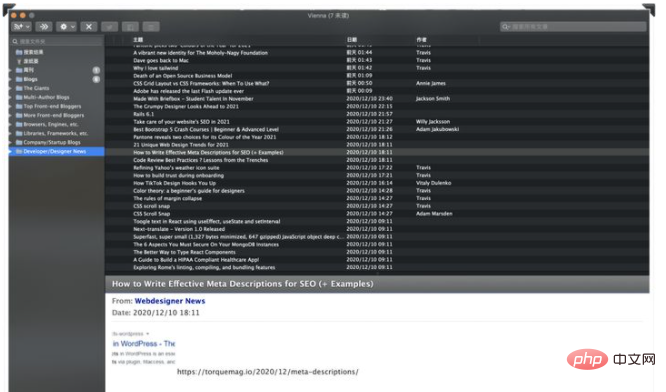
RSS is a good thing. It can help you save a lot of time and obtain more information. It’s targeted and may contain content you like.
If you don’t like using RSS, you can also use some browser extensions, such as Chrome browser. I created a Daily.dev:

There is another way to obtain information, which is to subscribe to the warehouse of interest on Github or follow some of the big names in the industry:

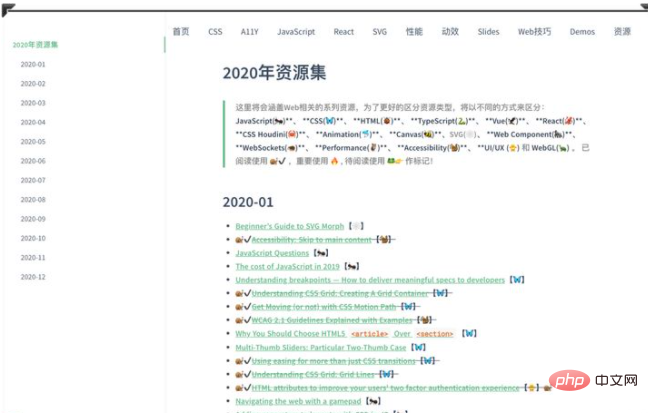
There are many channels for obtaining information, resulting in Obtaining information is costly. Many times, you may have seen a good topic today, but just glanced at it, wanting to read it in depth when you have time, but you can't find the link to the article at this time. I often make this mistake. For this reason, I have developed a habit in the past two years and created a local blog locally. One of the columns is to collect articles that I think are interesting every month:
The above mentioned are all about watching and reading. This alone is not enough. We should also need to write more.
Writing Demo, I often write some Demo on Codepen, whether it is verification, creative, or practice. I like to write on it:
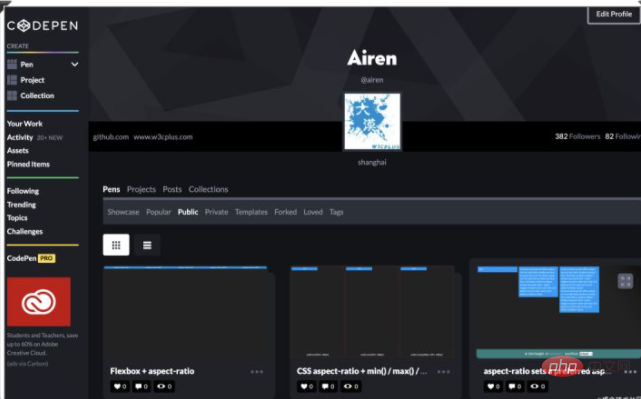
In addition to allowing you to do exercises, you can also see a lot of demos on Codepen and learn some new knowledge from the demos written by others. , new techniques. If you haven't started to experience it yet, it is highly recommended that you start your journey in Codepen.
In addition to writing Demo, we should also summarize the knowledge points we have learned. Writing a blog is a good way:
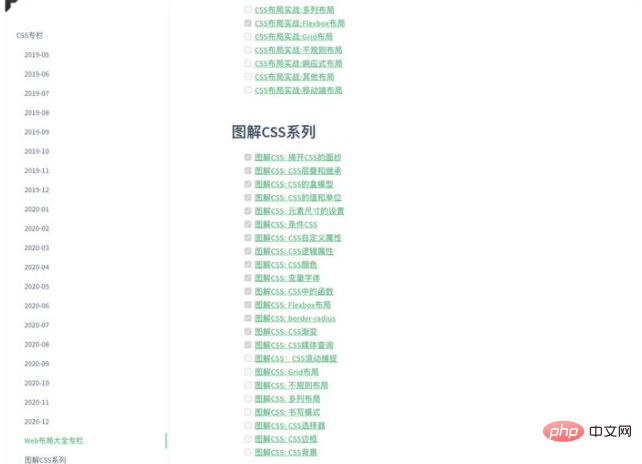
I usually classify the problem first:
- I understand
- I seem to understand
- What I don’t understand
- What I’m interested in
Make some lists for these, then you can plan to see something, learn something, and write something thing.
It should be the last day of 2020. Looking back, I have been blogging for ten years since I created W3cplus in 2010 and have written almost 1561 articles:
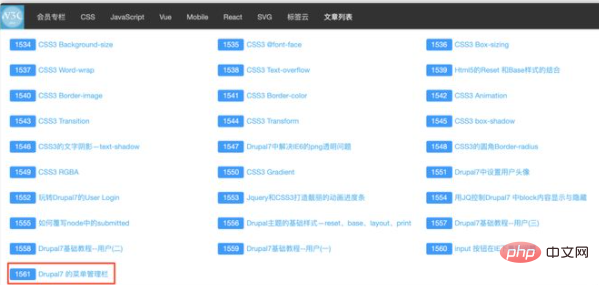
Of course, you may think some of them are useless, but as far as I am concerned they are all useful. In addition to the habit of blogging, I sometimes also make some summaries of my year or a stage.
Everyone is different and may have a method that suits them. My learning method may be stupid. To put it simply, it means reading more, writing more, asking more, and summarizing more. wait.
(Source of this article: Alibaba Taobao Technology Desert)
The above is the detailed content of Teach you step by step how to learn CSS systematically. For more information, please follow other related articles on the PHP Chinese website!

Hot AI Tools

Undresser.AI Undress
AI-powered app for creating realistic nude photos

AI Clothes Remover
Online AI tool for removing clothes from photos.

Undress AI Tool
Undress images for free

Clothoff.io
AI clothes remover

Video Face Swap
Swap faces in any video effortlessly with our completely free AI face swap tool!

Hot Article

Hot Tools

Notepad++7.3.1
Easy-to-use and free code editor

SublimeText3 Chinese version
Chinese version, very easy to use

Zend Studio 13.0.1
Powerful PHP integrated development environment

Dreamweaver CS6
Visual web development tools

SublimeText3 Mac version
God-level code editing software (SublimeText3)

Hot Topics
 1386
1386
 52
52
 How to use bootstrap in vue
Apr 07, 2025 pm 11:33 PM
Using Bootstrap in Vue.js is divided into five steps: Install Bootstrap. Import Bootstrap in main.js. Use the Bootstrap component directly in the template. Optional: Custom style. Optional: Use plug-ins.
 The Roles of HTML, CSS, and JavaScript: Core Responsibilities
Apr 08, 2025 pm 07:05 PM
HTML defines the web structure, CSS is responsible for style and layout, and JavaScript gives dynamic interaction. The three perform their duties in web development and jointly build a colorful website.
 How to write split lines on bootstrap
Apr 07, 2025 pm 03:12 PM
There are two ways to create a Bootstrap split line: using the tag, which creates a horizontal split line. Use the CSS border property to create custom style split lines.
 Understanding HTML, CSS, and JavaScript: A Beginner's Guide
Apr 12, 2025 am 12:02 AM
WebdevelopmentreliesonHTML,CSS,andJavaScript:1)HTMLstructurescontent,2)CSSstylesit,and3)JavaScriptaddsinteractivity,formingthebasisofmodernwebexperiences.
 How to set up the framework for bootstrap
Apr 07, 2025 pm 03:27 PM
To set up the Bootstrap framework, you need to follow these steps: 1. Reference the Bootstrap file via CDN; 2. Download and host the file on your own server; 3. Include the Bootstrap file in HTML; 4. Compile Sass/Less as needed; 5. Import a custom file (optional). Once setup is complete, you can use Bootstrap's grid systems, components, and styles to create responsive websites and applications.
 How to resize bootstrap
Apr 07, 2025 pm 03:18 PM
To adjust the size of elements in Bootstrap, you can use the dimension class, which includes: adjusting width: .col-, .w-, .mw-adjust height: .h-, .min-h-, .max-h-
 How to insert pictures on bootstrap
Apr 07, 2025 pm 03:30 PM
There are several ways to insert images in Bootstrap: insert images directly, using the HTML img tag. With the Bootstrap image component, you can provide responsive images and more styles. Set the image size, use the img-fluid class to make the image adaptable. Set the border, using the img-bordered class. Set the rounded corners and use the img-rounded class. Set the shadow, use the shadow class. Resize and position the image, using CSS style. Using the background image, use the background-image CSS property.
 How to use bootstrap button
Apr 07, 2025 pm 03:09 PM
How to use the Bootstrap button? Introduce Bootstrap CSS to create button elements and add Bootstrap button class to add button text


