
1. Why should we copy the traffic of the production environment to the pre-launch environment or test environment?
The benefits of doing this are as follows:
You can verify whether the function is normal and the performance of the service;
Use real and effective traffic requests to verify, without creating data, and will not affect normal online access;
This is not the same as grayscale publishing, mirrored traffic will not affect real traffic ;
can be used to troubleshoot online problems;
Reconstruction, if the service has been refactored, this is also a testing method;
In order to realize traffic copying, Nginx provides the ngx_http_mirror_module module
2. Install the Nginx
homepage and set up the yum warehouse. To do this, create a file /etc/yum.repos.d/nginx.repo
Write the following content to the file
[nginx-stable]
name=nginx stable repo
baseurl=http://nginx.org/packages/centos/$releasever/$basearch/
gpgcheck=1
enabled=1
gpgkey=https://nginx.org/keys/nginx_signing.key
module_hotfixes=true
[nginx-mainline]
name=nginx mainline repo
baseurl=http://nginx.org/packages/mainline/centos/$releasever/$basearch/
gpgcheck=1
enabled=0
gpgkey=https://nginx.org/keys/nginx_signing.key
module_hotfixes=true
yum install nginx
yum install nginx
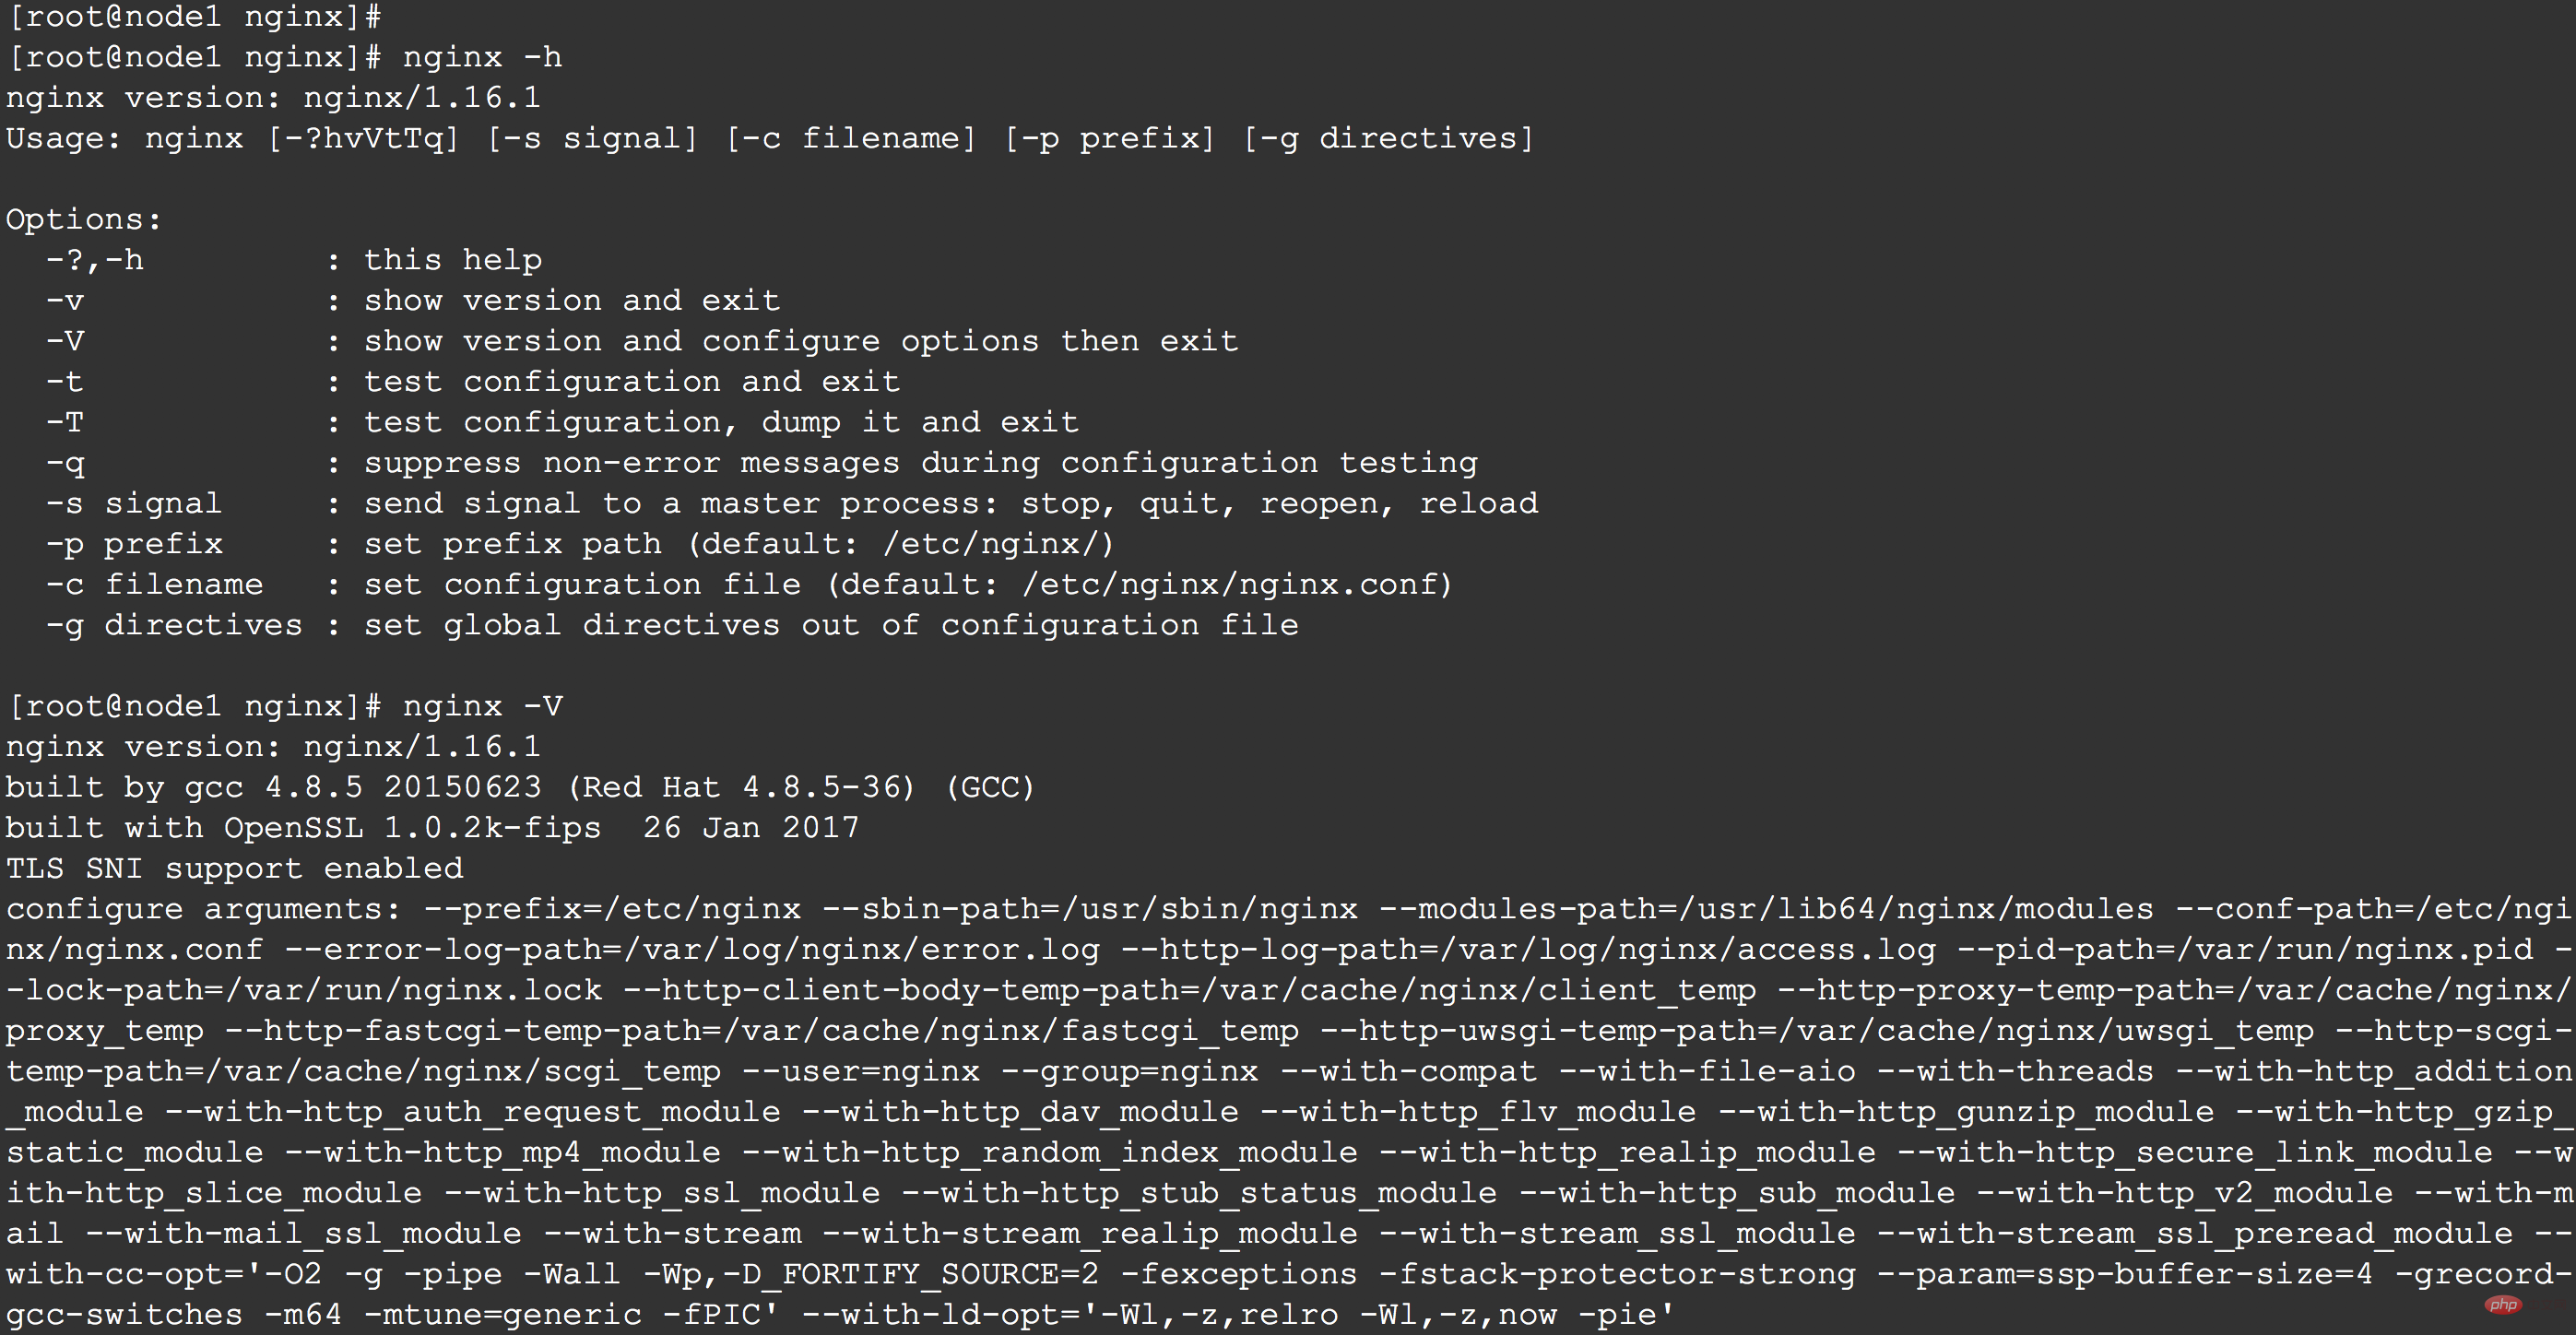
By default , the nginx configuration file is nginx.conf
Generally, the nginx.conf file is in the /usr/local/nginx/conf or /etc/nginx or /usr/local/etc/nginx directory
In order to start nginx, type nginx directly in the command line and press Enter
# 启动nginx
nginx
# fast shutdown
nginx -s stop
# graceful shutdown
nginx -s quit
# reloading the configuration file
nginx -s reload
# reopening the log files
nginx -s reopen
# list of all running nginx processes
ps -ax | grep nginx


Once the master process receives the reload A configured signal that will check if the syntax of the new configuration file is correct and try to apply the configuration provided in it. If successful, the master process will start a new worker process and send a message to the old worker process asking them to shut down. Otherwise, the master process rolls back the changes and continues to use the old configuration. After receiving the shutdown command, the old worker process stops accepting new connections until all previously accepted connections have been processed. After that, the old worker process exits.
(Free learning video sharing: php video tutorial)
The process ID of the nginx master process, by default, is placed in the nginx.pid file, which The directory is usually /usr/local/nginx/logs or /var/run
You can also stop nginx like this
kill -s QUIT 3997
The initial configuration file looks like this:
user  nginx;
worker_processes  1;
error_log  /var/log/nginx/error.log warn;
pid        /var/run/nginx.pid;
events {
    worker_connections  1024;
}
http {
    include       /etc/nginx/mime.types;
    default_type  application/octet-stream;
    log_format  main  '$remote_addr - $remote_user [$time_local] "$request" '
                      '$status $body_bytes_sent "$http_referer" '
                      '"$http_user_agent" "$http_x_forwarded_for"';
    access_log  /var/log/nginx/access.log  main;
    sendfile        on;
    #tcp_nopush     on;
    keepalive_timeout  65;
    #gzip  on;
    include /etc/nginx/conf.d/*.conf;
}3 , ngx_http_mirror_module
The ngx_http_mirror_module module (1.13.4) implements mirroring of an original request by creating background mirror subrequests. Responses to mirror subrequests are ignored.
This is how I understand it, Here, the original meaning of mirror is mirror. It can be understood that it is like a mirror site that collects all requests. This mirror represents all real and valid original requests. With this image, we can use this image to do some things in the future, such as reproducing all requests, which enables us to copy the online process to other places.
The example given by the official website is very simple, as follows:
location / {
    mirror /mirror;
    proxy_pass http://backend;
}
location = /mirror {
    internal;
    proxy_pass http://test_backend$request_uri;
}If the request body is mirrored, the request body will be read before creating the subrequest
location / {
    mirror /mirror;
    mirror_request_body off;
    proxy_pass http://backend;
}
location = /mirror {
    internal;
    proxy_pass http://log_backend;
    proxy_pass_request_body off;
    proxy_set_header Content-Length "";
    proxy_set_header X-Original-URI $request_uri;
}The front We installed Nginx, but it does not contain the ngx_http_mirror_module module we need. Therefore, when you really want to use it, it is best to use a custom installation, that is, build from the source code
First, download the source code http://nginx .org/en/download.html
Next, compile and install, for example:
./configure
    --sbin-path=/usr/local/nginx/nginx
    --conf-path=/usr/local/nginx/nginx.conf
    --pid-path=/usr/local/nginx/nginx.pid
    --with-http_ssl_module
    --without-http_limit_req_module
    --without-http_mirror_module
    --with-pcre=../pcre-8.43
    --with-zlib=../zlib-1.2.11
    --add-module=/path/to/ngx_devel_kit
--add-module=/path/to/lua-nginx-modulemake & make install
Configuration
upstream api.abc.com {
server 127.0.0.1:8080;
}
upstream tapi.abc.com {
    server 127.0.0.1:8081;
}
server {
    listen 80;
   # 源站点
    location /api {
        proxy_pass http://api.cjs.com;
        proxy_set_header Host $host;
        proxy_set_header X-Real-IP $remote_addr;
        proxy_set_header X-Forwarded-For $proxy_add_x_forwarded_for;
        # 流量复制
mirror /newapi;
mirror /mirror2;
mirror /mirror3;
# 复制请求体
mirror_request_body on;
    }
    # 镜像站点
    location /tapi {
        proxy_pass http://tapi.cjs.com$request_uri;
        proxy_pass_request_body on;
        proxy_set_header Host $host;
        proxy_set_header X-Real-IP $remote_addr;
        proxy_set_header X-Forwarded-For $proxy_add_x_forwarded_for;
    }
}Related recommendations: nginx tutorial
The above is the detailed content of Introduction to nginx traffic copy function. For more information, please follow other related articles on the PHP Chinese website!
 nginx restart
 Detailed explanation of nginx configuration
 Detailed explanation of nginx configuration
 What are the differences between tomcat and nginx
 What are the commonly used functions of informix?
 How to uniformly replace ppt background images
 Excel input value is illegal
 Usage of source command in linux