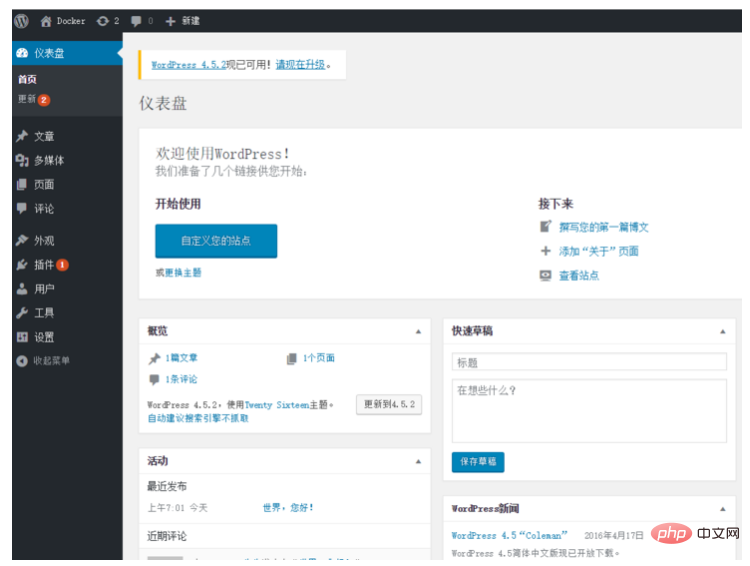
##Compose is an orchestration tool launched by Docker. With Compose, you can use the docker-compose.yml file to configure your application's services. Then you can start all services configured in the configuration file with one command. Compose can be used for development, testing, presentation and continuous integration. There are only three steps to use Compose. Of course, the prerequisite is that Compose must be installed first.
Installation of ComposeFirst you need to ensure that Docker has been installed Command:
docker info
Copy after login
docker --version
Copy after login
Compose installation command:
curl -L https://github.com/docker/compose/releases/download/1.7.1/docker-compose-`uname -s`-`uname -m` > /usr/local/bin/docker-compose

chmod +x /usr/local/bin/docker-compose
Copy after login
Then upload the downloaded file to the host where Compose is to be installed, using the upload method of your choice.
Here is to upload the file "docker-compose-Linux-x86_64" to /opt, then copy the file to the /usr/local/bin/ folder, name it docker-compose, and then give it to docker-compose Grant executable permissions. Then check the version information of compose to verify whether compose can be used normally.
Command:
cp /opt/docker-compose-Linux-x86_64 /usr/local/bin/docker-compose
chmod +x /usr/local/bin/docker-compose
docker-compose --version
Copy after login
Command:
mkdir -p /opt/compose-wordpress
cd /opt/compose-wordpress
nano Dockerfile
Copy after login
FROM mysql
MAINTAINER AuthorName <email></email>
Copy after login
2. Define each service in the docker-compose.yml file to form an application so that the application can run in each independent environment.
Command:
vim docker-compose.yml
Copy after login
version: '2'
services:
  db:
    build: .
    volumes: "./.data/db:/var/lib/mysql"
    restart: always
    environment:
      MYSQL_ROOT_PASSWORD: wordpress
      MYSQL_DATABASE: wordpress
      MYSQL_USER: wordpress
      MYSQL_PASSWORD: wordpress
  wordpress:
    depends_on: db
    image: wordpress:latest
    links: db
    ports: "9527:80"
    restart: always
    environment:
      WORDPRESS_DB_HOST: db:3306
      WORDPRESS_DB_PASSWORD: wordpress
Copy after login
3. Finally, run the following command in the /opt/compose-wordpress folder to start Compose to run the entire application.
Command:
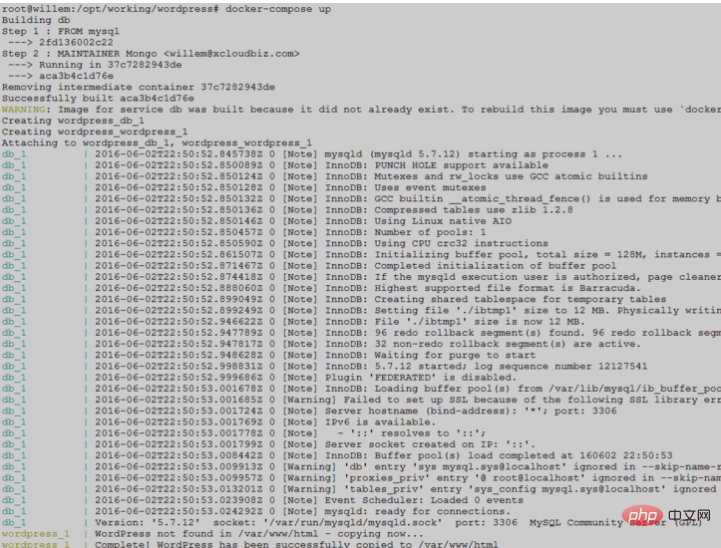
docker-compose up -d
Copy after login

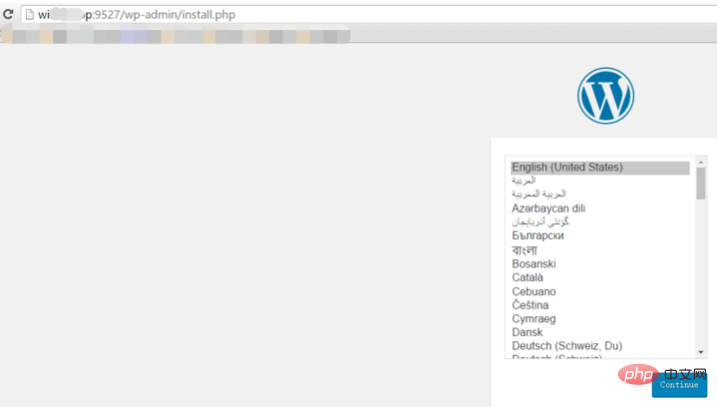
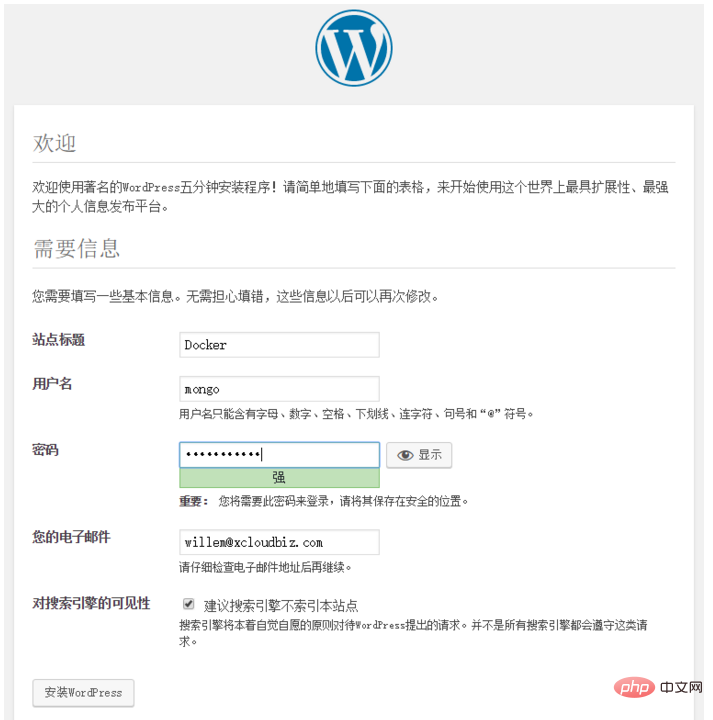
Then open the browser to access the ip :port, if you have done domain name resolution on the host IP, you can directly use the domain name and port number to access. The port number of the container mapping host here is 9527, and its domain name is also resolved to the host IP. The effect of the first visit is as follows:


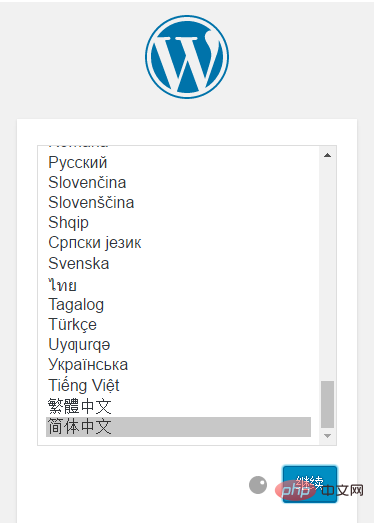
The first loading will be a little slow, and there is also a possibility that the page is not responding. Please choose to wait, even click two or three times to wait, and then please wait patiently... Then just follow the prompts. You can use it after filling in the information below and installing it.
 The successful installation prompt is as follows:
 The login account and password here are the account and password set during installation:


The above is the detailed content of How to use Compose to deploy WordPress. For more information, please follow other related articles on the PHP Chinese website!
 The successful installation prompt is as follows:
  The login account and password here are the account and password set during installation:
