Function Compute: Function Compute is an event-driven service. Through Function Compute, users do not need to manage the running status of servers, but only need to write code and upload it. Function Compute prepares computing resources and runs user code in an elastically scalable manner, and users only pay based on the resources consumed by the actual code running. For more information on function calculations refer to .
Fun: Fun is a tool used to support Serverless application deployment, which can help you easily manage resources such as function computing, API gateways, and log services. It assists you in developing, building, and deploying operations through a resource configuration file (template.yml). More documentation reference for Fun.
Note: The techniques introduced in this article require Fun version greater than or equal to 3.6.3.
Recommended tutorial: "thinkphp tutorial"
What is ThinkPHP?
ThinkPHP is a free, open source, fast and simple object-oriented lightweight PHP development framework, which was born for agile WEB application development and simplified enterprise application development. ThinkPHP has been adhering to the simple and practical design principle since its birth. While maintaining excellent performance and minimal code, it pays more attention to ease of use. Publishing under the Apache2 open source license agreement means that you can use ThinkPHP for free, and you are even allowed to publish/sell the applications you develop based on ThinkPHP as open source or commercial products.
Effect preview
After the deployment of the two application examples involved in this article, click the link to preview the effect:
- ThinkPHP official example: http://13492727- 1986114430573743.test.functioncompute.com
- ThinkPHP blog example: http://13500180-1986114430573743.test.functioncompute.com
- ThinkPHP blog example management backend: http://13500180-1986114430573743. test.functioncompute.com/admin
Environment preparation
First install Fun to this machine according to the method introduced in Fun's installation document.
PS: The method introduced in this article does not require installing Docker, only Fun. The simplest way is to directly download the executable binary file.
After the installation is complete, you can execute fun --version to check whether Fun is installed successfully.
First example: Quickly initialize and deploy a ThinkPHP sample application
Initialize a thinkphp example:
composer create-project topthink/think tp
Run the example locally for testing:
php think run
You can see the effect locally:

The traditional development method is that after local development is completed, deployment work must be carried out. Usually we Deploying a PHP application may require the following steps:
- Purchase a physical machine, such as ECS
- Bind the public IP on the physical machine, install php, nginx, php- fpm
- Configure nginx, php-fpm and upload the application to the machine
- Run the test
The most complicated ones are steps 2 and 3 , because the configuration methods may be different in different environments, and there will be more pitfalls. We demonstrate how to deploy applications to Function Compute.
fun deploy
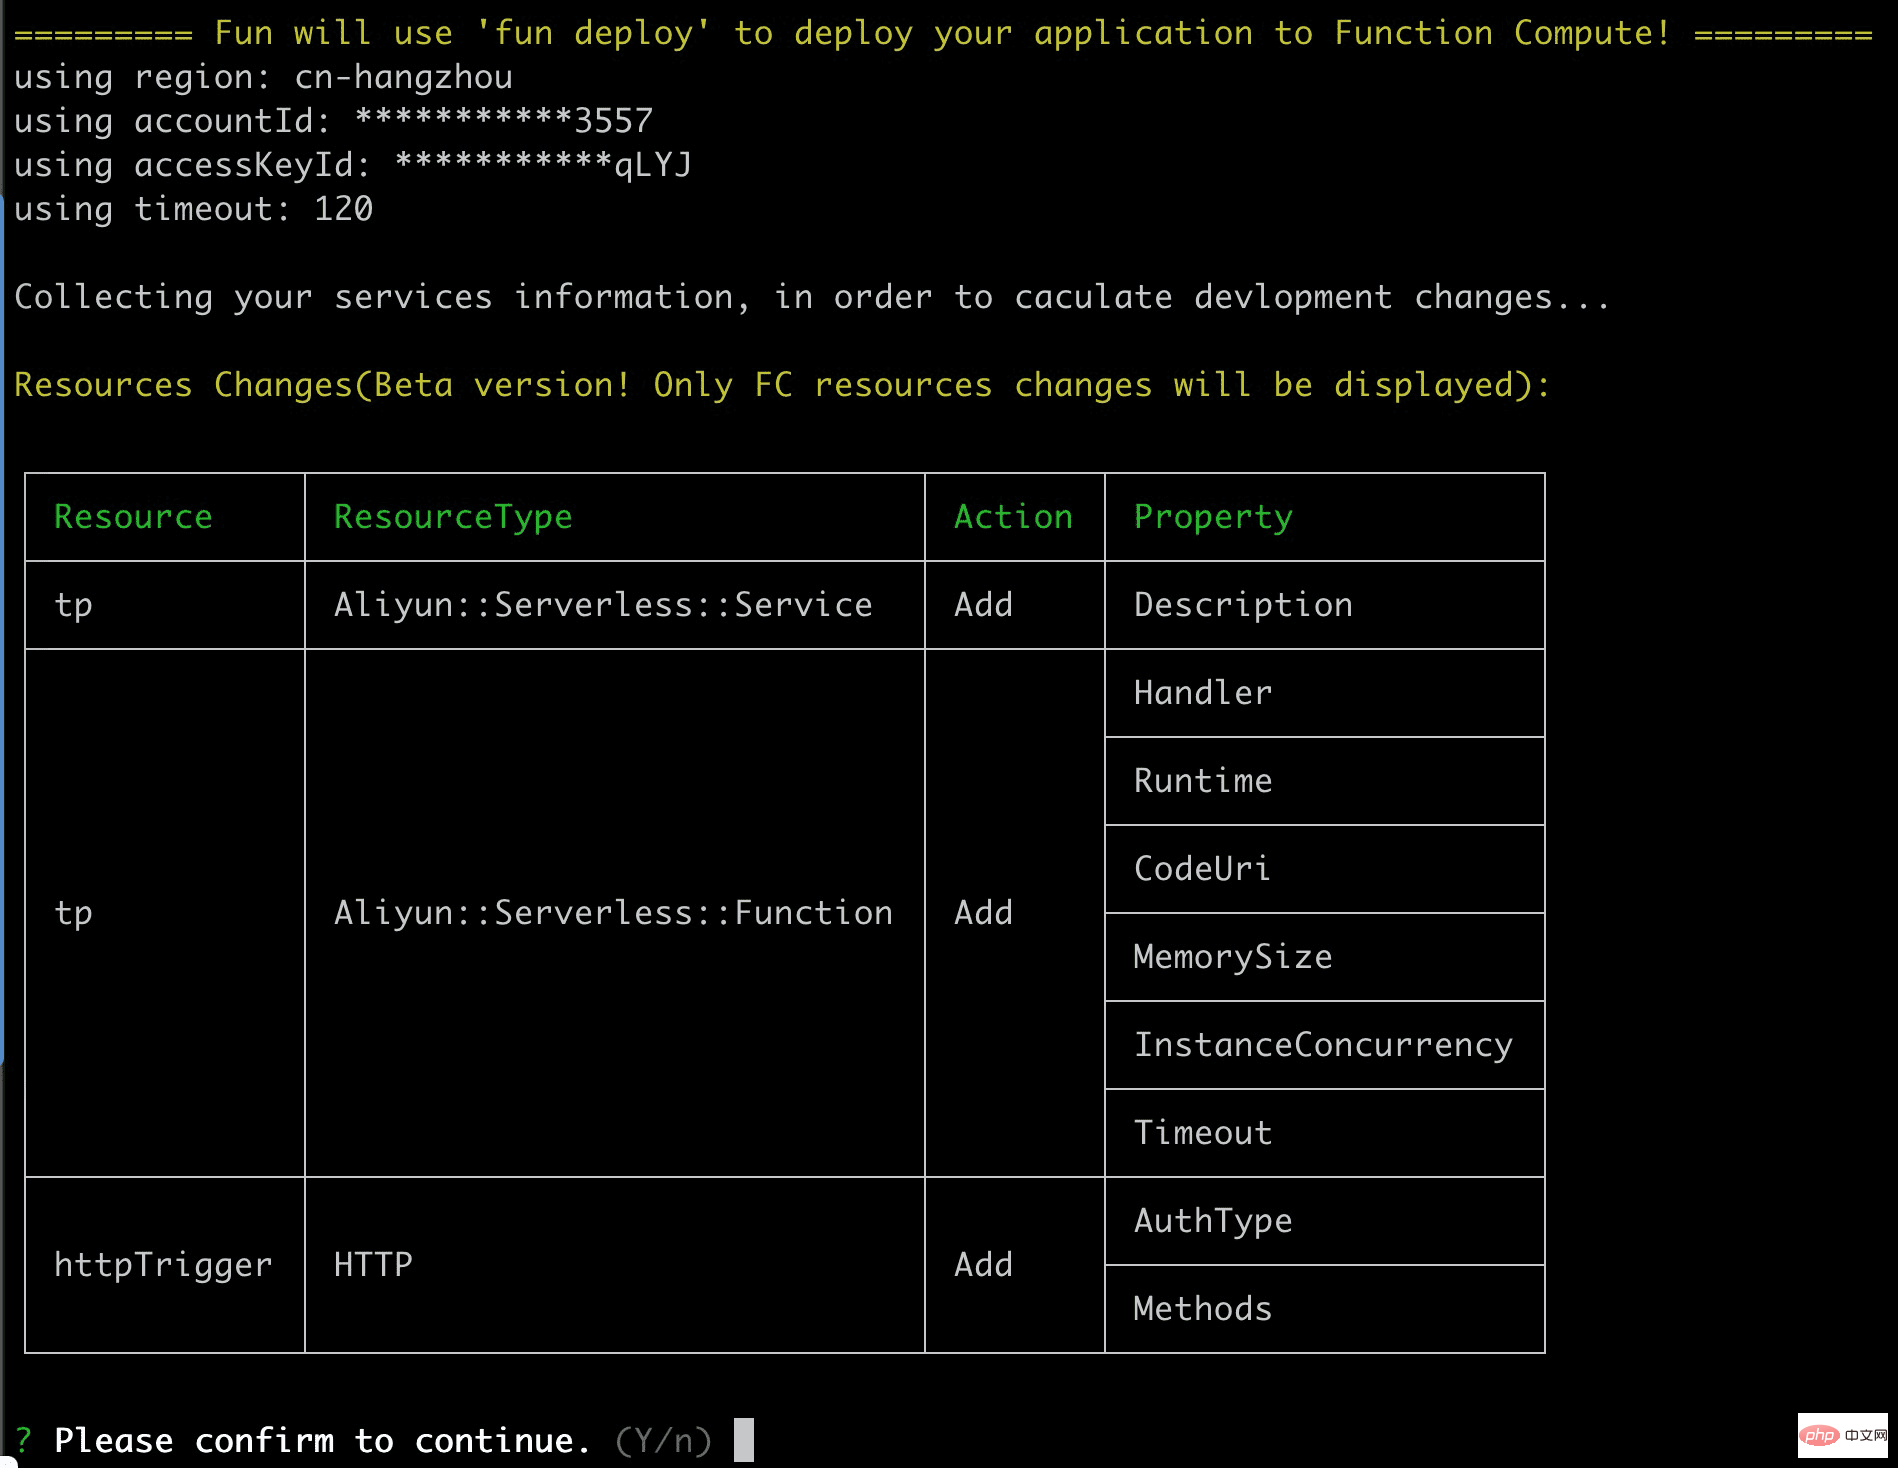
With only one command, Fun will automatically enter the deployment process. In this process, the user only needs to press a series of Enter. The process details are as follows:
- Fun detects that this is not a Fun project and will prompt for assistance in creating it (just press Enter or enter y)

- Fun project is automatically created successfully, prompts whether to deploy? You can press Enter directly, or enter y to confirm

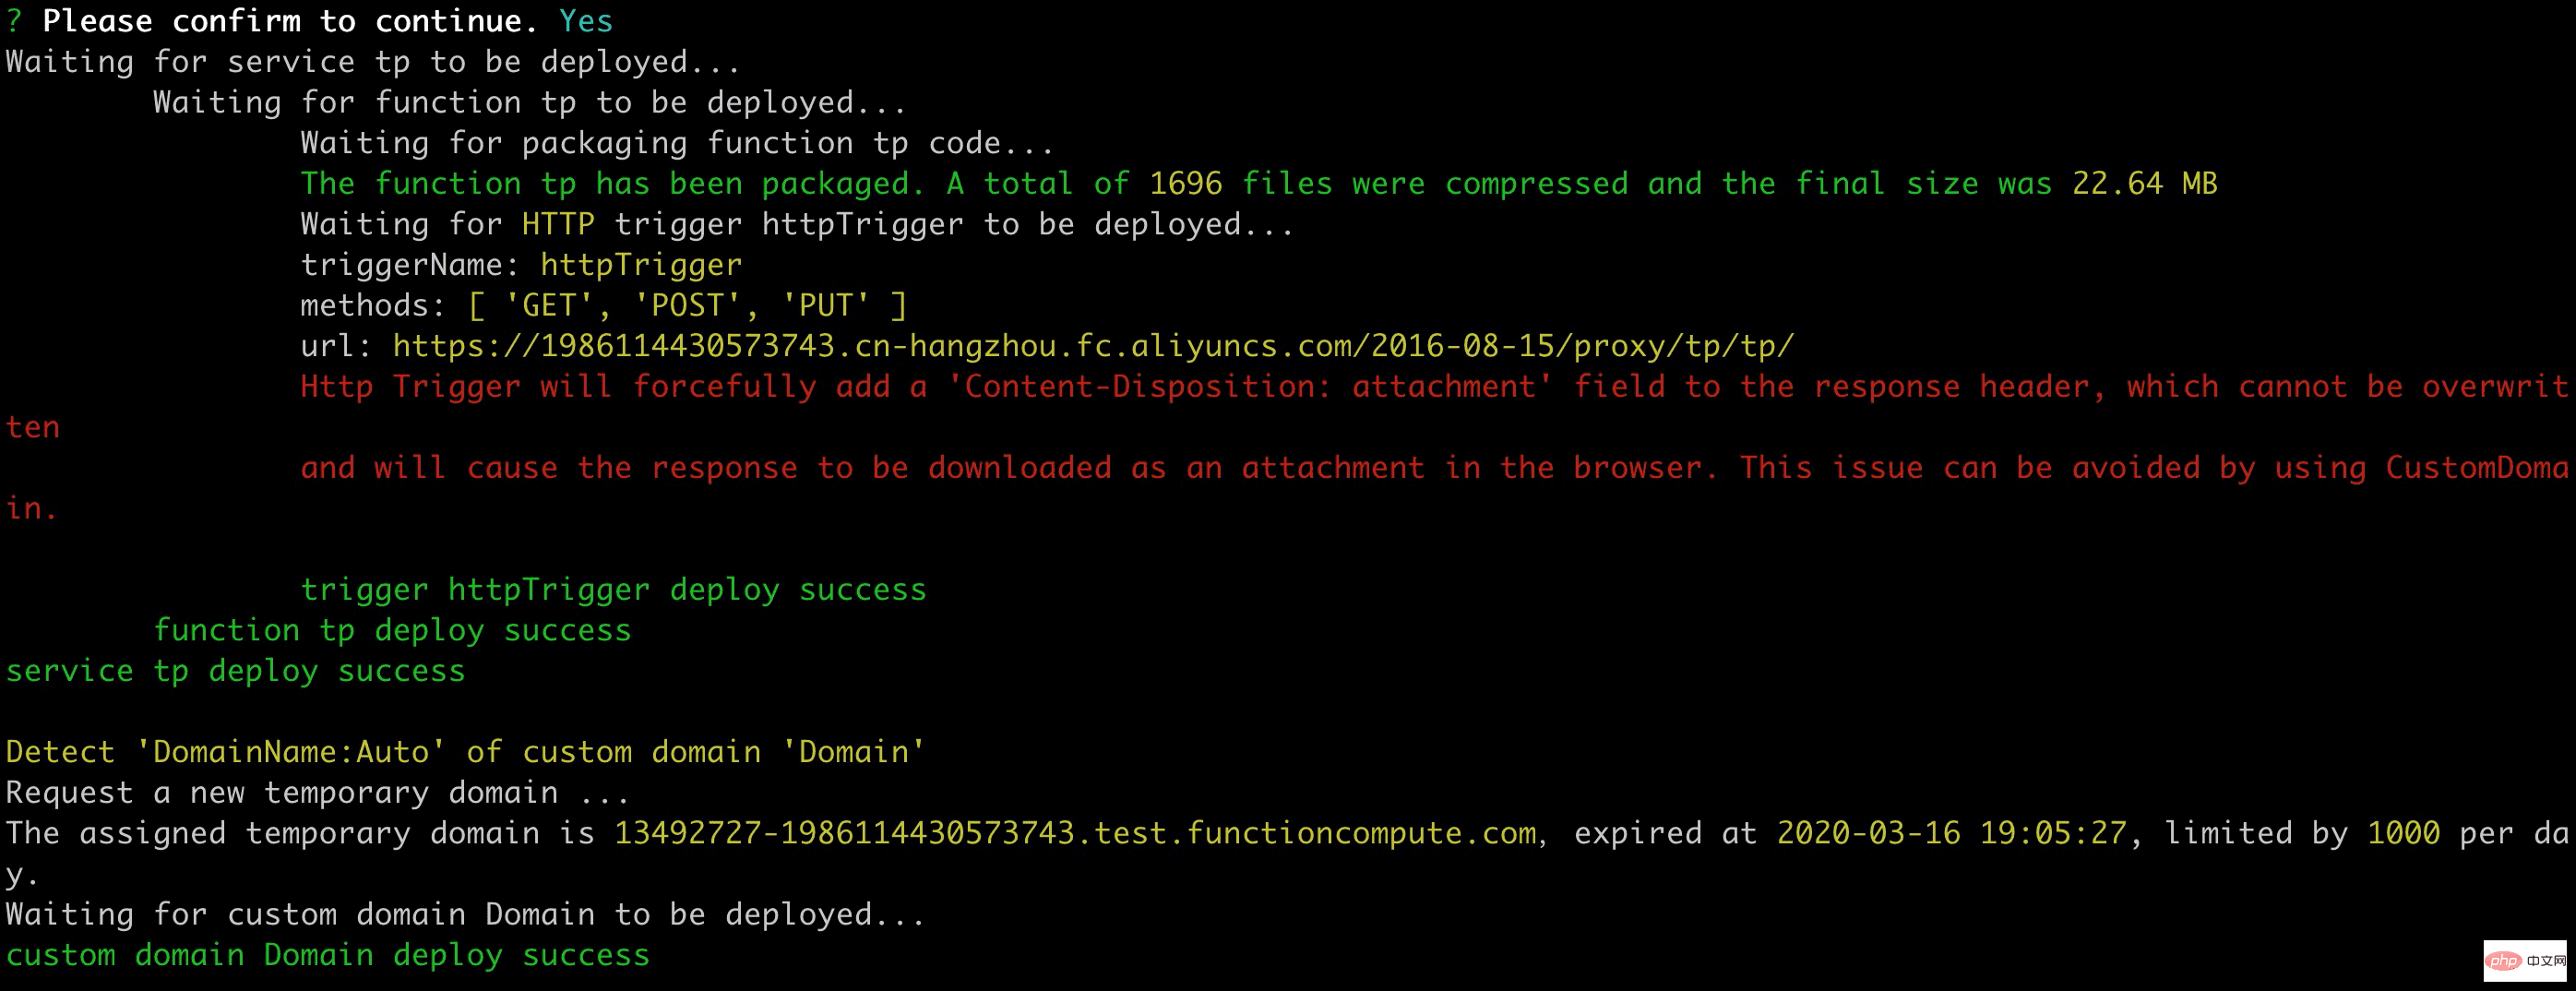
- Then Fun will directly deploy the application online

After the deployment is completed, we can see from the successful deployment log that Function Compute generated a temporary domain name 13492727-1986114430573743.test.functioncompute.com for us. We can access it directly through this temporary domain name. The application we just deployed.
备注:临时域名仅仅用作演示以及开发,是有时效的,如果用作生产,请绑定已经备案的域名。
第二个示例:快速迁移一个已有的 ThinkPHP 应用
这里我们拿一个开源的 ThinkPHP 博客做示例:https://github.com/wolf-leo/Wolf-Blog
首先我们需要将 blog 克隆下来:
git clone https://github.com/wolf-leo/Wolf-Blog.git
使用 composer 安装依赖:
composer install
在要使用的 mysql 数据库上新建一个名为 blog_test 的 database。然后编辑 config/database.php 文件,修改其中的数据库地址、用户名、密码信息。
// ... ...
return [
    // ... ...
    // 服务器地址
    'hostname' => '192.168.17.104',
    // 数据库名 测试数据库名称 不用修改 否则默认安装会出错
    'database' => 'blog_test',
    // 用户名  需要修改的地方
    'username' => 'root',
    // 密码     需要修改的地方
    'password' => 'root',
    // ... ...
];
修改完成后,就可以本地启动查看效果了:
$ php think run

ThinkPHP Development server is started On <http://127.0.0.1:8000/>
You can exit with `CTRL-C`
Document root is: /examples/php/Wolf-Blog/public
然后打开 http://localhost:8000 可以直接看到效果。

本地测试没问题后,就要进行部署了。部署前,我们需要知道,由于函数计算运行时代码目录本身是不可以修改的,而 ThinkPHP 会在代码目录下的 Runtime 这个目录写一些缓存文件,我们需要将这个缓存文件放到 /tmp 下面。在我们的例子中就是将 thinkphp/library/think/App.php 这个文件的第 174 行做如下修改:
- $this->runtimePath = $this->rootPath . 'runtime' . DIRECTORY_SEPARATOR;
+ $this->runtimePath = DIRECTORY_SEPARATOR . 'tmp' . DIRECTORY_SEPARATOR;
修改完成后可以直接使用以下命令进行部署:
fun deploy
经历与第一个示例一样的步骤后,我们可以得到一个可以访问的临时域名进行测试:13500180-1986114430573743.test.functioncompute.com。打开该临时域名,可以预览到与本地运行一样的效果。
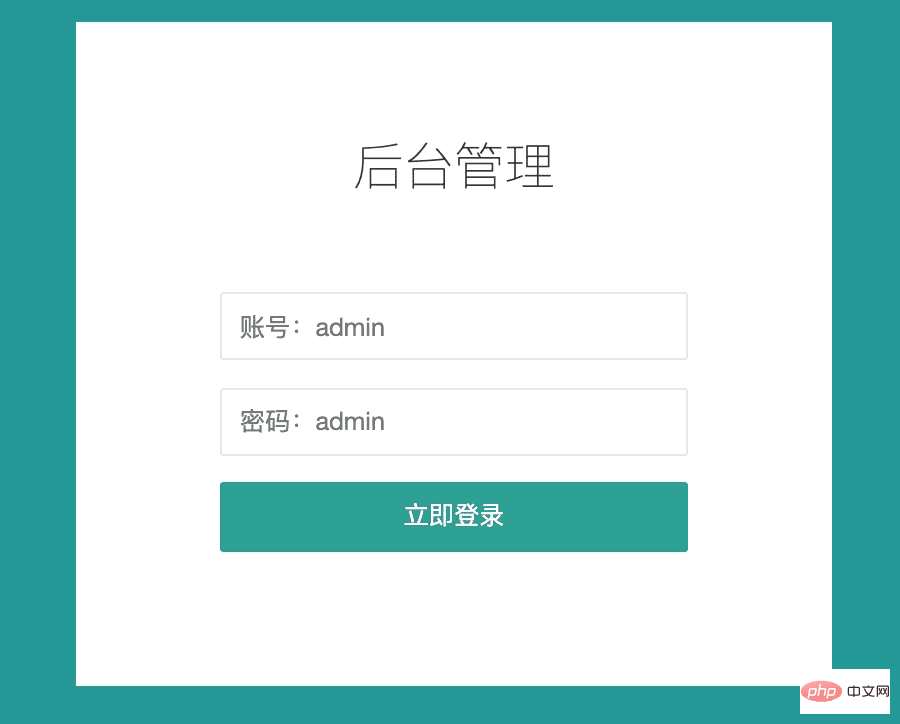
还可以访问 13500180-1986114430573743.test.functioncompute.com/admin 打开该应用的管理后台:

总结
本文主要介绍了如何将 ThinkPHP 应用部署到函数计算。相比较与传统的部署方法,不仅没有更复杂,还省略了购买机器、安装配置 Nginx、安装配置 php-fpm 等步骤。可以实现,将传统的 ThinkPHP 应用在本地开发完成后,一键部署到远端直接用于生产,并拥有了弹性伸缩、按量付费、免运维等特性。


