How to build components in Angular? This article will introduce you to Angular methods to create projects and three ways to create components in Angular.

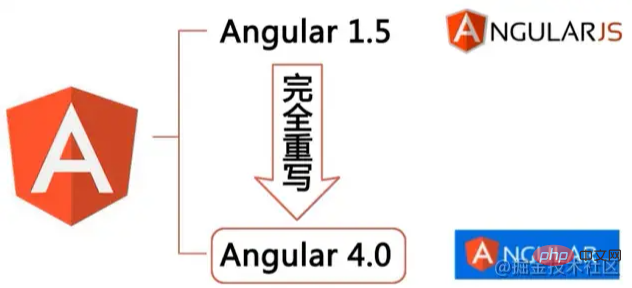
Naming changes, Angular2 and later will be officially named Angular, and versions before 2.0 are called AngualrJS. [Related tutorial recommendation: "angular tutorial"]
1.x is used by introducing the js file of AngularJS to the web page. After 2.0, it is completely different. The difference between the two is similar to Java and JavaScript.

1. Install the global Angular CLI command line tool
npm install -g @angular/cli
2. Create a project
ng new angular-tour-of-heroes
Note: The node version needs to be above 12, otherwise it will prompt: "'ng' is not an internal or external command, nor is it an operable program or batch file. ”
3. Run the project
cd angular-tour-of-heroes
ng serve --open
# Create a new file under the ##1.src file and name it hello-world.component.ts
import { Component } from "@angular/core";

@Component({
    selector: 'hello-world组件',
    // templateUrl: './app.component.html',
    // styleUrls: ["./app.component.scss"]
    template: `<h1>{{text}}</h1>`

})
export class HellowordComponent {
    constructor() {}
    text = "第一个模板";
}2.app.component.html or Add component tag
##
// 引入ng核心包和组件
import { Component } from '@angular/core';
@Component({
selector: 'app-root',//当前组件的引用名称
template:
`
<hello-world></hello-world>//x新增组件标签
` ,
// templateUrl: './app.component.html',//组件模板
styles: ['h1 { color:red}']
// styleUrls: ['./app.component.scss']//组件的样式文件
})
export class AppComponent {//组件名称
} in app.component.ts 3. Introduce the component into app.module.ts and declare the component
 Input command:
ng generate component hello-world

##2. Right click under components, and the following picture will appear
3. Click Generater component and enter the component name and press Enter
##4. Component generation
For more programming-related knowledge, please visit:
Introduction to Programming! !
The above is the detailed content of How to build components in Angular? 3 methods introduced. For more information, please follow other related articles on the PHP Chinese website!
 What are the office software
 Introduction to the meaning of cloud download windows
 What to do if temporary file rename fails
 What to do if avast reports false positives
 The difference between get and post
 Telecom cdma
 What should I do if the CAD image cannot be moved?
 fakepath path solution
 Check if the port is open in linux