

How to install php plug-in with hbuilder: 1. Create a new project phpinfo in the htdocs folder; 2. Select the phpinfo file; 3. Click "Tools" –> "Plug-in Installation" –>Install "Aptana" php" plug-in; 5. Configure HBuilder external server.

Hbuilder installs the PHP plug-in
(1) In the installation path of xampp, create a new project phpinfo in the htdocs folder (that is, a folder )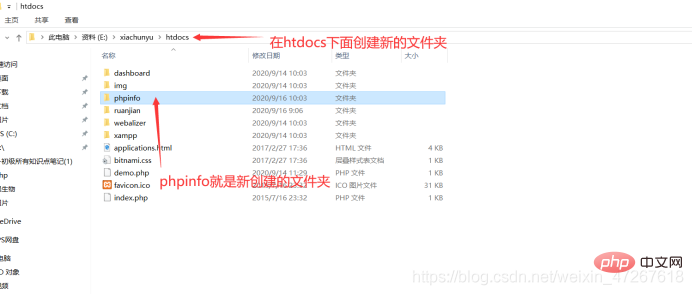


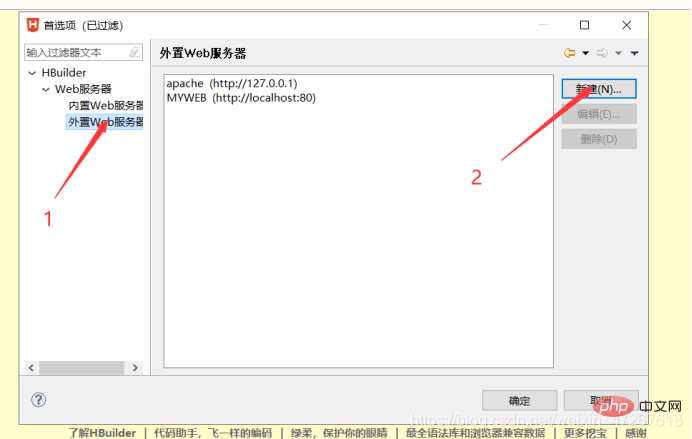
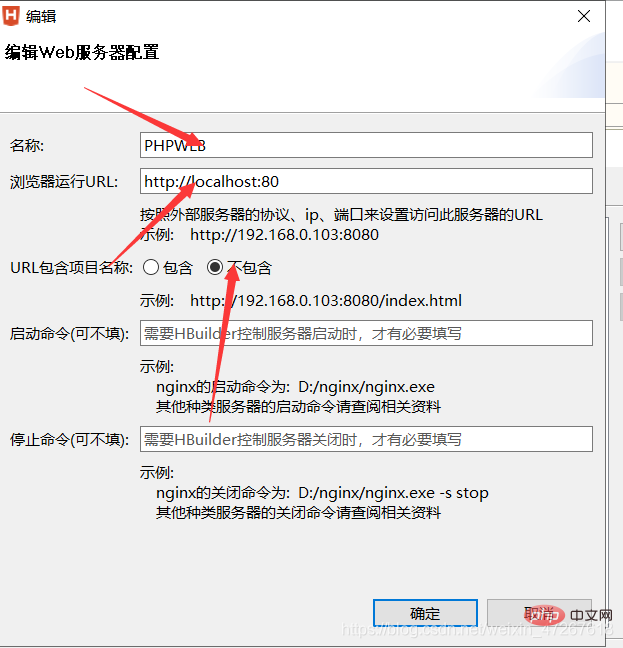
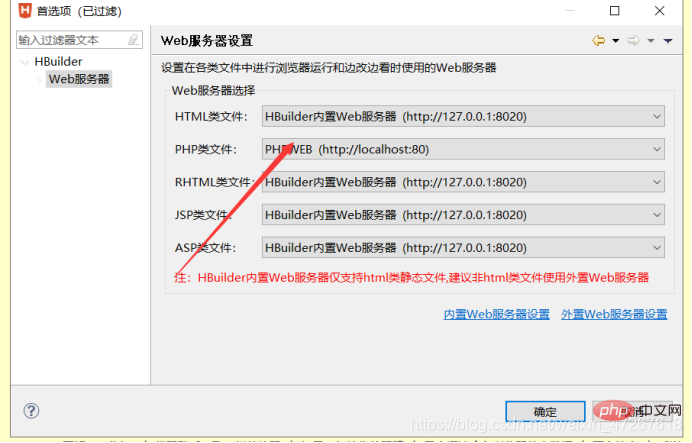
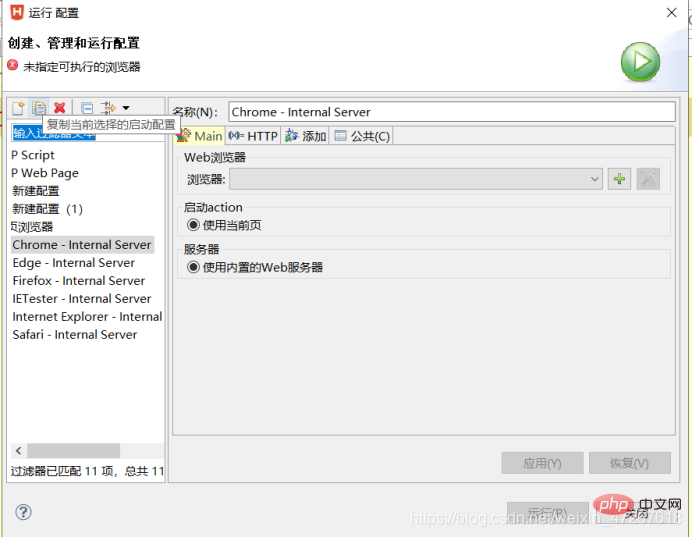
(5) Configure the HBuilder external server (the key to this article)
Select "Run" – > Select “Browser Run” – > Select “Set WEB Server” 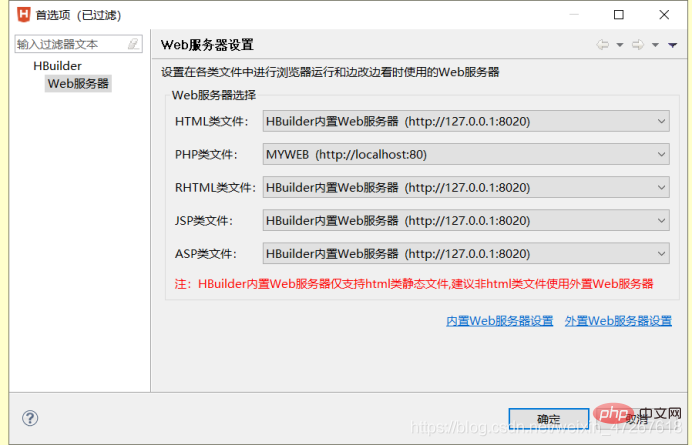

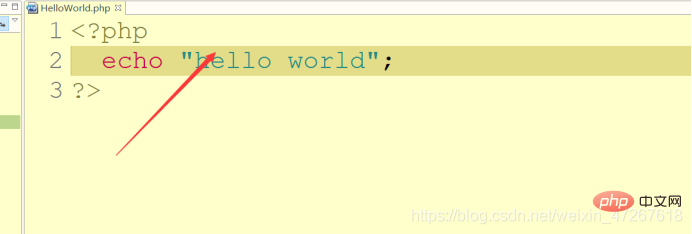
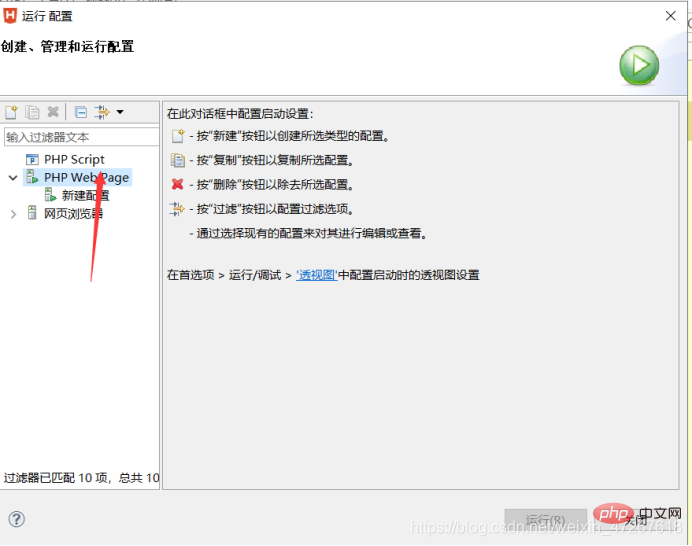
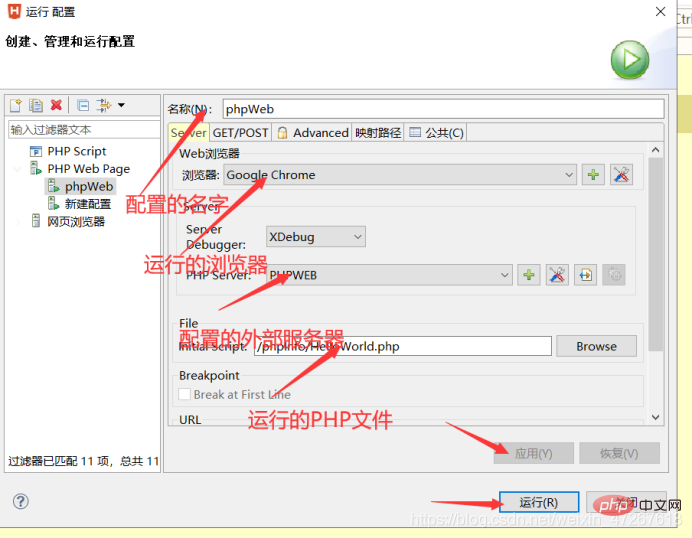
(6) Create a new php file for testing
Create a new PHP file in the phpinfo just now, 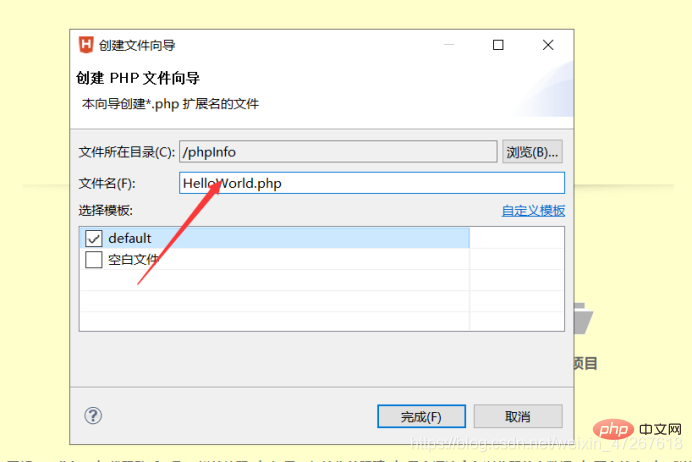

PHP Video Tutorial"
The above is the detailed content of How to install php plug-in in hbuilder. For more information, please follow other related articles on the PHP Chinese website!
 How to learn go language from 0 basics
 What currency is BTC?
 Characteristics of relational databases
 What is machine language
 c/s architecture and b/s architecture
 Reasons why ping fails
 What is a servo motor
 The difference between win10 home version and professional version
 How do mysql and redis ensure double-write consistency?


![[Web front-end] Node.js quick start](https://img.php.cn/upload/course/000/000/067/662b5d34ba7c0227.png)


