 Topics
 Pagoda Panel
 5. Pagoda Panel FTP installation and usage tutorial (picture and text steps)
5. Pagoda Panel FTP installation and usage tutorial (picture and text steps)
How to establish FTP in Pagoda Panel: 1. Install FTP; 2. Create FTP; 3. Open the port; 4. Modify the port; 5. Install xftp; 6. Connect to the server.

1. FTP
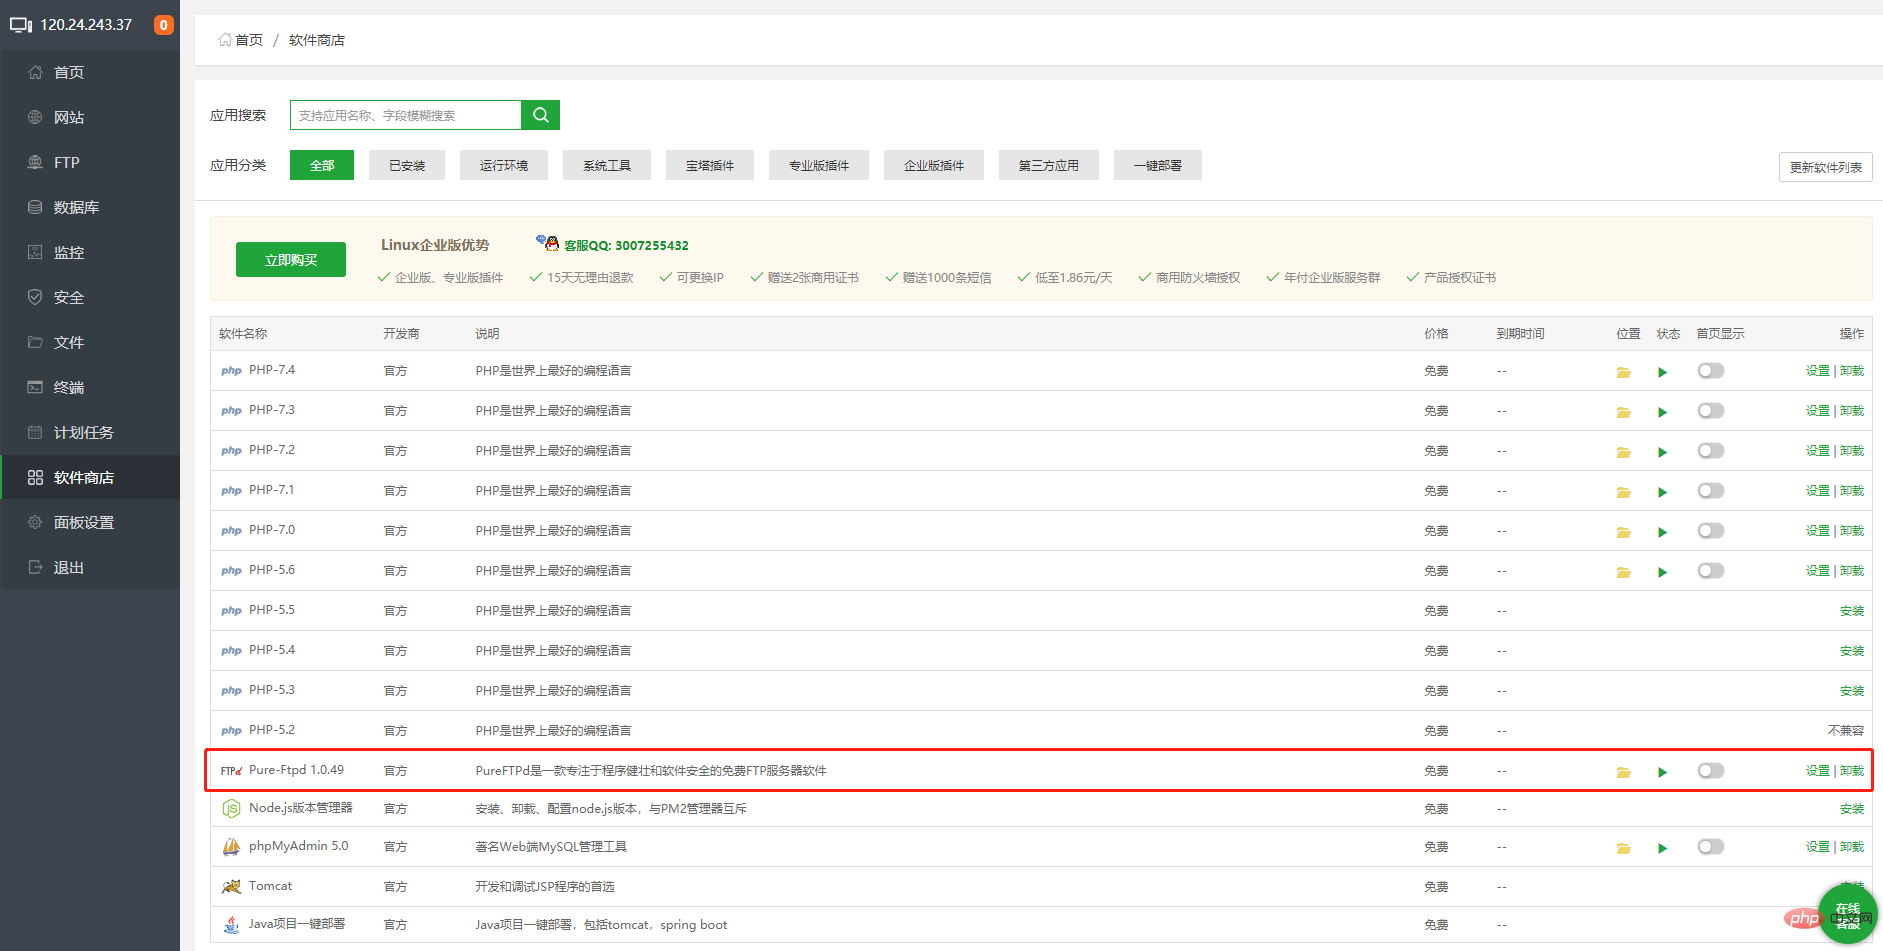
1. Install FTP
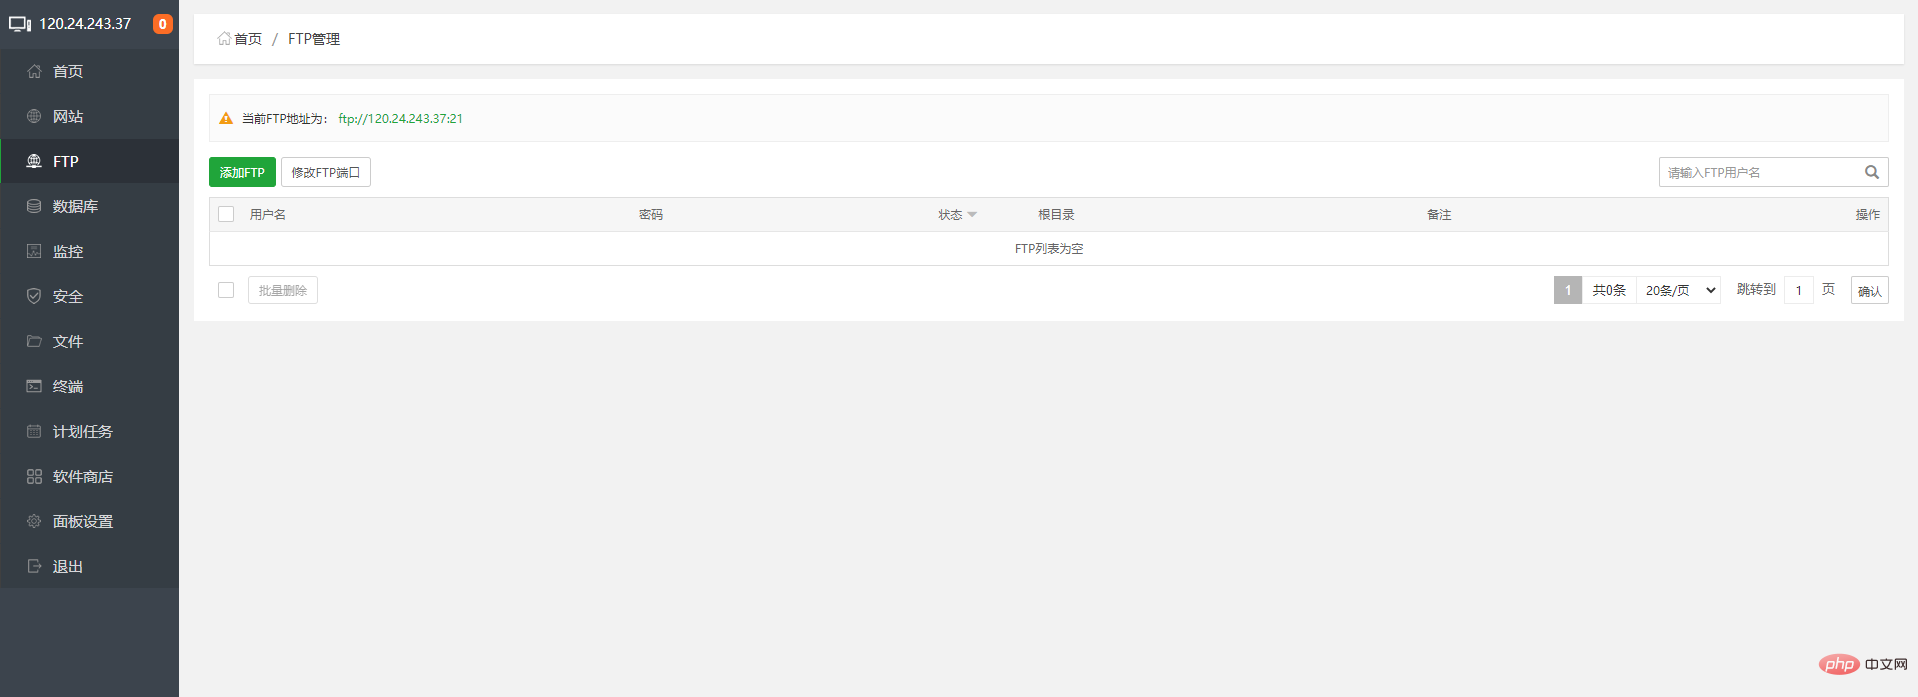
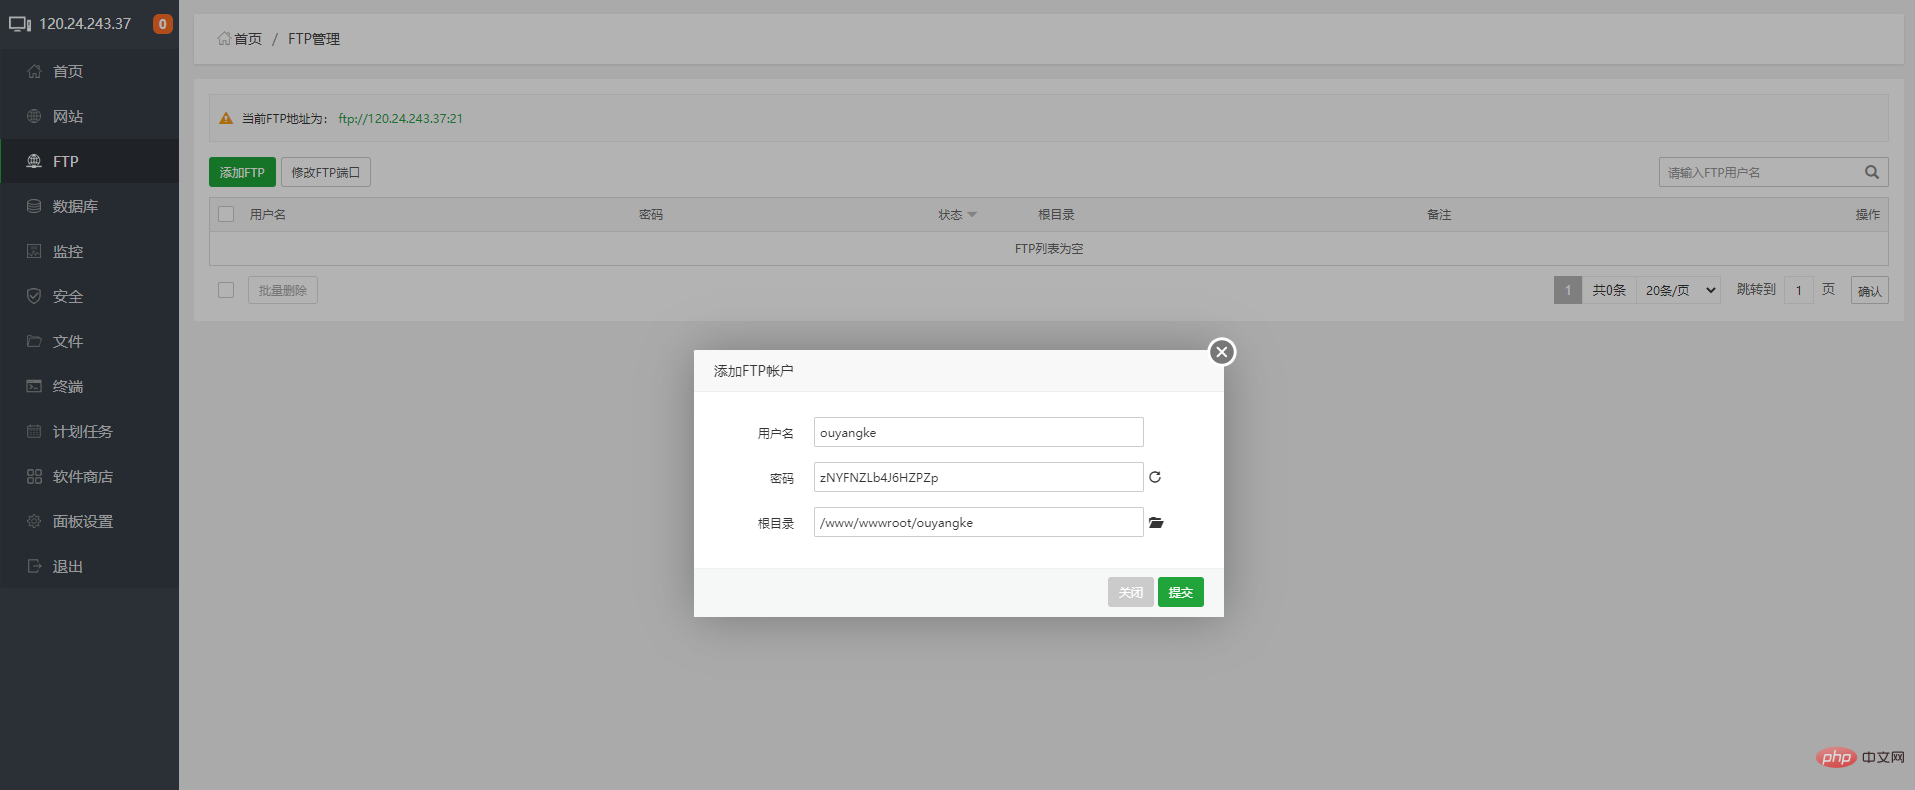
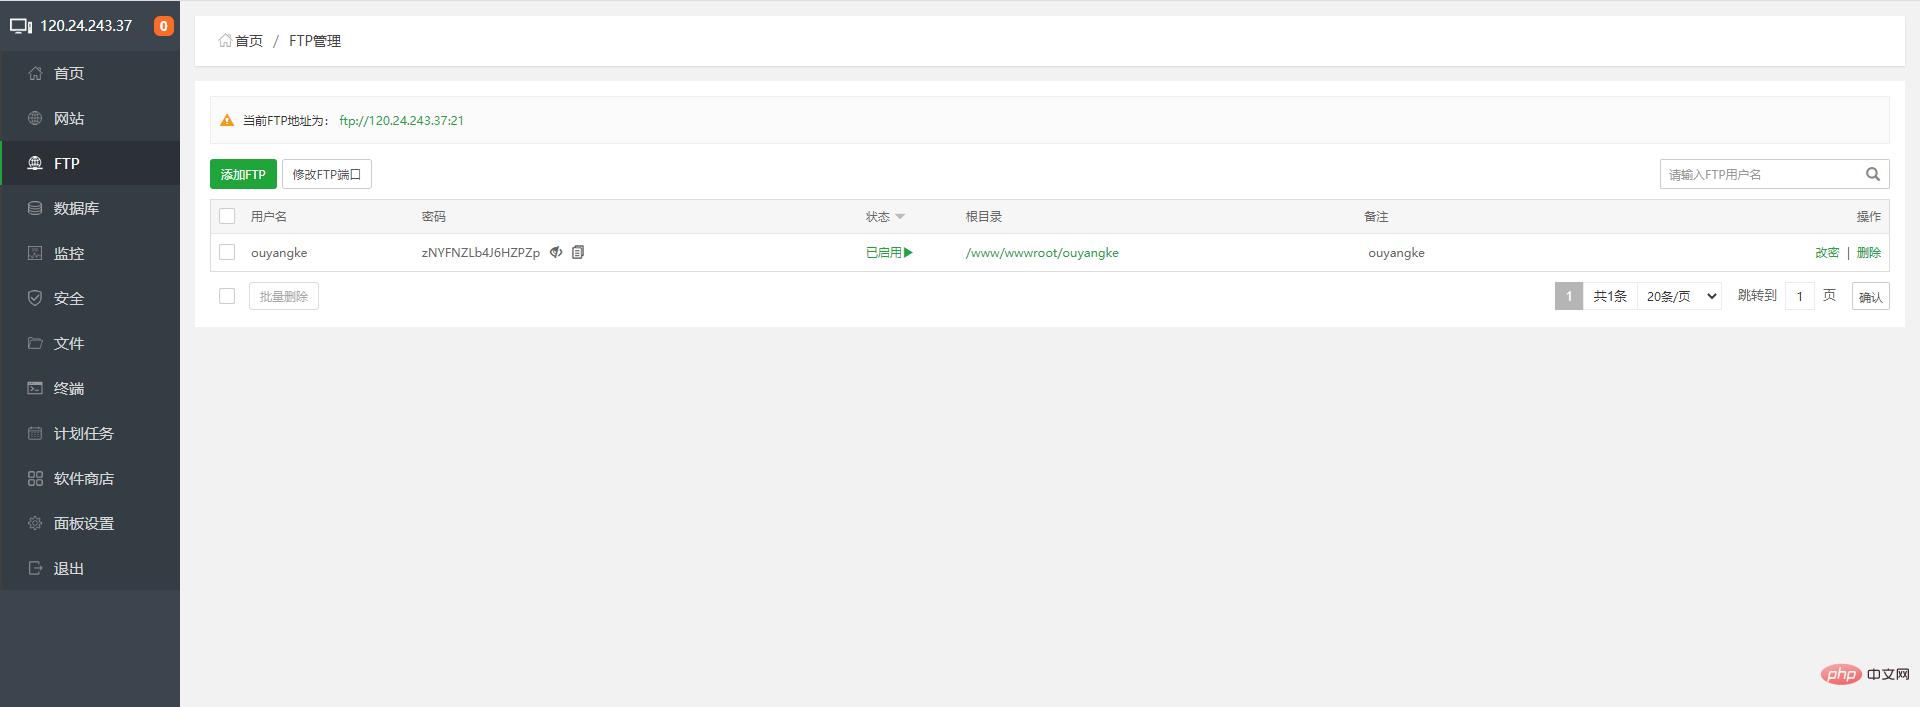
2. Create FTP
3. Open the port
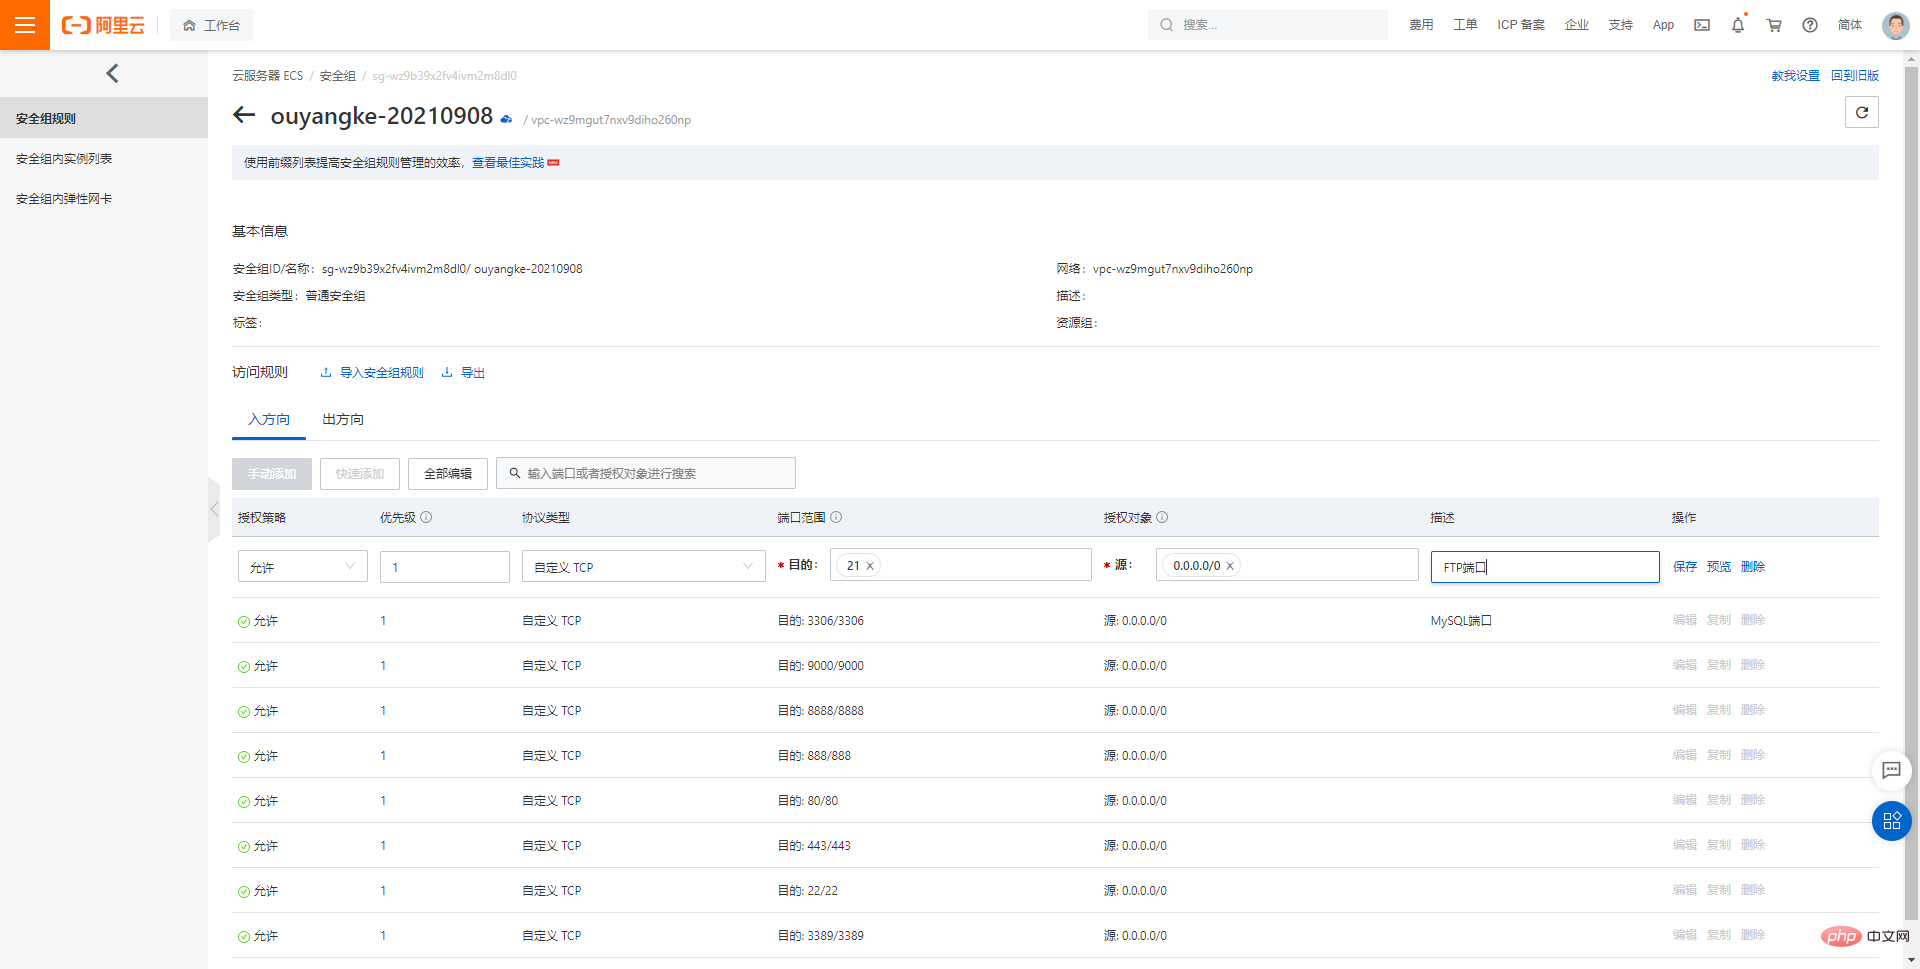
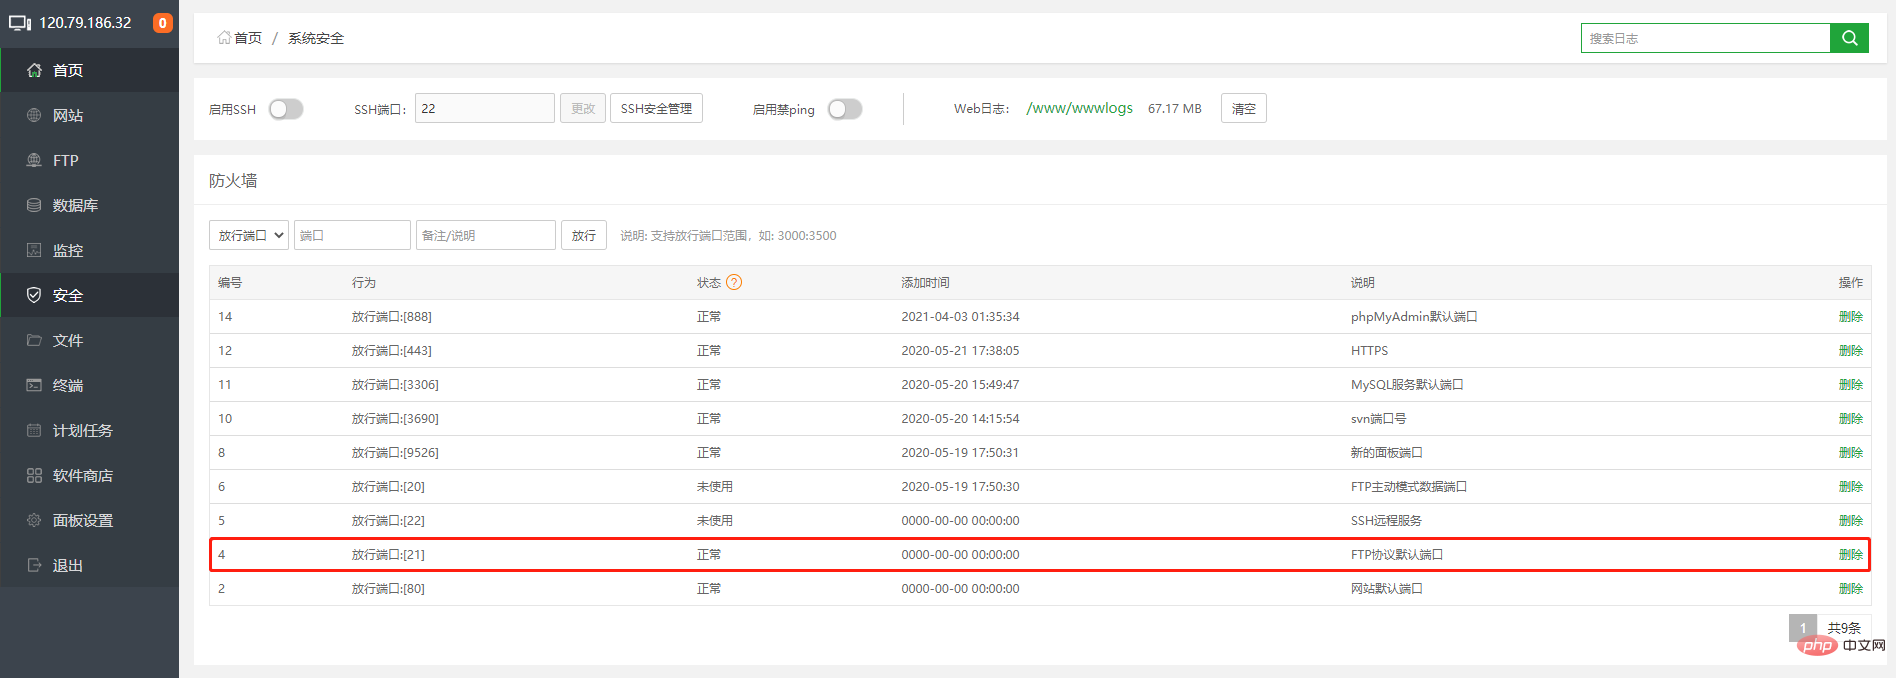
2. Xftp software
1. Installation software
There are many FTP software for Windows system, recommended: Xftp
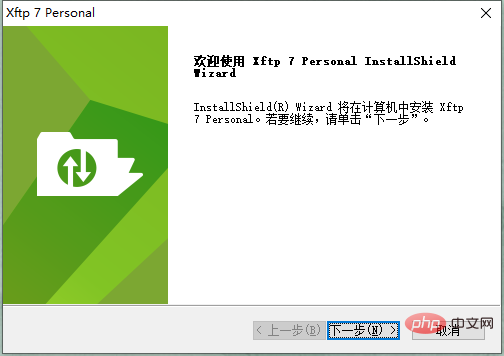
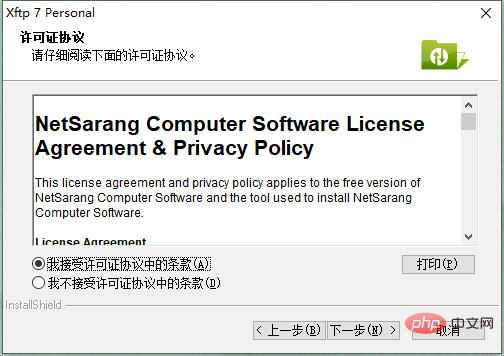
- #Change to D drive
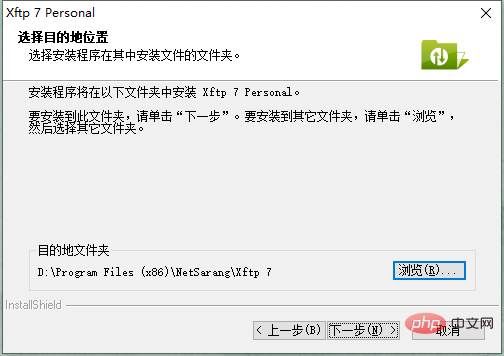
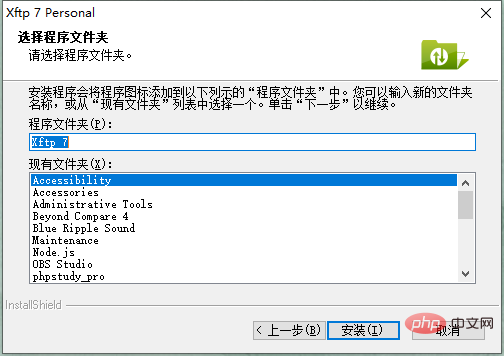
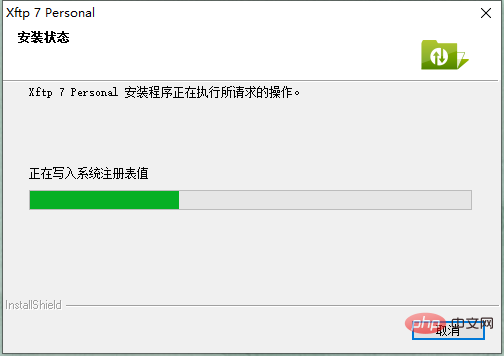
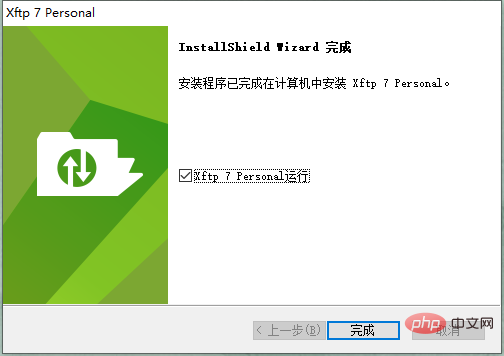
##
2. The root account connects to the server.
The root account port is 22
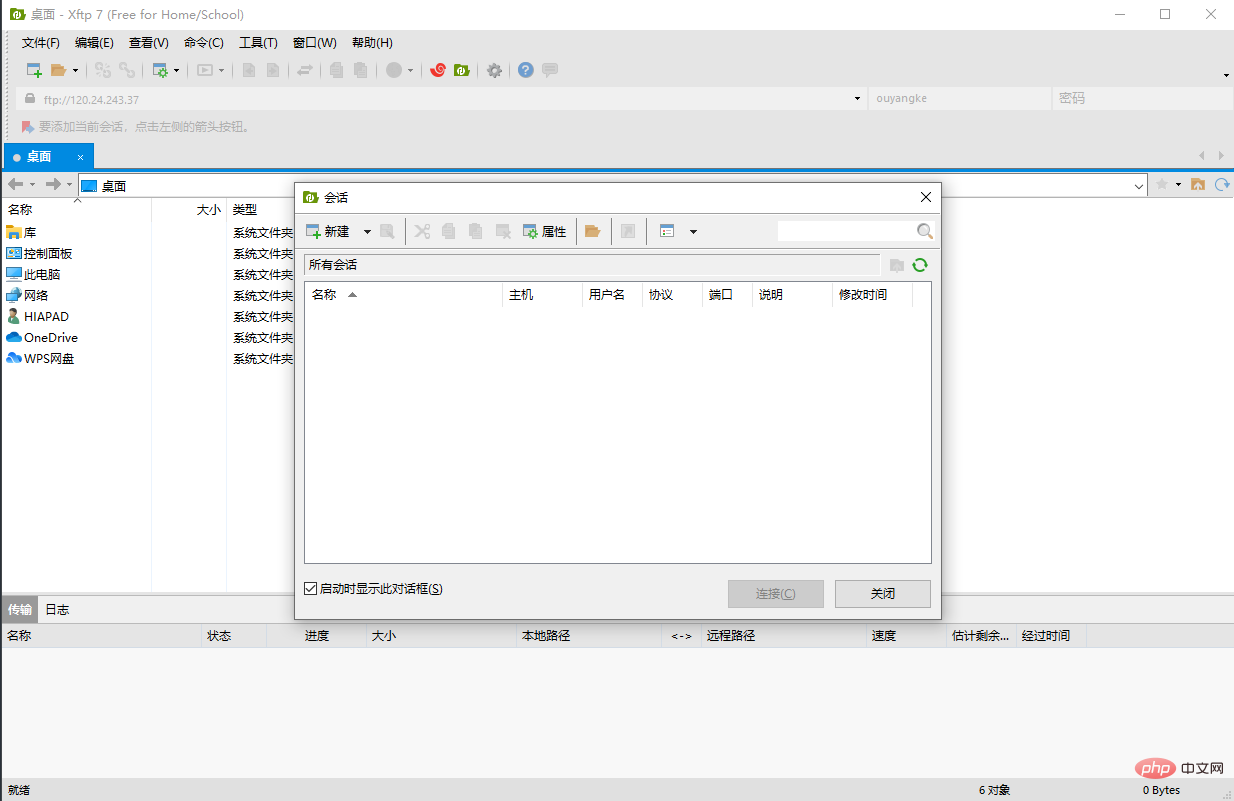
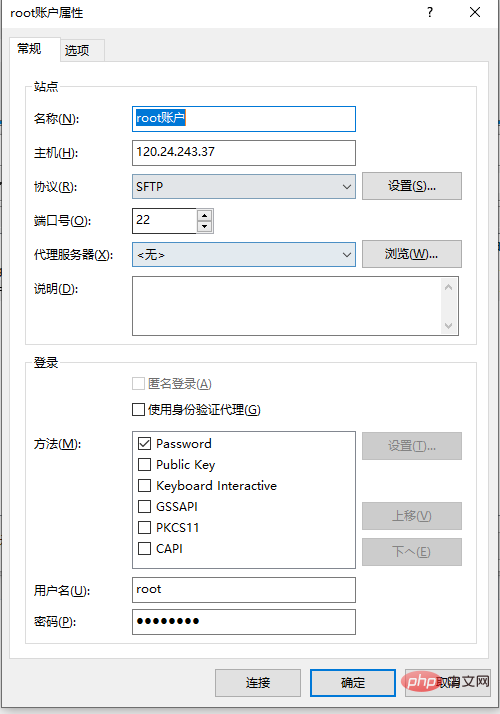
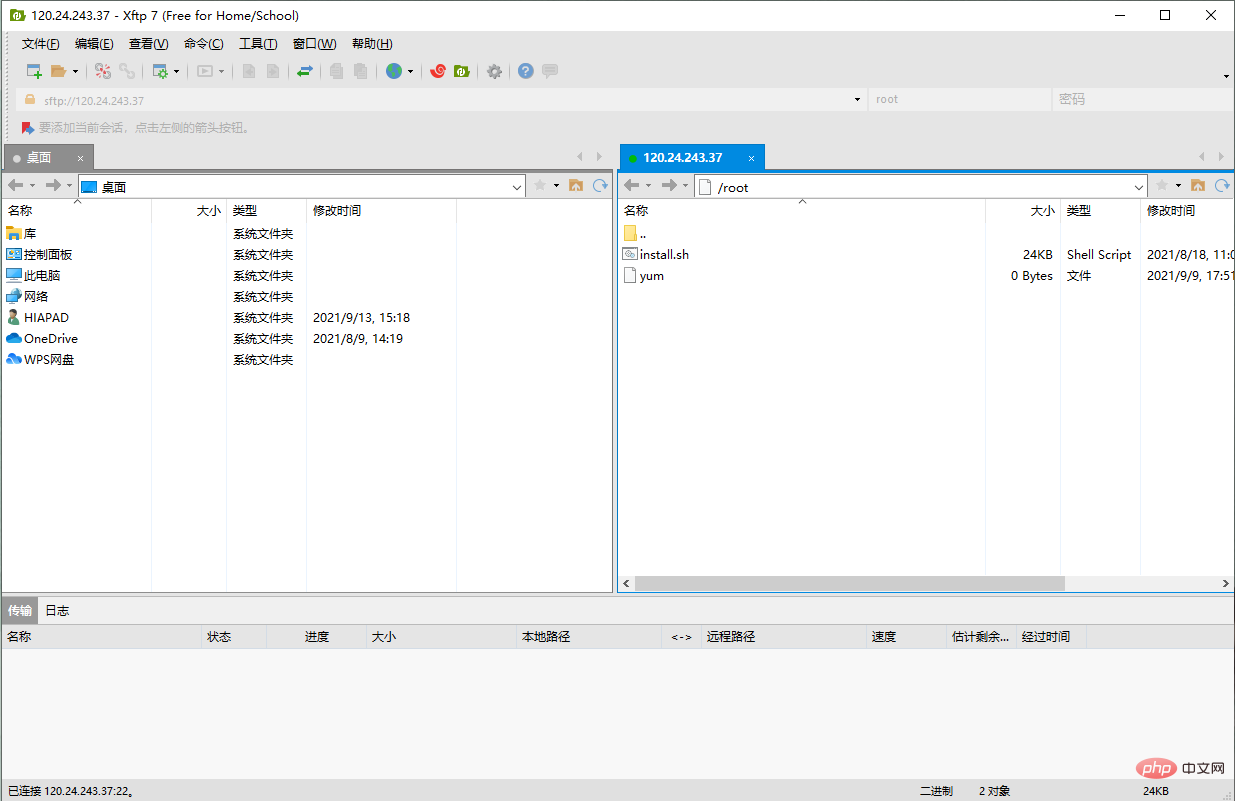
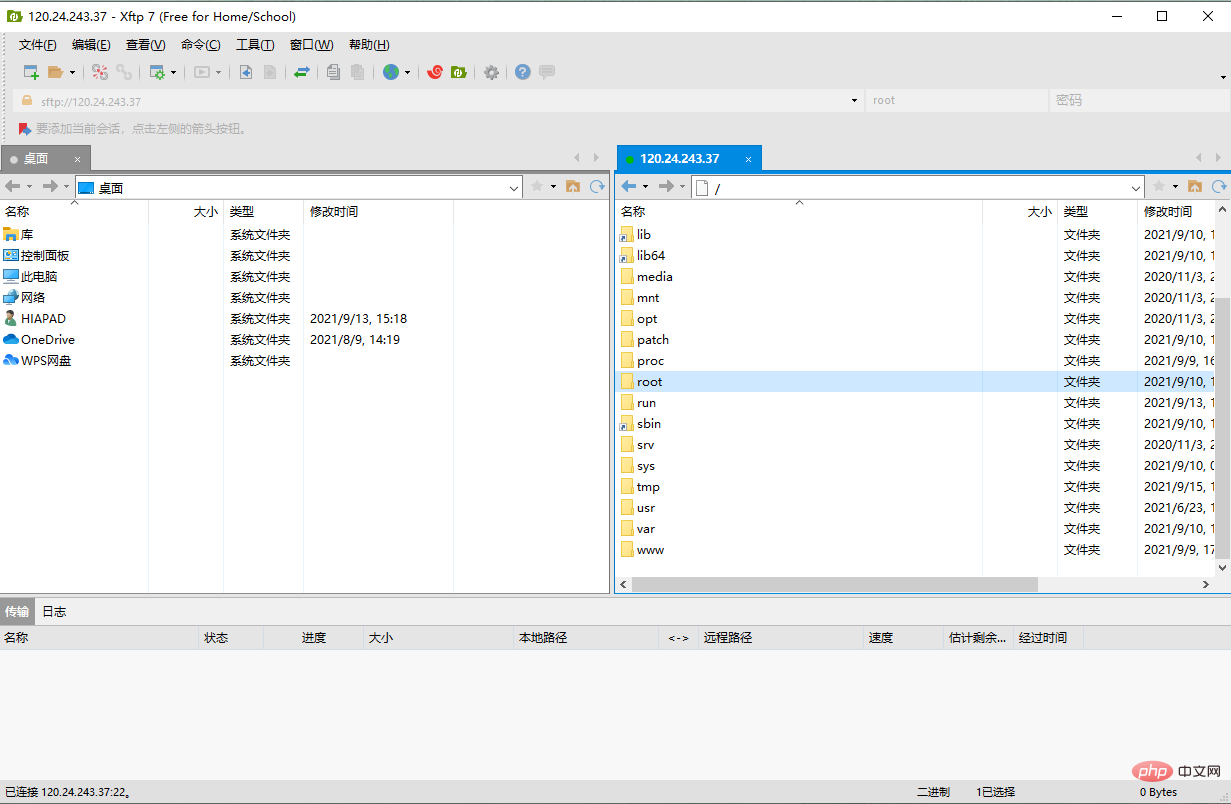
- Use port 21
for other accounts
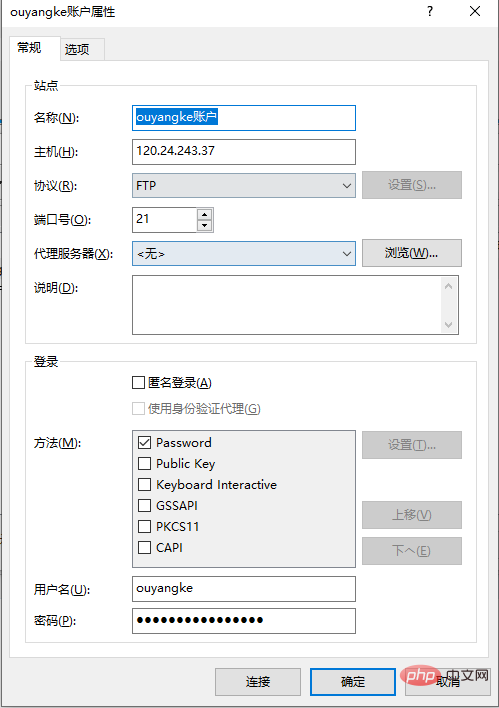
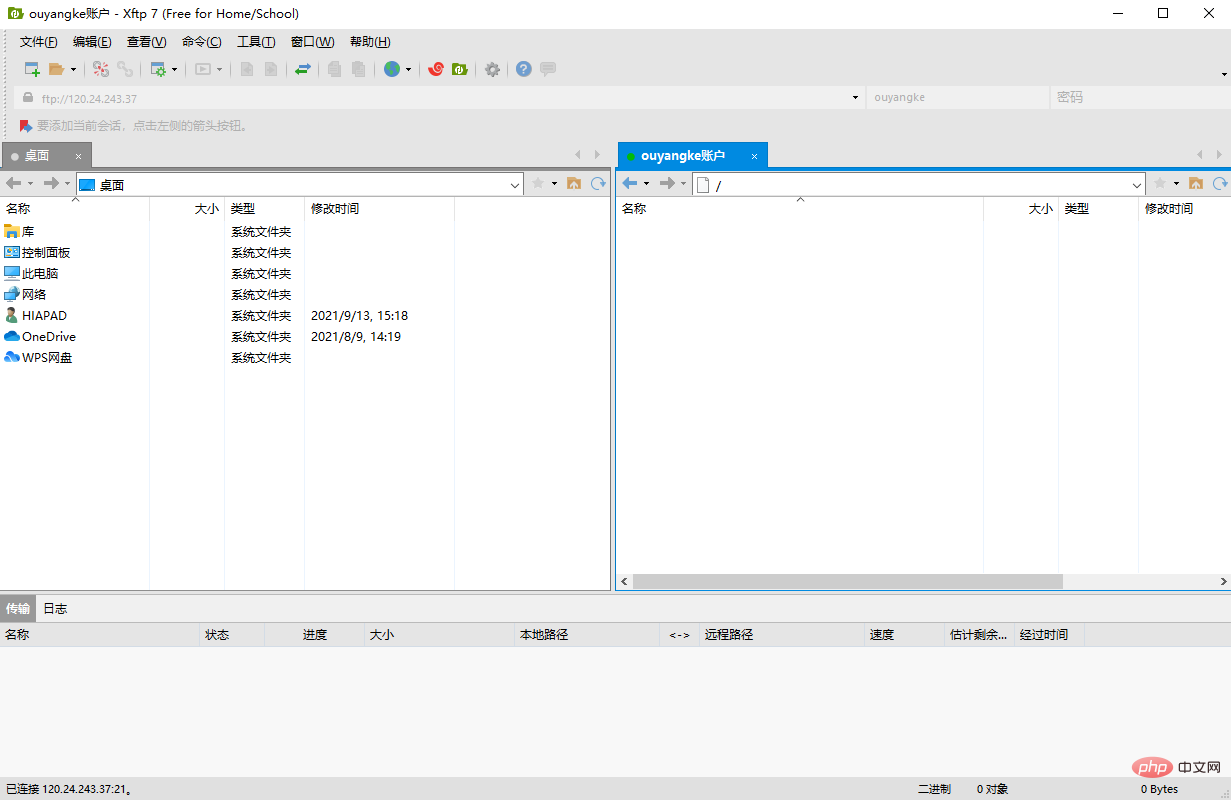
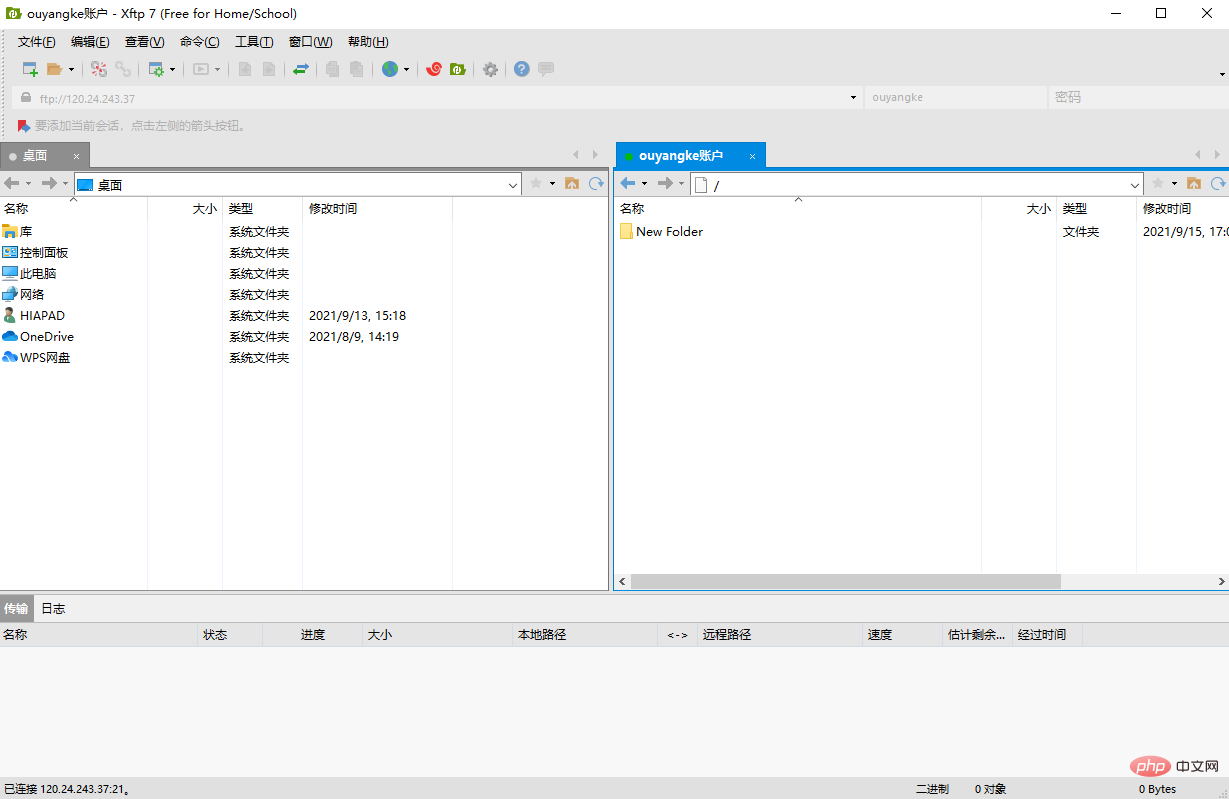 ##4. Unable to connect
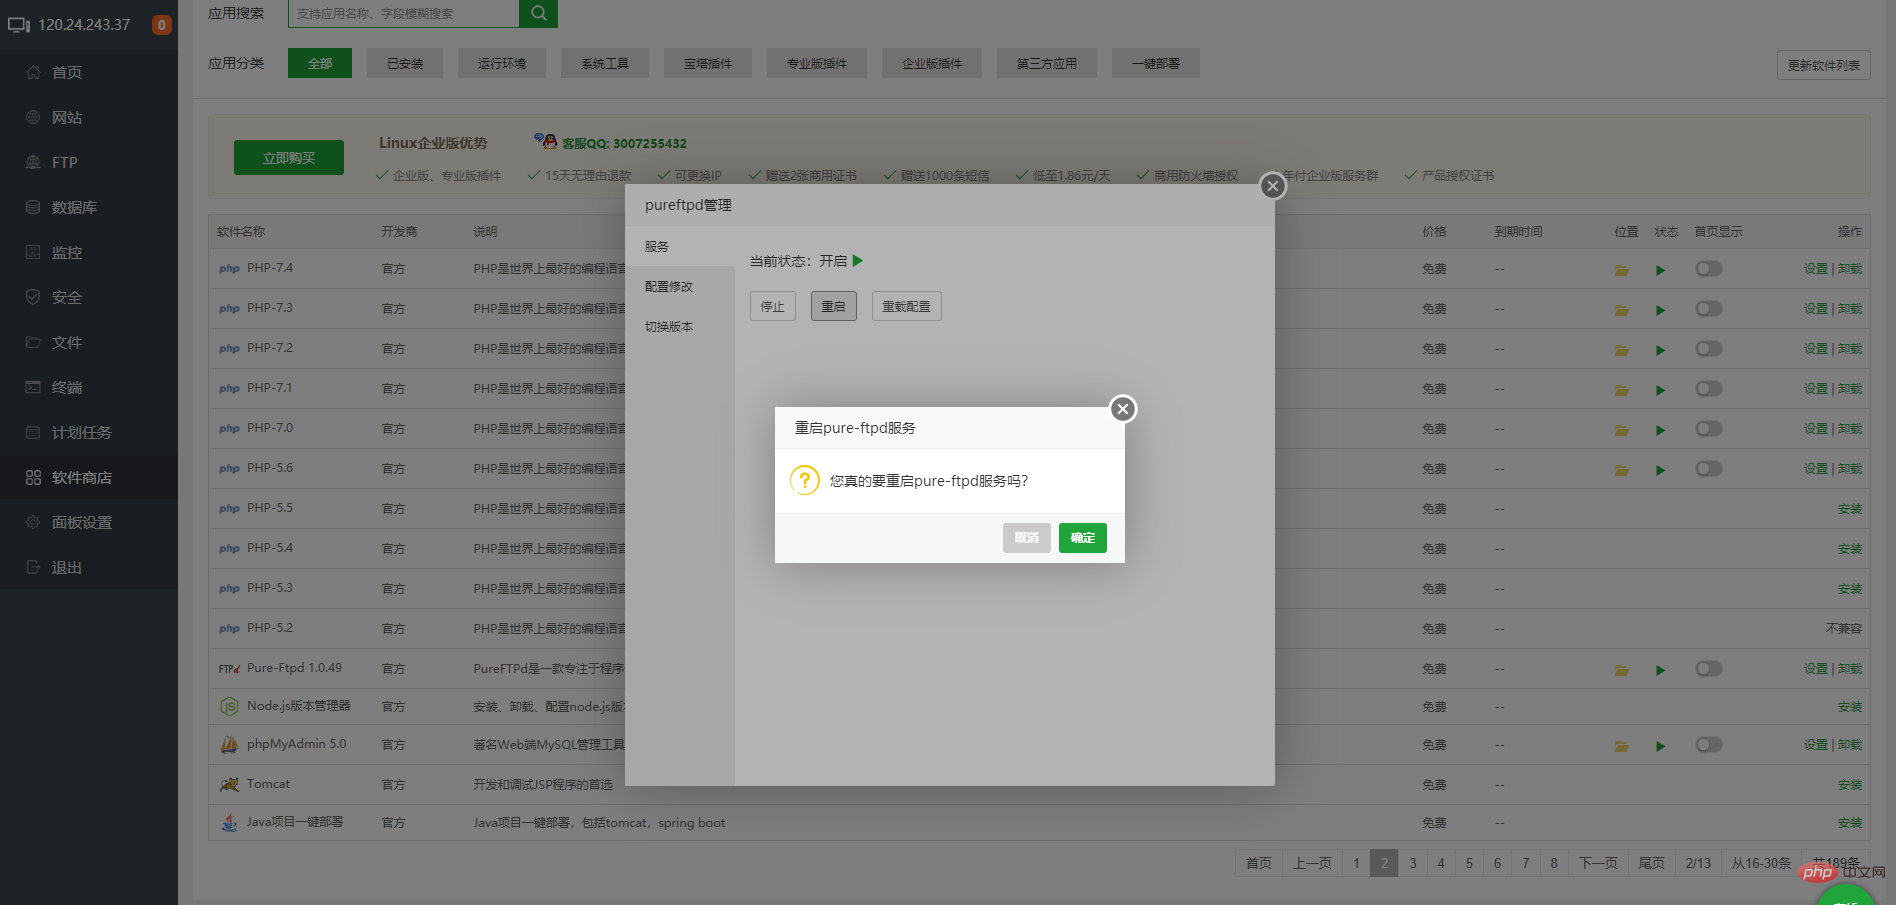
- In the Pagoda Panel-"Software Store-"Pure-Ftpd-"Settings-"Configuration Modification-"Search ForcePassiveIP, remove the # number and change the ip address to a public network ip
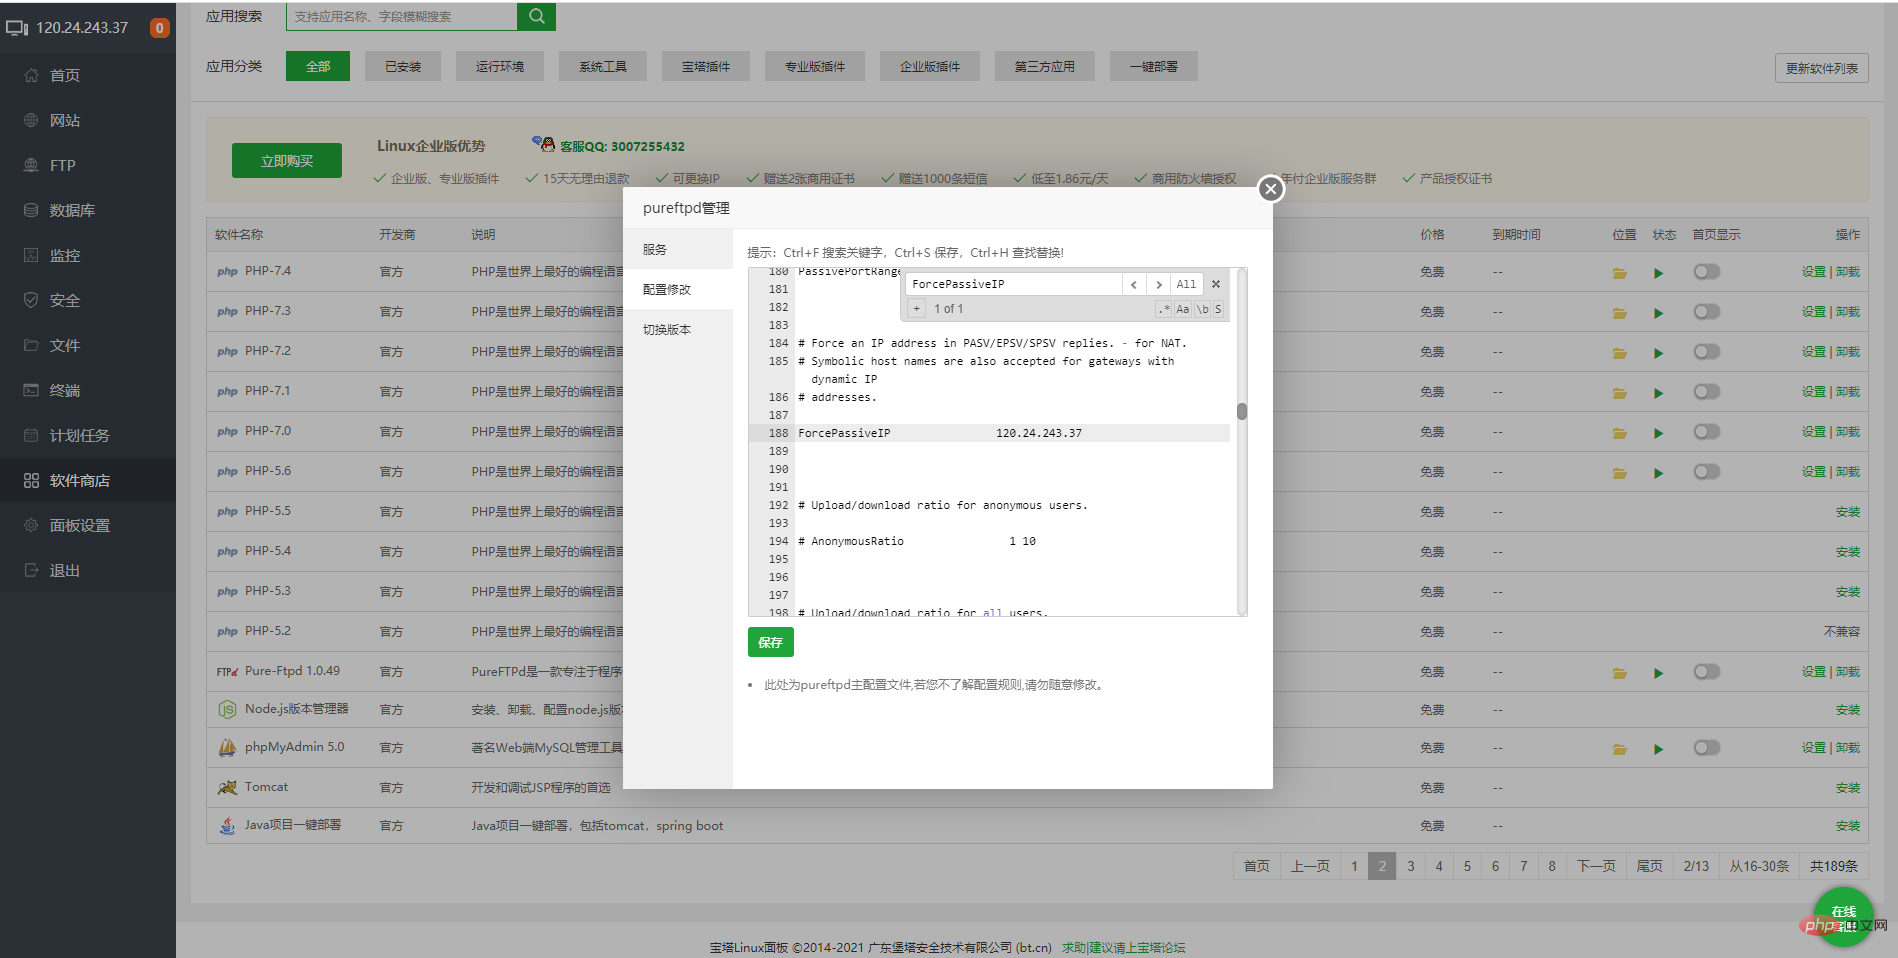
- Restart the service
[Special topic: Building and using Linux CentOS server PHP operating environment]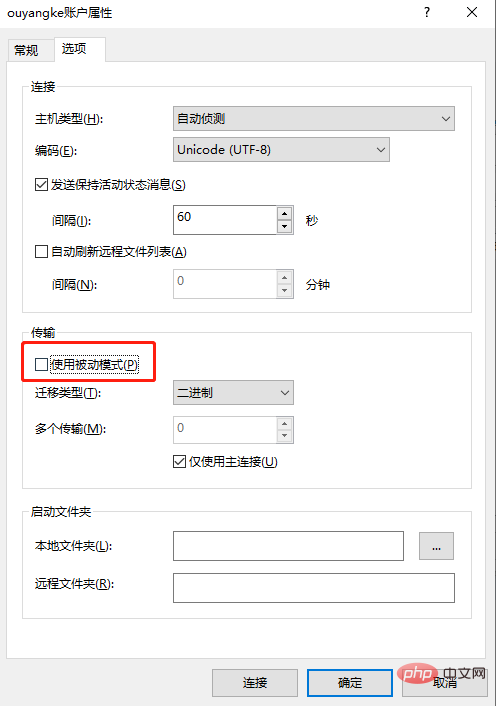
linux CentOS server is online
2. linux CentOS Pagoda panel
3. linux CentOS Pagoda panel uses svn
Four, External network access database
Five, Pagoda panel FTP
Recommended learning: php training
The above is the detailed content of 5. Pagoda Panel FTP installation and usage tutorial (picture and text steps). For more information, please follow other related articles on the PHP Chinese website!

Hot AI Tools

Undresser.AI Undress
AI-powered app for creating realistic nude photos

AI Clothes Remover
Online AI tool for removing clothes from photos.

Undress AI Tool
Undress images for free

Clothoff.io
AI clothes remover

AI Hentai Generator
Generate AI Hentai for free.

Hot Article

Hot Tools

Notepad++7.3.1
Easy-to-use and free code editor

SublimeText3 Chinese version
Chinese version, very easy to use

Zend Studio 13.0.1
Powerful PHP integrated development environment

Dreamweaver CS6
Visual web development tools

SublimeText3 Mac version
God-level code editing software (SublimeText3)

Hot Topics
 PHP and FTP: realizing file sharing among multiple departments in website development
Jul 28, 2023 pm 01:01 PM
PHP and FTP: Achieve file sharing among multiple departments in website development. With the development of the Internet, more and more companies are beginning to use website platforms for information release and business promotion. However, the problem that arises is how to achieve file sharing and collaboration among multiple departments. In this case, PHP and FTP become one of the most commonly used solutions. This article will introduce how to use PHP and FTP to achieve file sharing among multiple departments in website development. 1. Introduction to FTP FTP (FileTransferPr
 How to compare directories and files on an FTP server via PHP
Jul 28, 2023 pm 02:09 PM
How to compare directories and files on an FTP server through PHP In web development, sometimes we need to compare local files with files on the FTP server to ensure consistency between the two. PHP provides some functions and classes to implement this functionality. This article will introduce how to use PHP to compare directories and files on an FTP server, and provide relevant code examples. First, we need to connect to the FTP server. PHP provides the ftp_connect() function to establish an FTP server
 How to set the speed limit of the virtual host through the Pagoda panel
Jun 21, 2023 am 11:17 AM
Pagoda Panel is a very excellent server management panel under Linux system. It has powerful functions and friendly interface, which can help users manage servers easily. In the process of using the Pagoda Panel, it is sometimes necessary to limit the speed of the virtual host to ensure the stability and fluency of the server. This article will introduce how to set the speed limit of the virtual host through the Pagoda panel to achieve a good user experience. 1. Overview of Speed Limit Speed limit refers to limiting the host bandwidth and ensuring the normal operation of the server by controlling the host traffic. exist
 How to write an FTP client in PHP
Aug 01, 2023 pm 07:23 PM
How to write an FTP client in PHP 1. Introduction FTP (File Transfer Protocol) is a protocol used for file transfer on the network. In web development, we often need to upload or download files through FTP. As a popular server-side language, PHP provides powerful FTP functions, allowing us to easily write FTP clients. This article will introduce how to write a simple FTP client using PHP and provide code examples. 2. Connect to the FTP server in PHP, we can use f
 Introduction to the WebDAV file management function of Pagoda Panel
Jun 21, 2023 am 11:33 AM
Introduction to the WebDAV file management function of Pagoda Panel WebDAV is a file management technology based on the HTTP protocol. It allows users to access files on the network through the HTTP protocol and manage these files. With the support of WebDAV technology, we can build a Web server to provide various network services. Pagoda Panel is a popular web server management tool that provides a wealth of functional modules, among which the WebDAV file management function is one of them. Below, this article
 How to implement FTP file upload progress bar using PHP
Jul 30, 2023 pm 06:51 PM
How to use PHP to implement FTP file upload progress bar 1. Background introduction In website development, file upload is a common function. For the upload of large files, in order to improve the user experience, we often need to display an upload progress bar to the user to let the user know the file upload process. This article will introduce how to use PHP to implement the FTP file upload progress bar function. 2. The basic idea of implementing the progress bar of FTP file upload. The progress bar of FTP file upload is usually calculated by calculating the size of the uploaded file and the size of the uploaded file.
 How to use Pagoda Panel for MySQL management
Jun 21, 2023 am 09:44 AM
Pagoda Panel is a powerful panel software that can help us quickly deploy, manage and monitor servers, especially small businesses or individual users who often need to build websites, database management and server maintenance. Among these tasks, MySQL database management is an important job in many cases. So how to use the Pagoda panel for MySQL management? Next, we will introduce it step by step. Step 1: Install Pagoda Panel. Before starting to use Pagoda Panel for MySQL management, you first need to install Pagoda Panel.
 How to enable ftp server in Everything-How to enable ftp server in Everything
Mar 04, 2024 pm 10:28 PM
Many users are not familiar with how to enable ftp server in Everything when using Everything software? Next, the editor will bring you the method to enable ftp server in Everything. Let us take a look below. Open the everything software, enter the main interface of the software, and click on the tool option pointed by the arrow above. In the drop-down column of tool options, select the option bar pointed by the arrow to enter the settings page. Enter the settings page, and in the column on the left, select the ETP/FTP server option pointed by the arrow to set it. Enter the ETP/FTP server page, check the Enable ETP/FTP server option pointed by the arrow, and then click


