How to install and configure PHP7 with yum
Yum installation and configuration method for PHP7: 1. Install nginx; 2. Configure the source of PHP7 through "yum install epel-release"; 3. Officially install php7-fpm through yum; 4. Install MySQL; 5. Configure nginx; 6. Start php-fpm.

The operating environment of this article: centos7 system, PHP7 version, DELL G3 computer
How to install and configure PHP7 with yum?
Centos 7 teaches you step by step how to install and configure Nginx php7-fpm MySQL using YUM method:
What you need to prepare
A pure system server
Tools for remote connection to the server (I Xshell is used here)
Students who need Xshell can visit my article to get it ->Click to visit
Install nginx
After connecting to the server, execute yum install nginx 
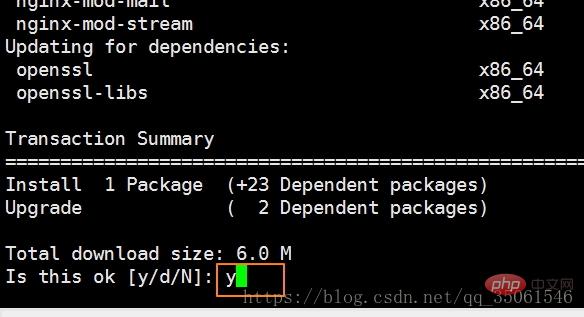
You need to enter y here and then return Car, start installing nginx
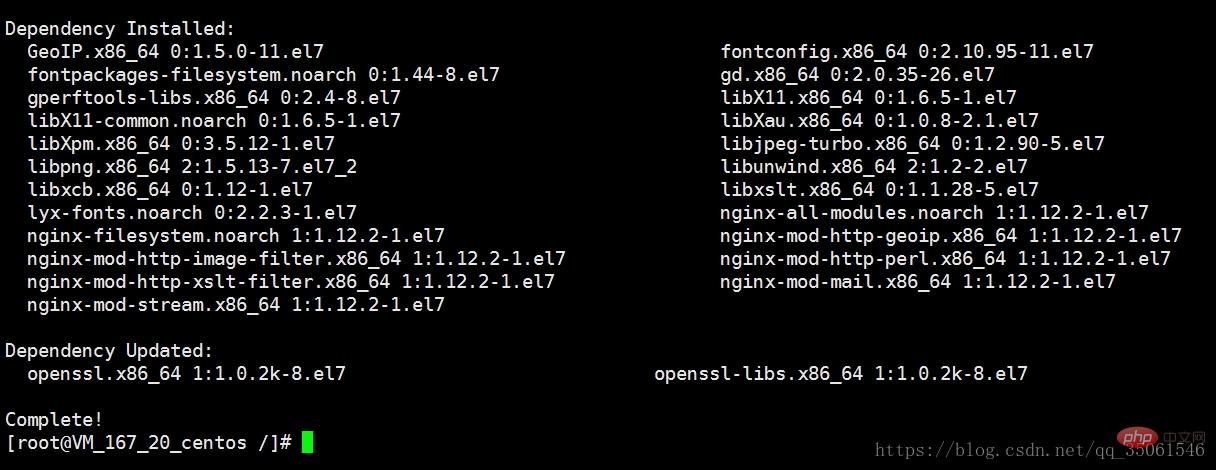
In the above picture, nginx has been installed!
Now install php7-fpm
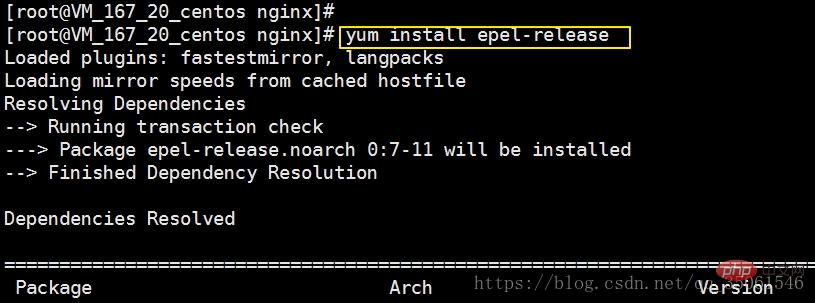
First we Configure the source of PHP7
yum install epel-release
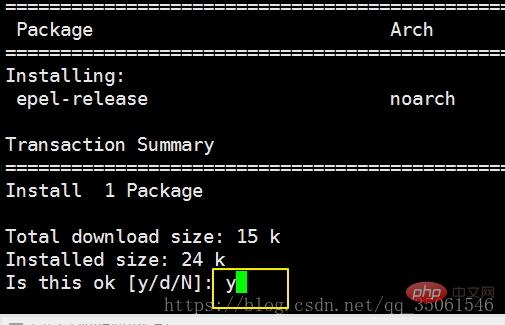
Enter y here to confirm the installation and press Enter
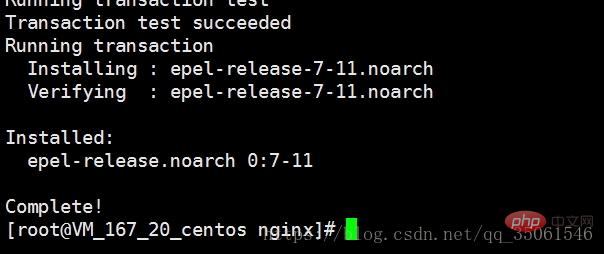
The picture above indicates that the installation is complete!
Add the source of PHP7 below
rpm -Uvh https://mirror.webtatic.com/yum/el7/webtatic-release.rpm

The picture above indicates that the addition is complete!
The following is the formal installation php7-fpm
yum install php70w-fpm php70w-cli php70w-gd php70w-mcrypt php70w-mysql php70w-pear php70w-xml php70w-mbstring php70w-pdo php70w-json php70w-pecl-apcu php70w-pecl-apcu-devel
Copy the above code and execute

yContinue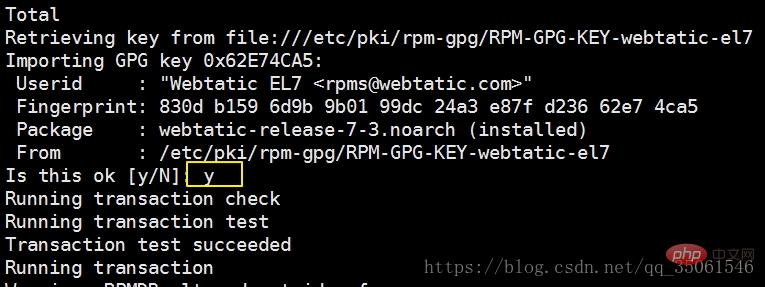
yContinue
The PHP7-FPM installation is completed!
Now install MySQL
First add the source of MySQL7
rpm -Uvh http://repo.mysql.com/mysql57-community-release-el7-7.noarch.rpm
Copy the above code and execute
Add successfully!
Install MySQL
yum install mysql-server mysql-devel mysql


yIt will take some time to continue the MySQL installation and wait patiently

yContinue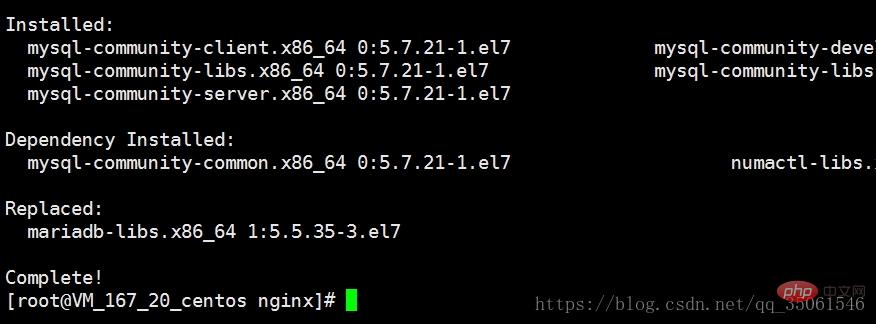
The picture above indicates that the MySQL installation is complete
The configuration will be updated after time!!
The following is the configuration after installation
Configure nginx first
Enter the configuration directory of nginx/etc/nginxEdit nginx.confThis file
change nginx.confDelete the contents of lines 38-57 in the file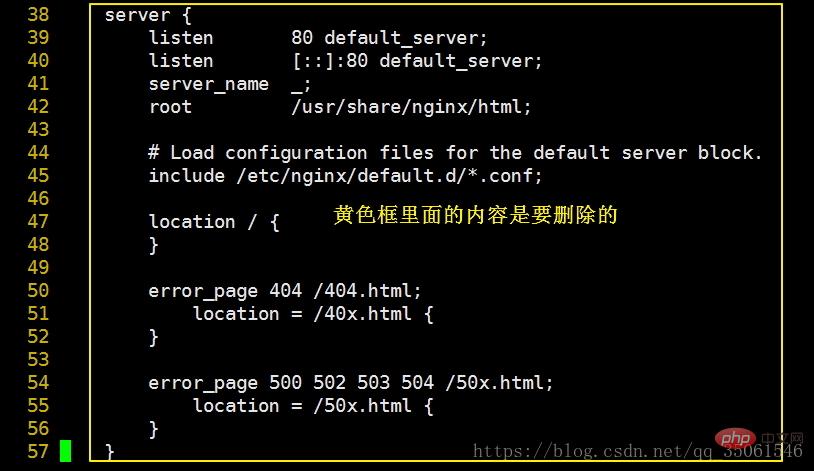
删除完成后保存即可!
下面我们在conf.d这个目录中创建站点的配置文件,例如first.conf 文件中的内容如下
server {    listen 80;
    server_name (站点域名 没有就用IP代替);
    root  /www/first(网站根目录);    index index.php index.html;
    location ~ \.php$ {
        fastcgi_pass   127.0.0.1:9000;
        fastcgi_index  index.php;
        fastcgi_param  SCRIPT_FILENAME  $document_root$fastcgi_script_name;
        include        fastcgi_params;
    }

}假设我们的站点配置在/www/first这个目录中(这个目录没有 需要我们自己创建)

上图是创建目录
下面编辑站点文件
在站点目录下面创建index.php内容如下
<?php
phpinfo();下面配置php-fpm 位置在/etc/php-fpm.d/www.conf
将原来的apache改成nginx 
下面我们How to install and configure PHP7 with yum为nginx 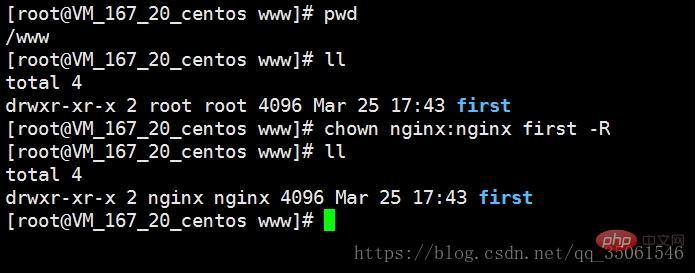
下面启动nginx
启动: service nginx start
停止: service nginx stop
检查配置文件是否正确: nginx -t
启动php-fpm
启动: service php-fpm start
停止: service php-fpm stop
检查配置文件是否正确: php-fpm -t 
两个服务都启动后就可以在浏览器中访问站点了!
下面配置MySQL
下面启动mysql
启动: service mysqld start
停止: service mysqld stop
需要先启动mysql
再查看一下mysql的默认密码
grep 'temporary password' /var/log/mysqld.log
密码是随机的 
下面连接mysql 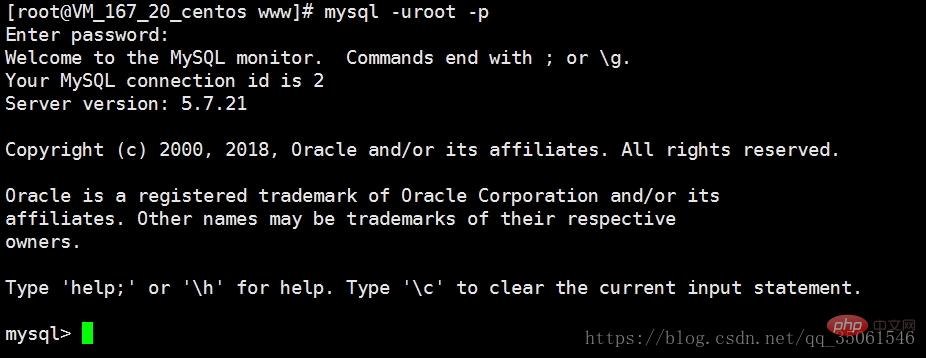
使用默认密码链接成功
现在还不能进行任何操作 必须先修改密码 当前版本的mysql对密码强度要求就高
ALTER USER 'root'@'localhost' IDENTIFIED BY 'GuYuePass666!';
下面How to install and configure PHP7 with yum
FLUSH PRIVILEGES;

然后我们退出mysql重新连接就是我们设置的密码了!
到这里我们大功告成!
推荐学习:《PHP视频教程》
The above is the detailed content of How to install and configure PHP7 with yum. For more information, please follow other related articles on the PHP Chinese website!

Hot AI Tools

Undresser.AI Undress
AI-powered app for creating realistic nude photos

AI Clothes Remover
Online AI tool for removing clothes from photos.

Undress AI Tool
Undress images for free

Clothoff.io
AI clothes remover

AI Hentai Generator
Generate AI Hentai for free.

Hot Article

Hot Tools

Notepad++7.3.1
Easy-to-use and free code editor

SublimeText3 Chinese version
Chinese version, very easy to use

Zend Studio 13.0.1
Powerful PHP integrated development environment

Dreamweaver CS6
Visual web development tools

SublimeText3 Mac version
God-level code editing software (SublimeText3)

Hot Topics
 Detailed explanation of the steps to upgrade gcc using yum on CentOS6.5
Dec 31, 2023 am 10:59 AM
Because C++11 needs to be used, but the gcc4.4.7 that comes with CentOS does not support it, I decided to upgrade gcc. The operation is as follows: #Backup mv/etc/yum.repos.d/devtools-2.repo/etc/yum.repos.d/devtools-2.repo.bakwgethttp://people.centos.org/tru/devtools-2 /devtools-2.repo-O/etc/yum.repos.d/devtools-2.repoyuminstalldevtoolset-2-gccdevtoolse
 Centos offline installation of Chinese version of GitLab
Feb 19, 2024 am 11:36 AM
1. Download the gitlab installation package. Download the latest Chinese version of the gitlab installation package from [Tsinghua University Open Source Software Mirror Station]. The installation package comes with a simplified Chinese localization package. Download the latest gitlab installation package from [gitlab official website]. 2. Install gitlab, take gitlab-ce-14.9.4-ce.0.el7.x86_64 as an example, upload it to the centos server and use yum to install gitlabyum-yinstallgitlab-ce-14.3.2-ce.0.el7.x86_64. rpm uses yum to install gityum-yinstallgit#Install git and modify the gitlab configuration file vi
 How to solve the problem when php7 detects that the tcp port is not working
Mar 22, 2023 am 09:30 AM
In php5, we can use the fsockopen() function to detect the TCP port. This function can be used to open a network connection and perform some network communication. But in php7, the fsockopen() function may encounter some problems, such as being unable to open the port, unable to connect to the server, etc. In order to solve this problem, we can use the socket_create() function and socket_connect() function to detect the TCP port.
 How to install mongo extension in php7.0
Nov 21, 2022 am 10:25 AM
How to install the mongo extension in php7.0: 1. Create the mongodb user group and user; 2. Download the mongodb source code package and place the source code package in the "/usr/local/src/" directory; 3. Enter "src/" directory; 4. Unzip the source code package; 5. Create the mongodb file directory; 6. Copy the files to the "mongodb/" directory; 7. Create the mongodb configuration file and modify the configuration.
 What is the difference between Linux package management tools yum and apt?
May 30, 2023 am 09:53 AM
Generally speaking, famous Linux systems are basically divided into two categories: RedHat series: Redhat, Centos, Fedora, etc.; Debian series: Debian, Ubuntu, etc. yum (YellowdogUpdater, Modified) is a Shell front-end package manager in Fedora, RedHat and SUSE. apt (AdvancedPackagingTool) is a shell front-end package manager in Debian and Ubuntu. Overview Generally speaking, the famous Linux systems are basically divided into two categories: RedHat series: Redhat, Cento
 What should I do if the plug-in is installed in php7.0 but it still shows that it is not installed?
Apr 02, 2024 pm 07:39 PM
To resolve the plugin not showing installed issue in PHP 7.0: Check the plugin configuration and enable the plugin. Restart PHP to apply configuration changes. Check the plugin file permissions to make sure they are correct. Install missing dependencies to ensure the plugin functions properly. If all other steps fail, rebuild PHP. Other possible causes include incompatible plugin versions, loading the wrong version, or PHP configuration issues.
 How to delete php in centos7+yum
Jan 19, 2023 am 10:00 AM
How to delete php in centos7 yum: 1. Check the PHP version through "php -v"; 2. Use "rpm -qa|grep php" to check the installed PHP related extensions; 3. Uninstall php by executing the "yum remove php" command That’s it.
 What tool is linux yum?
Feb 10, 2023 am 10:09 AM
In Linux, yum is a software package manager that exists specifically to solve package dependencies; yum is an improved RPM software manager, which solves the package dependency problems faced by RPM. When the administrator uses yum to install an RPM package, yum will first download the dependency file of the package from the server side, and then download and install all related RPM packages from the server side at once by analyzing this file.


