

How to install mysql on linux ubuntu

How to install mysql on linux ubuntu: 1. Open the terminal and update the software package list; 2. Install MySQL through "$ sudo apt-get install mysql-server mysql-client"; 3. Log in with the root account. Can.
The operating environment of this article: ubuntu 16.04 system, mysql8, Dell G3.
How to install mysql on linux ubuntu?
【Linux】Installation and use of MySQL in Ubuntu16.04 environment
I have been writing a small function recently and want to store data in MySQL, so I have to do it locally MySQL is installed on Ubuntu 16.04 installed on the virtual machine for use. The installation and simple use process are recorded below.
1. Running environment
Ubuntu16.04
2. Open the terminal and update the software package list
$ sudo apt update
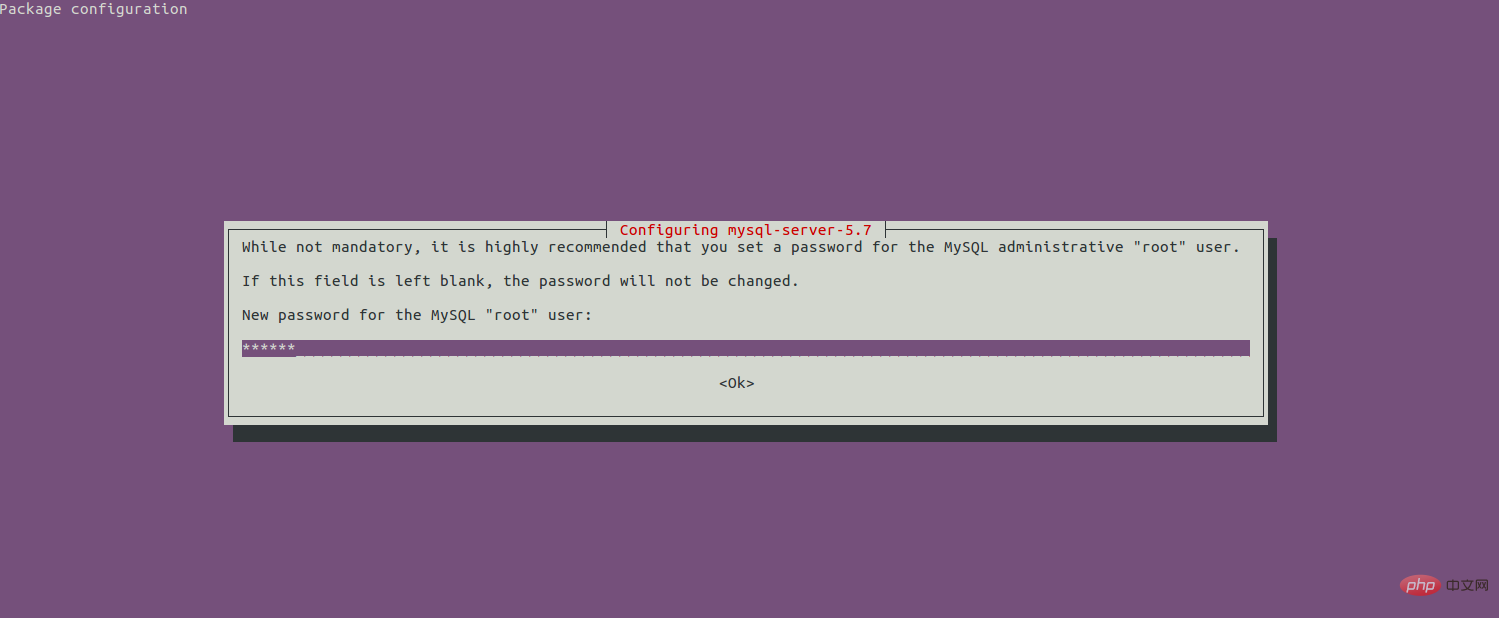
3. Install MySQL
$ sudo apt-get install mysql-server mysql-client
The following window will appear during the installation process. Here you need to fill in the password of the MySQL root account and confirm
4. Initialize the MySQL security script
$ sudo mysql_secure_installation
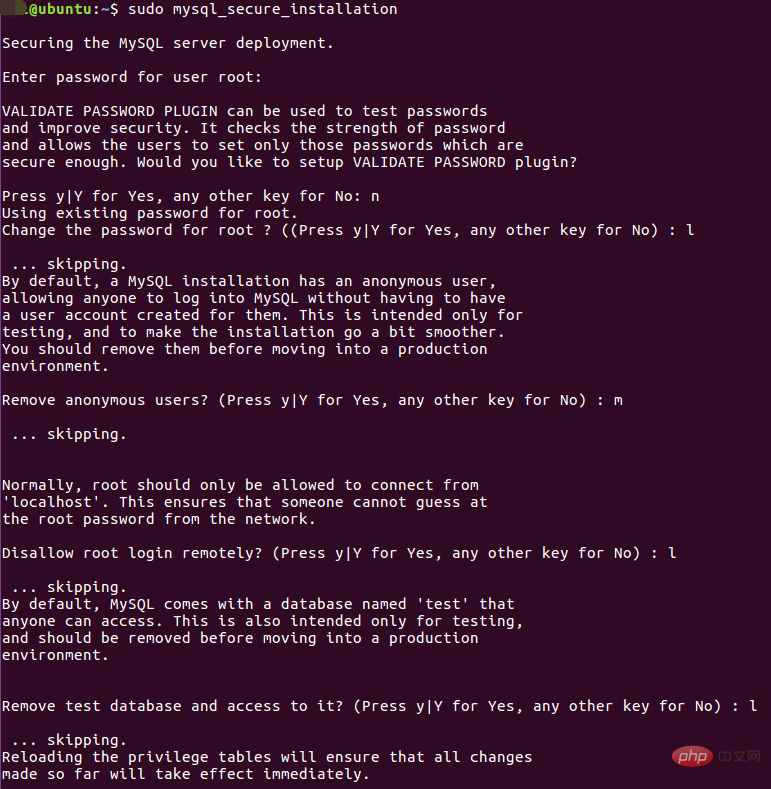
mysql_secure_installation will involve whether to modify the password of the root account, whether to remove anonymous users, whether to allow remote login, whether to delete the test database, etc.
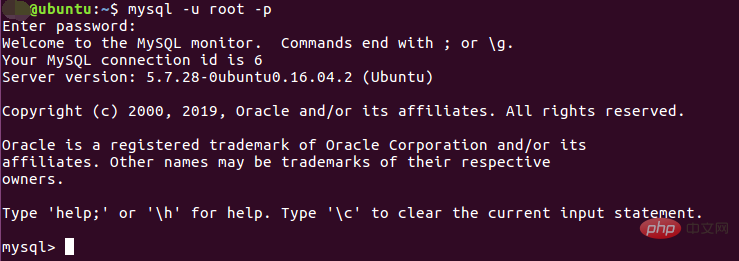
5. After installation, we first log in with the root account and enter the root account password set during installation.
$ mysql -u root -p
6. Create MySQL database and user
$ create database blogdata;   # 创建一个名为blogdata的数据库
$ grant all on blogdata.* to 'bloguser' identified by 'test1234';    #创建用户bloguser

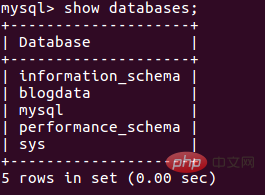
$ show databases;
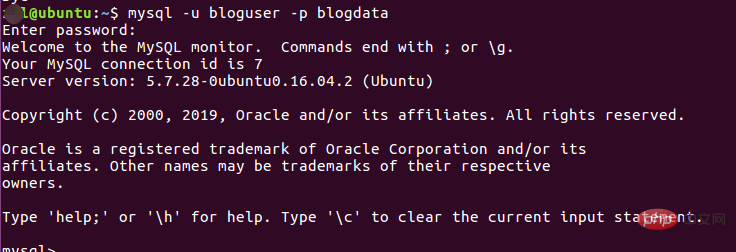
$ mysql -u bloguser -p blogdata
CREATE TABLE article (id INT, name VARCHAR(300), created_time DATETIME, view_num INT, com_num INT, channel VARCHAR(20), get_time DATETIME);

INSERT INTO article (id,name,created_time,view_num,com_num,channel,get_time) VALUES(1,"test","2019-11-20 10:00:00",2,1,"bky","2019-11-22 14:00:00");

## 10. Simple query
select * from article;
 11. Other commands
Exit the MySQL command line:
mysql> quit
View the MySQL running status:
$ sudo systemctl status mysql.service
Stop the MySQL database service:
$ sudo systemctl stop mysql.service
Start the MySQL database service:
$ sudo systemctl start mysql.service
Restart the MySQL database service:
$ sudo systemctl restart mysql.service
View the MySQL configuration file:
$ sudo vim /etc/mysql/mysql.conf.d/mysqld.cnf
Recommended learning: "mysql video tutorial
The above is the detailed content of How to install mysql on linux ubuntu. For more information, please follow other related articles on the PHP Chinese website!

Hot AI Tools

Undresser.AI Undress
AI-powered app for creating realistic nude photos

AI Clothes Remover
Online AI tool for removing clothes from photos.

Undress AI Tool
Undress images for free

Clothoff.io
AI clothes remover

AI Hentai Generator
Generate AI Hentai for free.

Hot Article
Hot Tools

Notepad++7.3.1
Easy-to-use and free code editor

SublimeText3 Chinese version
Chinese version, very easy to use

Zend Studio 13.0.1
Powerful PHP integrated development environment

Dreamweaver CS6
Visual web development tools

SublimeText3 Mac version
God-level code editing software (SublimeText3)
Hot Topics
 1386
1386
 52
52

 What computer configuration is required for vscode
Apr 15, 2025 pm 09:48 PM
What computer configuration is required for vscode
Apr 15, 2025 pm 09:48 PM
VS Code system requirements: Operating system: Windows 10 and above, macOS 10.12 and above, Linux distribution processor: minimum 1.6 GHz, recommended 2.0 GHz and above memory: minimum 512 MB, recommended 4 GB and above storage space: minimum 250 MB, recommended 1 GB and above other requirements: stable network connection, Xorg/Wayland (Linux)
 How to switch Chinese mode with vscode
Apr 15, 2025 pm 11:39 PM
How to switch Chinese mode with vscode
Apr 15, 2025 pm 11:39 PM
VS Code To switch Chinese mode: Open the settings interface (Windows/Linux: Ctrl, macOS: Cmd,) Search for "Editor: Language" settings Select "Chinese" in the drop-down menu Save settings and restart VS Code
 What is the main purpose of Linux?
Apr 16, 2025 am 12:19 AM
What is the main purpose of Linux?
Apr 16, 2025 am 12:19 AM
The main uses of Linux include: 1. Server operating system, 2. Embedded system, 3. Desktop operating system, 4. Development and testing environment. Linux excels in these areas, providing stability, security and efficient development tools.
 How to use VSCode
Apr 15, 2025 pm 11:21 PM
How to use VSCode
Apr 15, 2025 pm 11:21 PM
Visual Studio Code (VSCode) is a cross-platform, open source and free code editor developed by Microsoft. It is known for its lightweight, scalability and support for a wide range of programming languages. To install VSCode, please visit the official website to download and run the installer. When using VSCode, you can create new projects, edit code, debug code, navigate projects, expand VSCode, and manage settings. VSCode is available for Windows, macOS, and Linux, supports multiple programming languages and provides various extensions through Marketplace. Its advantages include lightweight, scalability, extensive language support, rich features and version
 vscode Previous Next Shortcut Key
Apr 15, 2025 pm 10:51 PM
vscode Previous Next Shortcut Key
Apr 15, 2025 pm 10:51 PM
VS Code One-step/Next step shortcut key usage: One-step (backward): Windows/Linux: Ctrl ←; macOS: Cmd ←Next step (forward): Windows/Linux: Ctrl →; macOS: Cmd →
 vscode setting Chinese tutorial
Apr 15, 2025 pm 11:45 PM
vscode setting Chinese tutorial
Apr 15, 2025 pm 11:45 PM
VS Code supports Chinese settings, which can be completed by following the steps: Open the settings panel and search for "locale". Set "locale.language" to "zh-CN" (Simplified Chinese) or "zh-TW" (Traditional Chinese). Save settings and restart VS Code. The settings menu, toolbar, code prompts, and documents will be displayed in Chinese. Other language settings can also be customized, such as file tag format, entry description, and diagnostic process language.
 How to type multiple lines of comments in vscode
Apr 15, 2025 pm 11:57 PM
How to type multiple lines of comments in vscode
Apr 15, 2025 pm 11:57 PM
VS Code The methods of multi-line commenting are: 1. Shortcut keys (Ctrl K C or Cmd K C); 2. Manually add comment symbols (/ /); 3. Select menu ("Comment Block"); 4. Use extensions; 5. Recursive comments (/* /) and block comments ({/ and /}). Multi-line comments help improve code readability and maintainability, but overuse should be avoided.
 vscode terminal usage tutorial
Apr 15, 2025 pm 10:09 PM
vscode terminal usage tutorial
Apr 15, 2025 pm 10:09 PM
vscode built-in terminal is a development tool that allows running commands and scripts within the editor to simplify the development process. How to use vscode terminal: Open the terminal with the shortcut key (Ctrl/Cmd). Enter a command or run the script. Use hotkeys (such as Ctrl L to clear the terminal). Change the working directory (such as the cd command). Advanced features include debug mode, automatic code snippet completion, and interactive command history.
