
This article will give you a detailed understanding of how to build a Java environment in VSCode. I hope it will be helpful to friends in need!
visual studio code download link: https://azure.microsoft.com/zh-cn/products/visual-studio -code/
JDK official website download address: https://www.oracle.com/cn/java/technologies/javase-jdk15-downloads.html
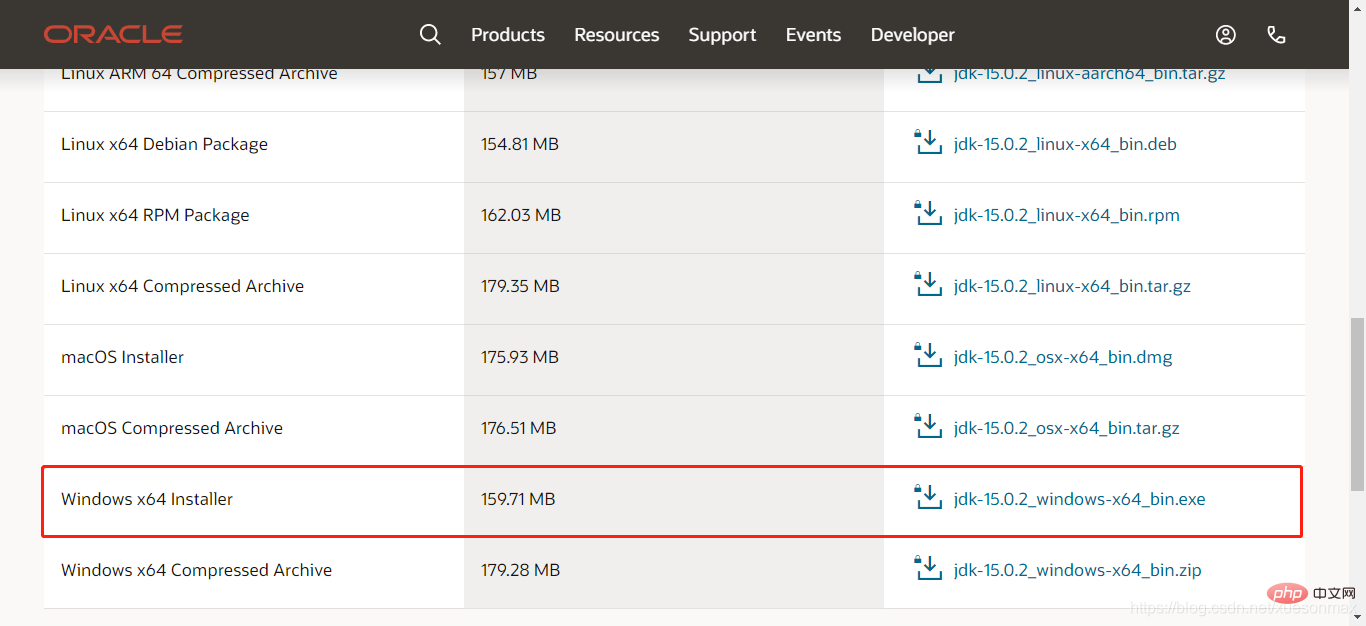
Specific Which one to choose according to your own computer system:
installer version:
Installer, execute the exe file to install.
binary is the same as archive:
Binary package is a compiled program that can be used directly. After decompression, click the .sh or .bat executable file in the bin directory to use it.
Tips: Add environment variables: Right-click My Computer –> Advanced System Settings –> Environment Variables –> Select User Variables and System variables can be used, double-click path to add the path –> OK
Find the JDK installation path, find the location as shown below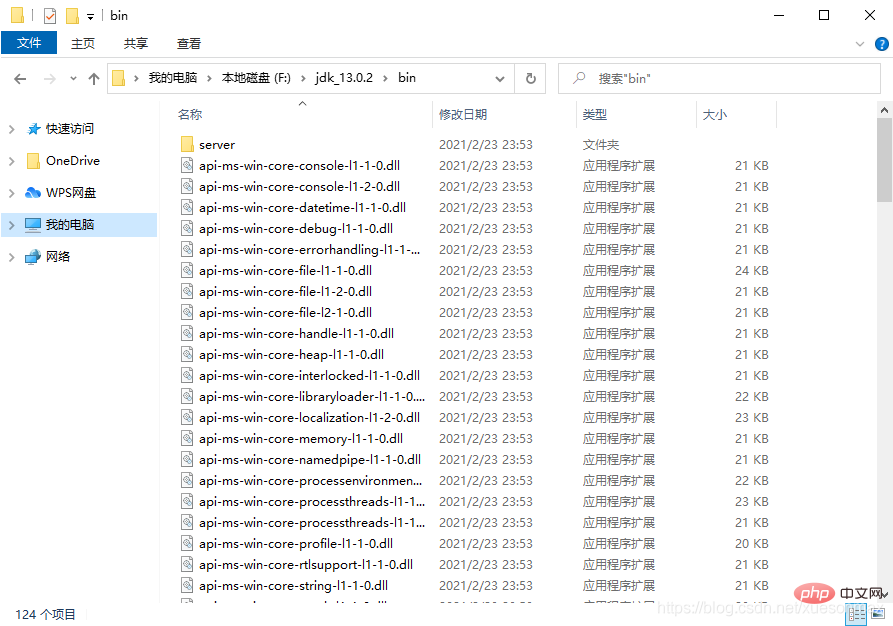
Add environment variables such as mine :F:\jdk_13.0.2\bin
In addition, create two more environment variables, the variable names are CLASSPATH and JAVA_HOME respectively, the file paths are slightly different:
CLASSPATH:
JAVA_HOME:
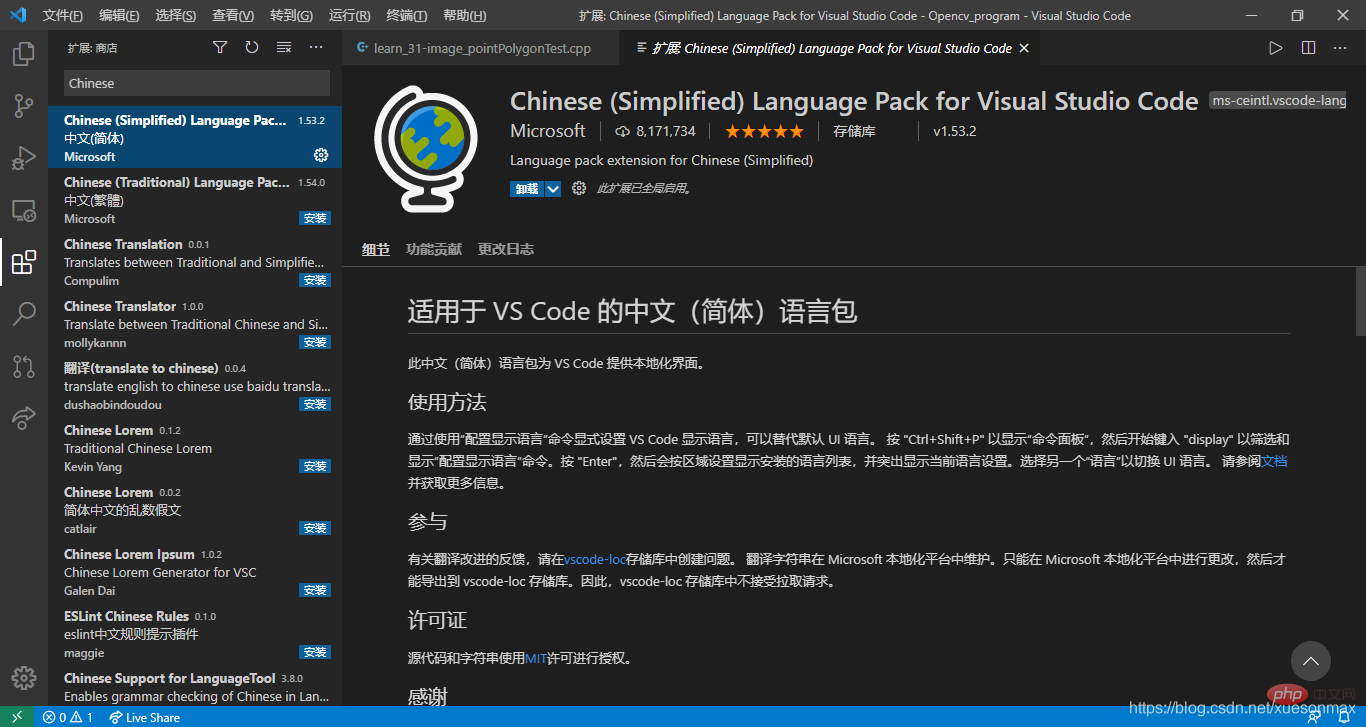 Identify the encoding: Click on the settings in the lower left corner, search for Auto Guess Encoding in the search bar, and check the box. The character encoding format can be automatically guessed when reading code to correctly display information such as comments.
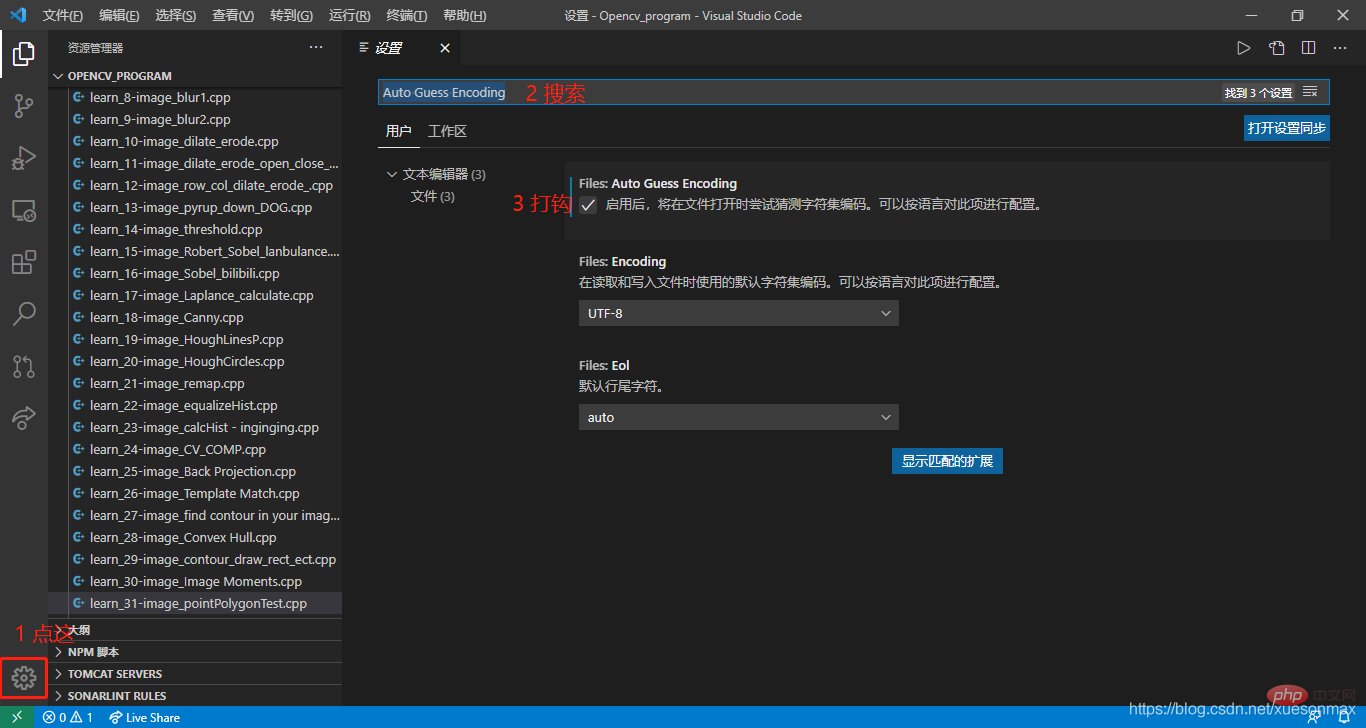
If this is the first time you browse this language, a box will pop up in the lower right corner to prompt you to install an expansion pack to identify the code. Just install it. Of course, you can also go to the app store on the left column. Search and install
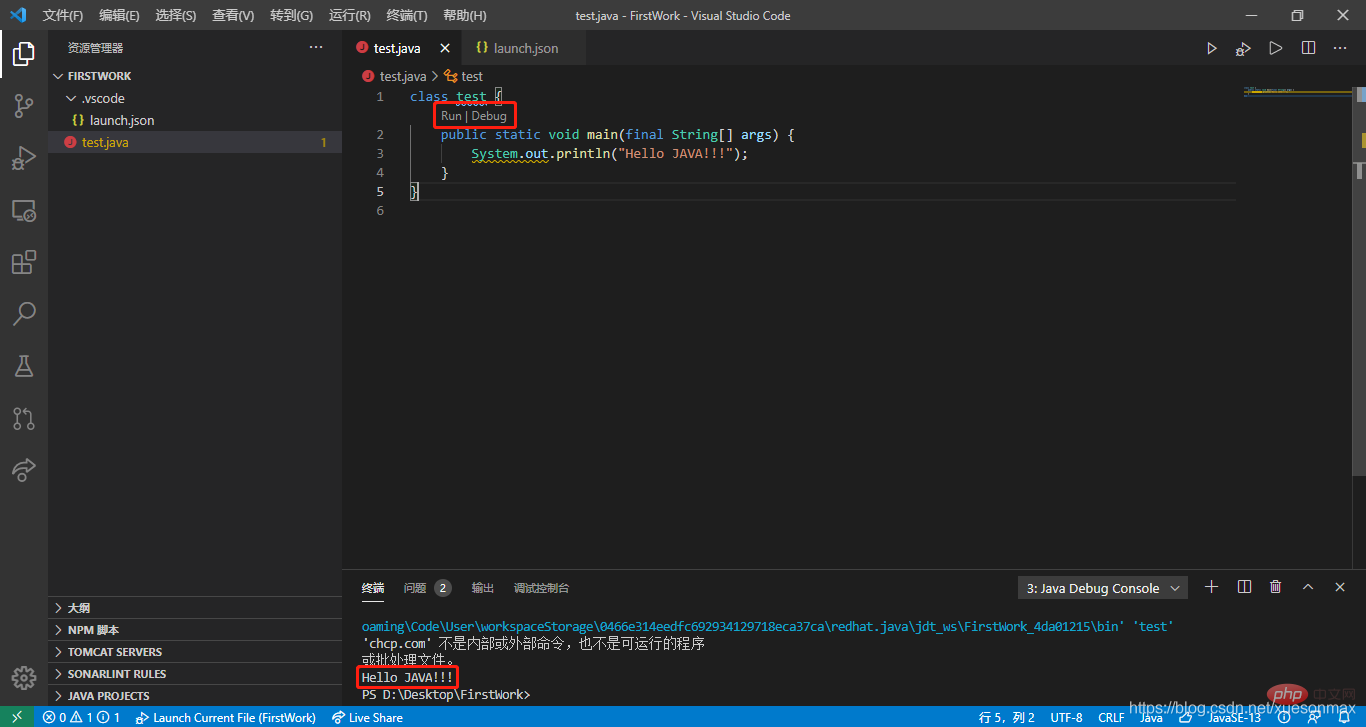
 After creation, you can run it in the code interface:
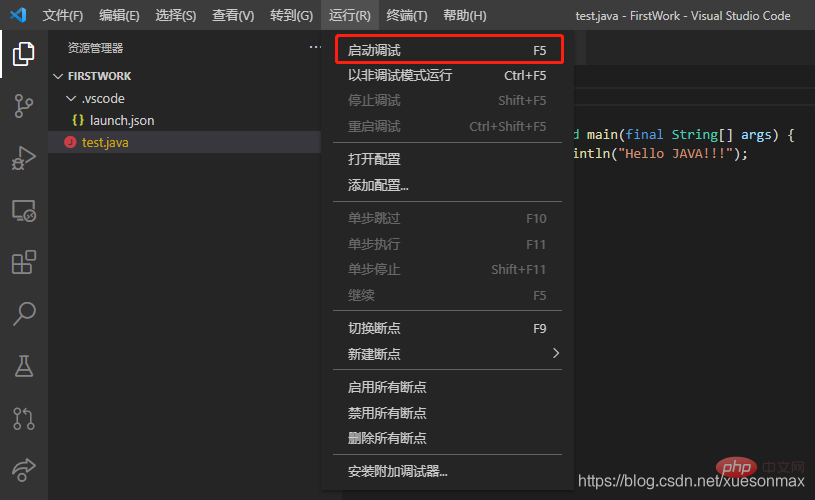 Or click Run directly:
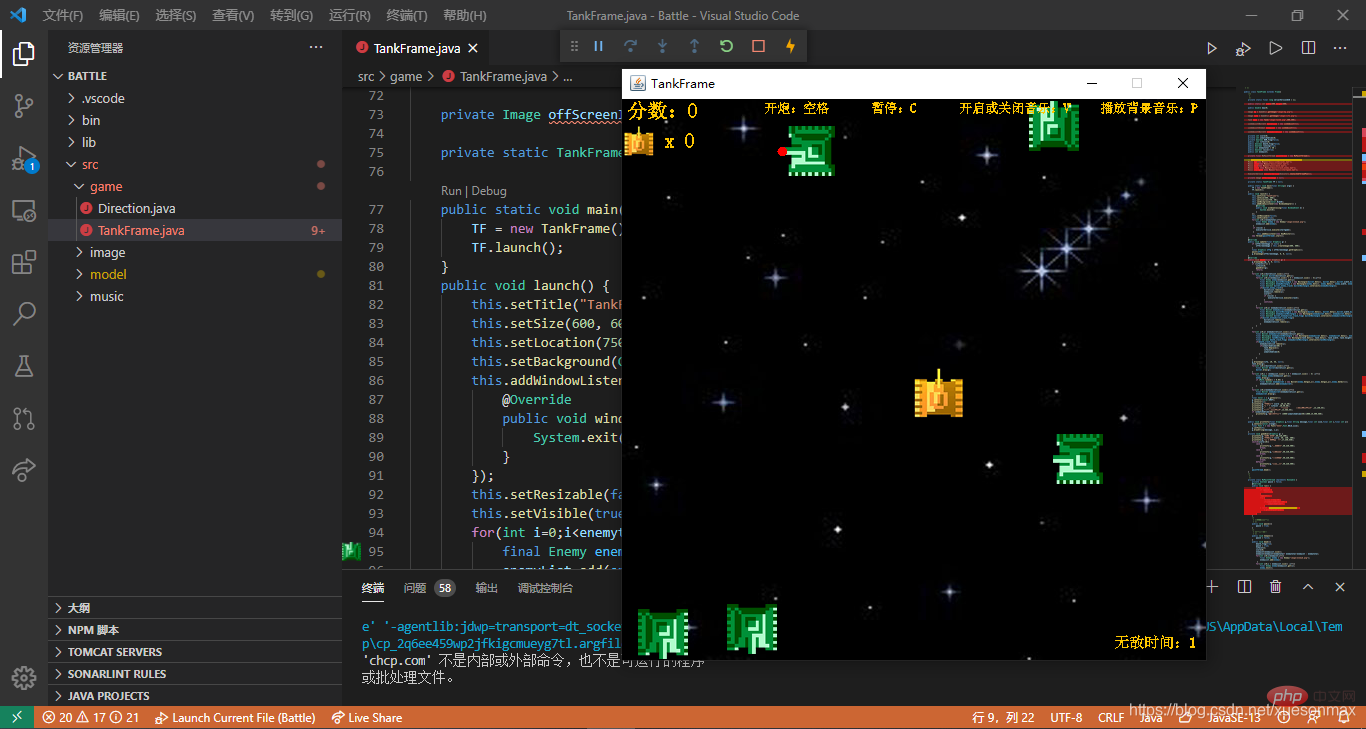
Network disk link:For more knowledge about VSCode, please visit:Link: https://pan.baidu.com/s/1cK6brC3dcnTuJ91jlWe9eA
Extraction code: 9x3b
vscode tutorial! !
The above is the detailed content of Teach you step by step how to set up a Java environment in VSCode. For more information, please follow other related articles on the PHP Chinese website!