

How to install win64 bit + oracle 11g

Installation method of oracle11g under win64: 1. Open the oracle official website; 2. Select the installation path and create a new oracle folder; 3. Find the installation file of the corresponding configuration; 4. Click file1 and file2 to download respectively. to the oracle folder; 5. Configure the environment.

The operating environment of this article: Windows 10 system, Dell G3 computer, Oracle 11g version.
How to install win64-bit Oracle 11g?
Oracle11g installation win64-bit:
For course use, install oracle11g;

This machine is configured for win10 64-bit; during the configuration process, I referred to an article, but there are some differences. I will record it here, and I hope it can be used for encountering problems. Provide a solution to the same problem;
Reference article:https://www.php.cn/oracle/485887.html
Details The installation process is as follows:
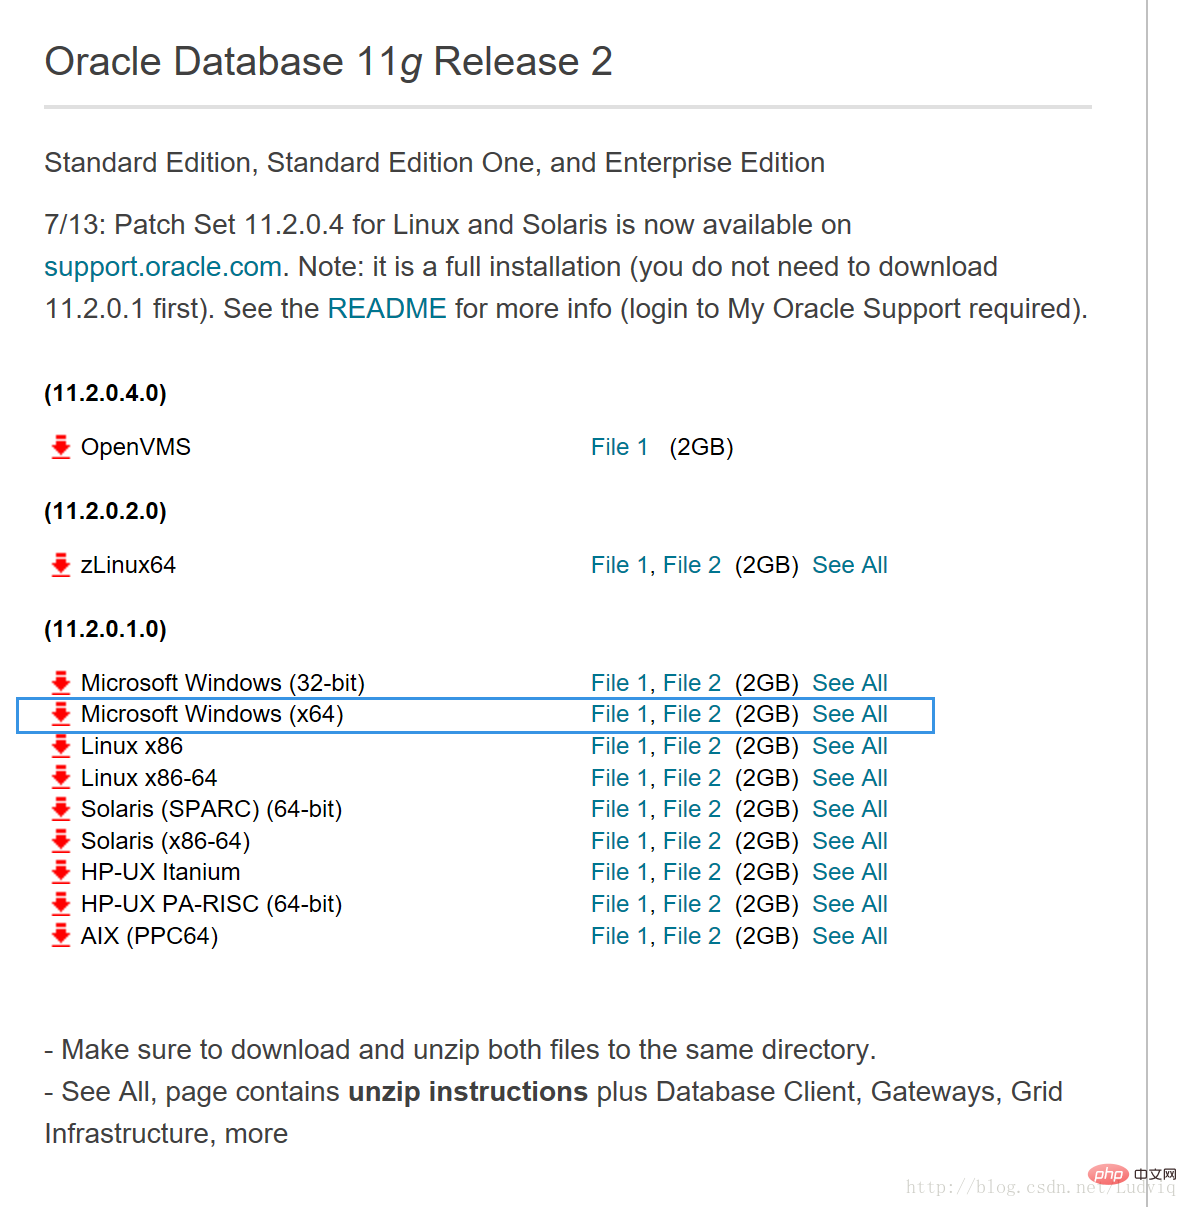
1: Download the installation package
Download website:
http://www.oracle.com/technetwork/database/enterprise-edition /downloads/index.html
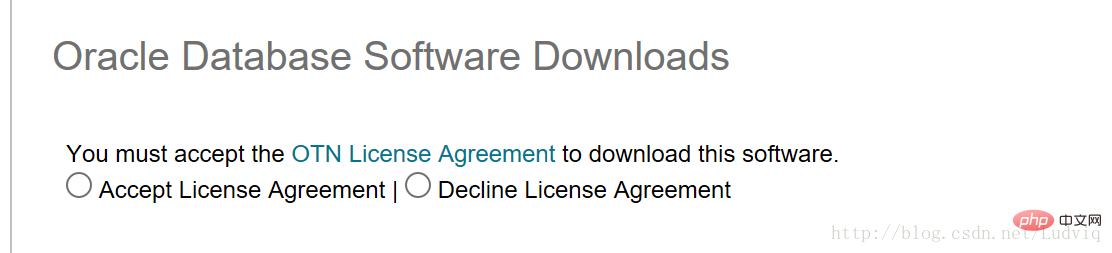
(1) Click on the website and enter the following interface

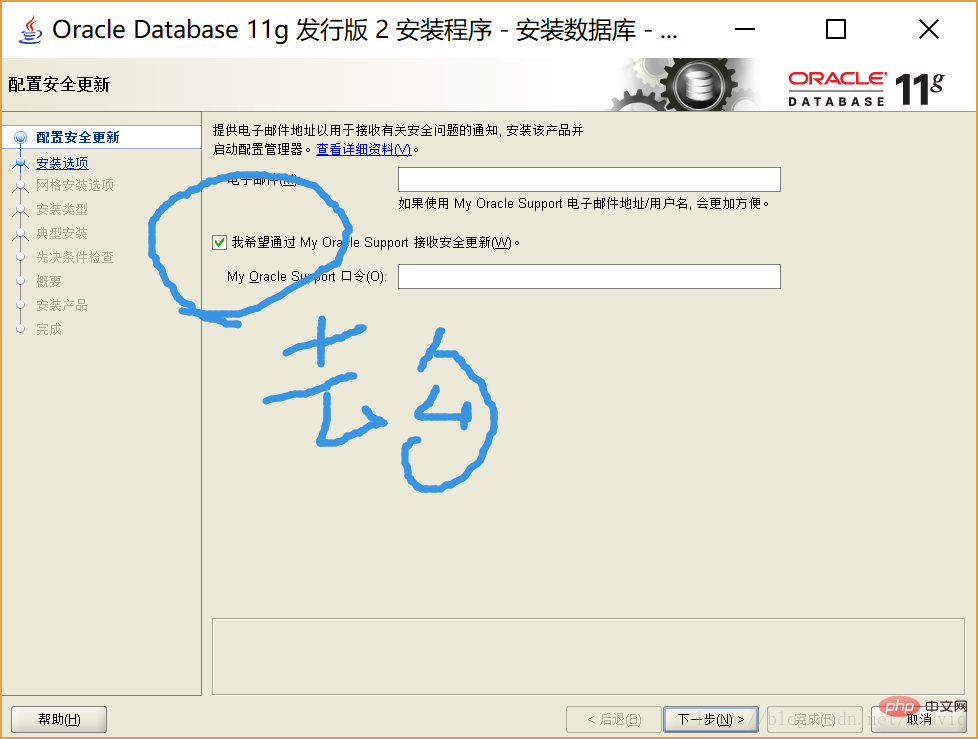
(2) Agree to the agreement, click ## in the circle on the left
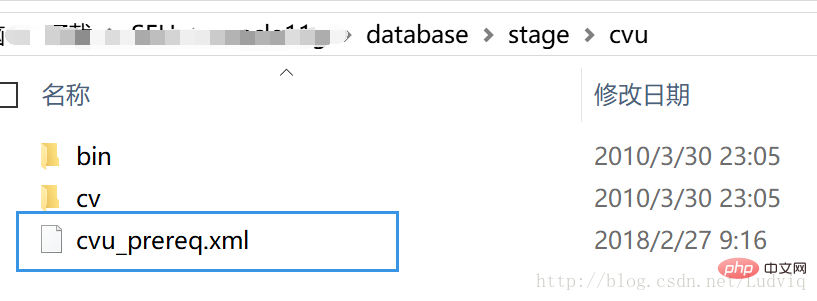

 <OPERATING_SYSTEM RELEASE="6.2">
              <VERSION VALUE="3"/>
              <ARCHITECTURE VALUE="64-bit"/>
              <NAME VALUE="Windows 10"/>
              <ENV_VAR_LIST>
                  <ENV_VAR NAME="PATH" MAX_LENGTH="1023" />
              </ENV_VAR_LIST>
         </OPERATING_SYSTEM>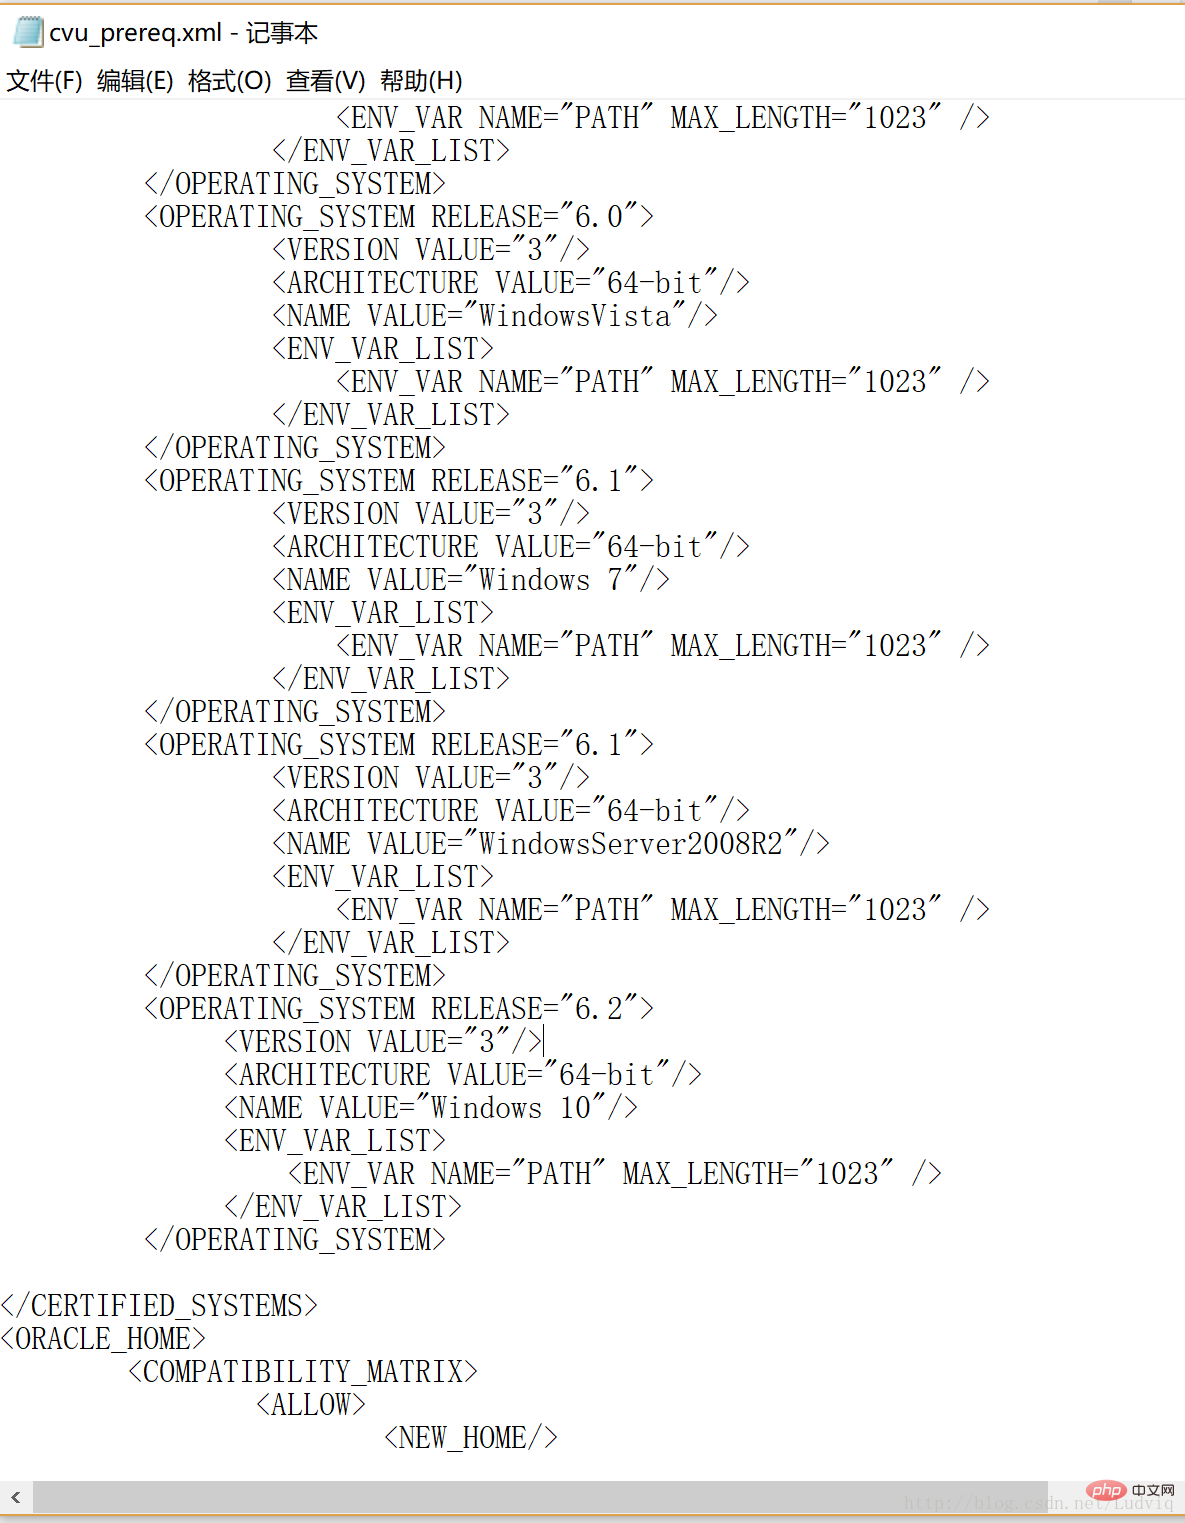
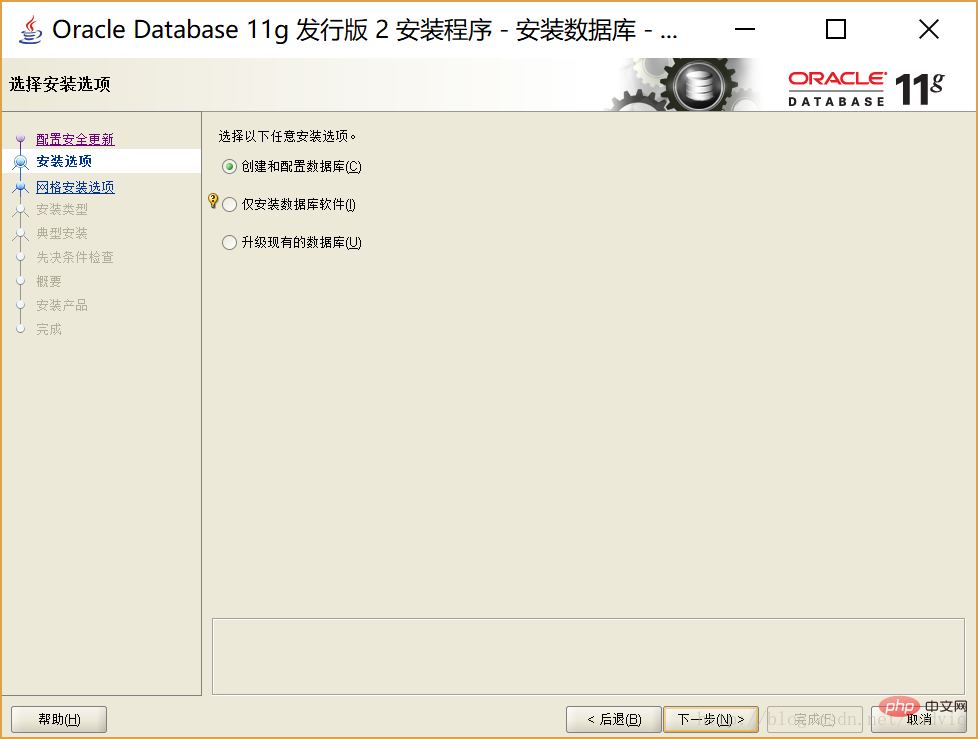
(10) Installation page:
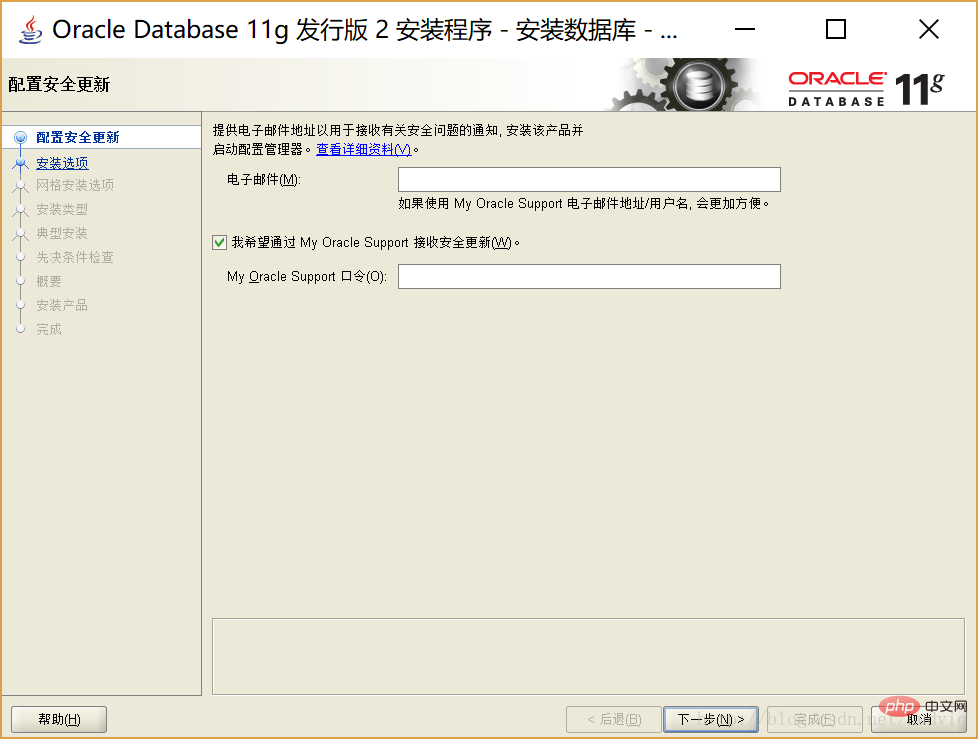
(10.2) Default option, next step;
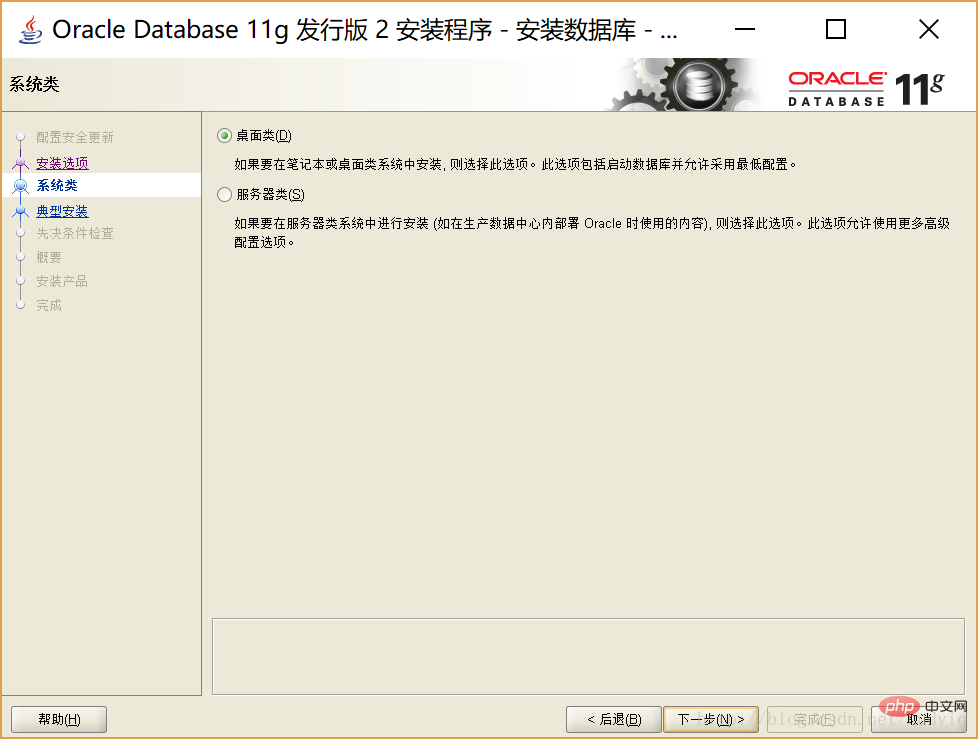
(10.3) Default option, next step:
(desktop class, use It’s enough to learn)
(10.4) Default option content, fill in the management password you defined, and the corresponding confirmation password that is the same as the management password to confirm, and then Next step;
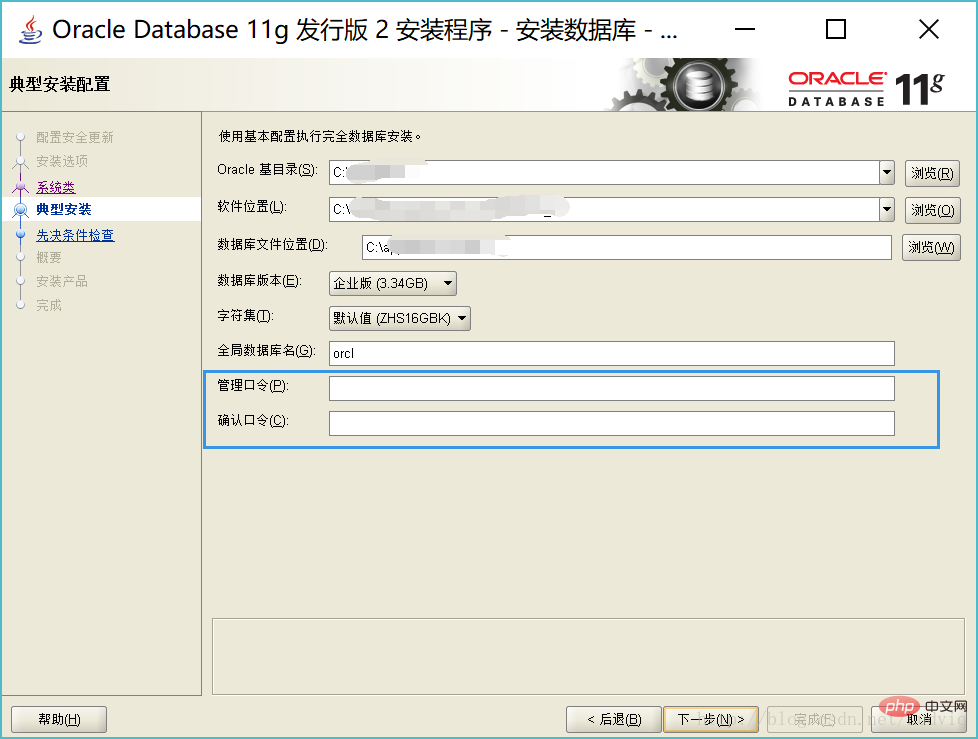
【! 】If the management password does not meet the security standards, click "Yes" and your password can be memorized;
(10.5) summary interface, you can click Save response file to save the file , you can also click Finish without saving;
[Sorry there are no reference pictures here, because this is what I recorded after downloading, and it is inconvenient to download again due to directory reasons. For specific pictures, you can refer to what I said at the beginning of the blog. Refer to the pictures in the blog]
(10.6) Installation product interface:
[! 】Do not close the window after the progress bar reaches 100%. Wait for a while, and it will automatically pop up and start the download page of the next part;
[Sorry there is no reference picture here, because this is my record after downloading The content, due to directory reasons, is inconvenient to download again. For specific pictures, you can refer to the pictures in the reference blog I mentioned at the beginning of the blog]
(10.7) In the new pop-up interface of the installation interface After the installation progress bar reaches 100%, a page will pop up;
In the lower right corner of this page, there is "Password Management", click;
(10.8) to enter the "Password Management" interface, Find "scott" and click to remove its corresponding check mark;
Enter the corresponding passwords for scott, sys, and system respectively:
scott: You can think of this yourself, generally blogs will enter tiger;
system:manager;
sys:change_on_install;
(The default passwords for sys and system are historical)
【! 】If the password prompt does not comply with the complexity principle, you can directly press "Yes";
【! 】If the confirmation command prompted is incorrect, please confirm whether your confirmation command is the same as the corresponding new command;
(10.9) After confirmation, it will automatically jump to the completion interface, click Close to complete the installation;
Related recommendations: oracle database learning tutorial
The above is the detailed content of How to install win64 bit + oracle 11g. For more information, please follow other related articles on the PHP Chinese website!

Hot AI Tools

Undresser.AI Undress
AI-powered app for creating realistic nude photos

AI Clothes Remover
Online AI tool for removing clothes from photos.

Undress AI Tool
Undress images for free

Clothoff.io
AI clothes remover

AI Hentai Generator
Generate AI Hentai for free.

Hot Article
Hot Tools

Notepad++7.3.1
Easy-to-use and free code editor

SublimeText3 Chinese version
Chinese version, very easy to use

Zend Studio 13.0.1
Powerful PHP integrated development environment

Dreamweaver CS6
Visual web development tools

SublimeText3 Mac version
God-level code editing software (SublimeText3)
Hot Topics
 1385
1385
 52
52

 How to check tablespace size of oracle
Apr 11, 2025 pm 08:15 PM
How to check tablespace size of oracle
Apr 11, 2025 pm 08:15 PM
To query the Oracle tablespace size, follow the following steps: Determine the tablespace name by running the query: SELECT tablespace_name FROM dba_tablespaces; Query the tablespace size by running the query: SELECT sum(bytes) AS total_size, sum(bytes_free) AS available_space, sum(bytes) - sum(bytes_free) AS used_space FROM dba_data_files WHERE tablespace_
 How to uninstall Oracle installation failed
Apr 11, 2025 pm 08:24 PM
How to uninstall Oracle installation failed
Apr 11, 2025 pm 08:24 PM
Uninstall method for Oracle installation failure: Close Oracle service, delete Oracle program files and registry keys, uninstall Oracle environment variables, and restart the computer. If the uninstall fails, you can uninstall manually using the Oracle Universal Uninstall Tool.
 How to encrypt oracle view
Apr 11, 2025 pm 08:30 PM
How to encrypt oracle view
Apr 11, 2025 pm 08:30 PM
Oracle View Encryption allows you to encrypt data in the view, thereby enhancing the security of sensitive information. The steps include: 1) creating the master encryption key (MEk); 2) creating an encrypted view, specifying the view and MEk to be encrypted; 3) authorizing users to access the encrypted view. How encrypted views work: When a user querys for an encrypted view, Oracle uses MEk to decrypt data, ensuring that only authorized users can access readable data.
 How to view instance name of oracle
Apr 11, 2025 pm 08:18 PM
How to view instance name of oracle
Apr 11, 2025 pm 08:18 PM
There are three ways to view instance names in Oracle: use the "sqlplus" and "select instance_name from v$instance;" commands on the command line. Use the "show instance_name;" command in SQL*Plus. Check environment variables (ORACLE_SID on Linux) through the operating system's Task Manager, Oracle Enterprise Manager, or through the operating system.
 How to solve the problem of closing oracle cursor
Apr 11, 2025 pm 10:18 PM
How to solve the problem of closing oracle cursor
Apr 11, 2025 pm 10:18 PM
The method to solve the Oracle cursor closure problem includes: explicitly closing the cursor using the CLOSE statement. Declare the cursor in the FOR UPDATE clause so that it automatically closes after the scope is ended. Declare the cursor in the USING clause so that it automatically closes when the associated PL/SQL variable is closed. Use exception handling to ensure that the cursor is closed in any exception situation. Use the connection pool to automatically close the cursor. Disable automatic submission and delay cursor closing.
 How to check invalid numbers of oracle
Apr 11, 2025 pm 08:27 PM
How to check invalid numbers of oracle
Apr 11, 2025 pm 08:27 PM
Oracle Invalid numeric errors may be caused by data type mismatch, numeric overflow, data conversion errors, or data corruption. Troubleshooting steps include checking data types, detecting digital overflows, checking data conversions, checking data corruption, and exploring other possible solutions such as configuring the NLS_NUMERIC_CHARACTERS parameter and enabling data verification logging.
 How to create oracle dynamic sql
Apr 12, 2025 am 06:06 AM
How to create oracle dynamic sql
Apr 12, 2025 am 06:06 AM
SQL statements can be created and executed based on runtime input by using Oracle's dynamic SQL. The steps include: preparing an empty string variable to store dynamically generated SQL statements. Use the EXECUTE IMMEDIATE or PREPARE statement to compile and execute dynamic SQL statements. Use bind variable to pass user input or other dynamic values to dynamic SQL. Use EXECUTE IMMEDIATE or EXECUTE to execute dynamic SQL statements.
 How to create cursors in oracle loop
Apr 12, 2025 am 06:18 AM
How to create cursors in oracle loop
Apr 12, 2025 am 06:18 AM
In Oracle, the FOR LOOP loop can create cursors dynamically. The steps are: 1. Define the cursor type; 2. Create the loop; 3. Create the cursor dynamically; 4. Execute the cursor; 5. Close the cursor. Example: A cursor can be created cycle-by-circuit to display the names and salaries of the top 10 employees.
