How to install Ant Design Pro? Simple Getting Started Guide
What is Ant Design Pro? How to install Ant Design Pro? The following article will share with you the getting started guide and help you get started with Ant Design Pro in a simple way. I hope it will be helpful to you!
1. What is Ant Design Pro
Ant Design Pro is an enterprise-level mid- and back-end front-end/design solution. We adhere to ## The design values of #Ant Design are committed to continuing to build upward on the basis of design specifications and basic components, extracting typical templates/business components/supporting design resources, and further improving the efficiency of enterprise-level middle and back-end product design and development processes. "User" and "Designer" experience You need to install
yarn(or npm), node and git locally. Our technology stack is based on ES2015 , React, UmiJS, dva, g2 and antd, it will be very helpful to understand and learn this knowledge in advance.
Prepared environment
- node js seems to be 10.13 and aboveThe version I use for node js is 12.14.0
- The npm server is abroad and access is slow. You can change it to a domestic source:
npm config set registry https://registry.npm.taobao.org
npm install -g cnpm --registry=https://registry.npm.taobao.org
Method 1: git installation
git clone https://github.com/ant-design/ant-design-pro.git
cd ant-design-pro
npm install
npm start
Method 2: The method recommended by the official website
Create an empty folder as the project directory and execute it in the directory:yarn create umi
npm create umi
Select the boilerplate type (Use arrow keys)
❯ ant-design-pro  - Create project with an layout-only ant-design-pro boilerplate, use together with umi block.
  app             - Create project with a simple boilerplate, support typescript.
  block           - Create a umi block.
  library         - Create a library with umi.
  plugin          - Create a umi plugin.

├── config                   # umi 配置,包含路由,构建等配置
├── mock                     # 本地模拟数据
├── public
│   └── favicon.png          # Favicon
├── src
│   ├── assets               # 本地静态资源
│   ├── components           # 业务通用组件
│   ├── e2e                  # 集成测试用例
│   ├── layouts              # 通用布局
│   ├── models               # 全局 dva model
│   ├── pages                # 业务页面入口和常用模板
│   ├── services             # 后台接口服务
│   ├── utils                # 工具库
│   ├── locales              # 国际化资源
│   ├── global.less          # 全局样式
│   └── global.ts            # 全局 JS
├── tests                    # 测试工具
├── README.md
└── package.json
npm install
npm start
cnpm install
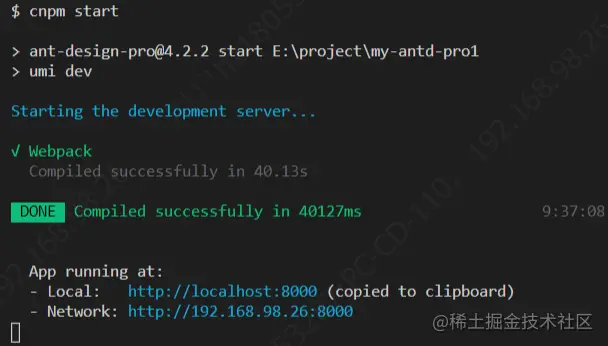
cnpm start

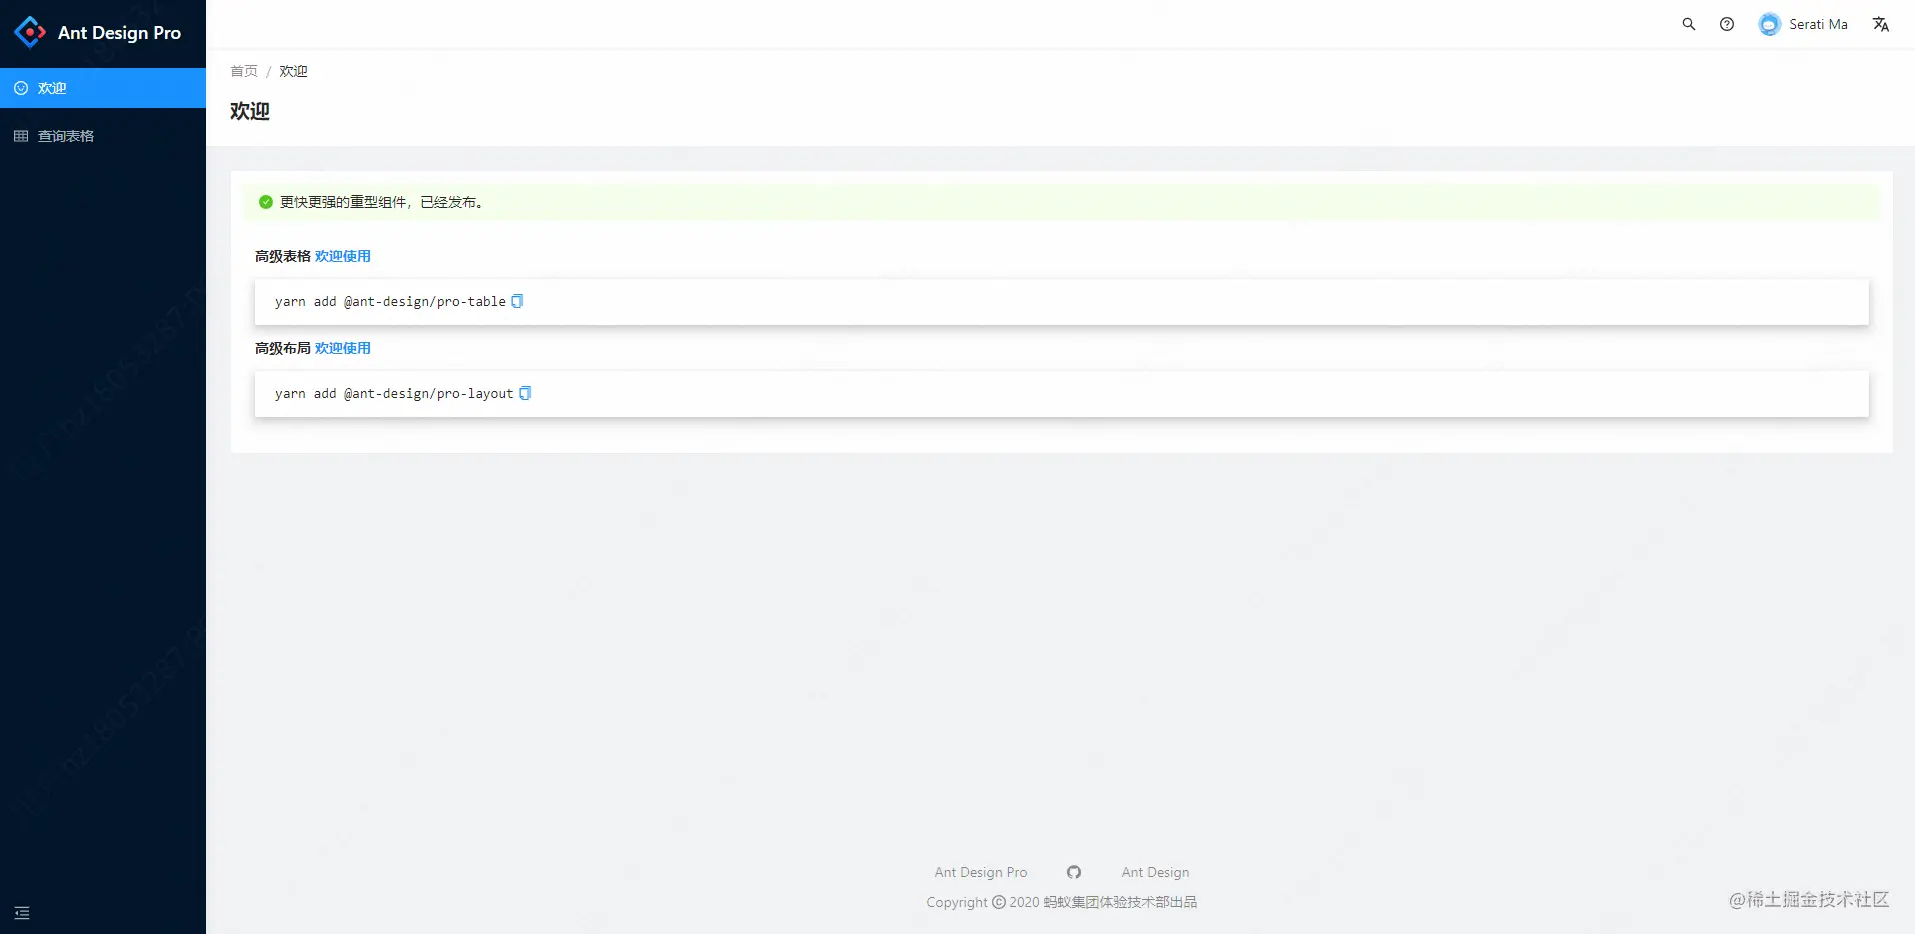
http://localhost:8000. When you see the following page, it means success.

cnpm run fetch:blocks
The directory structure is like this
── config                   # umi 配置,包含路由,构建等配置
├── mock                     # 本地模拟数据
├── public
│   └── favicon.png          # Favicon
├── src
│   ├── assets               # 本地静态资源
│   ├── components           # 业务通用组件
│   ├── e2e                  # 集成测试用例
│   ├── layouts              # 通用布局
│   ├── models               # 全局 dva model
│   ├── pages                # 业务页面入口和常用模板
│   ├── services             # 后台接口服务,请求服务端接口的都放在这里
│   ├── utils                # 工具库
│   ├── locales              # 国际化资源
│   ├── global.less          # 全局样式
│   └── global.ts            # 全局 JS
├── tests                    # 测试工具
├── README.md
└── package.json
- Dashboard
  - 分析页
  - 监控页
  - 工作台
- 表单页
  - 基础表单页
  - 分步表单页
  - 高级表单页
- 列表页
  - 查询表格
  - 标准列表
  - 卡片列表
  - 搜索列表(项目/应用/文章)
- 详情页
  - 基础详情页
  - 高级详情页
- 结果
  - 成功页
  - 失败页
- 异常
  - 403 无权限
  - 404 找不到
  - 500 服务器出错
- 个人页
  - 个人中心
  - 个人设置
- 图形编辑器
  - 流程图编辑器
  - 脑图编辑器
  - 拓扑编辑器
- 帐户
  - 登录
  - 注册
  - 注册成功

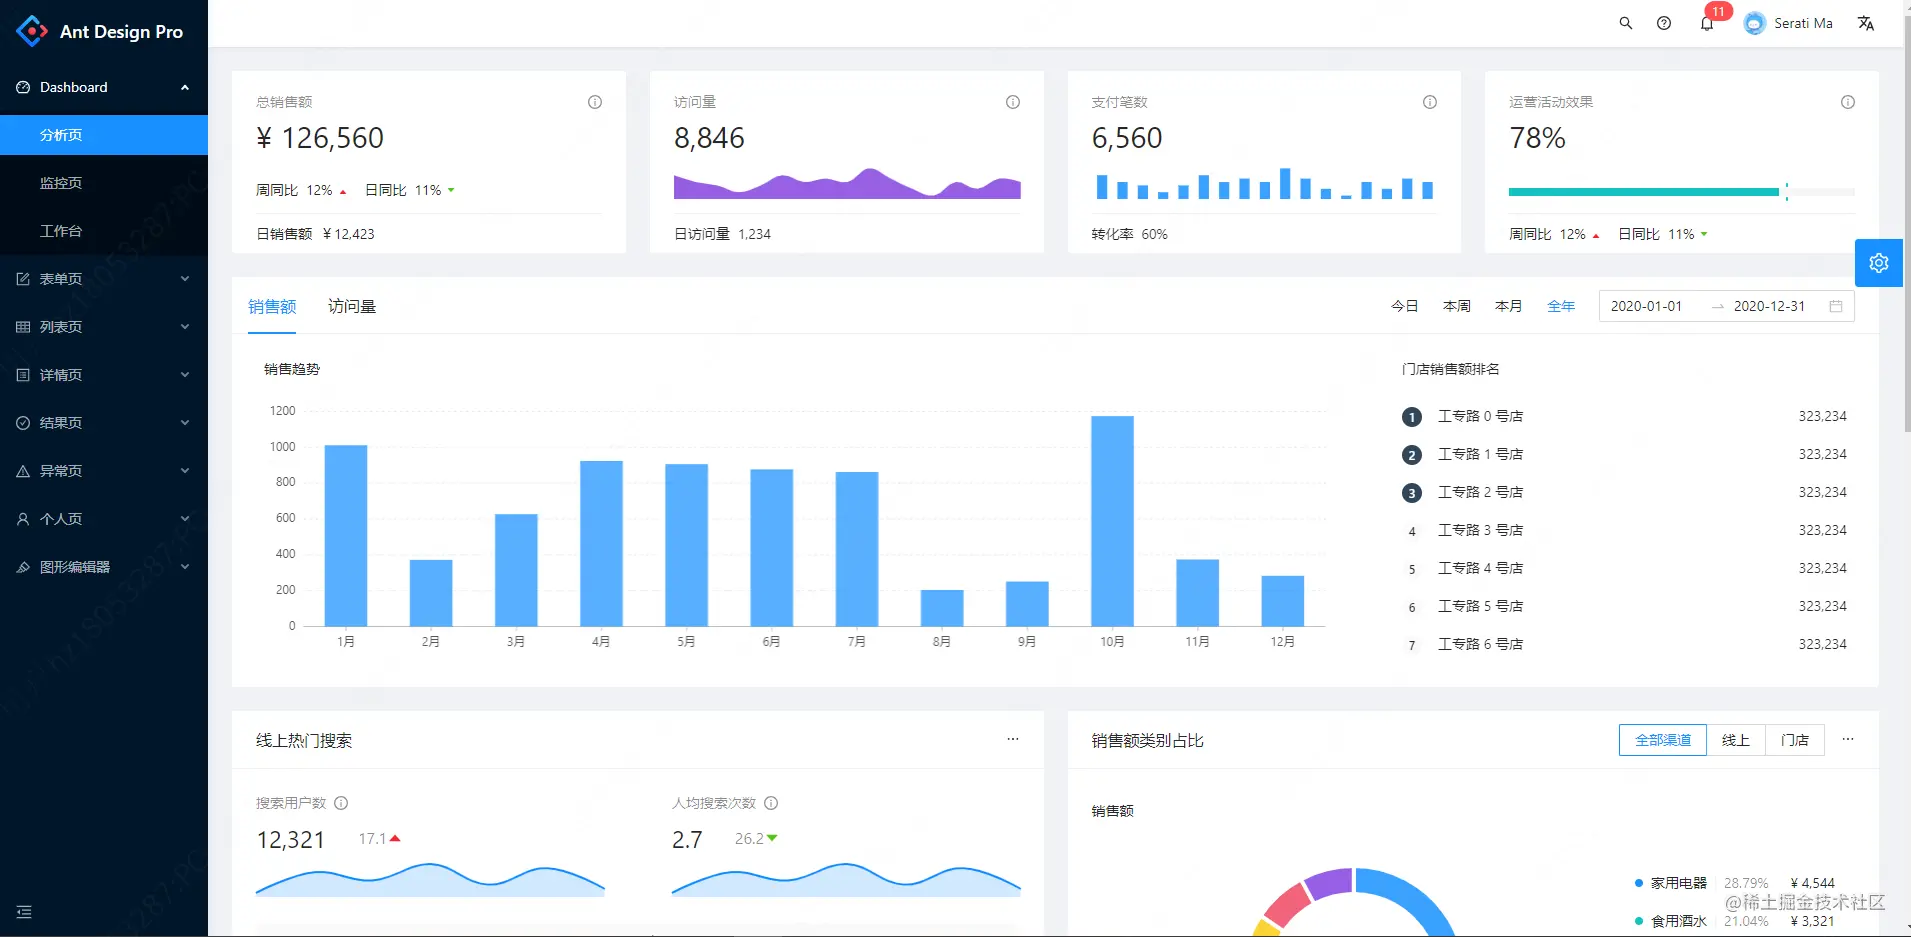
Specific demo page reference: https://preview. pro.ant.design/dashboard/analysisFor more programming-related knowledge, please visit:
Programming Video! !
The above is the detailed content of How to install Ant Design Pro? Simple Getting Started Guide. For more information, please follow other related articles on the PHP Chinese website!

Hot AI Tools

Undresser.AI Undress
AI-powered app for creating realistic nude photos

AI Clothes Remover
Online AI tool for removing clothes from photos.

Undress AI Tool
Undress images for free

Clothoff.io
AI clothes remover

AI Hentai Generator
Generate AI Hentai for free.

Hot Article

Hot Tools

Notepad++7.3.1
Easy-to-use and free code editor

SublimeText3 Chinese version
Chinese version, very easy to use

Zend Studio 13.0.1
Powerful PHP integrated development environment

Dreamweaver CS6
Visual web development tools

SublimeText3 Mac version
God-level code editing software (SublimeText3)

Hot Topics
 1378
1378
 52
52
 What is useEffect? How do you use it to perform side effects?
Mar 19, 2025 pm 03:58 PM
The article discusses useEffect in React, a hook for managing side effects like data fetching and DOM manipulation in functional components. It explains usage, common side effects, and cleanup to prevent issues like memory leaks.
 How does the React reconciliation algorithm work?
Mar 18, 2025 pm 01:58 PM
The article explains React's reconciliation algorithm, which efficiently updates the DOM by comparing Virtual DOM trees. It discusses performance benefits, optimization techniques, and impacts on user experience.Character count: 159
 What are higher-order functions in JavaScript, and how can they be used to write more concise and reusable code?
Mar 18, 2025 pm 01:44 PM
Higher-order functions in JavaScript enhance code conciseness, reusability, modularity, and performance through abstraction, common patterns, and optimization techniques.
 How does currying work in JavaScript, and what are its benefits?
Mar 18, 2025 pm 01:45 PM
The article discusses currying in JavaScript, a technique transforming multi-argument functions into single-argument function sequences. It explores currying's implementation, benefits like partial application, and practical uses, enhancing code read
 How do you connect React components to the Redux store using connect()?
Mar 21, 2025 pm 06:23 PM
Article discusses connecting React components to Redux store using connect(), explaining mapStateToProps, mapDispatchToProps, and performance impacts.
 What is useContext? How do you use it to share state between components?
Mar 19, 2025 pm 03:59 PM
The article explains useContext in React, which simplifies state management by avoiding prop drilling. It discusses benefits like centralized state and performance improvements through reduced re-renders.
 How do you prevent default behavior in event handlers?
Mar 19, 2025 pm 04:10 PM
Article discusses preventing default behavior in event handlers using preventDefault() method, its benefits like enhanced user experience, and potential issues like accessibility concerns.
 What are the advantages and disadvantages of controlled and uncontrolled components?
Mar 19, 2025 pm 04:16 PM
The article discusses the advantages and disadvantages of controlled and uncontrolled components in React, focusing on aspects like predictability, performance, and use cases. It advises on factors to consider when choosing between them.


