It's so cool to write Markdown in VSCode!
I used to use Typora when writing md documents. This editor is very simple and convenient, but it is a bit painful when processing images. Of course, you can use paid plug-ins to automatically upload them, but with the characteristics of diligence and thrift, I just I looked around for other options. Then I discovered that writing Markdown using vscode is actually very cool.
Theme plug-in
This step is actually very important. After all, writing an article requires good writing on the one hand, and easy and clear layout on the other. It can be said that the md rendering method of Github theme This is my personal favorite, simple and refreshing yet professional. [Recommended: vscode tutorial]
Markdown Preview Github Styling
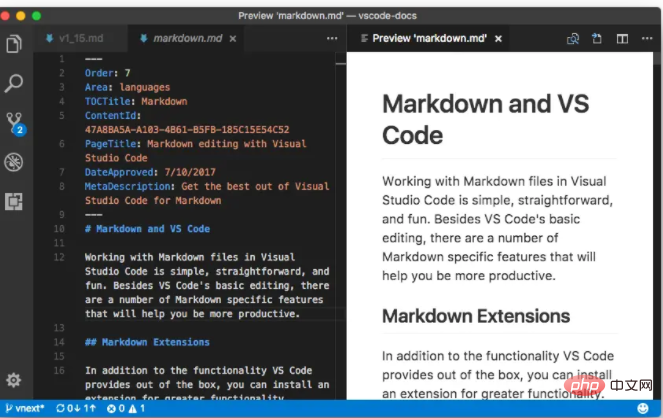
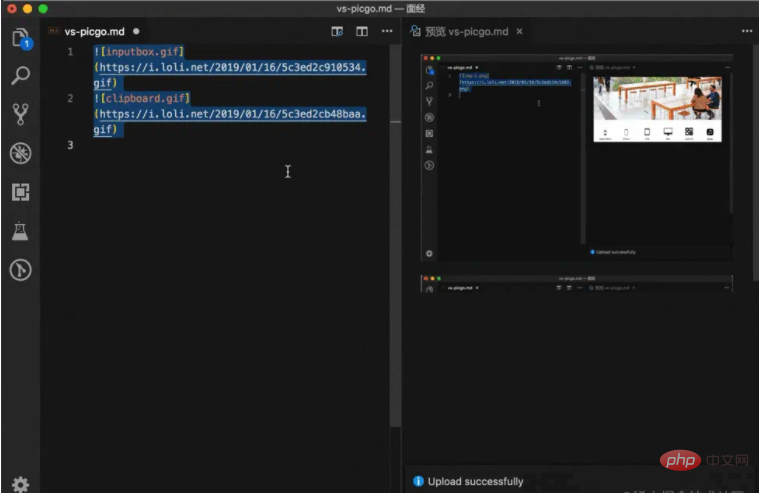
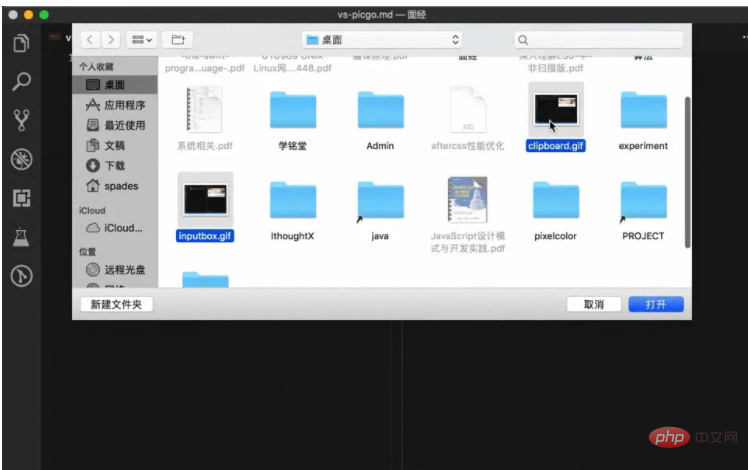
This is a vscode plug-in that supports shortcut keys to upload your pictures to the remote end. The default is the picture bedSupports screenshot upload, local upload and other methods to directly convert it into an online address. There is no need to manually upload and paste back and forth on the image bed.
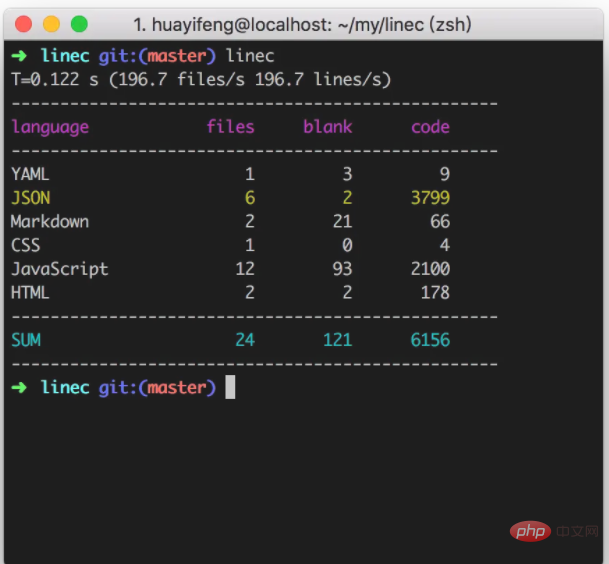
Gifox. Of course, there is also Kap, the generated gif is too big.
This is a beautiful and high-quality Gif generation tool. Generally, the GIF generated is only a few hundred kilobytes. The basic gif of my article is only about 100k.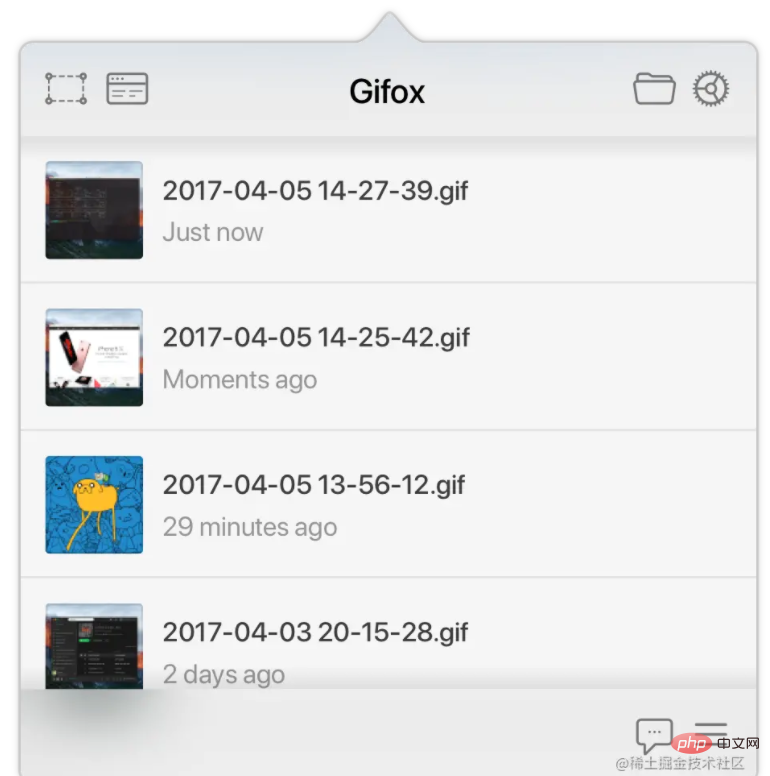
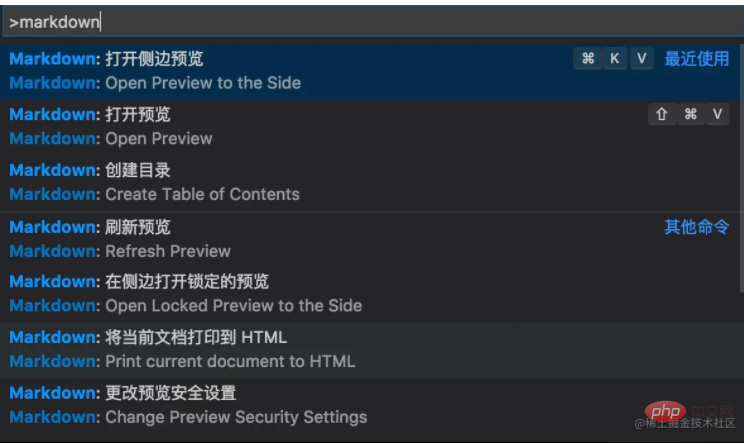
| Command | |
|---|---|
| BToggle bold | |
| IToggle italics | |
| SToggle underline | |
| Shift ]Title Upgrade | |
| Shift [Title downgrade | ##Ctrl |
| Switch math environment | ##Alt |
| Check/uncheck tasks | Ctrl |
| VSwitch preview | ##CtrlK |
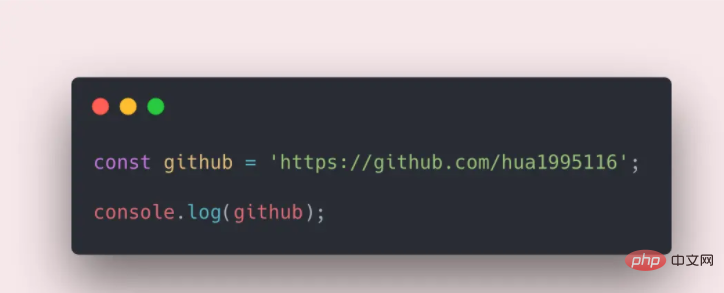
Switch preview to sideScreenshot Toolqq/The shortcut function that comes with WeChat is enough. Of course, if you want this kind of tall screenshot, with shadow.
This is actually a function that comes with Mac. Command Shift 3 This key combination can capture the entire image of the current screen, then name it in the numbered form of "screenshot date", and automatically save it to the desktop in .PNG format. Command Shift 4 This key combination can capture an image of any area on the current screen. After pressing the key combination, you can release it, and then the mouse will automatically become a standard device. When you move the cursor (Click and drag with the mouse or drag with three fingers on the trackpad simultaneously) When selecting the interception area, an instantly changing length and width pixel value will appear next to it. After confirmation, release the gesture (or mouse) to complete the screenshot. . Again, this operation is named after the screenshot date number and is automatically saved to the desktop in .PNG format. Command Shift 4 Spacebar If you want to completely capture the image of a certain window on the screen, you can first press the Command Shift 4 key combination, and then press the Spacebar (or Command Shift 4. Press the space bar simultaneously), the cursor will automatically change into a camera icon. At this time, all areas are in a masked state. Move the cursor to the target window and click to complete the screenshot. If you do not select any window and just place the cursor on the desktop, clicking will automatically capture the image of the entire background wallpaper. Note that it is the background wallpaper. Again, this operation is named after the screenshot date number and is automatically saved to the desktop in .PNG format. Special effectsShadow of code: carbon.now.sh/ (required for installing X)
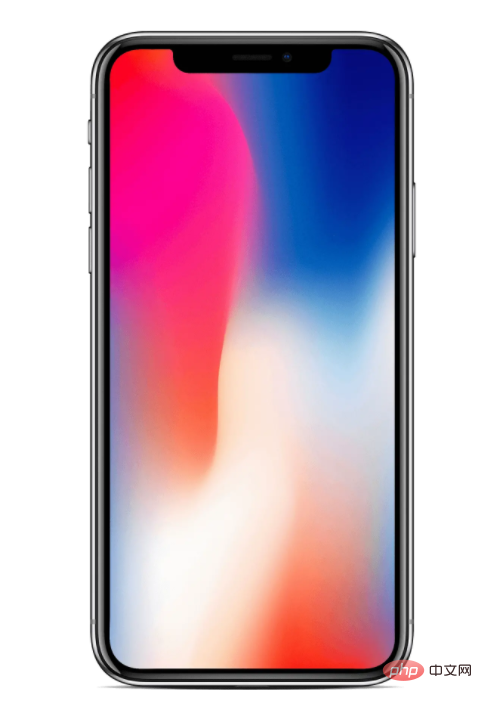
Mobile shells
# Various shells for Android, iOS, and Window. The generated picture is larger, this picture is about 1.7M. Therefore, subsequent image compression is required.
Image compressionTinypng You can see the effect is huge.
Write to the endEveryone can pretend to be X happily. With such powerful tools, um, it’s really delicious. |
The above is the detailed content of It's so cool to write Markdown in VSCode!. For more information, please follow other related articles on the PHP Chinese website!

Hot AI Tools

Undresser.AI Undress
AI-powered app for creating realistic nude photos

AI Clothes Remover
Online AI tool for removing clothes from photos.

Undress AI Tool
Undress images for free

Clothoff.io
AI clothes remover

AI Hentai Generator
Generate AI Hentai for free.

Hot Article

Hot Tools

Notepad++7.3.1
Easy-to-use and free code editor

SublimeText3 Chinese version
Chinese version, very easy to use

Zend Studio 13.0.1
Powerful PHP integrated development environment

Dreamweaver CS6
Visual web development tools

SublimeText3 Mac version
God-level code editing software (SublimeText3)

Hot Topics
 1378
1378
 52
52
 How to define header files for vscode
Apr 15, 2025 pm 09:09 PM
How to define header files using Visual Studio Code? Create a header file and declare symbols in the header file using the .h or .hpp suffix name (such as classes, functions, variables) Compile the program using the #include directive to include the header file in the source file. The header file will be included and the declared symbols are available.
 What computer configuration is required for vscode
Apr 15, 2025 pm 09:48 PM
VS Code system requirements: Operating system: Windows 10 and above, macOS 10.12 and above, Linux distribution processor: minimum 1.6 GHz, recommended 2.0 GHz and above memory: minimum 512 MB, recommended 4 GB and above storage space: minimum 250 MB, recommended 1 GB and above other requirements: stable network connection, Xorg/Wayland (Linux)
 vscode running task shortcut key
Apr 15, 2025 pm 09:39 PM
Run tasks in VSCode: Create tasks.json file, specify version and task list; configure the label, command, args, and type of the task; save and reload the task; run the task using the shortcut key Ctrl Shift B (macOS for Cmd Shift B).
 vscode start front-end project command
Apr 15, 2025 pm 10:00 PM
The command to start a front-end project in VSCode is code. The specific steps include: Open the project folder. Start VSCode. Open the project. Enter the startup command code. in the terminal panel. Press Enter to start the project.
 vscode terminal usage tutorial
Apr 15, 2025 pm 10:09 PM
vscode built-in terminal is a development tool that allows running commands and scripts within the editor to simplify the development process. How to use vscode terminal: Open the terminal with the shortcut key (Ctrl/Cmd). Enter a command or run the script. Use hotkeys (such as Ctrl L to clear the terminal). Change the working directory (such as the cd command). Advanced features include debug mode, automatic code snippet completion, and interactive command history.
 How to set vscode
Apr 15, 2025 pm 10:45 PM
To enable and set VSCode, follow these steps: Install and start VSCode. Custom preferences including themes, fonts, spaces, and code formatting. Install extensions to enhance features such as plugins, themes, and tools. Create a project or open an existing project. Use IntelliSense to get code prompts and completions. Debug the code to step through the code, set breakpoints, and check variables. Connect the version control system to manage changes and commit code.
 What language is vscode used
Apr 15, 2025 pm 11:03 PM
Visual Studio Code (VSCode) is developed by Microsoft, built using the Electron framework, and is mainly written in JavaScript. It supports a wide range of programming languages, including JavaScript, Python, C, Java, HTML, CSS, etc., and can add support for other languages through extensions.
 What language is written in vscode
Apr 15, 2025 pm 11:51 PM
VSCode is written in TypeScript and JavaScript. First, its core code base is written in TypeScript, an open source programming language that extends JavaScript and adds type checking capabilities. Secondly, some extensions and plug-ins of VSCode are written in JavaScript. This combination makes VSCode a flexible and extensible code editor.


