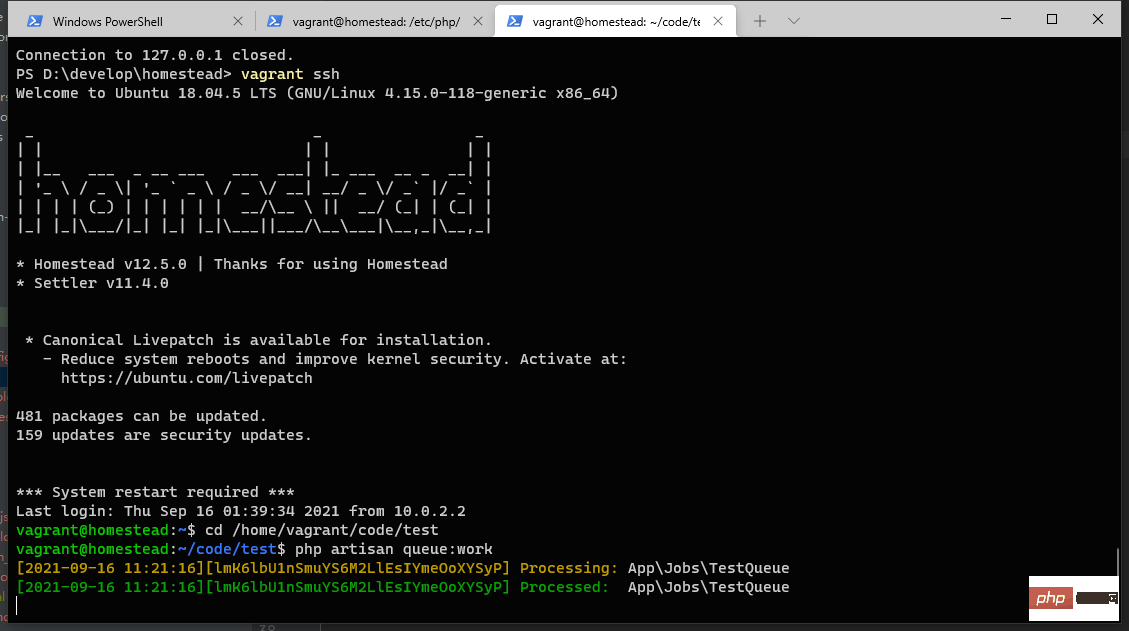
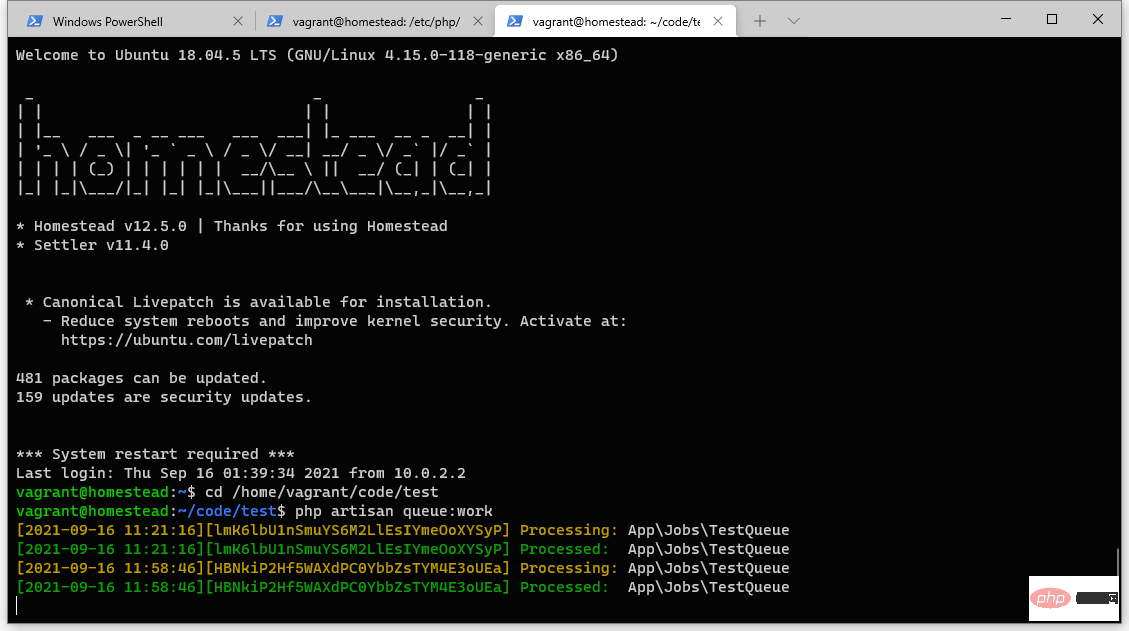
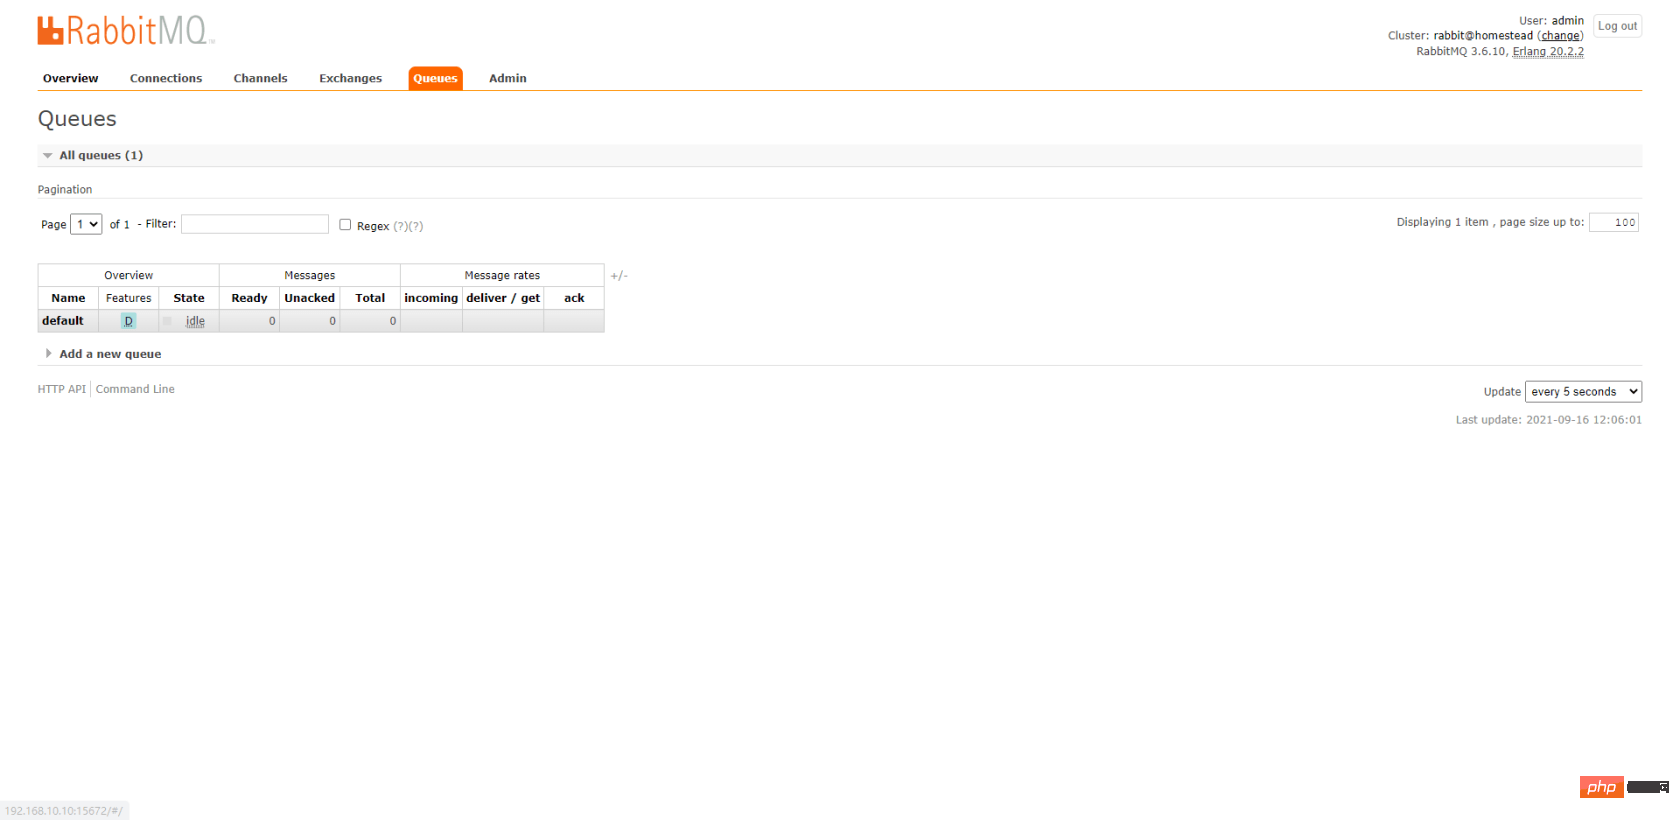
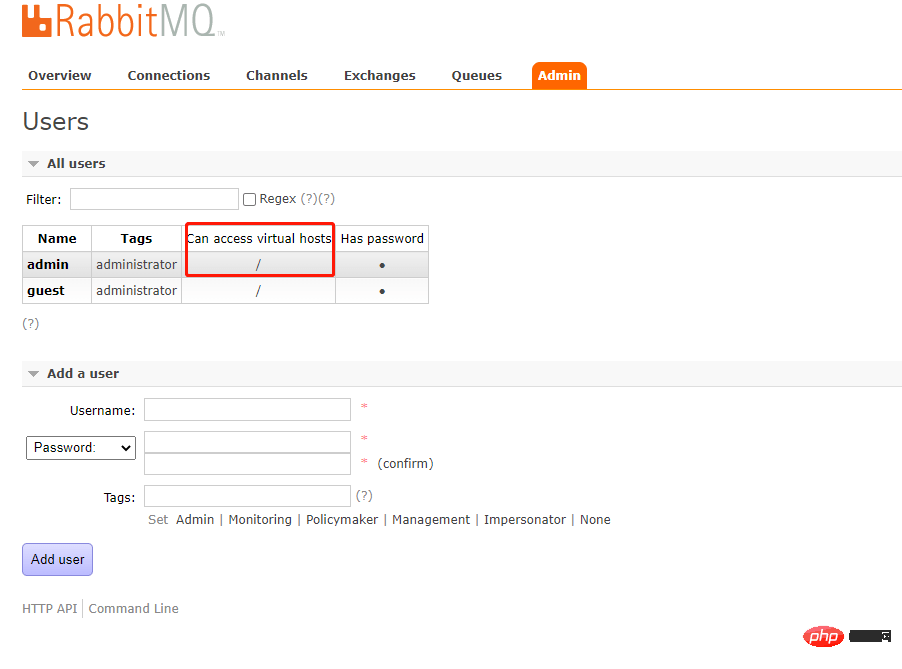
How to use RabbitMQ in laravel (Homestead environment)
How to use RabbitMQ with Laravel in Homestead environment? The following article will introduce to you how to use RabbitMQ in Homestead (ubuntu) Laravel. I hope it will be helpful to you!

Homestead(ubuntu) Laravel using RabbitMQ
Usage 1: Use laravel-queue-rabbitmq alone
Laravel installation RabbitMQ:
First pay attention to the laravel version information supported by laravel-queue-rabbitmq:
| Package Version | Laravel Version | Bug Fixes Until | |
|---|---|---|---|
| 6 | October 5th, 2021 | Documentation | |
| 6, 7 | October 5th, 2021 | Documentation | |
| 8 | April 6th, 2021 | Documentation |
The above is the detailed content of How to use RabbitMQ in laravel (Homestead environment). For more information, please follow other related articles on the PHP Chinese website!

Hot AI Tools

Undresser.AI Undress
AI-powered app for creating realistic nude photos

AI Clothes Remover
Online AI tool for removing clothes from photos.

Undress AI Tool
Undress images for free

Clothoff.io
AI clothes remover

AI Hentai Generator
Generate AI Hentai for free.

Hot Article

Hot Tools

Notepad++7.3.1
Easy-to-use and free code editor

SublimeText3 Chinese version
Chinese version, very easy to use

Zend Studio 13.0.1
Powerful PHP integrated development environment

Dreamweaver CS6
Visual web development tools

SublimeText3 Mac version
God-level code editing software (SublimeText3)

Hot Topics
 1378
1378
 52
52
 Comparison of the latest versions of Laravel and CodeIgniter
Jun 05, 2024 pm 05:29 PM
The latest versions of Laravel 9 and CodeIgniter 4 provide updated features and improvements. Laravel9 adopts MVC architecture and provides functions such as database migration, authentication and template engine. CodeIgniter4 uses HMVC architecture to provide routing, ORM and caching. In terms of performance, Laravel9's service provider-based design pattern and CodeIgniter4's lightweight framework give it excellent performance. In practical applications, Laravel9 is suitable for complex projects that require flexibility and powerful functions, while CodeIgniter4 is suitable for rapid development and small applications.
 How do the data processing capabilities in Laravel and CodeIgniter compare?
Jun 01, 2024 pm 01:34 PM
Compare the data processing capabilities of Laravel and CodeIgniter: ORM: Laravel uses EloquentORM, which provides class-object relational mapping, while CodeIgniter uses ActiveRecord to represent the database model as a subclass of PHP classes. Query builder: Laravel has a flexible chained query API, while CodeIgniter’s query builder is simpler and array-based. Data validation: Laravel provides a Validator class that supports custom validation rules, while CodeIgniter has less built-in validation functions and requires manual coding of custom rules. Practical case: User registration example shows Lar
 Which one is more beginner-friendly, Laravel or CodeIgniter?
Jun 05, 2024 pm 07:50 PM
For beginners, CodeIgniter has a gentler learning curve and fewer features, but covers basic needs. Laravel offers a wider feature set but has a slightly steeper learning curve. In terms of performance, both Laravel and CodeIgniter perform well. Laravel has more extensive documentation and active community support, while CodeIgniter is simpler, lightweight, and has strong security features. In the practical case of building a blogging application, Laravel's EloquentORM simplifies data manipulation, while CodeIgniter requires more manual configuration.
 Laravel - Artisan Commands
Aug 27, 2024 am 10:51 AM
Laravel - Artisan Commands - Laravel 5.7 comes with new way of treating and testing new commands. It includes a new feature of testing artisan commands and the demonstration is mentioned below ?
 Laravel vs CodeIgniter: Which framework is better for large projects?
Jun 04, 2024 am 09:09 AM
When choosing a framework for large projects, Laravel and CodeIgniter each have their own advantages. Laravel is designed for enterprise-level applications, offering modular design, dependency injection, and a powerful feature set. CodeIgniter is a lightweight framework more suitable for small to medium-sized projects, emphasizing speed and ease of use. For large projects with complex requirements and a large number of users, Laravel's power and scalability are more suitable. For simple projects or situations with limited resources, CodeIgniter's lightweight and rapid development capabilities are more ideal.
 Questions and Answers on PHP Enterprise Application Microservice Architecture Design
May 07, 2024 am 09:36 AM
Microservice architecture uses PHP frameworks (such as Symfony and Laravel) to implement microservices and follows RESTful principles and standard data formats to design APIs. Microservices communicate via message queues, HTTP requests, or gRPC, and use tools such as Prometheus and ELKStack for monitoring and troubleshooting.
 Laravel vs CodeIgniter: Which framework is better for small projects?
Jun 04, 2024 pm 05:29 PM
For small projects, Laravel is suitable for larger projects that require strong functionality and security. CodeIgniter is suitable for very small projects that require lightweight and ease of use.
 Which is the better template engine, Laravel or CodeIgniter?
Jun 03, 2024 am 11:30 AM
Comparing Laravel's Blade and CodeIgniter's Twig template engine, choose based on project needs and personal preferences: Blade is based on MVC syntax, which encourages good code organization and template inheritance. Twig is a third-party library that provides flexible syntax, powerful filters, extended support, and security sandboxing.


