
 Database
Oracle
Learn to install Oracle11g under Centos7 without graphical interface in ten minutes
Database
Oracle
Learn to install Oracle11g under Centos7 without graphical interface in ten minutes
Learn to install Oracle11g under Centos7 without graphical interface in ten minutes

本篇文章给大家带来了Centos7下无图形界面安装 Oracle11g的操作知识,希望对大家有帮助。

一、系统准备
- 物理内存不小于1G: 查看方式:
# grep MemTotal /proc/meminfo
- 可用硬盘不小于8G: 查看方式:
# df
- Swap分区空间不小于2G: 查看方式:
# grep SwapTotal /proc/meminfo
- 关闭防火墙
# systemctl status firewalld.service    #查看firewalld防火墙状态
# systemctl stop firewalld.service      #关闭firewalld防火墙
# systemctl disable firewalld.service   #禁止开机使用firewalld防火墙
- 修改CentOS系统标识 (由于Oracle默认不支持CentOS)
修改文件: /etc/redhat-release
将文件内容替换为:
redhat-7
- 修改内核参数
修改文件: /etc/sysctl.conf
添加以下内容:
fs.aio-max-nr = 1048576
fs.file-max = 6815744
kernel.shmmni = 4096
kernel.sem = 250 32000 100 128
kernel.shmall = 2097152
kernel.shmmax = 2147483648
net.ipv4.ip_local_port_range = 9000 65500
net.ipv4.icmp_echo_ignore_broadcasts = 1
net.ipv4.conf.all.rp_filter = 1
net.core.rmem_default = 262144
net.core.rmem_max= 4194304
net.core.wmem_default= 262144
net.core.wmem_max= 1048576
修改完后,启用新的配置:
# sysctl -p
- 安装必须的软件包
# yum -y install binutils* compat-libcap1* compat-libstdc++* gcc* gcc-c++* glibc* glibc-devel* ksh* libaio* libaio-devel* libgcc* libstdc++* libstdc++-devel* libXi* libXtst* make* sysstat* elfutils* unixODBC* unzip lrzsz net-tools
- 创建用户以及组
# groupadd oinstall                         #创建安装oracle程序用户组
# groupadd dba                              #创建DBA用户组
# useradd -g dba -m oracle                  #创建用户oracle 并加入到dba组
# usermod -a -G oinstall oracle             #将用户oracle加入到oinstall组

# passwd oracle                             #修改用户oracle的密码
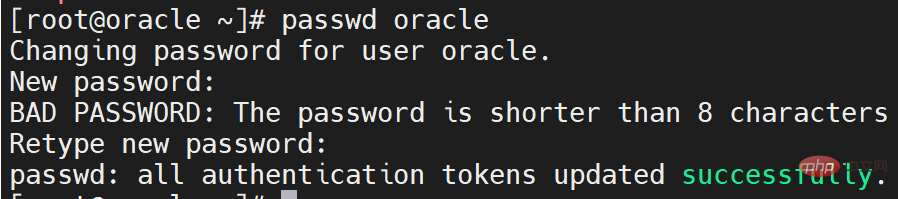
# id oracle #查看用户oracle的信息

- 创建安装目录
# mkdir -p /opt/oracle                         #创建oracle主目录
# mkdir -p /opt/inventory                      #创建oralce配置目录
# mkdir -p /opt/src                            #创建oracle压缩包解压目录
# chown -R oracle:oinstall /opt/oracle         #修改目录权限
# chown -R oracle:oinstall /opt/inventory
# chown -R oracle:oinstall /opt/src
# ll /opt                                      #查看目录权限

- 修改oracle用户的安全性能设置
修改文件: /etc/security/limits.conf
在文件最后一行前,追加以下内容
#@student        -       maxlogins       4

oracle soft nproc 2047
oracle hard nproc 16384
oracle soft nofile 1024
oracle hard nofile 65536

# End of file
- 修改用户环境变量
修改文件: /home/oracle/.bashrc
追加以下内容
export PATH
export ORACLE_BASE=/opt/oracle
export ORACLE_HOME=$ORACLE_BASE/product/11.2.0/db_1
export ORACLE_SID=orcl
export ORACLE_UNQNAME=orcl
export PATH=$ORACLE_HOME/bin:/usr/sbin:$PATH
export LD_LIBRARY_PATH=$ORACLE_HOME/lib:/lib:/usr/lib
export LANG=C
export NLS_LANG=AMERICAN_AMERICA.AL32UTF8
修改完后立即启用:
# source /home/oracle/.bashrc
- 解压缩zip包到/opt/src
# unzip linux.x64_11gR2_database_1of2.zip -d /opt/src/
# unzip linux.x64_11gR2_database_2of2.zip -d /opt/src/
# chown -R oracle:oinstall /opt/src/
# ll /opt/src/

- 关闭selinux
修改文件: /etc/selinux/config
保存后需要重启机器
# This file controls the state of SELinux on the system.
# SELINUX= can take one of these three values:
#     enforcing - SELinux security policy is enforced.
#     permissive - SELinux prints warnings instead of enforcing.
#     disabled - No SELinux policy is loaded.
SELINUX=disabled      # ********修改此行******
# SELINUXTYPE= can take one of three two values:
#     targeted - Targeted processes are protected,
#     minimum - Modification of targeted policy. Only selected processes are protected.
#     mls - Multi Level Security protection.
SELINUXTYPE=targeted
# reboot
二、安装oracle
进入Oracle用户
# su oracle
- 安装oracle主程序
编辑数据库安装文件 /opt/src/database/response/db_install.rsp
oracle.install.option=INSTALL_DB_SWONLY                # 安装类型
ORACLE_HOSTNAME=oracle.server                            # 主机名称
UNIX_GROUP_NAME=oinstall                                   # 安装组
INVENTORY_LOCATION=/opt/inventory                         # INVENTORY目录
SELECTED_LANGUAGES=en,zh_CN                                # 选择语言
ORACLE_HOME=/opt/oracle/product/11.2.0/db_1               # oracle_home
ORACLE_BASE=/opt/oracle                                   # oracle_base
oracle.install.db.InstallEdition=EE                        # oracle版本
oracle.install.db.DBA_GROUP=dba                            # dba用户组
oracle.install.db.OPER_GROUP=oinstall                      # oper用户组
oracle.install.db.config.starterdb.type=GENERAL_PURPOSE    # 数据库类型
oracle.install.db.config.starterdb.globalDBName=orcl       # globalDBName
oracle.install.db.config.starterdb.SID=orcl                # SID
oracle.install.db.config.starterdb.characterSet=AL32UTF8   # 默认数据库编码
oracle.install.db.config.starterdb.memoryLimit=800         # 自动管理内存的最小内存(M)oracle.install.db.config.starterdb.password.ALL=oracle     # 设定所有数据库用户使用同一个密码
DECLINE_SECURITY_UPDATES=true
安装oracle
$ /opt/src/database/runInstaller -silent -responseFile /opt/src/database/response/db_install.rsp -ignorePrereq
此时需要慢慢等待······
当出现以下画面时,请照做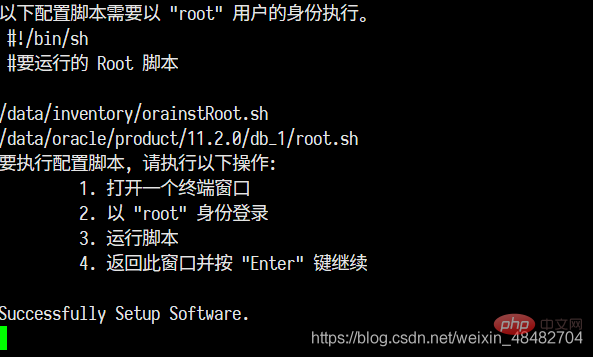
要执行配置脚本,请执行以下操作:
1.打开一个终端窗口
2.以"root"身份登陆
3.运行脚本
/opt/inventory/orainstRoot.sh
/opt/oracle/product/11.2.0/db_1/root.sh
4.返回此窗口并按"Enter"键继续
三、配置oracle监听程序
编辑监听配置文件 /opt/src/database/response/netca.rsp
修改以下参数
INSTALL_TYPE=""custom""                               # 安装的类型
LISTENER_NUMBER=1                                     # 监听器数量
LISTENER_NAMES={"LISTENER"}                           # 监听器的名称列表
LISTENER_PROTOCOLS={"TCP;1521"}                       # 监听器使用的通讯协议列表
LISTENER_START=""LISTENER"" # 监听器启动的名称执行命令:
$ /opt/oracle/product/11.2.0/db_1/bin/netca /silent /responseFile /opt/src/database/response/netca.rsp
查看监听程序是否运行
$ netstat -tnulp | grep 1521

关于监听的开机和关闭
开启监听:/opt/oracle/product/11.2.0/db_1/bin/lsnrctl start
关闭监听:/opt/oracle/product/11.2.0/db_1/bin/lsnrctl stop
四、添加数据库实例
编辑数据库实例文件 /opt/src/database/response/dbca.rsp
修改以下参数
RESPONSEFILE_VERSION ="11.2.0"                              // 不要变哦
OPERATION_TYPE ="createDatabase"                            // 操作为创建实例
GDBNAME ="orcl"                                             // 数据库实例名
SID ="orcl"                                                 // 实例名字
TEMPLATENAME = "General_Purpose.dbc"                        // 建库用的模板文件
SYSPASSWORD = "oracle"                                      // SYS管理员密码
SYSTEMPASSWORD = "oracle"                                   // SYSTEM管理员密码
SYSMANPASSWORD= "oracle"
DBSNMPPASSWORD= "oracle"
DATAFILEDESTINATION =/opt/oracle/oradata                   // 数据文件存放目录
RECOVERYAREADESTINATION=/opt/oracle/flash_recovery_area    // 恢复数据存放目录
CHARACTERSET ="AL32UTF8"                                    // 字符集
NATIONALCHARACTERSET= "AL16UTF16"                           // 字符集
TOTALMEMORY ="1638"                                         // 1638MB,物理内存2G*80%。
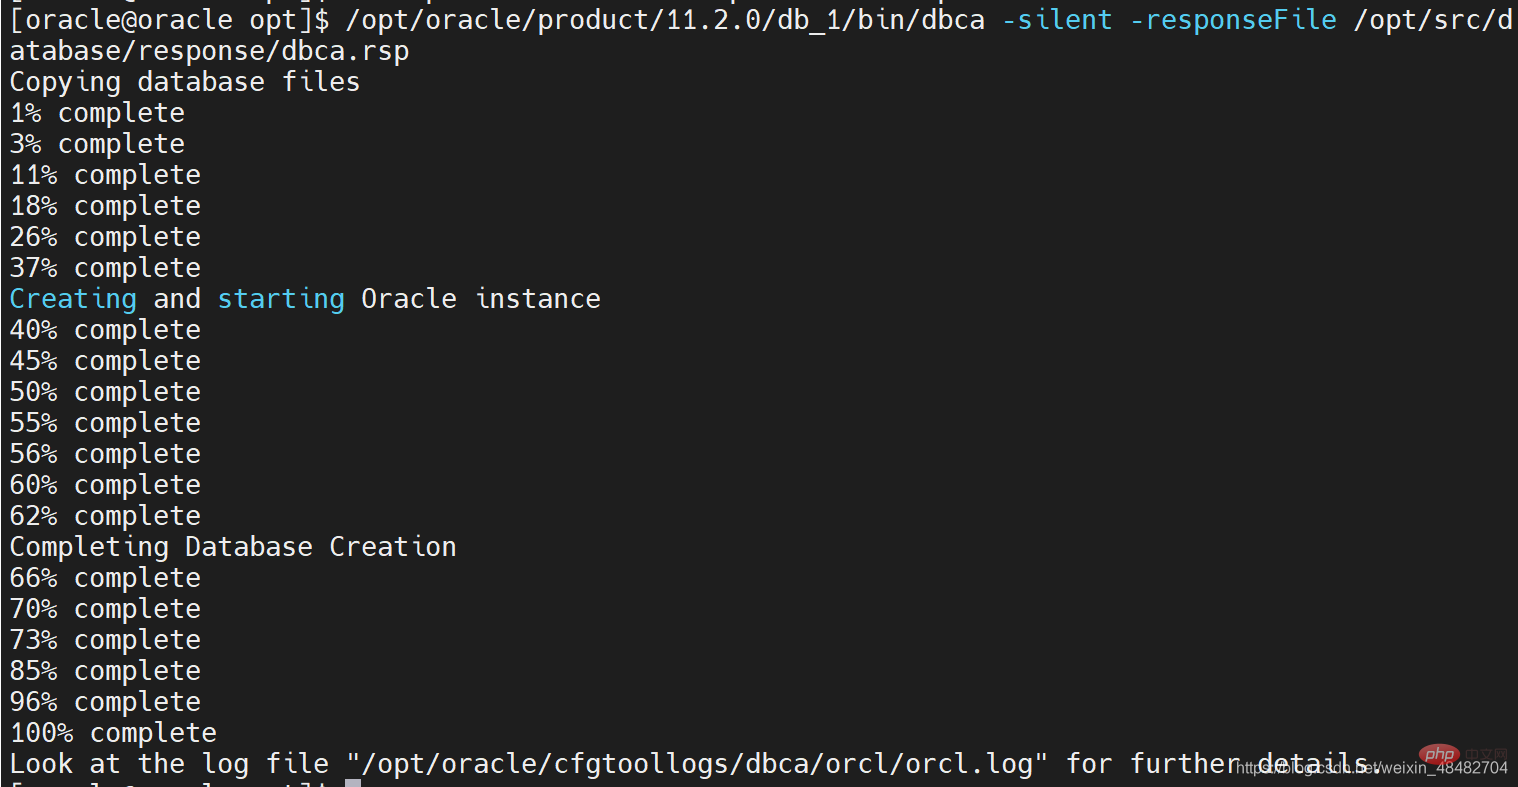
执行命令:
$ /opt/oracle/product/11.2.0/db_1/bin/dbca -silent -responseFile /opt/src/database/response/dbca.rsp
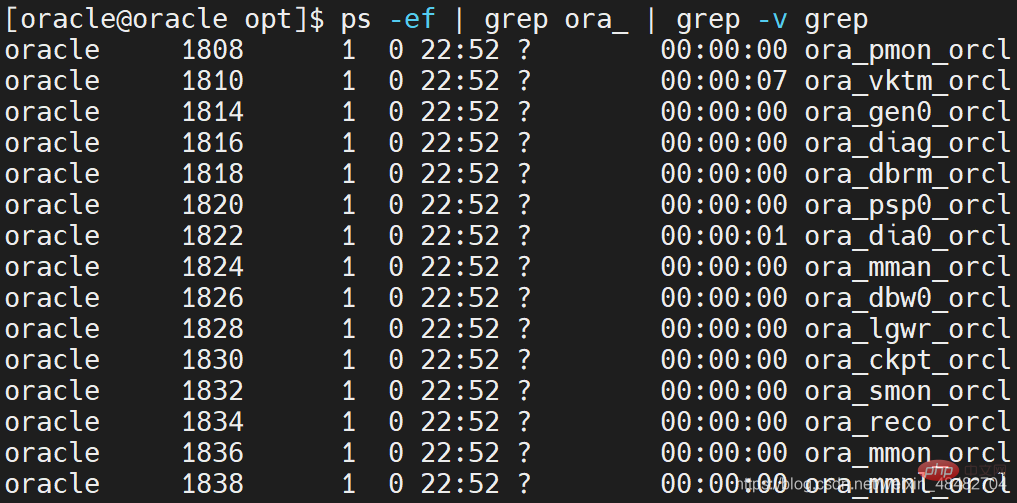
查看实例是否运行
$ ps -ef | grep ora_ | grep -v grep
修改启动和关闭实例的程序
修改文件: /opt/oracle/product/11.2.0/db_1/bin/dbstart
/opt/oracle/product/11.2.0/db_1/bin/dbshut
将
ORACLE_HOME_LISTNER=$1修改为
ORACLE_HOME_LISTNER=/opt/oracle/product/11.2.0/db_1
修改文件: /etc/oratab
将
orcl:/opt/oracle/product/11.2.0:N
修改为
orcl:/opt/oracle/product/11.2.0:Y
启动或者关闭实例
启动实例:/opt/oracle/product/11.2.0/db_1/bin/dbstart
关闭实例:/opt/oracle/product/11.2.0/db_1/bin/dbshut
五、开机启动oracle
Root用户模式下:
# chmod +x /etc/rc.d/rc.local

修改文件 /etc/rc.d/rc.local
在文件最后追加以下内容:

su oracle -lc "/opt/oracle/product/11.2.0/db_1/bin/lsnrctl start"su oracle -lc "/opt/oracle/product/11.2.0/db_1/bin/dbstart"
六、测试
先登录下数据库
# su - oracle
$ sqlplus / as sysdba


SQL> select * from v$version;BANNER--------------------------------------------------------------------------------Oracle Database 11g Enterprise Edition Release 11.2.0.1.0 - 64bit Production
PL/SQL Release 11.2.0.1.0 - Production
CORE    11.2.0.1.0      Production
TNS for Linux: Version 11.2.0.1.0 - Production
NLSRTL Version 11.2.0.1.0 - Production
成功查出版本,安装完毕
推荐教程:《Oracle教程》
The above is the detailed content of Learn to install Oracle11g under Centos7 without graphical interface in ten minutes. For more information, please follow other related articles on the PHP Chinese website!

Hot AI Tools

Undresser.AI Undress
AI-powered app for creating realistic nude photos

AI Clothes Remover
Online AI tool for removing clothes from photos.

Undress AI Tool
Undress images for free

Clothoff.io
AI clothes remover

AI Hentai Generator
Generate AI Hentai for free.

Hot Article
Hot Tools

Notepad++7.3.1
Easy-to-use and free code editor

SublimeText3 Chinese version
Chinese version, very easy to use

Zend Studio 13.0.1
Powerful PHP integrated development environment

Dreamweaver CS6
Visual web development tools

SublimeText3 Mac version
God-level code editing software (SublimeText3)
Hot Topics


 How long will Oracle database logs be kept?
May 10, 2024 am 03:27 AM
How long will Oracle database logs be kept?
May 10, 2024 am 03:27 AM
The retention period of Oracle database logs depends on the log type and configuration, including: Redo logs: determined by the maximum size configured with the "LOG_ARCHIVE_DEST" parameter. Archived redo logs: Determined by the maximum size configured by the "DB_RECOVERY_FILE_DEST_SIZE" parameter. Online redo logs: not archived, lost when the database is restarted, and the retention period is consistent with the instance running time. Audit log: Configured by the "AUDIT_TRAIL" parameter, retained for 30 days by default.
 Function to calculate the number of days between two dates in oracle
May 08, 2024 pm 07:45 PM
Function to calculate the number of days between two dates in oracle
May 08, 2024 pm 07:45 PM
The function in Oracle to calculate the number of days between two dates is DATEDIFF(). The specific usage is as follows: Specify the time interval unit: interval (such as day, month, year) Specify two date values: date1 and date2DATEDIFF(interval, date1, date2) Return the difference in days
 The order of the oracle database startup steps is
May 10, 2024 am 01:48 AM
The order of the oracle database startup steps is
May 10, 2024 am 01:48 AM
The Oracle database startup sequence is: 1. Check the preconditions; 2. Start the listener; 3. Start the database instance; 4. Wait for the database to open; 5. Connect to the database; 6. Verify the database status; 7. Enable the service (if necessary ); 8. Test the connection.
 How to use interval in oracle
May 08, 2024 pm 07:54 PM
How to use interval in oracle
May 08, 2024 pm 07:54 PM
The INTERVAL data type in Oracle is used to represent time intervals. The syntax is INTERVAL <precision> <unit>. You can use addition, subtraction, multiplication and division operations to operate INTERVAL, which is suitable for scenarios such as storing time data and calculating date differences.
 How to determine whether two strings are contained in oracle
May 08, 2024 pm 07:00 PM
How to determine whether two strings are contained in oracle
May 08, 2024 pm 07:00 PM
In Oracle, you can use the nested INSTR function to determine whether a string contains two substrings at the same time: when INSTR(string1, string2a) is greater than 0 and INSTR(string1, string2b) is greater than 0, it is included; otherwise, it is not included.
 How to see the number of occurrences of a certain character in Oracle
May 09, 2024 pm 09:33 PM
How to see the number of occurrences of a certain character in Oracle
May 09, 2024 pm 09:33 PM
To find the number of occurrences of a character in Oracle, perform the following steps: Get the total length of a string; Get the length of the substring in which a character occurs; Count the number of occurrences of a character by subtracting the substring length from the total length.
 Oracle database server hardware configuration requirements
May 10, 2024 am 04:00 AM
Oracle database server hardware configuration requirements
May 10, 2024 am 04:00 AM
Oracle database server hardware configuration requirements: Processor: multi-core, with a main frequency of at least 2.5 GHz. For large databases, 32 cores or more are recommended. Memory: At least 8GB for small databases, 16-64GB for medium sizes, up to 512GB or more for large databases or heavy workloads. Storage: SSD or NVMe disks, RAID arrays for redundancy and performance. Network: High-speed network (10GbE or higher), dedicated network card, low-latency network. Others: Stable power supply, redundant components, compatible operating system and software, heat dissipation and cooling system.
 How much memory does oracle require?
May 10, 2024 am 04:12 AM
How much memory does oracle require?
May 10, 2024 am 04:12 AM
The amount of memory required by Oracle depends on database size, activity level, and required performance level: for storing data buffers, index buffers, executing SQL statements, and managing the data dictionary cache. The exact amount is affected by database size, activity level, and required performance level. Best practices include setting the appropriate SGA size, sizing SGA components, using AMM, and monitoring memory usage.
