This article brings you relevant knowledge about how the starry sky connection effect should be presented in JavaScript. I hope it will be helpful to you.

Javascript Simple implementation of starry sky connection effect
I have seen very cool particles before As for the effect of connection, this article mainly aims to achieve the effect of a simple star connection.
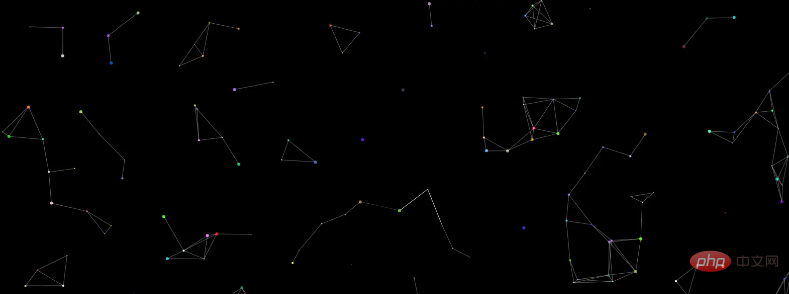
First post a rough rendering.

This mainly uses canvas drawing in Html5. The basic use of canvas will not be introduced here. You can learn about it by yourself.
Then requestAnimationFrame is used to draw the animation instead of a timer.
1. The effect achieved
Stars are automatically generated, and the color, initial position and moving direction of the stars are all It's random.
When the distance between the stars is less than the given value, a connection line will be generated between the stars.
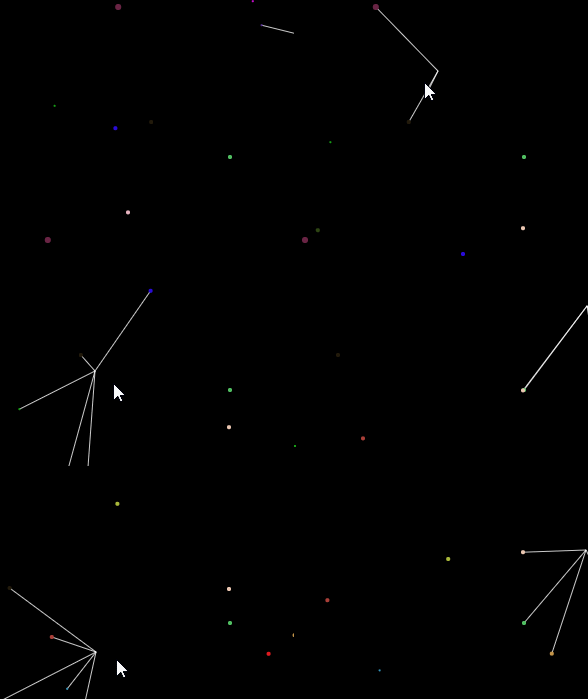
After the distance between the mouse pointer and the star is less than the given value, a connection line will also be generated between the star and the mouse pointer.
2. Implementation method
Achieved through canvas drawing
Define the star class Star, Including attributes such as position, radius, color, movement speed, and methods of drawing and movement.
Draw stars to achieve the effect of random movement.
After drawing the stars, calculate the distance between each star and draw connecting lines between the stars that meet the requirements.
Calculate the distance between the mouse pointer and the stars, and draw connecting lines between the stars that meet the requirements.
Drawing uses requestAnimationFrame
Execute functions 4 and 5 in the main function to continue drawing
3. Specific implementation
Html Css
The basic document structure is very simple, just create a canvas container.
<!DOCTYPE html>
<html>
<head>
    <meta charset="UTF-8">
    <meta name="viewport" content="width=device-width, initial-scale=1.0">
    <meta http-equiv="X-UA-Compatible" content="ie=edge">
    <title>星空连线</title>
    <style type="text/css">
        * {
            margin: 0;
            padding: 0;
        }
        body,
        html {
            width: 100%;
            height: 100%;
            overflow: hidden;
        }
        #starry {
            position: absolute;
            background-color: #000000;
        }
    </style>
</head>
<body>
    <canvas id="starry"></canvas>
</html>Define the star class Star, including attributes such as position, radius, color, movement speed, and methods of drawing and movement.
      class Star {
            constructor() {
                this.x = randNum(3, canvas.width - 3);
                this.y = randNum(3, canvas.height - 3);
                this.r = randNum(1, 3);
                this.color = randColor();
                this.speedX = randNum(-2, 2) * 0.2;
                this.speedY = randNum(-3, 3) * 0.2;
            }
            // 绘制每个星点
            draw() {
                //新建一条路径
                ctx.beginPath();
                //调整透明度
                ctx.globalAlpha = 1;
                // 填充颜色
                ctx.fillStyle = this.color;
                // 绘制圆弧
                ctx.arc(this.x, this.y, this.r, 0, Math.PI * 2);
                // 填充
                ctx.fill();
            }
            // 星星移动
            move() {
                this.x += this.speedX;
                this.y += this.speedY;
                //设置极限值
                if (this.x <= 3 || this.x >= canvas.width - 3) this.speedX *= -1;
                if (this.y <= 3 || this.y >= canvas.height - 3) this.speedY *= -1;
            }
        }
        // 存储小球
        let stars = [];
        for (let i = 0; i < 150; i++) {
            let star = new Star();
            // 存入数组
            stars.push(star);
}Draw stars to achieve the effect of random movement.
We can realize the drawing of stars first, and ignore the effect of the connection for the time being.
        function drawLine() {
            for (var i = 0; i < stars.length; i++) {
                stars[i].draw();
                stars[i].move();
            }
}After drawing the stars, calculate the distance between each star and draw connecting lines between the stars that meet the requirements.
In fact, you only need to add the code for distance judgment and drawing connection lines in the function of the previous step.
        function drawLine() {
            for (var i = 0; i < stars.length; i++) {
                stars[i].draw();
                stars[i].move();
                for (var j = 0; j < stars.length; j++) {
                    if (i != j) {
                        if (Math.sqrt(Math.pow((stars[i].x - stars[j].x), 2) + Math.pow((stars[i].y - stars[j].y), 2)) < 80) {
                            ctx.beginPath();
                            ctx.moveTo(stars[i].x, stars[i].y);
                            ctx.lineTo(stars[j].x, stars[j].y);
                            ctx.strokeStyle = "white";
                            ctx.globalAlpha = 0.2;
                            ctx.stroke();
                        }
                    }
                }
            }
}Calculate the distance between the mouse pointer and the stars, and draw connecting lines between the stars that meet the requirements.
Similar to the method of drawing stars.
      function mouseLine() {
            for (var i = 0; i < stars.length; i++) {
                if (Math.sqrt(Math.pow((stars[i].x - mouseX), 2) + Math.pow((stars[i].y - mouseY), 2)) < 120) {
                    ctx.beginPath();
                    ctx.moveTo(stars[i].x, stars[i].y);
                    ctx.lineTo(mouseX, mouseY);
                    ctx.strokeStyle = "white";
                    ctx.globalAlpha = 0.8;
                    ctx.stroke();
                }
            }
}Main function for drawing
      function main() {
            // 清除矩形区域
            ctx.clearRect(0, 0, canvas.width, canvas.height);
            //鼠标移动绘制连线
            mouseLine();
            // 小球之间自动连线
            drawLine();
            // 不断重新执行main(绘制和清除)
            window.requestAnimationFrame(main);
}Some auxiliary random functions
      // 随机函数
        function randNum(m, n) {
            return Math.floor(Math.random() * (n - m + 1) + m);
        }
        // 随机颜色
        function randColor() {
            return 'rgb(' + randNum(0, 255) + ',' + randNum(0, 255) + ',' + randNum(0, 255) + ')';
}Complete code
星空连线
The results are as follows:

[Related recommendations: javascript learning tutorial]
The above is the detailed content of How to use Javascript to simply achieve the effect of starry sky connection. For more information, please follow other related articles on the PHP Chinese website!