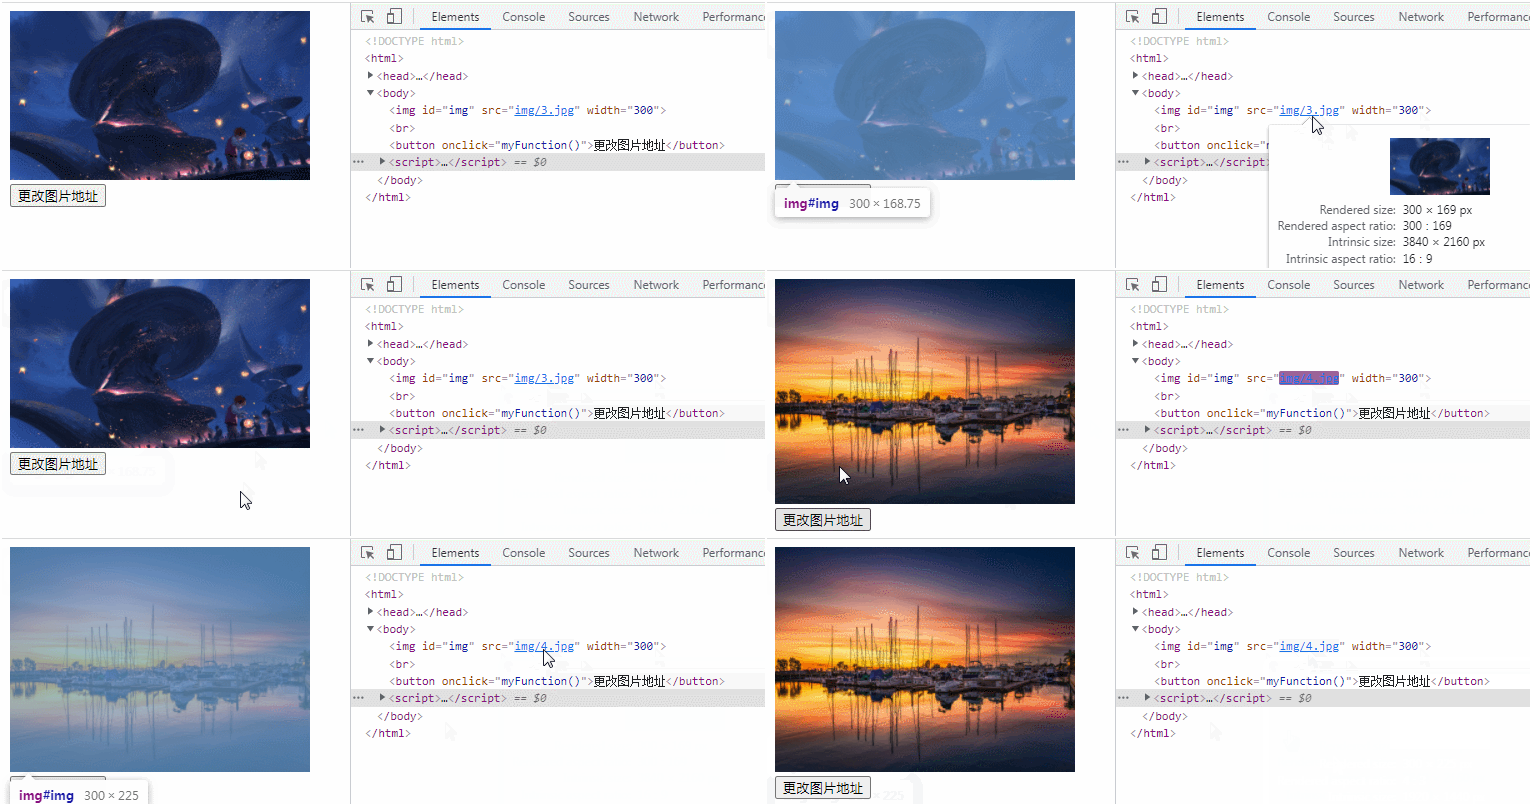
Javascript method to change the image address: 1. Use the "document.getElementById("id")" statement to obtain the image object according to the specified id value; 2. Use "image object.setAttribute("src","New Image address ");" statement to change the image address.

The operating environment of this tutorial: windows7 system, javascript version 1.8.5, Dell G3 computer.
How to change the image address in javascript
Implementation idea:
First get the img image object (The  tag defines the image in the HTML page.)
Then use the setAttribute() method to reset the value of the src attribute (the src attribute of the img tag specifies the URL of the image .)
#setAttribute() method adds the specified attribute and assigns it the specified value. If this specified property already exists, the value is only set/changed.
Implementation code:
<!DOCTYPE html>
<html>
	<head>
		<meta charset="utf-8">
	</head>
	<body>
		<img  src="/static/imghw/default1.png"  data-src="img/3.jpg"  class="lazy"  id="img"     style="max-width:90%"/ alt="How to change the image address with javascript" ><br>
		<button onclick="myFunction()">更改图片地址</button>
		<script>
			function myFunction() {
				var img=document.getElementById("img");
				img.setAttribute("src","img/4.jpg");
			}
		</script>
	</body>
</html>
[Related recommendations: javascript learning tutorial]
The above is the detailed content of How to change the image address with javascript. For more information, please follow other related articles on the PHP Chinese website!