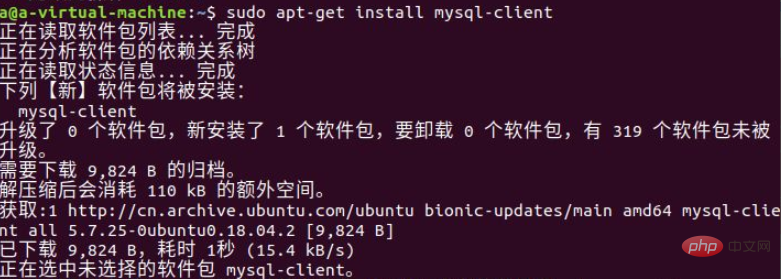
Method: 1. Open "Ubuntu Software Center", search for mysql in the search box, select "MySQL Server", and click to install; 2. Use "sudo apt-get install mysql-serve" in the ubuntu terminal Just install the command.

The operating environment of this tutorial: linux7.3 system, mysql8.0.22 version, Dell G3 computer.
How to install mysql database on ubuntu
ubuntu is a free open source desktop PC operating system based on Linux, which is very consistent with Intel's ultrabook positioning. Supports x86, 64-bit and ppc architectures. A relatively popular Linux operating system, it is not only easy to use, but also very compatible with Windows. So how to install mysql database in ubuntu?
There are two main ways to install mysql in ubuntu:
1. Open Ubuntu Software Center, query mysql in the search box in the upper right corner, and then Select MySQL Server and click Install.
2. Use commands to install mysql. After all, the Ubuntu system is mainly based on commands.
Open the ubuntu terminal and execute: sudo apt-get install mysql-server
Then you can see a series of execution processes. Wait for a while and the installation will be completed.

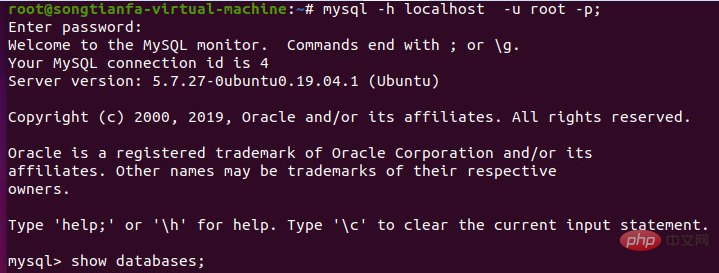
Enter mysql below, just like cmd, mysql -h localhost - u root -p and then enter the sudo password.

In this way, you will enter the ubuntu database, and the next operation is the normal operation of the database.
Recommended learning: mysql video tutorial
The above is the detailed content of How to install mysql database on ubuntu. For more information, please follow other related articles on the PHP Chinese website!