
centos7 can use Oracle. Although Oracle does not support Centos system installation, Oracle can be installed by modifying the os system logo. Method: Use "vi /etc/redhat-release" to enter the editing mode, and replace the content of the first line with "redhat-7".

The operating environment of this article: centos 7 system, Dell G3 computer.
centos7 can use Oracle.
Oracle does not support Centos system installation by default. You need to modify the os system identification to the corresponding RedHat version.
Because Oracle does not support Centos system installation by default, it needs to be modified to the corresponding RedHat version.
View the current system version:
cat /proc/version
Enter:
vi /etc/redhat-release
Enter the edit mode, click the "insert" button on the keyboard, and replace the first line with redhat -7, press the Esc button, enter: wq, note that there is a colon here, press Enter, save and exit (note: this is the same for all subsequent methods of modifying files, so I will not go into details).
The installation process is as follows:
1. Right-click on the desktop, select "Open in Terminal", enter the terminal
Enter the command: su
Enter ROOT password:
Create user group oinstall: groupadd oinstall
Create user group dba: groupadd dba
Create oracle user and join to oinstall And dba user group: useradd -g oinstall -g dba -m oracle
Set the user oracle login password, which needs to be confirmed once. Note that the password must be the same twice (note: the password here is the oracle account login password) : passwd oracle
View the newly created oracle user: id oracle
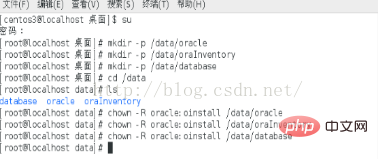
2. Create the oracle database installation directory
oracle database installation directory: mkdir -p /data/oracle
oracle database configuration file directory: mkdir -p /data/oraInventory
oracle database software package decompression directory: mkdir -p /data/database
Then Input: cd /data
After creation, check: ls
Set the directory owner to the oracle user of the oinstall user group: chown -R oracle:oinstall /data/oracle
Re-enter: chown -R oracle:oinstall /data/oraInventory
Re-enter: chown -R oracle:oinstall /data/database
3. Modify the os system identification
Because Oracle does not support Centos system installation by default, it needs to be modified to the corresponding RedHat version.
View the current system version: cat /proc/version
Input: vi /etc/redhat-release
Enter the edit mode, click "insert" on the keyboard button, then replace the first line with redhat-7, press the Esc button, enter: wq, note that there is a colon here, press Enter, save and exit (Note: This is the same for all subsequent methods of modifying files, so I will not go into details. ).
4. Turn off the firewall
Turn off the firewall: systemctl stop firewalld.service
Disable the use of the firewall: systemctl disable firewalld.service

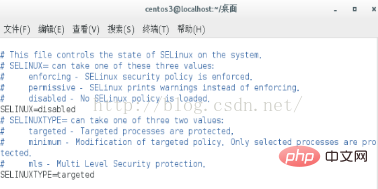
5. Close selinux
Enter the editing state: vi /etc/selinux/config
Change the value of SELINUX to disabled , save and exit.
6. Modify the kernel parameters
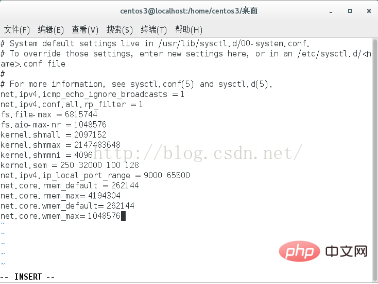
Enter the editing state: vi /etc/sysctl.conf
in Finally add the following code:
net.ipv4.icmp_echo_ignore_broadcasts = 1
net.ipv4.conf.all.rp_filter = 1
fs.file-max = 6815744
fs.aio-max-nr = 1048576
kernel.shmall = 2097152
kernel.shmmax = 2147483648
kernel.shmmni = 4096
kernel.sem = 250 32000 100 128
net.ipv4.ip_local_port_range = 9000 65500
net.core.rmem_default = 262144
net.core.rmem_max= 4194304
net.core.wmem_default= 262144
net.core.wmem_max= 1048576
Save and exit.
Make the configuration parameters take effect immediately: sysctl -p
7. Set restrictions on oracle users to improve software running performance
Enter the editing state: vi /etc/security/limits.conf
Find the last line #End of file, add the following code in the blank line above it:
oracle soft nproc 2047
oracle hard nproc 16384
oracle soft nofile 1024
oracle hard nofile 65536
Save and quit.
8. Configure the user’s environment variables
Enter the editing state: vi /home/oracle/.bash_profile
Add the following code at the end:
export ORACLE_BASE=/data/oracle #oracle数据库安装目录
export ORACLE_HOME=$ORACLE_BASE/product/11.2.0/db_1
export ORACLE_SID=orcl #oracle启动数据库实例名
export ORACLE_TERM=xterm
export PATH=$ORACLE_HOME/bin:/usr/sbin:$PATH
export LD_LIBRARY_PATH=$ORACLE_HOME/lib:/lib:/usr/lib
export LANG=C
export NLS_LANG=AMERICAN_AMERICA.ZHS16GBK
Save and exit.
Make the above configuration take effect immediately: source /home/oracle/.bash_profile
9. After the above is done, you can install Oracle.
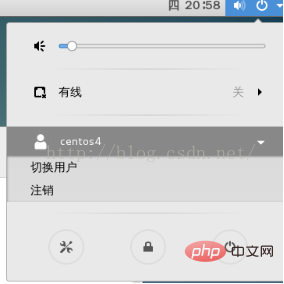
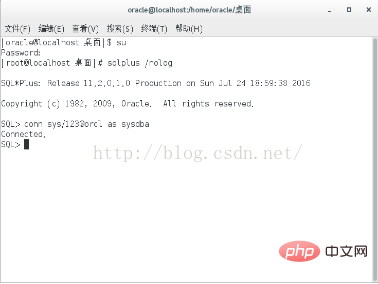
10. Switch the user to oracle user. As shown in the figure below, click the triangle icon in the upper right corner of the desktop, click your user name, and click Switch User. Enter the oracle account login password you set earlier. Copy the oracle decompressed file to the desktop, named database, double-click to enter the folder, right-click in the blank space, and select Open in Terminal to enter the terminal interface.
11. Start the installation
In order to avoid garbled characters during the installation process, enter the command: export LANG=en_US.UTF-8
Start the oracle installation: ./runInstaller
1) Enter the installation interface, as shown in the figure below, uncheck "I wish receive security via My Oracle Support", click "next", and select "yes" to continue.
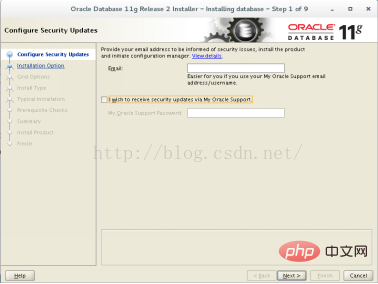
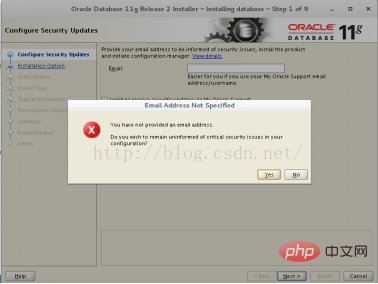
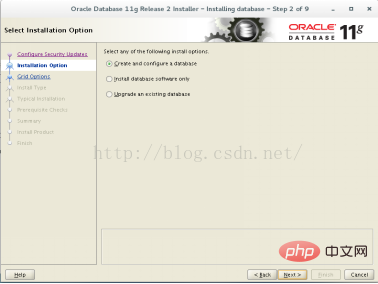
2) Select "Create and configure a database" and click "next".
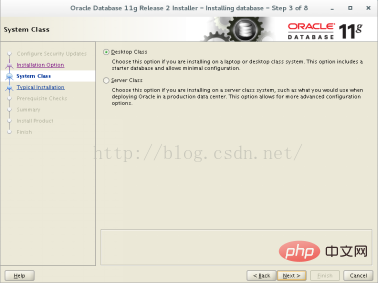
3) Select "Desk Class" and click "next".
4) Enter the interface below, enter the password in "Administrative password", and confirm the password in "Confirm password". Click "next", a small vertical line will appear in the middle, click the "Tab" key, and click "Enter".
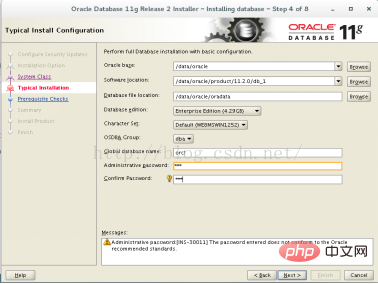
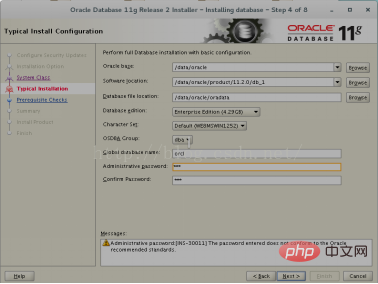
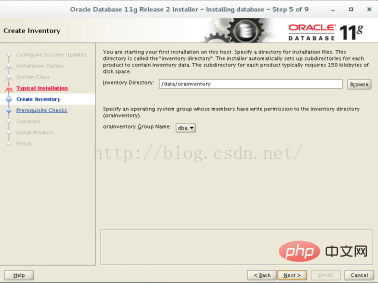
5) Click "next" and check "ignore all" in the upper right corner . Click "next" and then click "finish" to start the installation.
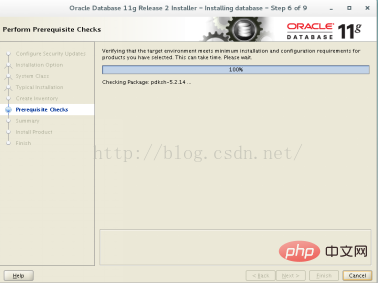
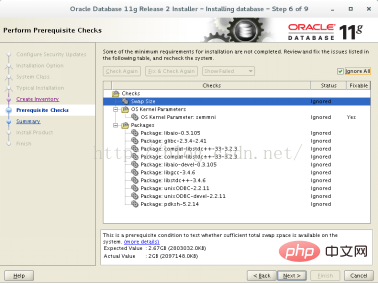
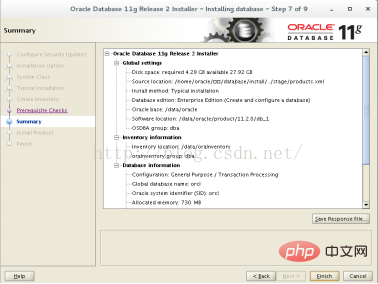
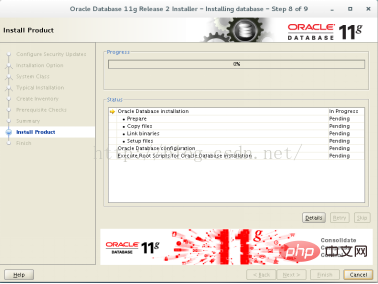
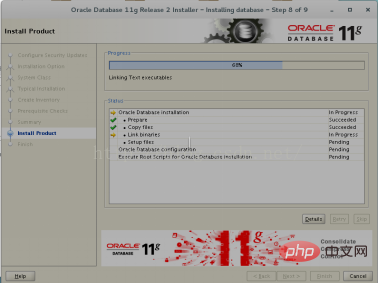
6) The installation interface is as shown below, when the installation progress reaches 68% , there will be two small vertical lines in the middle. Place the mouse on the small vertical line, right-click and select "close", or directly click the space bar to continue the installation.
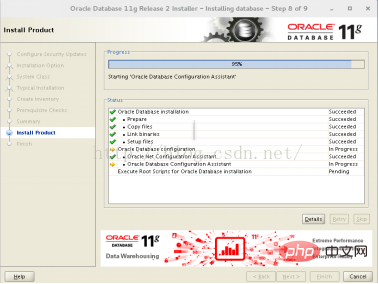
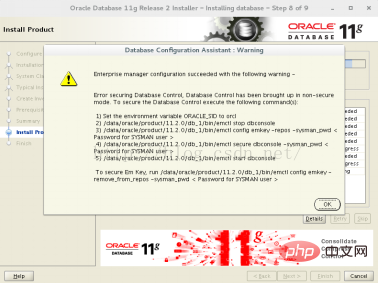
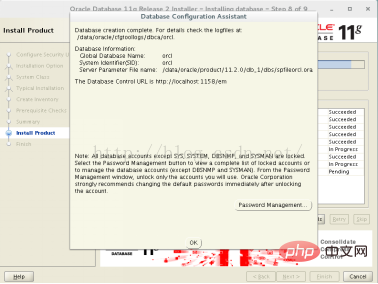
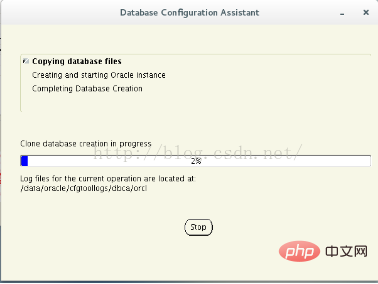
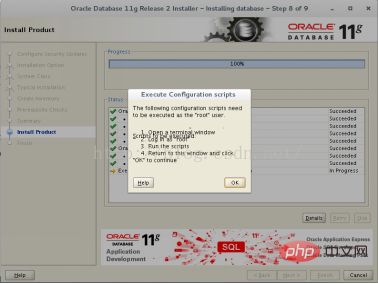
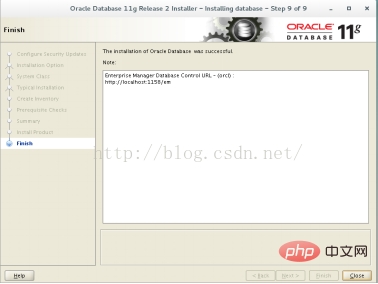
7) When the installation reaches 95%, the interface shown below will appear, click "ok", and then it will appear Continue to click "ok" to start installing the database instance. When the installation reaches 100%, the installation interface will turn gray again. There is a vertical line in the middle of the interface. You can pull it apart by placing the mouse on it and click "ok". Finally, the installation is completed, click "close".
Recommended tutorial: "centos tutorial"
The above is the detailed content of Can centos7 use Oracle?. For more information, please follow other related articles on the PHP Chinese website!