How to implement permission control in Angular projects? The following article will talk about how to implement permission control in Angular projects through code examples. I hope it will be helpful to everyone!

In the previous article we talked about Angular component communication. In this article, we will talk about whether you will encounter such needs during project development: Please restrict the content that users can access based on their login. [Related tutorial recommendation: "angular tutorial"]
So, this is to carry out permission control.
For user permission restrictions, we generally have the following processing methods:
Control the user login menu
Restrict user behavior
We will explain this topic in conjunction with Angular.
Menu routing control

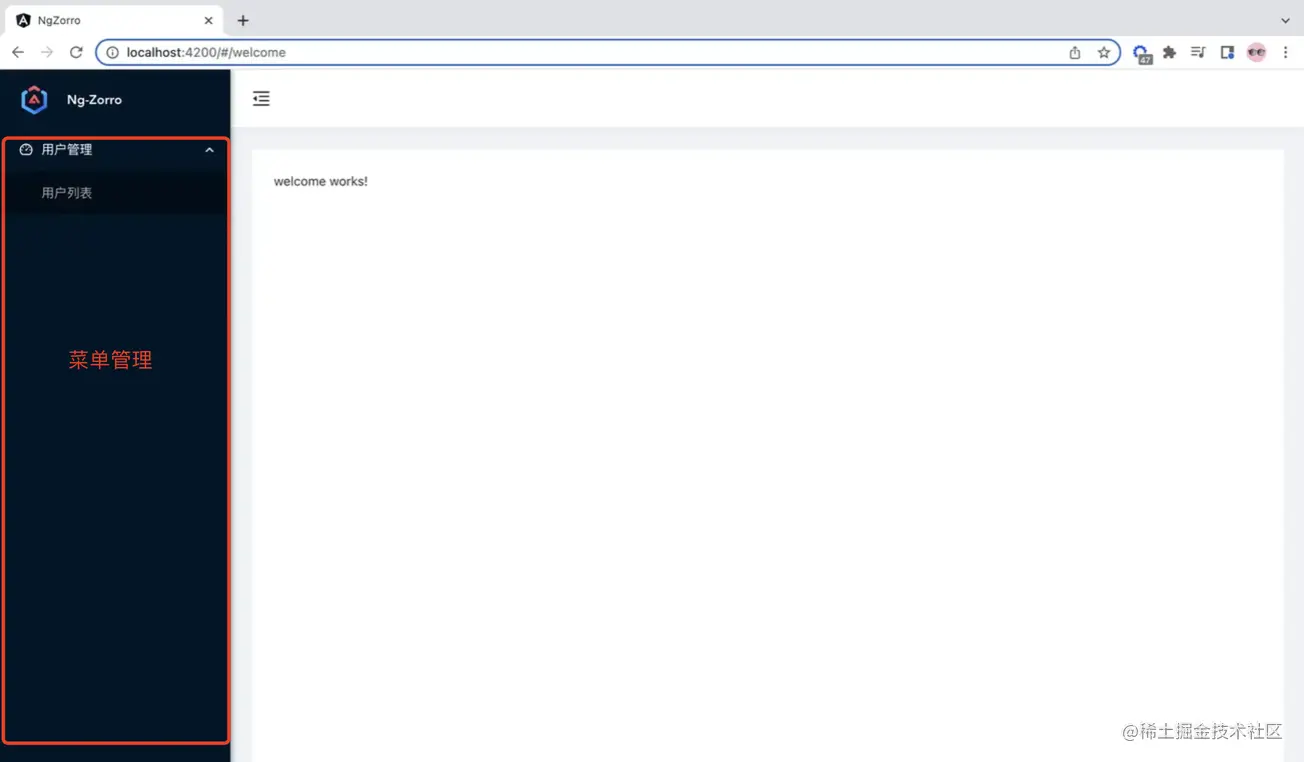
When the system is developed, there will be many menus. At this time, The backend needs to determine the user's role and return different menu routes according to the user's permissions.
The returned data format needs to correspond to the routing path we wrote in app-routing.module.ts.
For example, we have the routing file as follows:
// app-routing.module.ts

const routes: Routes = [
  {
    path: 'user-manage',
    component: AuthLayoutComponent, // 通过鉴权的组件
    children: [
      {
        path: '',
        redirectTo: 'user',
        pathMatch: 'full'
      },
      {
        path: 'user', // 用户列表
        component: UserComponent
      },
      {
        path: 'user/detail/:uuid', // 用户详情,类似这种不会出现在菜单里面
        component: UserDetailComponent
      },
      {
        path: 'department', // 部门列表
        component: DepartmentComponent
      }
    ]
  },
  // ...
]In the page, the data displayed by our menu looks like this:
<!-- demo.component.html -->
<ul nz-menu nzMode="inline" [nzInlineCollapsed]="isCollapsed">
<li *ngFor="let submenu of menu_data" nz-submenu [nzTitle]="isCollapsed ? '' : submenu.title" [nzIcon]="submenu.icon"
[nzOpen]="submenu.is_open" (nzOpenChange)="selectMenu(submenu)">
<ul>
<li *ngFor="let child of submenu?.children" nz-menu-item nzMatchRouter>
<a [routerLink]="['/' + child.url]">{{ child.title }}</a>
</li>
</ul>
</li>
</ul>defines a second-level menu , has the following fields:
title Field - the title of the menu url Field - the route of the menu, corresponding to ## The complete path - the small icon before the title, no for the secondary title Field - Identification of whether the menu is expanded // demo.component.ts
public menu_data:any = [
{
title: "成员管理",
url: "user-manage",
icon: "user-switch", // 这里是用了 angular ant design 的图标
is_open: false,
children: [
{
title: "用户",
url: "user-manage/user",
icon: undefined,
is_open: false
},
{
title: "部门",
url: "user-manage/department",
icon: undefined,
is_open: false
}
]
},
// ...
]The two fields icon and is_open are not used in the second-level title, why do we still need to write them?
Well~, readers can make requests for backend returns, but in order to keep the data readable and easy to operate, it is better to keep it...
User Behavior Control
User behavior control, this is a very fine-grained behavior. It can be as small as controlling the display of a button for the user, but in essence, it is a restriction on back-end interface requests. For example, if you request a list but you do not have permission, then you will not be able to request it and an error 401 will be reported.
We can restrict users from viewing or other operations according to their needs and different roles. However, this is unreasonable. Users can initiate requests through postman and other tools instead of going through the system. Therefore, we have to--
Make a layer of restrictions on the backend
We obtain the interface permissions returned by the backend, such as receiving the following data:
{
  code: 0,
  msg: 'ok',
  results: {
    getUserList: {
     url: '/api/get/user/list', // 当然,可以按照前后端规定返回,不一定是真实的 url ...
     enable: true
    },
    editUser: {
      url: '/api/edit/:uuid',
      enable: false
    }
  }
}After we get the data, we compare it with the content saved by the front end, and then control it according to the conditions. The interface needs to restrict access accordingly, instead of just judging by the front end.
<!-- demo.component.html -->

<button *ngIf="userObj.editUser.enable">Edit</button>
Simple front-end judgment: 1. Not easy to maintain 2. Unsafe, users can request across browsers
【End】
More For more programming-related knowledge, please visit: Introduction to Programming! !
The above is the detailed content of Let's talk about how to implement permission control in Angular projects?. For more information, please follow other related articles on the PHP Chinese website!