
This article brings you relevant knowledge about PHP, which mainly summarizes some note-taking knowledge points, including models, system services, laket-admin projects, etc. Let’s take a look I hope it helps everyone.

PHP Video Tutorial"
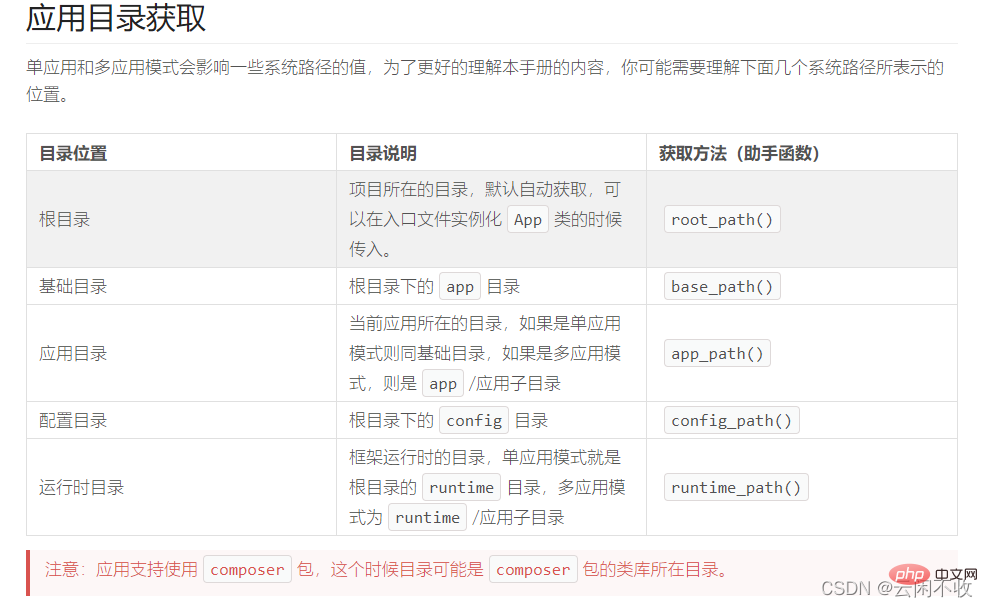
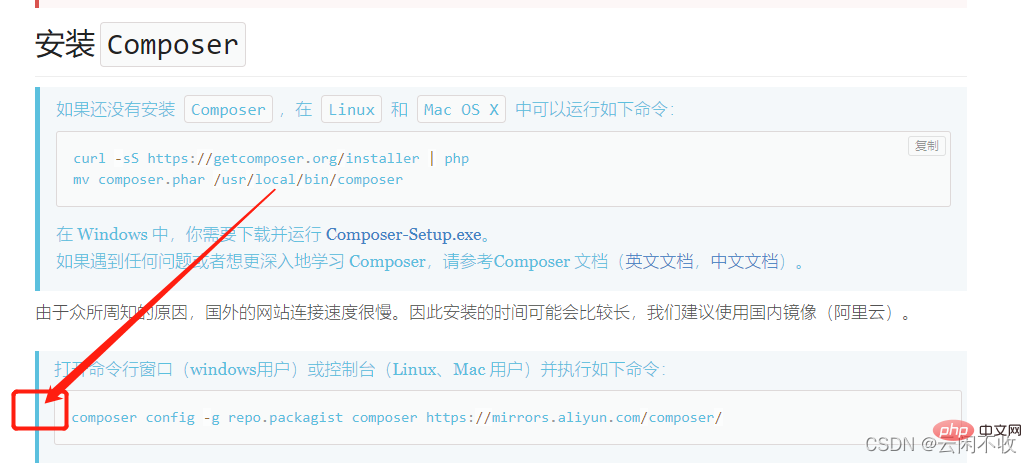 Remember to add the path or (full path) php (full path) composer.phar command to run. Avoid php version issues==
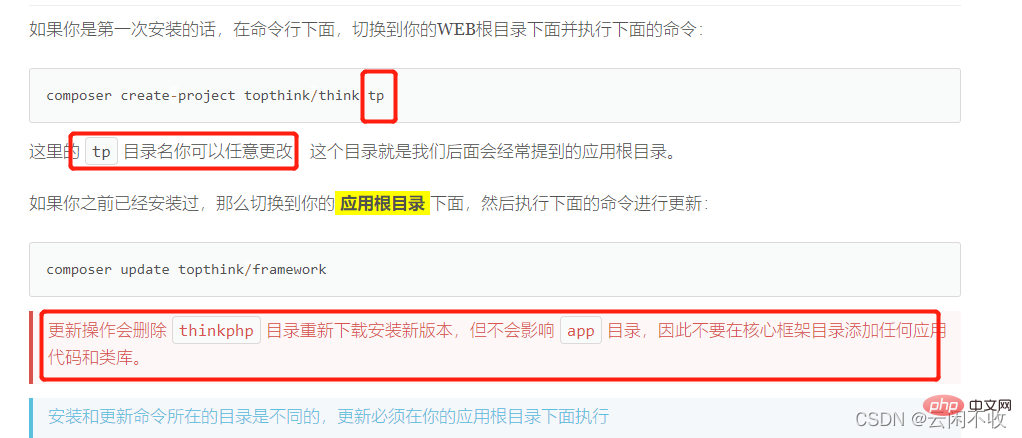 To enable multi-application, you must use composer require topthink/think-multi-app to install the multi-application extension! !
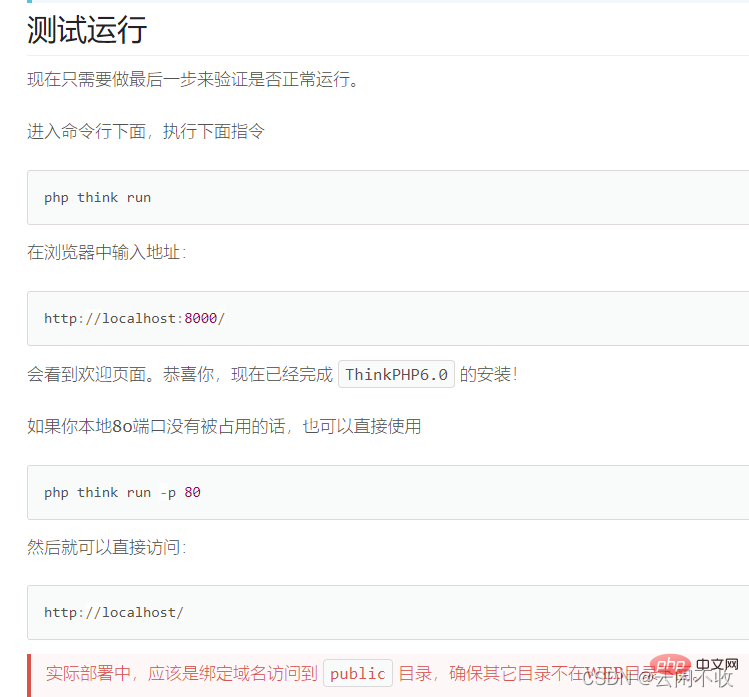 This method starts PHP's built-in server, so if nginx sets this port number, it will not start.
This is only for testing. Normally it is better to use nginx. And you can specify the directory as a public directory, so that you can access it directly with ip:1000. But will there be an error in the root directory when php uses info?
[
And you need to change the version of the php command line or curl -sS https://getcomposer .org/installer | php Just change the last parameter of this command to the installation path?
Then you need to install the zip extension for php8.0. If you directly use the Xiaopi panel, you will get an error and you have to install it manually. ==It’s all pitfalls
] You won’t encounter these problems without using Xiaopi!
If set in php_ini Turn it off or set it to the normal directory
There may also be this setting in nginx and fastcgi.conf
display_errors = On
display_startup_errors = On
This error can be reported even if the framework is not opened. It may be because iniset is set, but the framework must be started normally to be effective. Otherwise, for example, when encountering a 500 error, the framework has not been started at all, so the error will not be displayed.
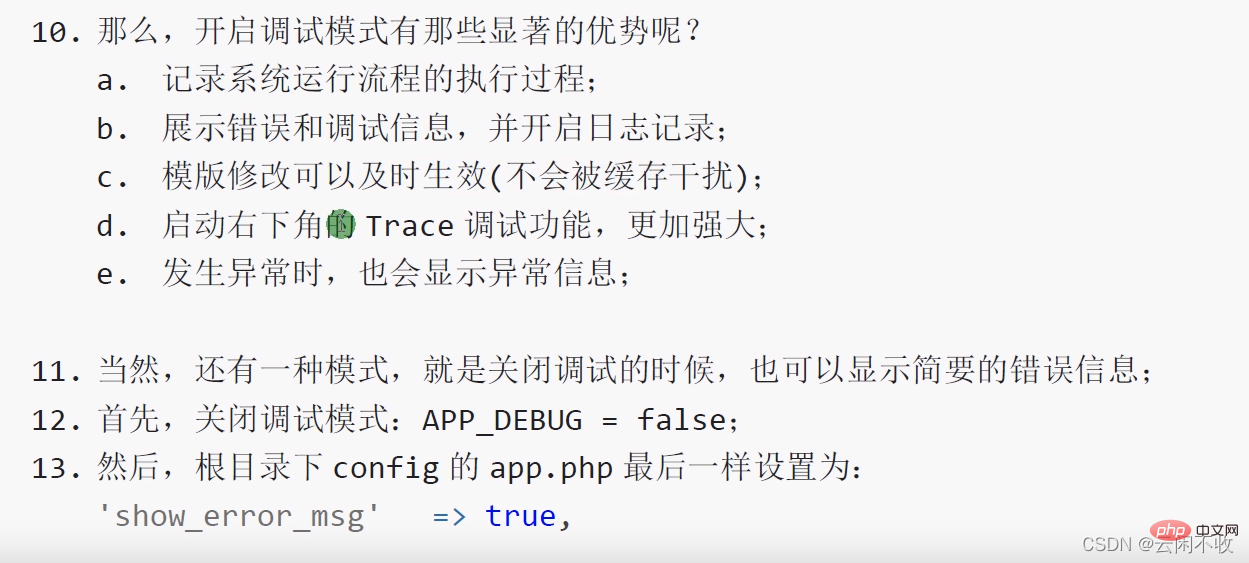
[DATABASE]USERNAME = rootPASSWORD = 123456
use think\facade\Envfunction(){// 获取环境变量 如果不存在则使用默认值rootEnv::get('database.username', 'root');}
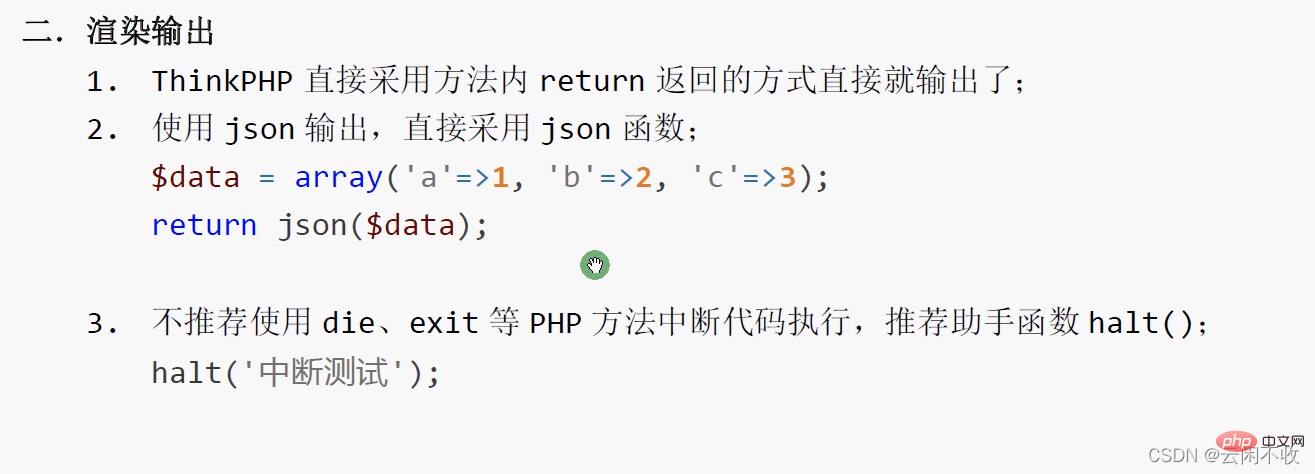 Arrays cannot be used directly with return
namespace app\controller;
 use app\BaseController;
 class Test extends BaseController
 {
 public function index()
 {
 //返回实际路径
 return $this->app->getBasePath();
 //返回当前方法名
 return $this->request->action();
 }
}class Error
{
public function index()
{
return ‘当前控制器不存在!’;
}
}
$name = I('name', '');if (empty($name)) {
// 抛出异常}<?php
namespace app\api\controller;
use think\facade\Validate;use think\Request;
class Auth{
public function index(Request $request)
{
$input = $request->post();
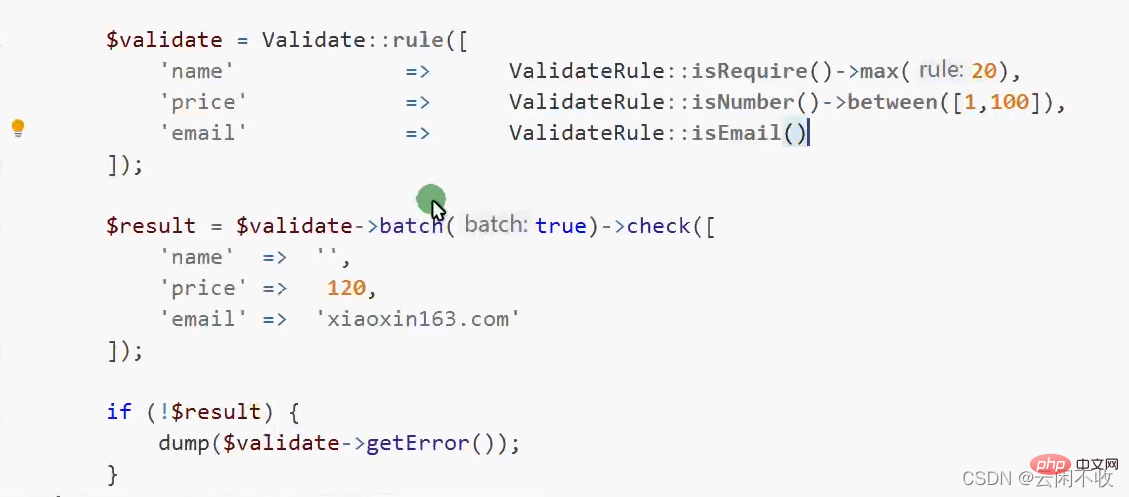
$validate = Validate::rule([
'name|名称' => 'require|max:25',
'email|邮箱' => 'require|email'
]);
if (!$validate->check($input)) {
return $validate->getError();
}
}}
使用系统服务有大大的好处和避免了直接修改类的坏处。从以上分析来看,个人觉得,使用系统服务,可以对一个类进行非入侵式的「配置」,如果哪天一个类的某些设定需要修改,我们不用直接修改这个类,只需要修改服务提供类就好了。对于扩展包来说,系统服务使其可以在扩展中灵活配置程序,达到开箱即用的效果。不过,有个缺点是系统服务类都要在程序初始化是进行实例化,如果一个系统的服务类很多,势必影响程序的性能。
使用 thinkphp 开发网站,在没有 thinkphp6 版本出来以前,常规的开发模式都是使用它自带的多应用开发方式来进行项目开发。
多应用开发的一个好处就是开发方便和快速,只需要在thinkphp规定的app目录建立一个目录,比如 admin 目录,然后在其内建立一个 controller 目录就可以开始一个项目的基本开发了。
然而这样开发只适合基于它本身的目录进行开发,如果想要把项目做成一个包来开发和发布,这样的方式明显不行。
而这次,thinkphp6 引入了 Service 的概念,增加了项目转移到包开发的可能性。
Service 的使用需要继承 \think\Service ,同时 Service 默认的 register 和 boot 这两个方法是非必须的,就是说可以不用添加也是可以的。
但是,我们使用 Service 就是为了在项目启动前添加自己的配置和注册一些自己的东西,所以这两个方法对项目开发来说,都利用起来是最好的方法。
register的使用
register 的加载要先于 boot 方法,也同时在系统里属于提前注册一些具体的配置及绑定类,所以在具体的项目开发中,也是推荐只做一些项目的配置。
Service 的引入会根据 thinkphp6 生成的 Services.php 缓存顺序进行加载,所以在使用过程中需要注意当前的 Service 在缓存中属于哪个位置,防止在注册配置时候出现配置加载时出现不可知的问题。
boot 的使用
boot 通常是在 register 注册完成后进行加载,boot 方法里推荐做一些对 register 注册完成后的信息的补充处理。
thinkphp6 由于在 boot 前已做了系统配置的初始化操作,所以在这里处理一些数据库操作也是没有问题的。
Service 的其他方法
loadRoutesFrom :导入路由,传入数据为匿名函数
registerRoutes :功能于 loadRoutesFrom 一样
commands :导入脚本命令,传入数据为数组或者单个脚本
使用 Service 的场景
如果你想要把一个项目独立成一个包进行发布或者为 thinkphp6 提供扩展包。
如果只是单纯的想做一个 app 项目,Service 估计不太适合你。
最后,Service 的具体实践有没有什么好的项目推荐啊,那当然有的,这里隆重推荐一个完全使用 Service 开发的项目:
laket-admin: https://github.com/deatil/laket-admin
laket-admin 使用 thinkphp6 的 Service 模式加单应用开发而成,避开了 thinkphp6 多应用下 url 出现的一些问题,对用户端的 url 更加友好。
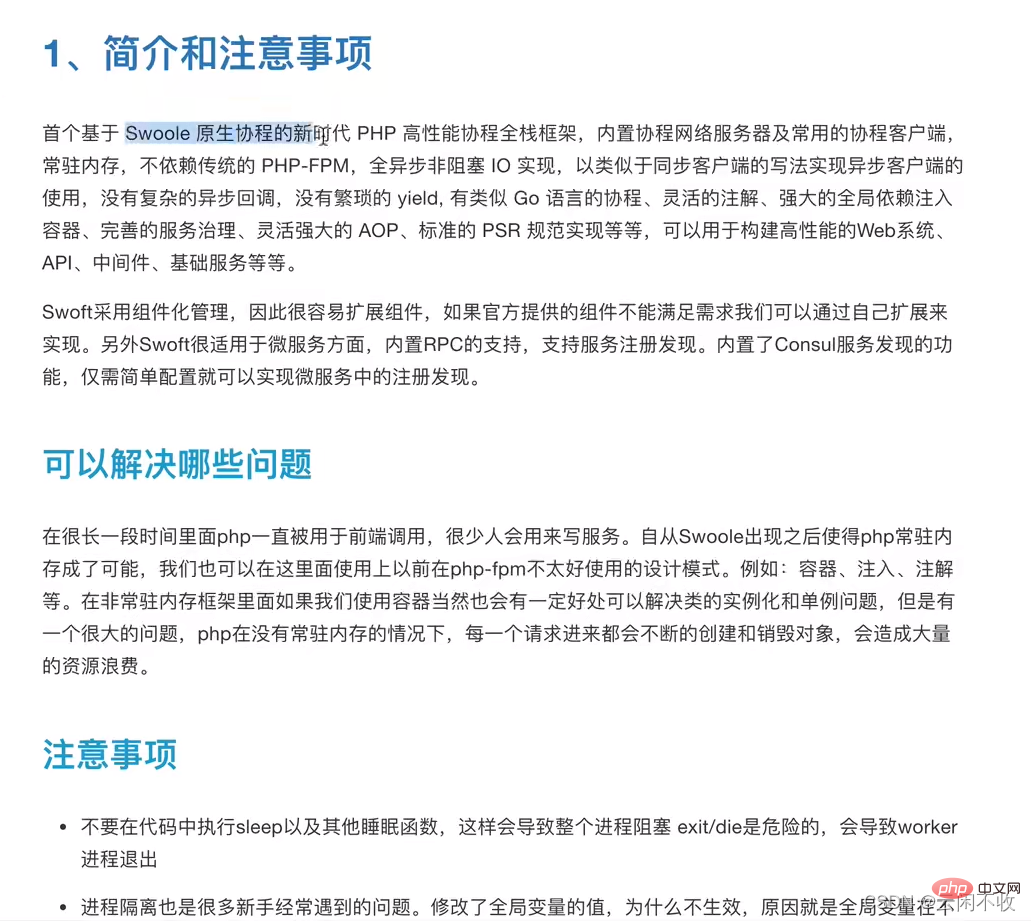
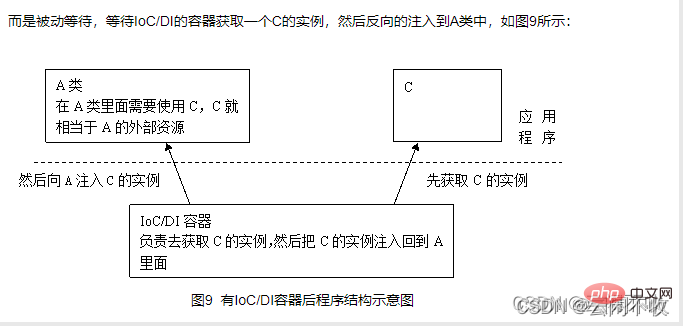
依赖注入其实本质上是指对类的依赖通过构造器完成自动注入,例如在控制器架构方法和操作方法中一旦对参数进行对象类型约束则会自动触发依赖注入,由于访问控制器的参数都来自于URL请求,普通变量就是通过参数绑定自动获取,对象变量则是通过依赖注入生成。
api/manager/TestMgr.php
namespace app\api\manager;class TestMgr{
public string $name1 = 'a';}api/controller/Test.php
class Test{
    public function __construct(TestMgr $testMgr){
        $this->testMgr=$testMgr;
    }

    public function index()
    {
        return $this->testMgr->name1; //输出a
        //same as $a=new TestMgr();return $a->name;
}如果换成我们手动调用的方式,那么正常的流程应该是
$testMgr = new TestMgr();//多出来了这一步 要先实例化TestMgr$test = new Test($testMgr);$test->index($testMgr);
然而 浏览器直接调用的方式是 ,因为 正常情况下 不可能我们接口调用 还去 先new一堆东西吧
$test = new Test();$test->index($testMgr);
但这样肯定会报错 因为 构造器有参数 但是你没传。所以我们不能直接这么写,要写成上面那种自动注入的参数的形式。而事实上 我们也可以通过invoke函数来完成递归实例化这一操作。
所以,相当于容器自动帮我们完成了这个操作。我们要做的 只是在方法的参数中写需要的那个类的即可 不需要去手动去new底层的一堆对象
api/manager/TestMgr.php
namespace app\api\manager;class TestMgr{
public string $name1 = 'a';}api/controller/Test.php
namespace app\api\controller;use app\api\manager\TestMgr;class Test{
    public function index(TestMgr $testMgr)
    {
        return $testMgr->name1;//1
}}//使用容器来实例化的话,可以自动进行依赖注入。invoke(类名)//某个方法依赖注入invoke(['类名','方法名'])
$bar = new Bar(); $foo = new Foo($bar);等价于$foo = invoke('Foo');
也支持对某个函数或者闭包使用依赖注入
$result = invoke(function(Bar $bar) {
    // ...});
ThinkPHP使用容器来更方便的管理【类依赖】及【运行依赖注入】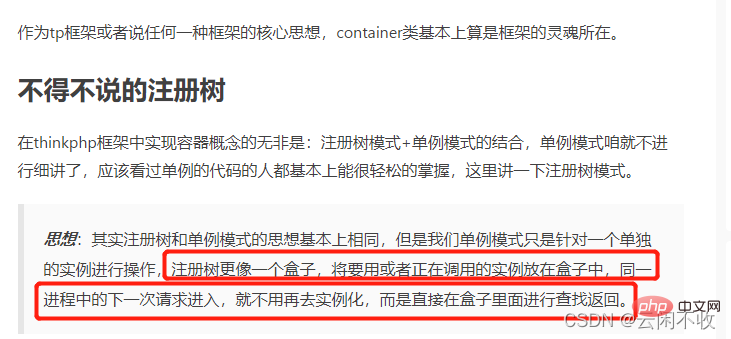
简而言之,容器内部是通过反射类或闭包等来实现类的实例化(单例)。
容器并非只能用于依赖注入
//官方说明:容器中已经调用过的类会自动使用单例,除非你使用下面的方式强制重新实例化。
// 每次调用都会重新实例化->$cache = app(‘user’,true);

$arrayItem = app(‘org\utils\ArrayItem’);
上述代码会判断在容器中是否存在这个单例,如果有就直接返回,没有就帮我们自动创建一个这个类的单例然后返回。
比如:
echo app(‘user’)->name;
注释:new是写死的 而上面是字符串 可以动态解析的!!
app 快速获取容器中的实例 支持依赖注入
invoke 调用反射执行callable 支持依赖注入
依赖注入的类统一由容器进行管理,大多数情况下是在自动绑定并且实例化的。不过你可以随时进行手动绑定类到容器中(通常是在服务类的register方法中进行绑定),支持多种绑定方式。
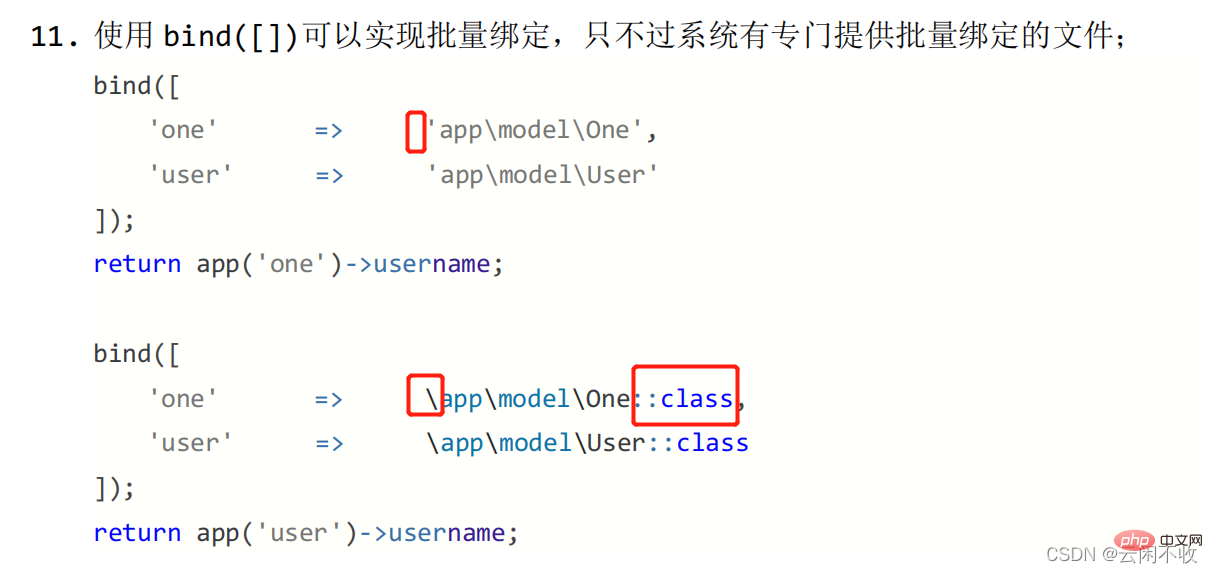
bind就是给实例起一个别名 方便app快速调用
// 绑定类库标识bind('user','\app\index\model\User');// 快速调用(自动实例化)echo app('user')->name;
更多bind的用法看手册
ps:bind 实际上是$this->app->bind(‘think\Cache’, ‘app\common\Cache’);的快捷调用
也叫助手函数
一般来说,bind只能在定义的那个地方用,其他地方就用不了了。所以,为了其他地方也能用,我们将bind函数写在provider.php文件中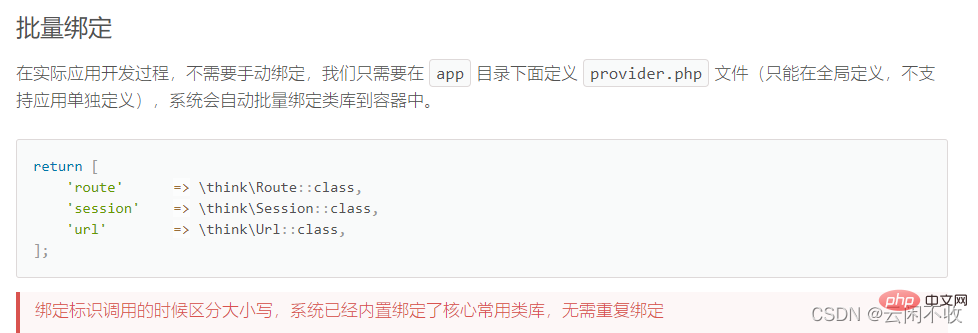
容器:【“拿来即用”,不需要通过实例化,松耦,节约资源】
容器主要用于依赖注入,依赖注入会首先检查容器中是否注册过该对象实例,如果没有就会自动实例化,然后自动注入
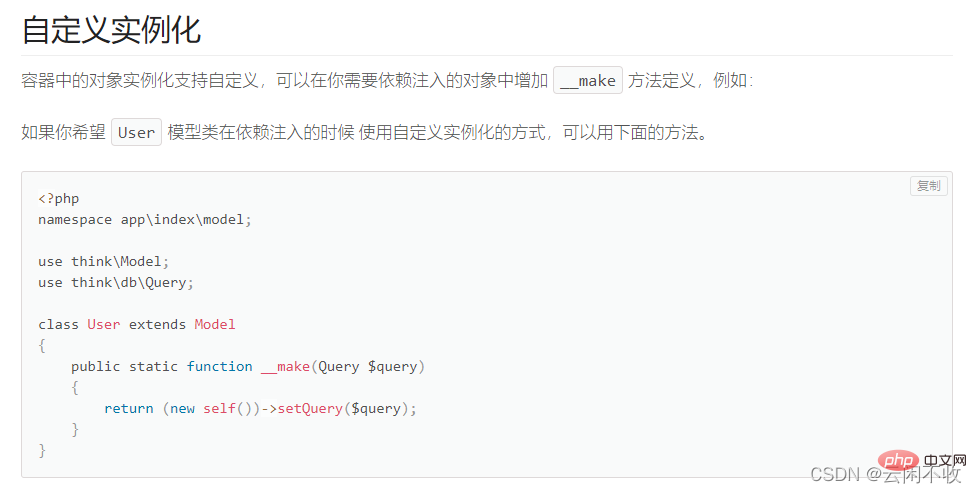
支持使用依赖注入的场景包括(但不限于):
控制器架构方法;
控制器操作方法;
路由的闭包定义;
事件类的执行方法;
中间件的执行方法;
门面 face就大量使用了依赖注入
看设计模式那个文档。
tp中,说的直白一点,Facade功能可以让类无需实例化而直接进行静态方式调用。使用静态方式调用非静态方法时隐式的实例化了该类,无需额外的实例化工作(看最下面总结 因为要实例化的可能很多个)。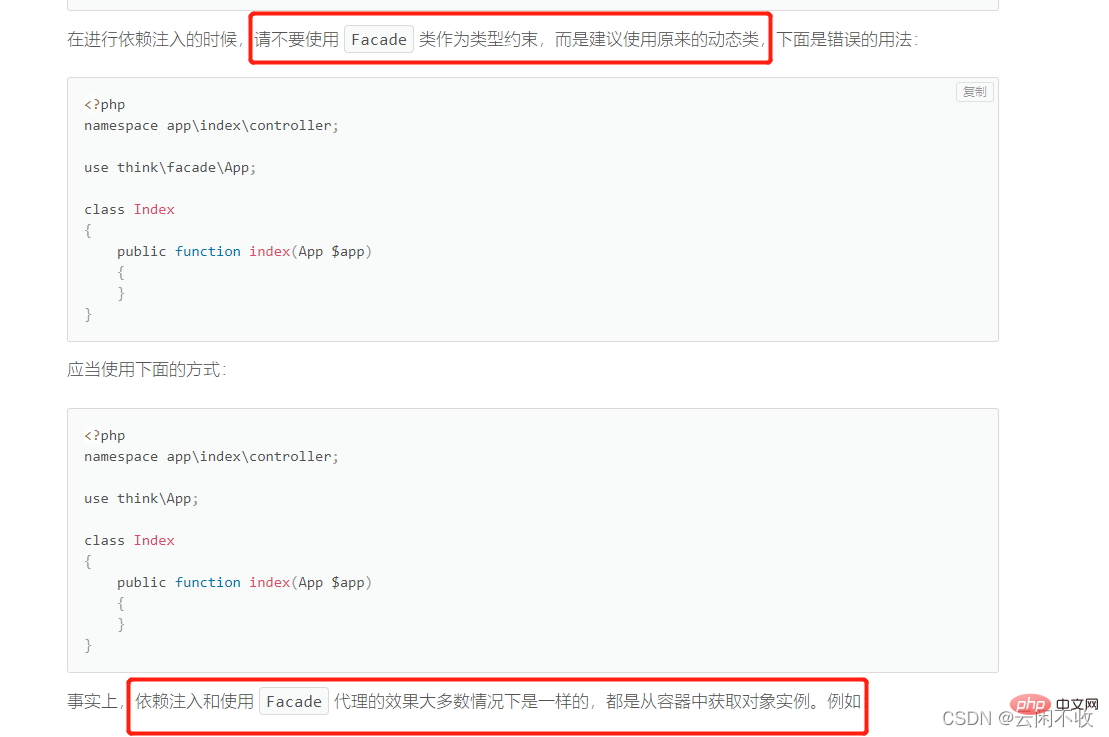
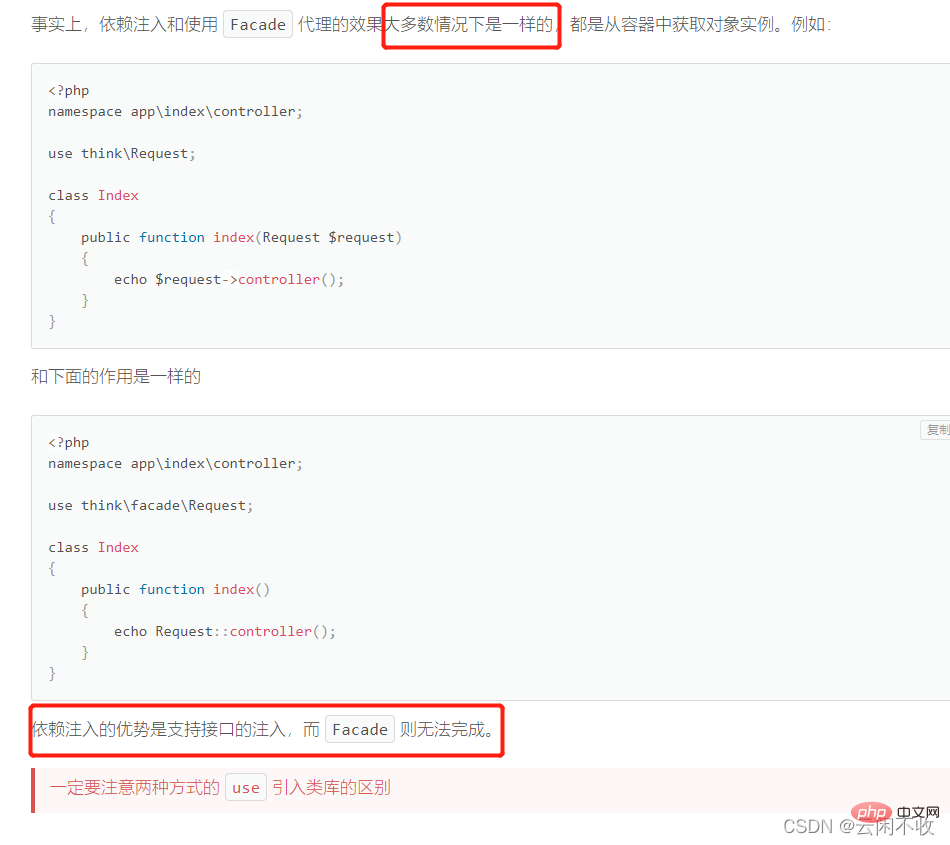
简单来说 就是request实际上是用依赖注入的方式写的,所以需要实例化一大堆。所以要么使用门面模式 要么使用自动依赖注入的方式调用!
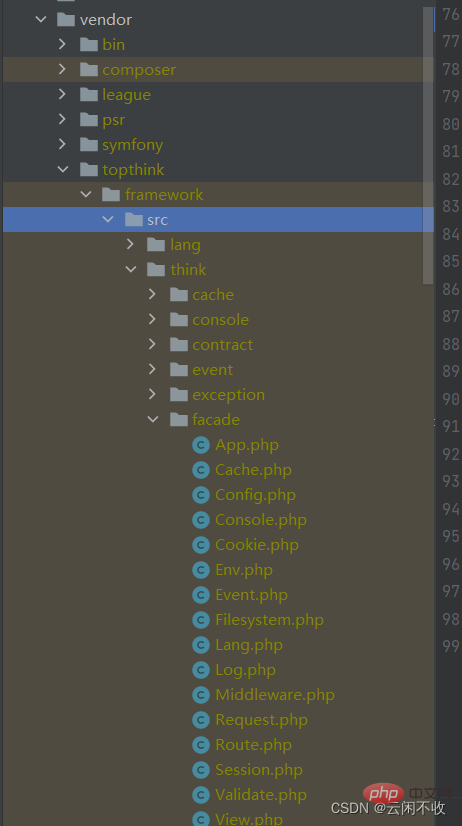
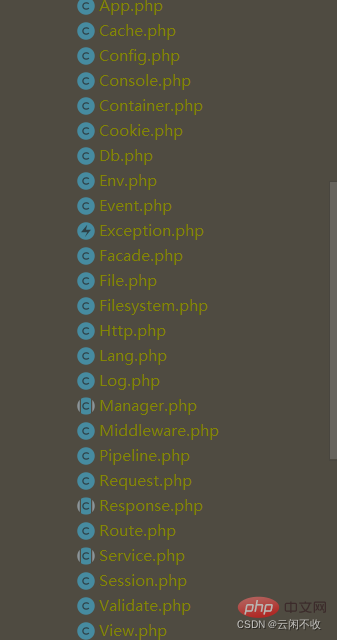
facade目录 和外面是对应的
推荐学习:《PHP视频教程》
The above is the detailed content of thinkphp6 tutorial notes (summary sharing). For more information, please follow other related articles on the PHP Chinese website!