This article will take you to understand the independent components in Angular, see how to create an independent component in Angular, and how to import existing modules in the independent component. I hope it will be helpful to everyone. !

An exciting feature of Angular 14 is that Angular’s independent components are finally here.
In Angular 14, developers can try to use independent components to develop various components, but it is worth noting that the API of Angular independent components is still not stable, and there may be some destructive updates in the future, so it is not recommended. Used in production environments. [Related tutorial recommendations: "angular tutorial"]
For existing components, we can ## Add standalone: true to #@Component(), and then we can directly use imports to import others without @NgModule() module.
If you are creating a new component, you can use the ng generate component command to directly create an independent component, for example: ng generate component button-list --standalone
@Component({
  selector: 'app-button-list',
  standalone: true,
  imports: [
    CommonModule,
  ],
  templateUrl: './button-list.component.html',
  styleUrls: ['./button-list.component.scss']
})
export class ButtonListComponent implements OnInit
imports, take MatButtonModule as an example:
imports: [
    CommonModule,
    MatButtonModule,
],mat-button component of MatButtonModule in ButtonListComponent:
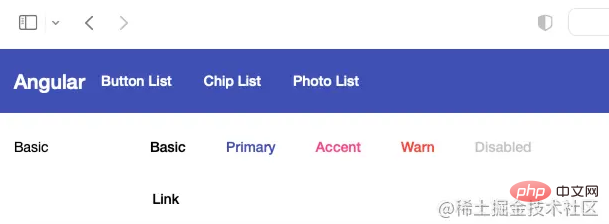
<button mat-button>Basic</button>
<button mat-button color="primary">Primary</button>
<button mat-button color="accent">Accent</button>
<button mat-button color="warn">Warn</button>
<button mat-button disabled>Disabled</button>
<a mat-button href="https://damingerdai.github.io" target="_blank">Link</a>

AppComponent as an independent component:
@Component({
  selector: 'app-root',
  templateUrl: './app.component.html',
  styleUrls: ['./app.component.scss'],
  standalone: true,
})
export class AppComponent {AppModule to the imports of AppComponent, but there are two module exceptions: BrowserModule and BrowserAnimationsModule .
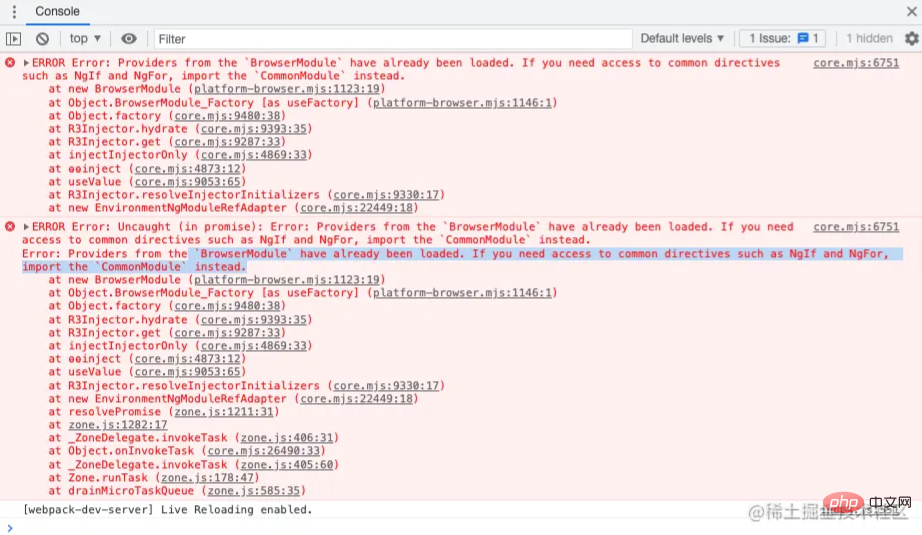
BrowserModule have already been loaded. If you need access to common directives such as NgIf and NgFor, import the CommonModule instead .** Problem:

app.module.ts file
: <div class="code" style="position:relative; padding:0px; margin:0px;"><pre class='brush:php;toolbar:false;'>import { platformBrowserDynamic } from &#39;@angular/platform-browser-dynamic&#39;;
platformBrowserDynamic().bootstrapModule(AppModule)
.catch(err => console.error(err));</pre><div class="contentsignin">Copy after login</div></div> is changed to:
bootstrapApplication(AppComponent).catch(err => console.error(err));
In this way, we can start the Angular component using an independent component.
Configure routing for independent components, ButtonListComponent and ChipListComponent, and then create the
object <div class="code" style="position:relative; padding:0px; margin:0px;"><pre class='brush:php;toolbar:false;'>const ROUTES: Route[] = [
{
path: &#39;&#39;,
pathMatch: &#39;full&#39;,
redirectTo: &#39;home&#39;
},
{
path: &#39;home&#39;,
component: HomeComponent
},
{
path: &#39;button&#39;,
loadComponent: () =>
import(&#39;./app/button-list/button-list.component&#39;).then(
(mod) => mod.ButtonListComponent
),
},
{
path: &#39;chip&#39;,
loadComponent: () =>
import(&#39;./app/chip-list/chip-list.component&#39;).then(
(mod) => mod.ChipListComponent
),
},
];</pre><div class="contentsignin">Copy after login</div></div> in main.ts where
and ChipListComponentUse loadComponent to implement lazy loading of routes. Then use
to register RouterModule in the second parameter of bootstrapApplication. That’s it. <div class="code" style="position:relative; padding:0px; margin:0px;"><pre class='brush:php;toolbar:false;'>bootstrapApplication(AppComponent, {
providers: [
importProvidersFrom(RouterModule.forRoot([...ROUTES])),
],
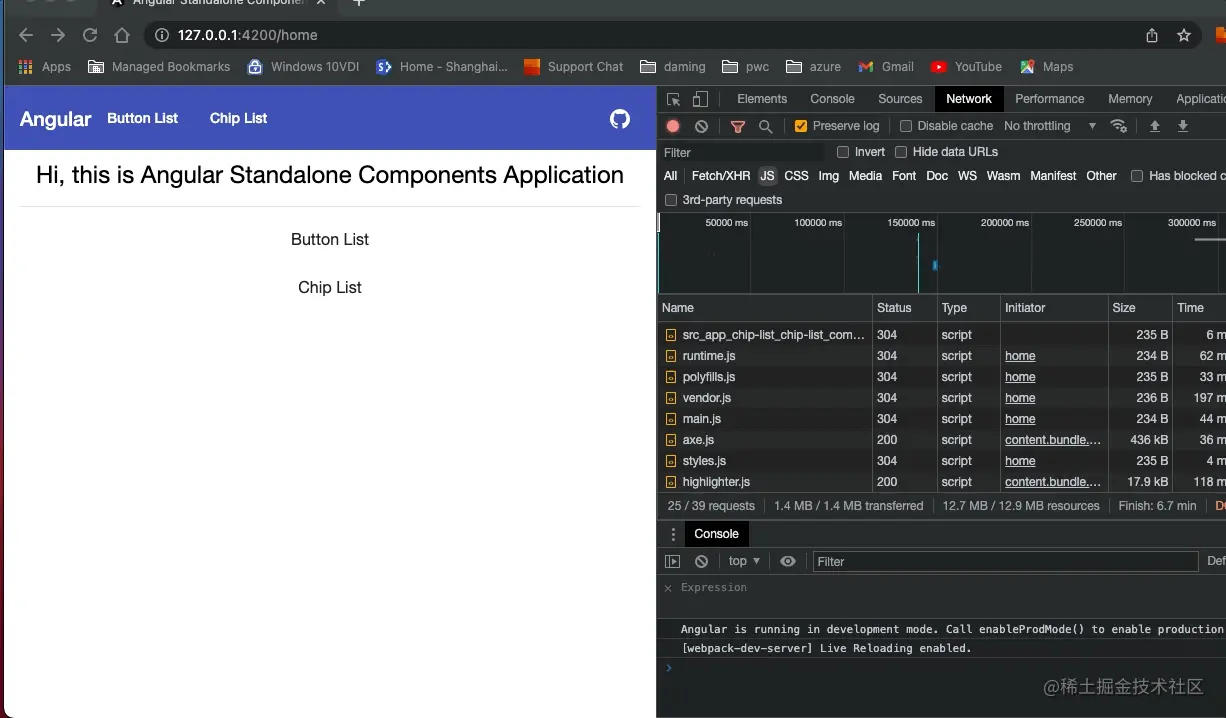
}).catch(err => console.error(err));</pre><div class="contentsignin">Copy after login</div></div>Rendering:

, we can register values or services through providers. For example, I have a url to get pictures, which needs to be injected into
: <div class="code" style="position:relative; padding:0px; margin:0px;"><pre class='brush:php;toolbar:false;'>bootstrapApplication(AppComponent, {
providers: [
{
provide: &#39;photoUrl&#39;,
useValue: &#39;https://picsum.photos&#39;,
},
{provide: PhotosService, useClass: PhotosService },
importProvidersFrom(RouterModule.forRoot([...ROUTES])),
importProvidersFrom(HttpClientModule)
],
})</pre><div class="contentsignin">Copy after login</div></div>
The code is as follows: @Injectable()export class PhotosService {
constructor(
@Inject('photoUrl') private photoUrl: string,
private http: HttpClient ) { }
public getPhotoUrl(i: number): string {
return `${this.photoUrl}/200/300?random=${i}`;
}
}
Online demo: https://damingerdai.github.io/angular-standalone-components-app/
Original address: https://juejin.cn/post/7107224235914821662For more programming-related knowledge, please visit:programming video
The above is the detailed content of A brief analysis of independent components in Angular and see how to use them. For more information, please follow other related articles on the PHP Chinese website!
 Ouyi trading platform app
 Python online playback function implementation method
 What does data encryption storage include?
 The role of validate function
 Solid state drive data recovery
 What is the difference between webstorm and idea?
 Second-level domain name query method
 What is the transfer limit of Alipay?
 What should I do if eDonkey Search cannot connect to the server?