

What is webpack? This article will introduce you to the module packaging tool webpack. I hope it will be helpful to you!
1. Official explanation
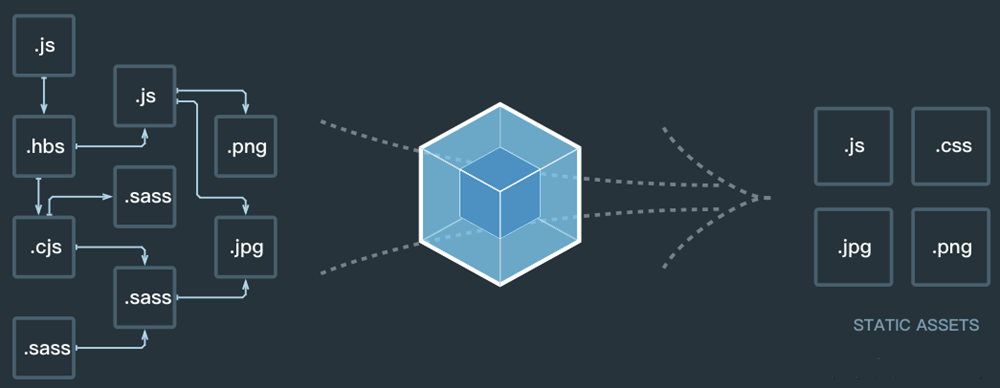
Essentially speaking, Webpack is a static modular packaging tool for current JavaScript applications. (This sentence is summarized from two points, namely module and packaging)
module## The concept of #andpackaging!
2. Front-end modularization
Some solutions for front-end modularization: AMD, CMD, CommonJS, ES6 (browser3. How to understand packaging?
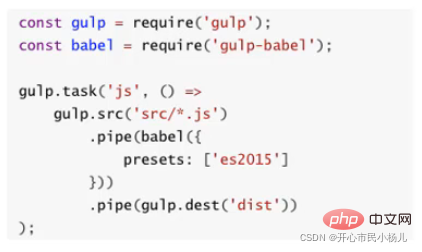
webpack can help usThe core of grunt/gulp is Task
a series of tasks, and define the
transactions to be processed by the task (such as ES6, ts conversion, image compression , convert scss to css) 2. Then let grunt/gulp execute these tasks in sequence, and automate the entire
process
3. If the entire project uses Modular management and very strong interdependence, we can use webpack.
2.webpack puts more emphasis on modularizationdevelopment management, and file Compression, merging, preprocessing and other functions are its included functions
node environment, and in order for the node environment to execute normally, it must use the npm tool to manage various dependent packages in node)So to install webpack, you must first install Node.js. Node.js comes with the package management tool npm
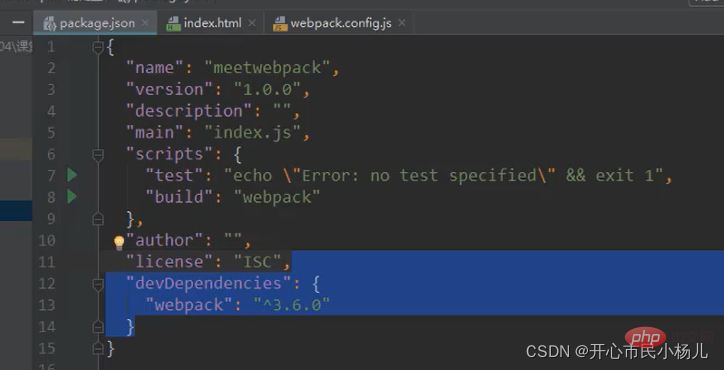
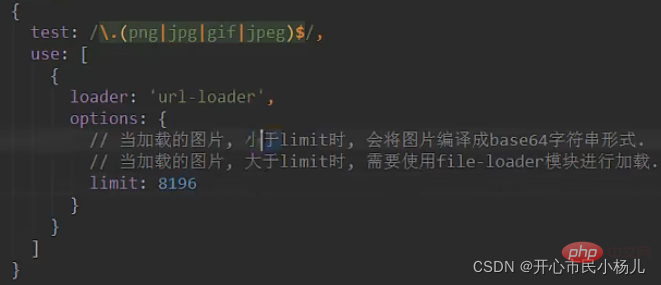
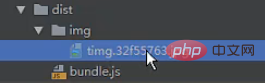
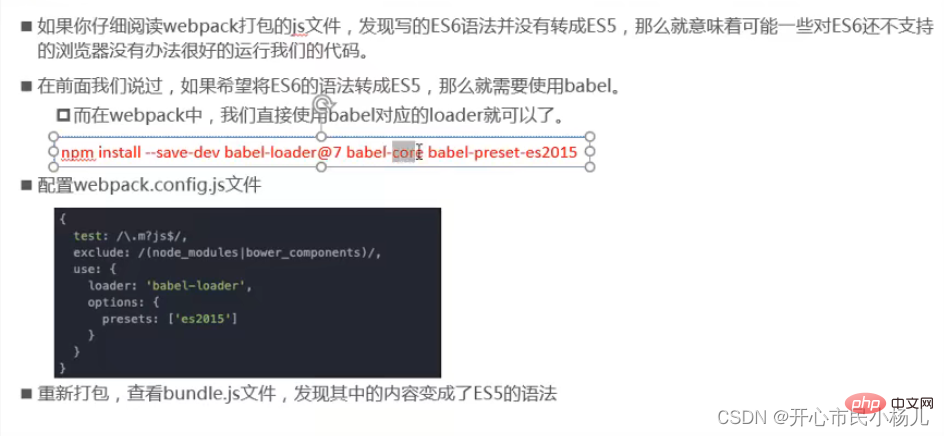
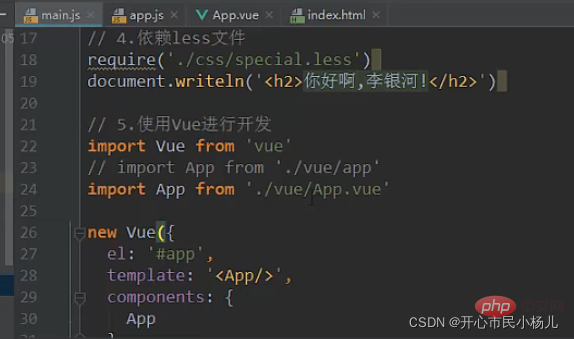
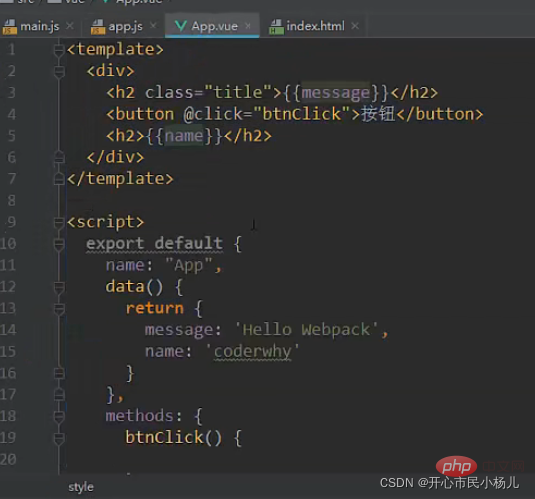
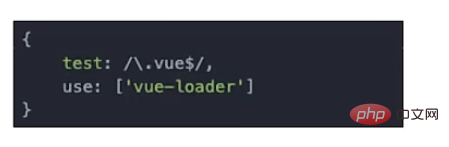
The following is the code in the mathUtils.js file and the main.js file: (CommonJS modular specification, CommonJS is a modular standard, nodejs It is the implementation of CommodJS (modularization) 2, command webpack. /src/main.js ./dist/bundle.js(Package the main.js file into a bundle.js file) Note: In the same way, you can also use the ES6 modular specification 3. Create the webpack.config.js file to simplify the packaging command (map the packaging command to packaging Entry and exit) Code in this file: ##entry: is the packaged entry output: For the packaged export Explanation: If you want to use node, you must rely on the package.json file After npm install webpack@3.6.0 --save-dev, add the following dependencies 4. Map the webpack command to npm run webpack to entry and exit, you can also map webpack The command is mapped to npm run Some operations (need to be modified in the **"script"** script tag in package.json). . 1. What is loader 2. Loader usage process 1), css file processing main.js that is entry file and then we need to import Corresponding loader Step 1:Install the loader you need to use through npm Step 2: Configure under the modules keyword in webpack.config.js Instructions: Among them css-loader is only responsible for loading css files, and is not responsible for embedding specific css styles into documents At this time, we also need a style- loaderHelp us handle Note: style-loader needs to be placed in front of css-loader. 2), less file processing Step 1: Install the corresponding loader (note: here Less is also installed because webpack will use less to compile less files). Command: npm install --save-dev less-loader less Step 2: Modify the corresponding configuration file (in webpack.config .js) for processing .less files. As follows: 3), image file processing Step 1: Add two pictures to the project (one is less than 8kb, the other is larger than 8kb) Step 2: First consider adding css Reference images in the style, is as follows ##Step 3: Modify the corresponding configuration file (in webpack .config.js) for processing image files. As follows: Step 4: An error was found after packaging, because images larger than 8kb will pass file-loader Processing, but there is no file-loader in our project. (You need to install file-loader, command npm install --save-dev file-loader). After installation and packaging, you will find that there is an additional image file in the dist folder. Description: 2. However, in actual development, there may be certain requirements for packaged image names 2. name: get the original name of the picture and put it in This position 2. However, The entire program is packaged in the dist folder, so here you need to add another dist/ 4), ES6 to ES5 babel Step 4: An error is found after packaging. We need to specify that the vue we are using is the runtime-compiler version of. Step 1: Hang p on the vue instance in index.html Step 2: Import the APP component into the main.js file, and register the APP, in the Vue instance Use this component APP (Componentization) in the Vue template Step 3: Create the APP.vue file and change the # of the vue page ##Template and js code, css code are separated, as follows 1. Get to know the plugin 2. Webpack-Add copyright information Plugin usage 3. Plugin for packaging html 4. js compression Plugin . This local server is built based on node.js and uses the express framework internally to achieve what we want for the browser Automatically refresh to display the modified results . in webpack. The option itself can be set with the following properties: 1. contentBase: which folder provides local services, the default is the root folder, we need to fill in ./dist 2. port: port number In addition, are separated from the things you need to publish(compile). as follows: #1. What does CLI mean? 2. Prerequisites for using Vue CLI - Node (node needs to be installed) However, using Node must involve npm, What is NPM? 3. Use of Vue CLI Install Vue scaffolding Note: The version installed above is the Vue CLI3 version. If you need to initialize the project according to the Vue CLI2 method, it is not possible Vue CLI2 initialization project For more node-related knowledge, please visit: nodejs tutorial!
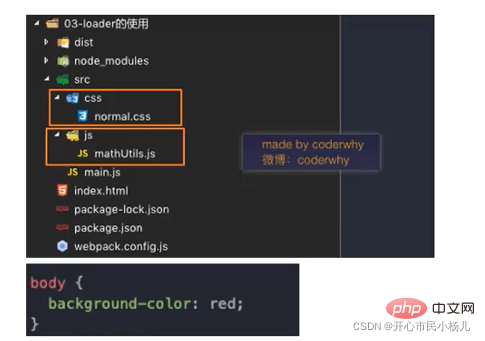
main.js: The entry file of the project.
mathUtils.js: Defines some mathematical tool functions that can be referenced and used in other places.
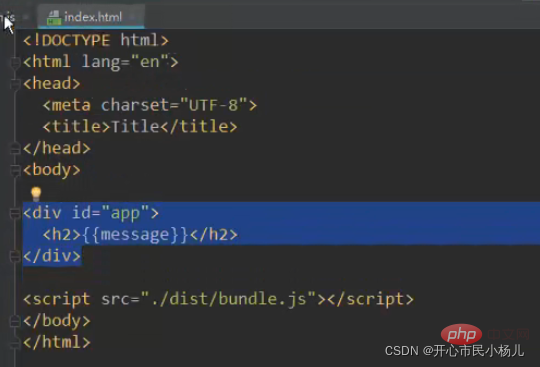
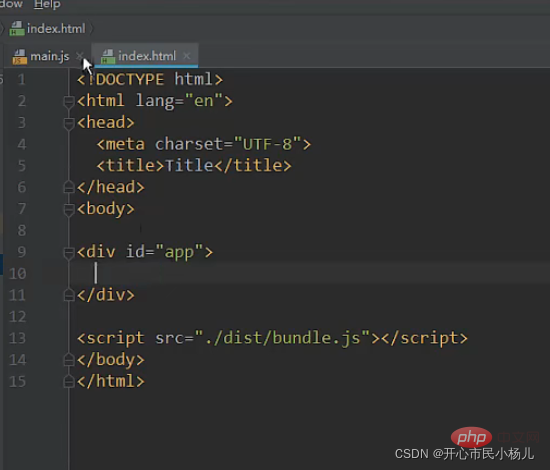
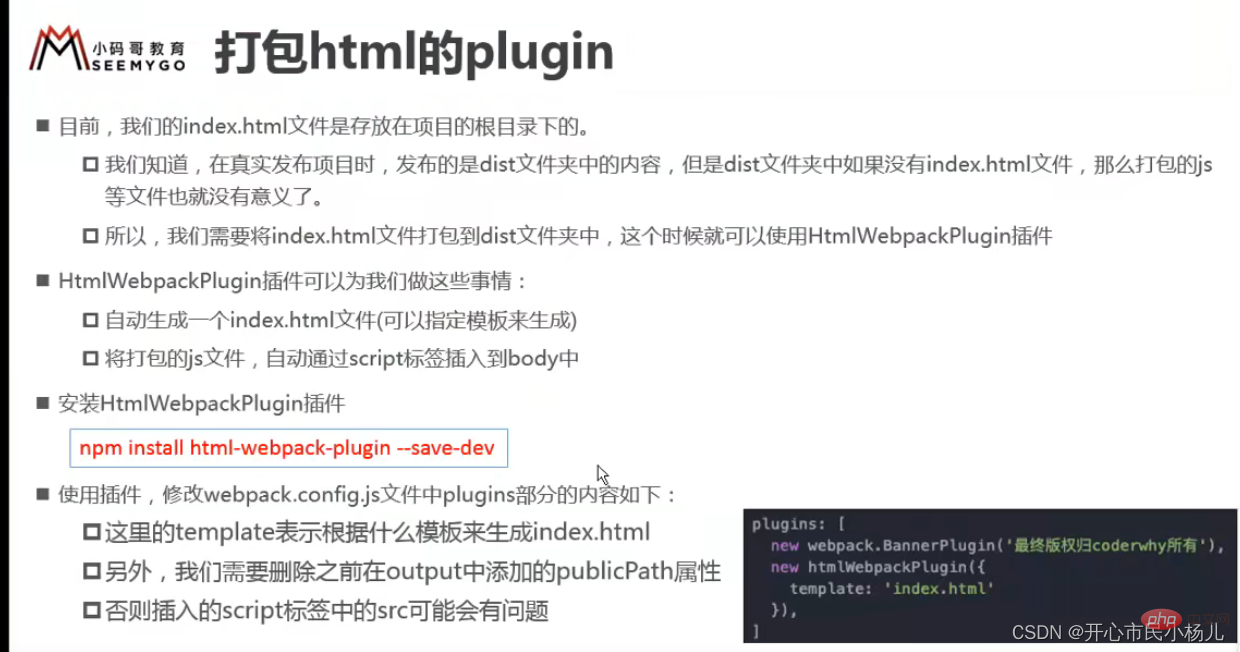
index.html: The browser opens the displayed homepage html (the content of the final packaged file in src, that is, the dist folder is quoted here).
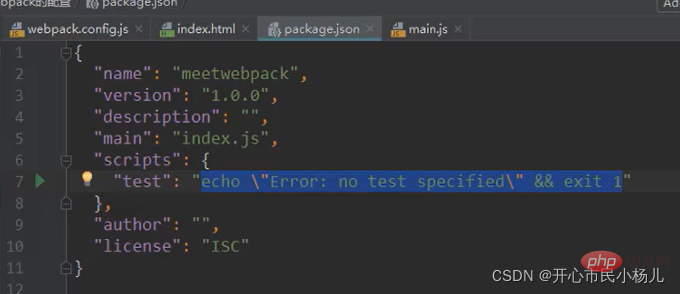
package.json: File generated through npm init and managed by npm package. 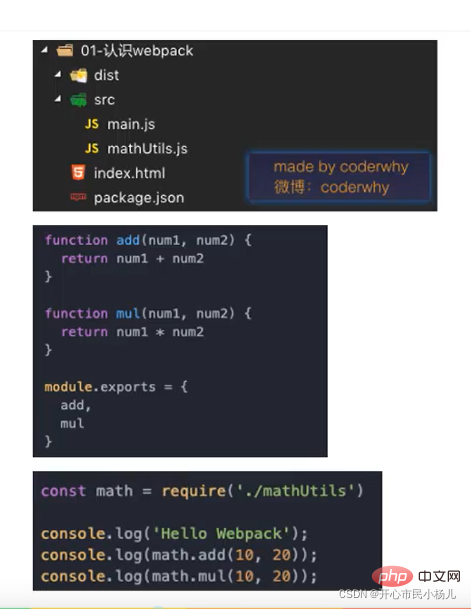

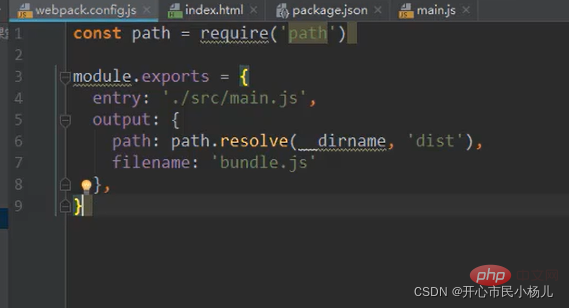
we need to obtain the path in the output dynamically,
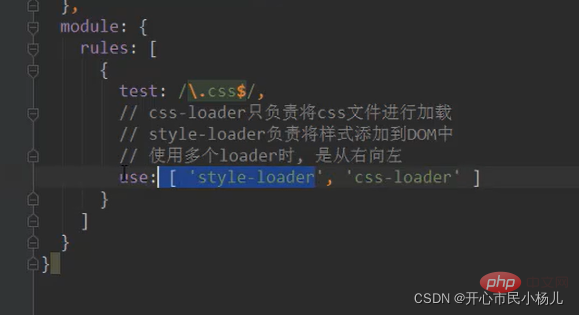
4. How to use loader
Now let’s think about what webpack is used for?
We mainly use webpack to process js code, and webpack will automatically handle dependencies related to js before.
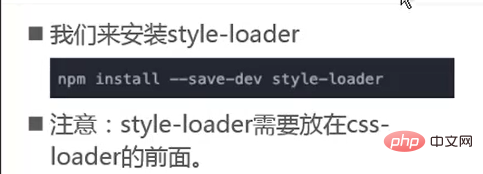
(npm install --save-dev css-loader) (npm install - -save-dev style-loader)
In the official website of webpack, find the following usage method of style loader: 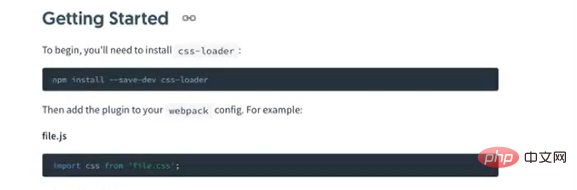
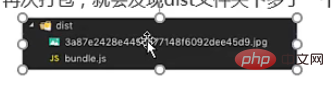
In summary, after packaging , the image file is like this
3. hash8: In order to prevent image name conflicts, hash is still used, but only 8 bits are retained
4. ext: Use the original extension of the image
as follows: 
to the path as follows: 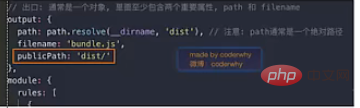
5 , Configure Vue in webpack
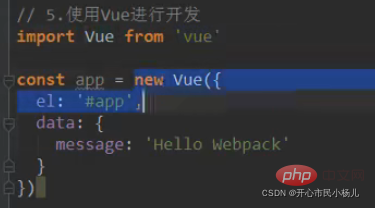
Step 1: Terminal execution command (npm install --save vue)

Specific operations: You need to add resolve to webpack and take an alias (alias), as follows: 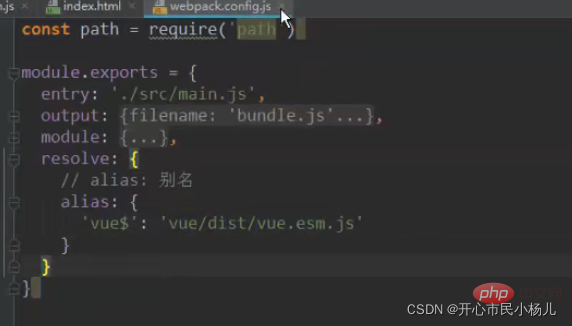
6. How to use Vue in webpack

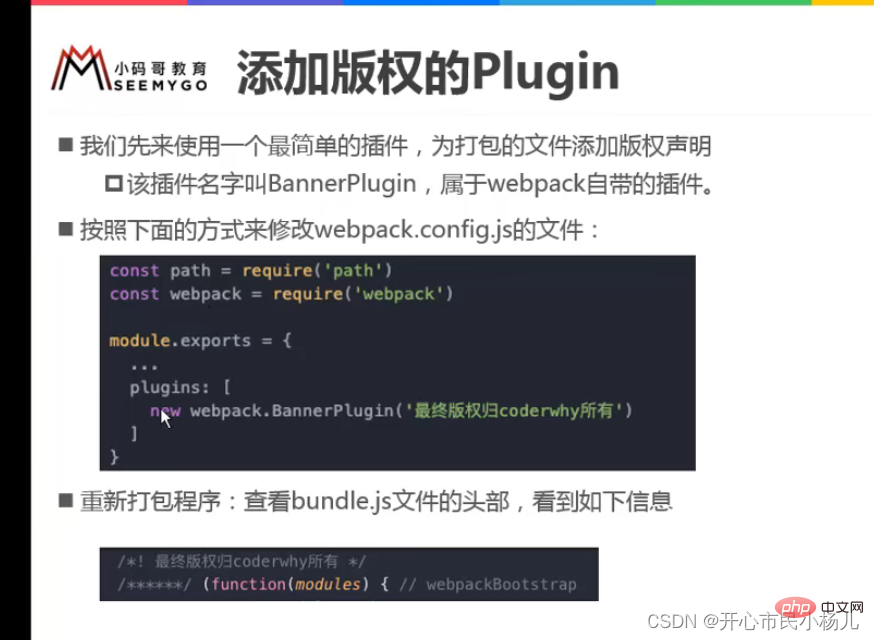
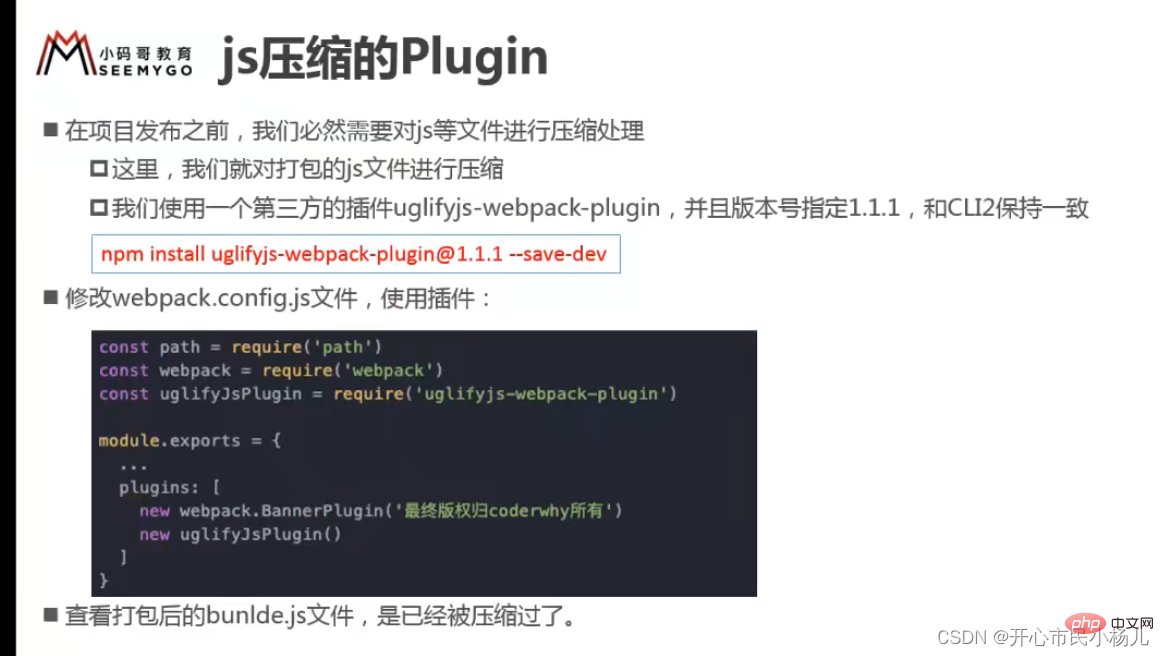
7. Use of plugin
What is the plugin?
2. Plug-ins in webpack are various extensions to the existing functions of webpack, such as packaging optimization, file Compression, etc.
converter 2. Plugin is a plug-in. The extension of webpack itself is an
extender
2. Step 2: Configure the plug-in in plugins in webpack.config.js
Webpack provides an optional
3. inline: page refresh in real time
4. historyApiFallback: In the SPA page, rely on the history mode of HTML5 

below we want to separate the webpack configuration file: that is, 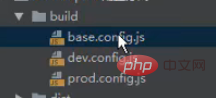
9. Vue CLI
npm install -g @vue/cli
vue init webpack my-project
The above is the detailed content of Learn more about the module packaging tool webpack. For more information, please follow other related articles on the PHP Chinese website!
 mysql default transaction isolation level
 What is digital currency
 The difference between arrow functions and ordinary functions
 Clean up junk in win10
 special symbol point
 What keys do arrows refer to in computers?
 How to use the Print() function in Python
 There is an extra blank page in Word and I cannot delete it.


![Node.js complete introductory tutorial [es6+npm+express+webpack+promise]](https://img.php.cn/upload/course/000/000/068/6242b4c8f1a39624.png)


![[Web front-end] Node.js quick start](https://img.php.cn/upload/course/000/000/067/662b5d34ba7c0227.png)


