
In Vue, we can use v-if and v-show to control the rendering of elements or templates. The v-if and v-show are also commonly used internal instructions in Vue. The instruction mentioned here is directive, which refers to a special command with the prefix v-. The value of the instruction is limited to the binding expression. The responsibility of the instruction is to be the value of the expression. Apply some special behavior to the DOM when changing. The two instructions

v-if and v-show are what everyone often calls Conditional rendering instructions. (Learning video sharing: vue video tutorial)
Let’s look at it first v-if directive. Its function is to generate or remove an element (or multiple elements) in the DOM based on the value of the expression true or false. It is somewhat similar to the if conditional judgment in JavaScript. In addition to v-if, there are also v-else-if and v-else in Vue.
v-ifAs mentioned earlierv-ifAccording to the value of the expression Determine whether to generate elements in the DOM. For example:
<!-- template -->
<div id="app">
    <h1 v-if="true">v-if的值为true时,显示这个div元素</h1>
</div>

// JavaScript
var app = new Vue({
    el: '#app',
    data: {

    }
})At this time, the <h1> element is inserted into the div#app element and rendered:
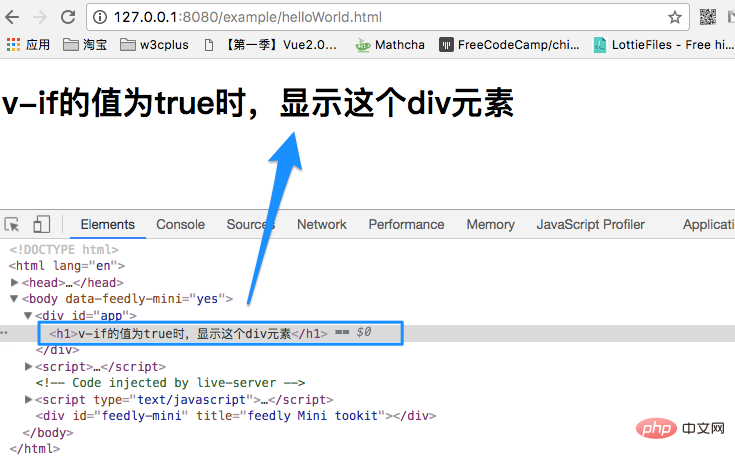
In Vue, if you need to determine whether an element is rendered, add the v-if directive to the element and set its value to true or false. For example, in the above example, we set true and the element is rendered. If you change the true value above to false, the <h1> element will not be rendered.
In addition to directly setting true or false to v-if, you can also make judgments through expressions. For example:
<!-- template -->
<div id="app">
    <h1 v-if="isShow">
    v-if的值为true时,显示这个div元素
    </h1>
</div>
// JavaScript
    var app = new Vue({
    el: '#app',
    data: { isShow: true }
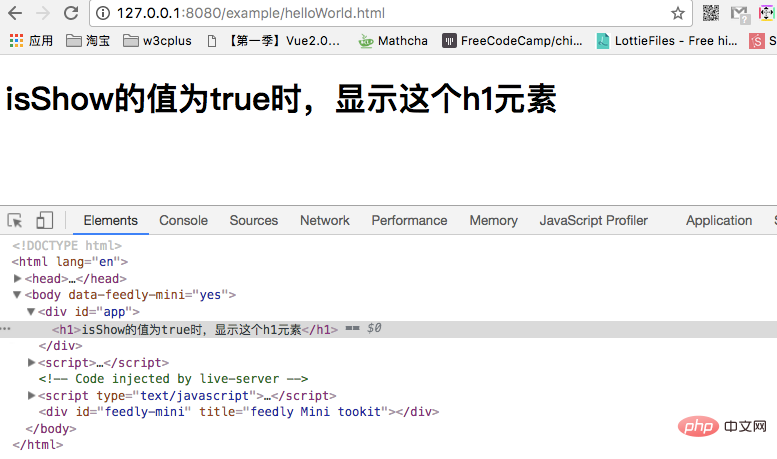
})In the above example, the value of isShow is declared to be true, and then in the h1 element, pass v-if directive bindingisShow. In fact, it is similar to v-if="true". The h1 element also renders normally:
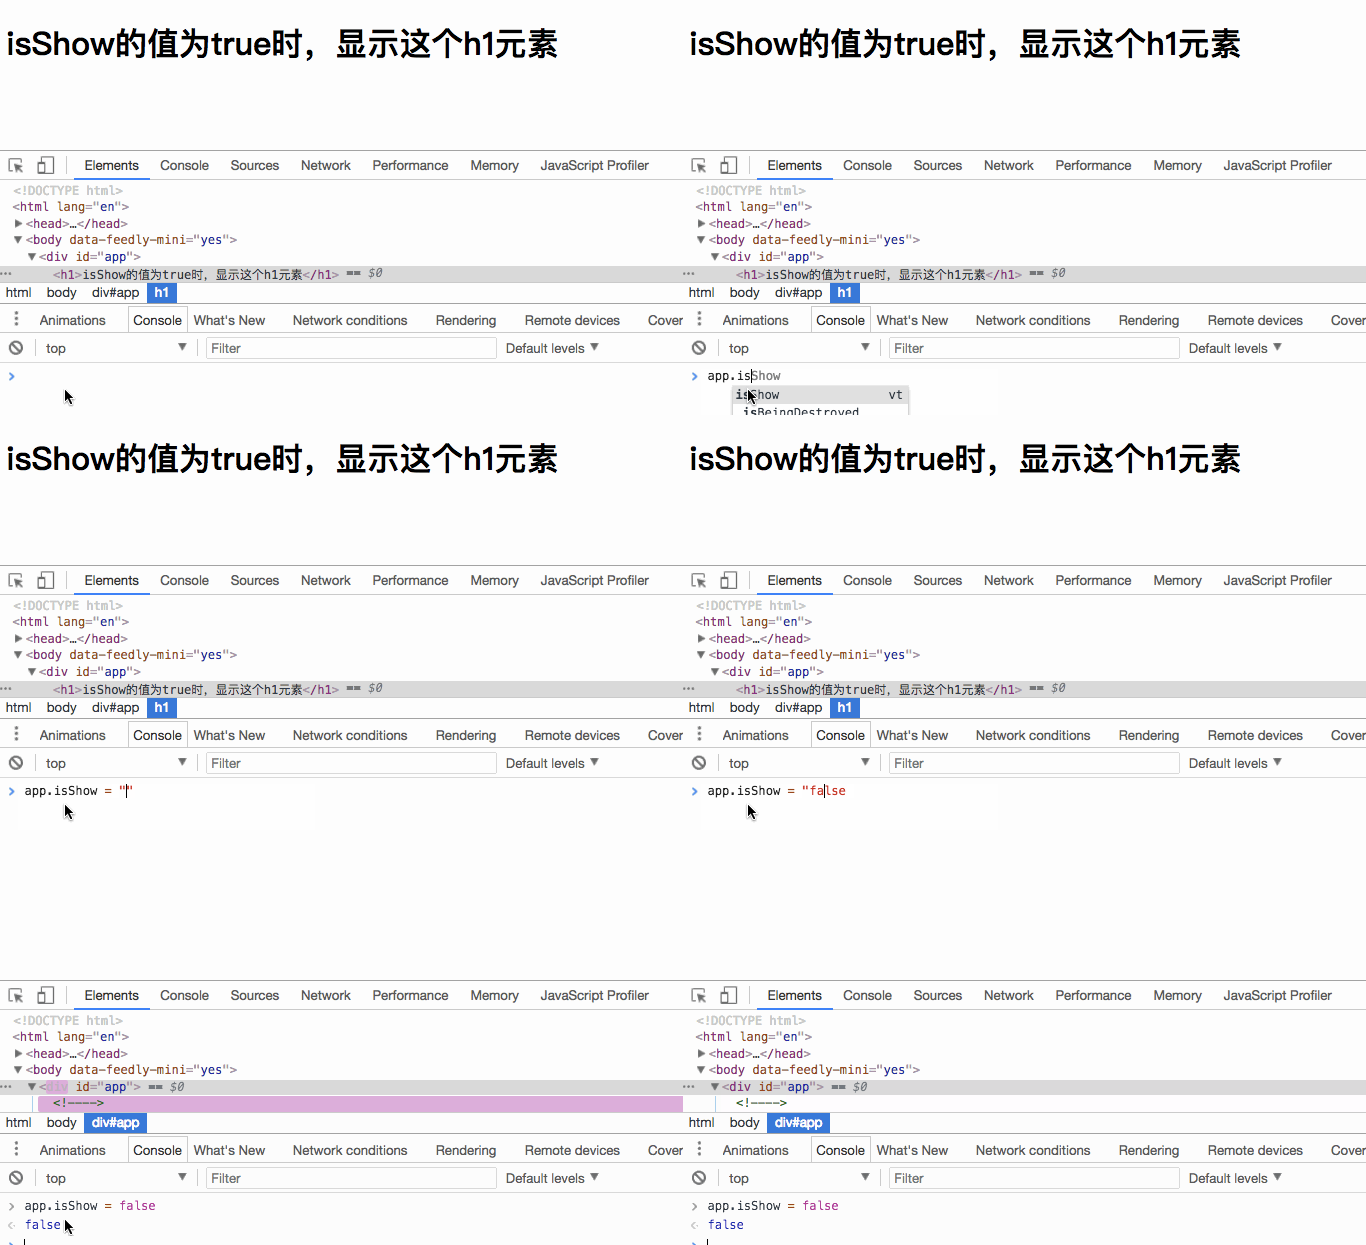
When you set isShow to false , the h1 element will not be rendered.
What we see above is rendering one element. If we want to render multiple elements, should we directly nest multiple elements inside? Let’s verify our thoughts:
<!-- template -->
<div id="app">
    <div v-if="isShow">
        <h1>我是标题</h1>
        <p>我是段落</p>
    </div>
</div>
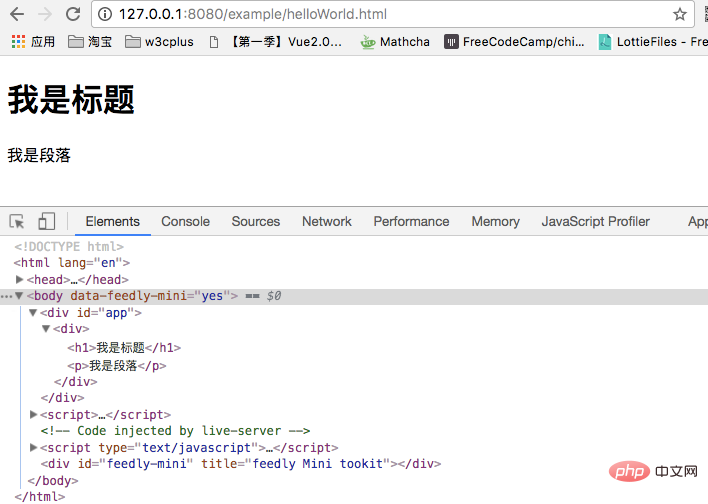
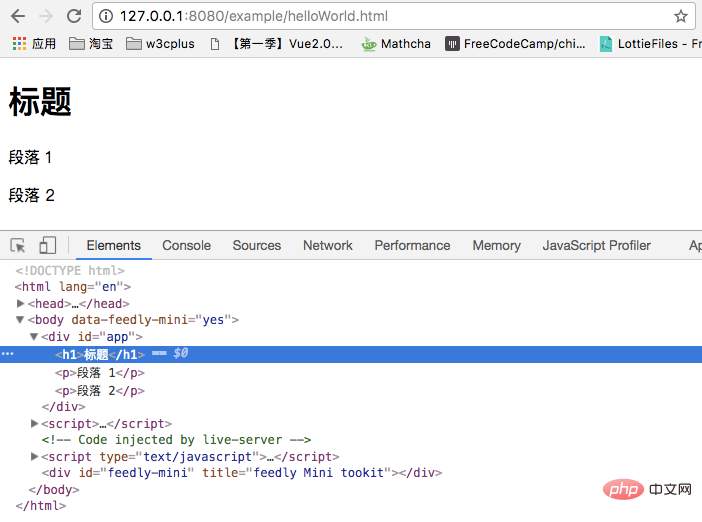
is just as we imagined. But in Vue, when we switch multiple elements, we generally don’t use it this way. Instead, we use the <template> element as a packaging element, and use v-if on it. The final rendering result will not contain the <template> element. Like this:
<template v-if="isShow">
    <h1>标题</h1>
    <p>段落 1</p>
    <p>段落 2</p>
</template>
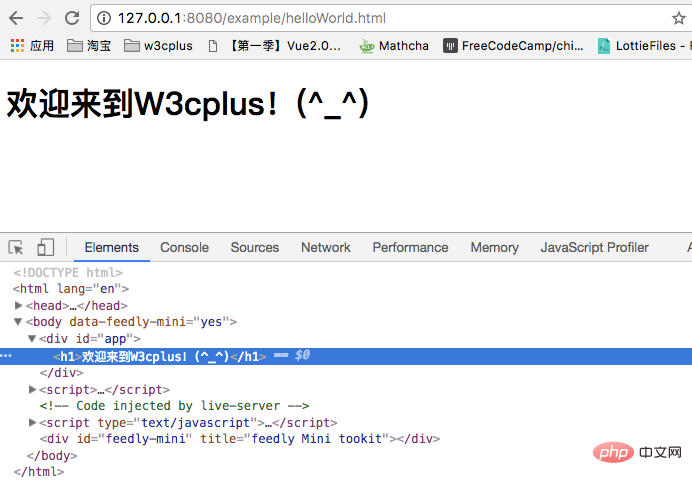
v-else and ## in JavaScript #else is similar, but it must be used in conjunction with v-if. For example, if we log in, a welcome message will be displayed if logged in, otherwise the user will be prompted to log in. Then we can set an isLogined expression, such as: <div class="code" style="position:relative; padding:0px; margin:0px;"><pre class="brush:php;toolbar:false"><!-- Template -->
<div id="app">
<h1 v-if="isLogined">欢迎来到W3cplus!(^_^)</h1>
<h1 v-else>请先登录,再来!(^_^)</h1>
</div>
// JavaScript
var app = new Vue({
el: '#app',
data: {
isLogined: true
}
})</pre><div class="contentsignin">Copy after login</div></div> As you think, you can see the effect of the following picture in the browser:
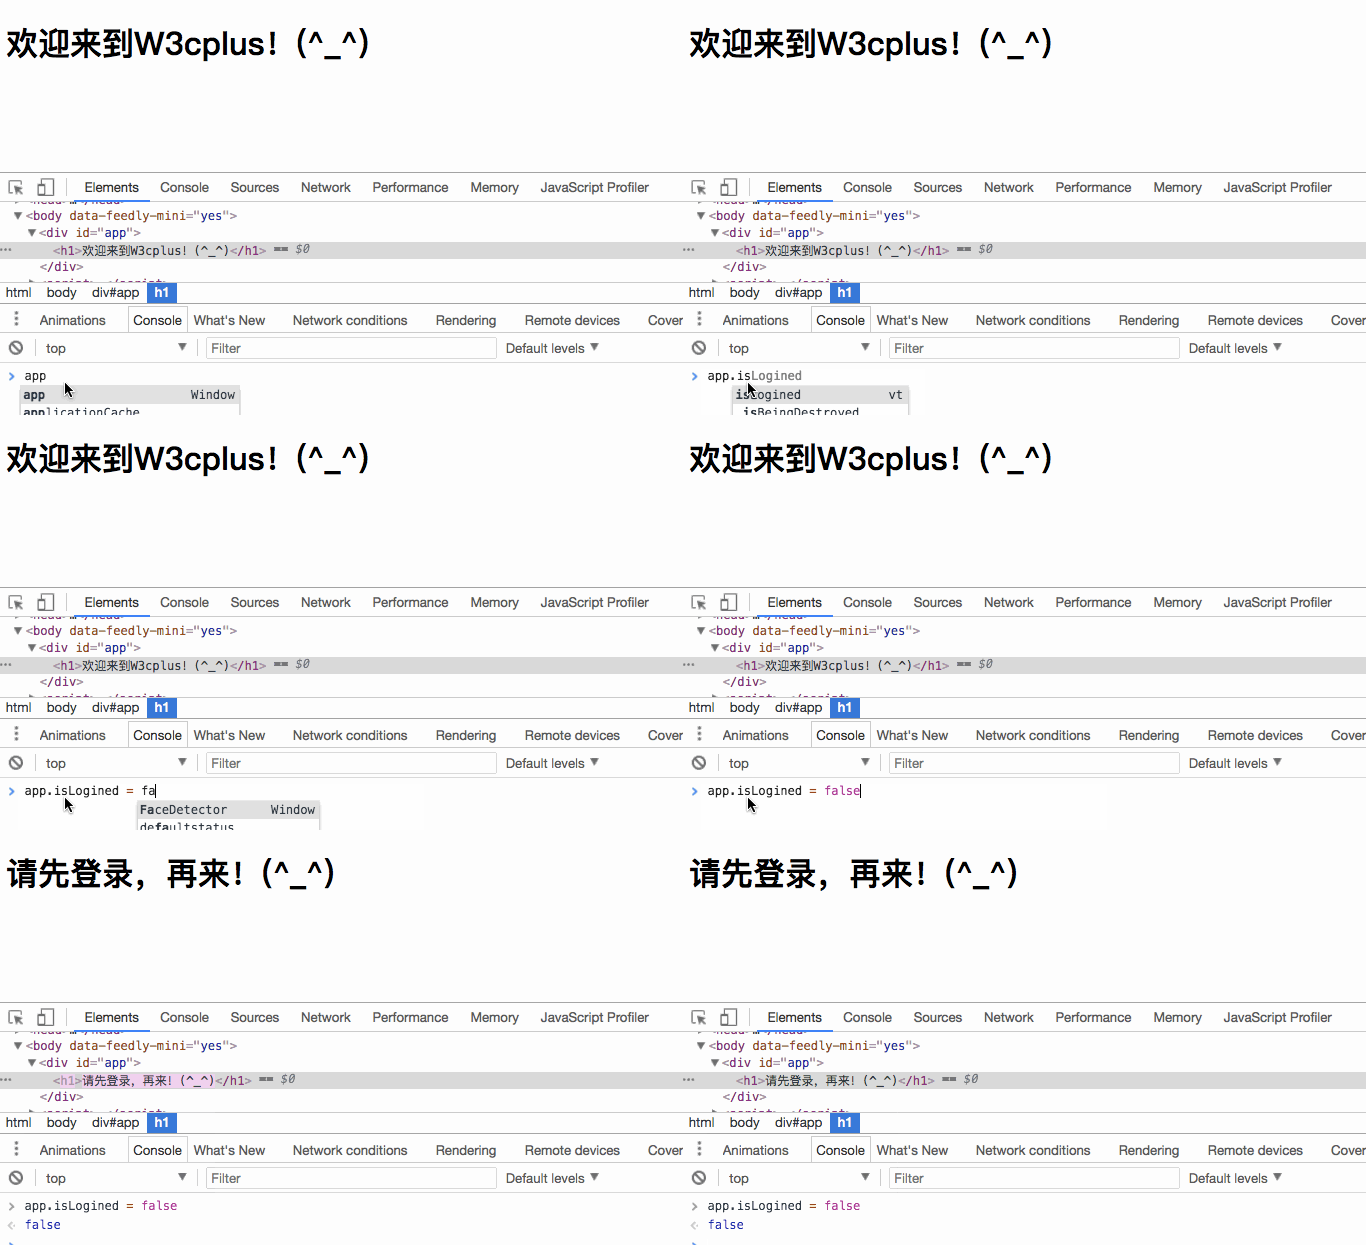
 Replace the value of
with false, then the rendered content will change:
 In actual projects, when a component renders differently in two states, we use
and v-else with <template> ; is very easy to implement. For example, winning and not winning: <div class="code" style="position:relative; padding:0px; margin:0px;"><pre class="brush:php;toolbar:false"><template v-if=&#39;isPrized&#39;>
<figure>
<figcaption>恭喜你中了5元红包</figcaption>
<img src="xxx" />
</figure>
</template>
<template v-else>
<figure>
<figcaption>亲,就差那么一点点</figcaption>
<img src="xxx" />
</figure>
</template></code></p>v-else-if<h3>
<strong></strong>##v-else-if</h3> and <p>else if in JavaScript <code> is similar and needs to be used together with </code>v-if<code>. When several conditions exist at the same time, display or not is determined based on the operation result. As shown in the following code, which block is displayed is determined based on the value of </code>type<code>. For example, in our example, if the value of </code>type<code> is set to </code>B<code>, then the block </code>B<code> will be displayed: </code></p>
<pre class="brush:php;toolbar:false"><!-- template -->
<div id="app">
<div v-if="type === &#39;A&#39;">显示A区域</div>
<div v-else-if="type === &#39;B&#39;">显示B区域</div>
<div v-else>显示C区域</div>
</div>
// JavaScript
var app = new Vue({
el: '#app',
data: {
type: "B"
}
})</pre><div class="contentsignin">Copy after login</div></div>
<code>If you modify The value of type will display a different area:
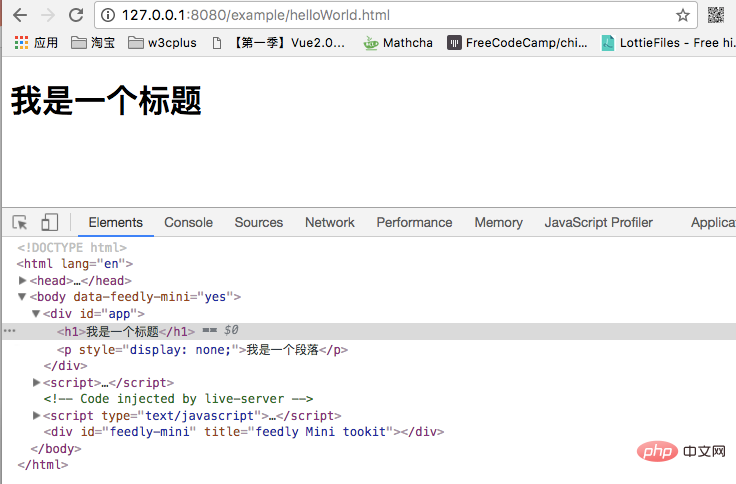
文章开头提到过,除了v-if之外,Vue还提供v-show也可以控制元素的渲染。v-show和v-if功能有点相似,其中v-if依赖于控制DOM节点,而v-show是依赖于控制DOM节点的display属性。当v-show传入的值为true时,对应DOM元素的display的值为block之类的,反之为false时,display的值为none。也就是用户看不到元素的显示,但其DOM元素还是存在的。
<!-- Template -->
<div id="app">
    <h1 v-show="true">我是一个标题</h1>
    <p v-show="isShow">我是一个段落</p>
</div>

// JavaScript
var app = new Vue({
    el: '#app',
    data: {
        isShow: false
    }
})在浏览器看到的效果将是这样的:
注意,
v-show不支持<template>语法,也不支持v-else。
v-if和v-show都能控制DOM元素的显示和隐藏,但是在切换v-if模块时,Vue有一个局部编译/卸载过程,因为v-if中的模板可能包括数据绑定或者子组件,v-if是真是的条件渲染,它会确保条件快在切换时合适的销毁与重建条件块内的时间监听器和子组件。
两者之间的具体区别,官网是这样描述的:
v-if 是“真正的”条件渲染,因为它会确保在切换过程中条件块内的事件监听器和子组件适当地被销毁和重建
v-if 也是惰性的:如果在初始渲染时条件为假,则什么也不做——直到条件第一次变为真时,才会开始渲染条件块。v-show 就简单得多——不管初始条件是什么,元素总是会被渲染,并且只是简单地基于 CSS 进行切换。一般来说,v-if有更高的切换开销,而 v-show 有更高的初始渲染开销。因此,如果需要非常频繁地切换,则使用 v-show 较好;如果在运行时条件不太可能改变,则使用 v-if 较好。
这篇文章主要了解了Vue中的v-if和v-show。这两个都是Vue的内部指令,而且都是用来控制元素的渲染。只不过,v-if判断是否加载,可以减轻服务器的压力,在需要时加载;v-show调整DOM元素的CSS的dispaly属性,可以使客户端操作更加流畅。虽然这两都都能很好的控制元素的渲染,但实际使用的时候,更应该根据自己的场景来判断使用哪一个指令。
原文地址::https://www.w3cplus.com/vue/v-if-vs-v-show.html
The above is the detailed content of Detailed explanation of Vue conditional rendering instructions: v-if and v-show. For more information, please follow other related articles on the PHP Chinese website!