
This article will give you an in-depth understanding of a very interesting attribute mask in CSS. I hope it will be helpful to you!
#As the name suggests, mask is translated as mask. In CSS, the mask attribute allows users to hide part or all of the visible area of an element by masking or cropping a specific area of the image. [Recommended learning: css video tutorial]
In fact, mask has been around for some time, but there are not many practical scenarios, and it is very used in actual combat. This article will list some interesting scenes created using mask.
##The most basic, use The method of masking is to use pictures, similar to this:
{
    /* Image values */
    mask: url(mask.png);                       /* 使用位图来做遮罩 */
    mask: url(masks.svg#star);                 /* 使用 SVG 图形中的形状来做遮罩 */
}Of course, the method of using pictures will be discussed later. The method of using images is actually more cumbersome, because we first have to prepare the corresponding image materials. In addition to images, mask can also accept a background-like parameter, which is a gradient.
Similar to the following usage:
{
    mask: linear-gradient(#000, transparent)   /* 使用渐变来做遮罩 */
}How to use it specifically? A very simple example. Above we created a gradient color from black to transparent. We applied it to practice. The code is similar to this:
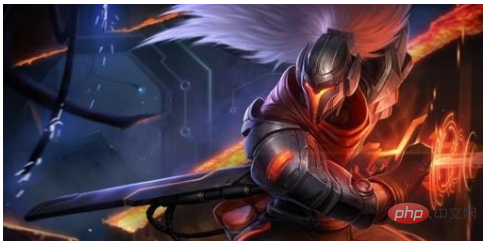
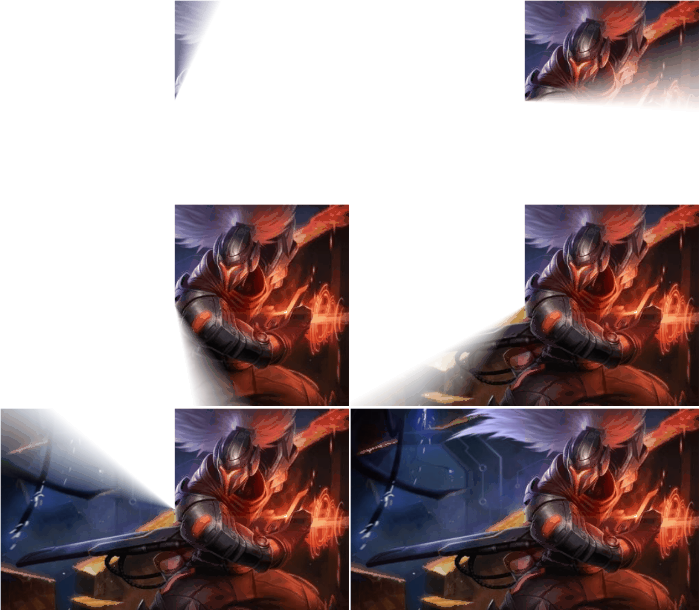
The following picture is superimposed on A gradient from transparent to black,
{
    background: url(image.png) ;
    mask: linear-gradient(90deg, transparent, #fff);
}
After applying the mask, it will look like this:
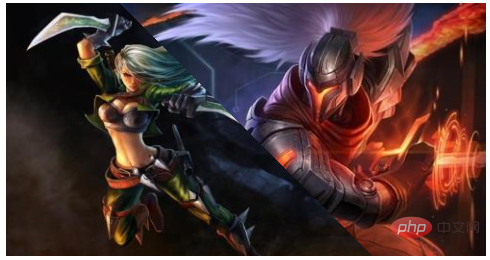
In this DEMO, you can first briefly understand the basic usage of mask.
Here we get the most important conclusion of using mask: the overlapping portion of the transparent gradient generated by the mask will become transparent.
It is worth noting that the gradient above uses linear-gradient(90deg, transparent, #fff), here #fff The solid color part can actually be changed to any color without affecting the effect.
CodePen Demo -- Basic use of MASK
Using the above simple application, we can use mask to achieve simple image cropping.
Using linear gradient, we implement a simple Cutaway graphics:
.notching{
    width: 200px;
    height: 120px;
    background:
    linear-gradient(135deg, transparent 15px, deeppink 0)
    top left,
    linear-gradient(-135deg, transparent 15px, deeppink 0)
    top right,
    linear-gradient(-45deg, transparent 15px, deeppink 0)
    bottom right,
    linear-gradient(45deg, transparent 15px, deeppink 0)
    bottom left;
    background-size: 50% 50%;
    background-repeat: no-repeat;
}Like this:

We will Apply the above gradient to the mask, and replace the background with a picture, and you can get a picture with a corner cut effect:
background: url(image.png);
mask:
    linear-gradient(135deg, transparent 15px, #fff 0)
    top left,
    linear-gradient(-135deg, transparent 15px, #fff 0)
    top right,
    linear-gradient(-45deg, transparent 15px, #fff 0)
    bottom right,
    linear-gradient(45deg, transparent 15px, #fff 0)
    bottom left;
mask-size: 50% 50%;
mask-repeat: no-repeat;The result is as follows:

##CodePen Demo -- Use MASK to implement image corner masking 当然,实现上述效果还有其他很多种方式,譬如 clip-path,这里的 mask 也是一种方式。 上述是单张图片使用 mask 的效果。下面我们看看多张图片下,使用 mask 能碰撞出什么样的火花。 假设我们有两张图片,使用 mask,可以很好将他们叠加在一起进行展示。最常见的一个用法: 两张图片,一张完全重叠在另外一张之上,然后使用 CodePen Demo -- MASK 的基本使用,多张图片下的基本用法 当然,注意上面我们使用的 mask 的渐变,是完全的实色变化,没有过度效果。 我们稍微修改一下 mask 内的渐变: 即可得到图片1向图片2过渡切换的效果: CodePen Demo -- MASK 的基本使用,多张图片下的基本用法2 有了上面的铺垫。运用上面的介绍的一些方法,我们就可以使用 还是上面的 Demo,我们通过动态的去改变 mask 的值来实现图片的显示/转场效果。 代码可能是这样: 当然,像上面那样一个一个写,会比较费力,通常我们会借助 SASS/LESS 等预处理器进行操作。像是这样: 可以得到下面这样的效果(单张图片的显隐及两张图片下的切换): CodePen Demo -- MASK linear-gradient 转场 当然,除了 可以实现图片的角向渐显/切换: CodePen Demo -- MASK conic-gradient 转场 这个技巧,在张鑫旭的这篇文章里,有更多丰富的例子,可以移步阅读: 运用这个技巧,我们就可以实现很多有意思的图片效果。像是这样: 继续下一环节。CSS 中很多有意思的属性,和滤镜和混合模式一结合,会碰撞出更多火花。 首先,我们利用多重径向渐变,实现这样一张图。 看着没什么特别,我们利用 即可得到这样的图形,利用对比度滤镜,将图形变得非常的锐化。 这个时候,我们再叠加上不同的 mask 遮罩。即可得到各种有意思的图形效果。 CodePen Demo -- 使用 mask 搭配滤镜 contrast 我们叠加了一个线性渐变的 mask 或者换一个径向渐变: 好的,下一步,与上文类似,我们添加上动画。 看看,可以得到了非常酷炫的动画效果: CodePen Demo -- 使用 mask 搭配滤镜 contrast 及动画 还记得使用 CodePen Demo -- 使用 mask 搭配滤镜 contrast 及动画2 接下来我们再叠加上混合模式。 注意到上面,其实我们的容器背景色是白色 我们可以通过多嵌套一层层级,再增加一个容器背景色,再叠加上混合模式,产生不一样的效果。 先不添加使用 原理示例图如下: 我们就可以得到如下的效果: OK,到这一步,mask 还没有运用上,我们再添加上 mask。 CodePen Demo -- mask & filter & blend-mode 实际效果比截图好很多,可以点击 Demo 去看看。 当然,这里叠加的是 譬如,叠加 更多有意思的叠加,感兴趣的同学需要自己多加尝试。 当然,mask 最本质的作用应该还是作用于图片。上面得到的重要结论: 图片与 mask 生成的渐变的 transparent 的重叠部分,将会变得透明。 也可以作用于 mask 属性传入的图片。也就是说,mask 是可以传入图片素材的,并且遵循 background-image 与 mask 图片的透明重叠部分,将会变得透明。 运用这个技巧,可以制作非常酷炫的转场动画: 这里其实主要是在 mask 中运用了这样一张图片: 然后,使用了逐帧动画,快速切换每一帧的 mask :多张图片下使用 mask
div {
    position: relative;
    background: url(image1.jpg);

    &::before {
        position: absolute;
        content: "";
        top: 0;left: 0; right: 0;bottom: 0;
        background: url(image2.jpg);
        mask: linear-gradient(45deg, #000 50%, transparent 50%);
    }
}mask: linear-gradient(45deg, #000 50%, transparent 50%) 分割两张图片:
{
- mask: linear-gradient(45deg, #000 50%, transparent 50%)
+ mask: linear-gradient(45deg, #000 40%, transparent 60%)
}
使用 MASK 进行转场动画
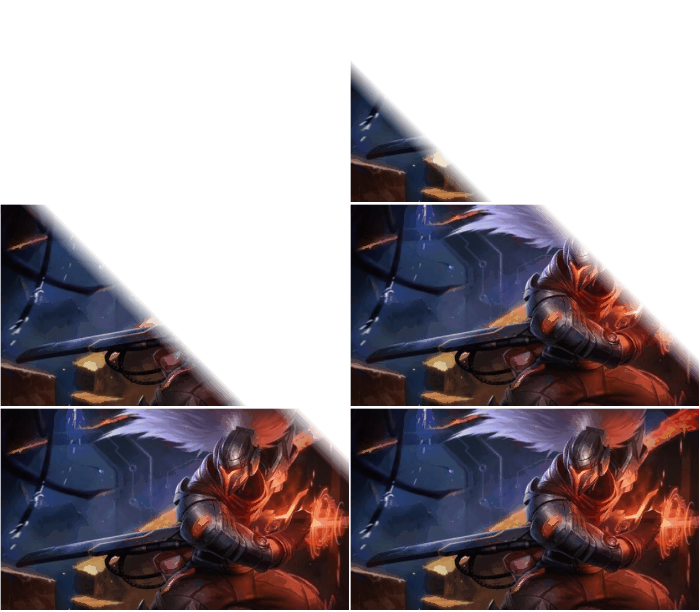
mask 来进行一些图片切换间的转场动画。使用线性渐变 mask:linear-gradient() 进行切换
div {
    background: url(image1.jpg);
    animation: maskMove 2s linear;
}@keyframes {
0% {
mask: linear-gradient(45deg, #000 0%, transparent 5%, transparent 5%);
}
1% {
mask: linear-gradient(45deg, #000 1%, transparent 6%, transparent 6%);
}
...
100% {
mask: linear-gradient(45deg, #000 100%, transparent 105%, transparent 105%);
}
}div {
position: relative;
background: url(image2.jpg) no-repeat;
&::before {
position: absolute;
content: "";
top: 0;left: 0; right: 0;bottom: 0;
background: url(image1.jpg);
animation: maskRotate 1.2s ease-in-out;
}
}
@keyframes maskRotate {
@for $i from 0 through 100 {
#{$i}% {
mask: linear-gradient(45deg, #000 #{$i + '%'}, transparent #{$i + 5 + '%'}, transparent 1%);
}
}
}

使用角向渐变 mask: conic-gradient() 进行切换
mask: linear-gradient(),使用径向渐变或者角向渐变也都是可以的。使用角向渐变的原理也是一样的:@keyframes maskRotate {
@for $i from 0 through 100 {
#{$i}% {
mask: conic-gradient(#000 #{$i - 10 + '%'}, transparent #{$i + '%'}, transparent);
}
}
}
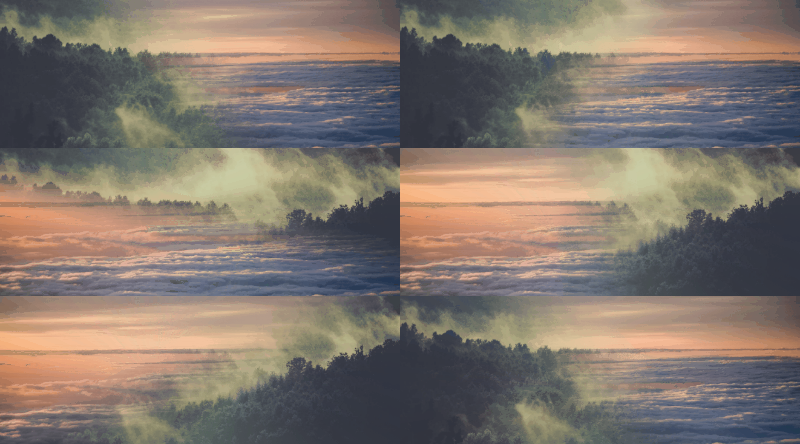
mask 碰撞滤镜与混合模式
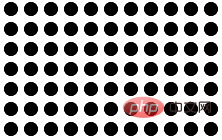
mask & 滤镜 filter: contrast()
{
  background: radial-gradient(#000, transparent);
  background-size: 20px 20px;
}
filter: contrast() 对比度滤镜,改造一下。代码大概是这样:html,body {
width: 100%;
height: 100%;
filter: contrast(5);
}
div {
position: relative;
width: 100%;
height: 100%;
background: #fff;
&::before {
content: "";
position: absolute;
top: 0; right: 0; bottom: 0; left: 0;
background: radial-gradient(#000, transparent);
background-size: 20px 20px;
}
}
body {
    filter: contrast(5);
}
 div {
    position: relative;
    background: #fff;
         &::before {
        background: radial-gradient(#000, transparent);
        background-size: 20px 20px;
      + mask: linear-gradient(-180deg, rgba(255, 255, 255, 1), rgba(255, 255, 255, .5));
    }
}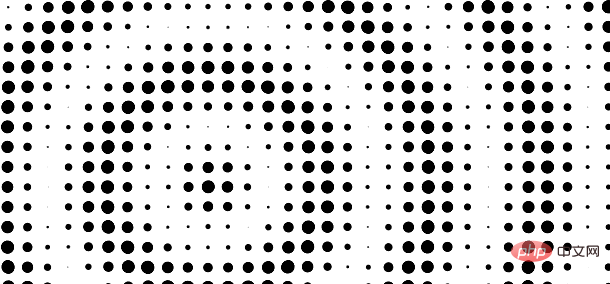
linear-gradient(-180deg, rgba(255, 255, 255, 1), rgba(255, 255, 255, .5)),注意,两个渐变颜色都是带透明度的。{
mask: repeating-radial-gradient(circle at 35% 65%, #000, rgba(0, 0, 0, .5), #000 25%);
}div {
...
&::before {
background: radial-gradient(#000, transparent);
background-size: 20px 20px;
mask: repeating-radial-gradient(circle at 35% 65%, #000, rgba(0, 0, 0, .5), #000 25%);
animation: maskMove 15s infinite linear;
}
}
@keyframes maskMove {
@for $i from 0 through 100 {
#{$i}% {
mask: repeating-radial-gradient(circle at 35% 65%, #000, rgba(0, 0, 0, .5), #000 #{$i + 10 + '%'});
}
}
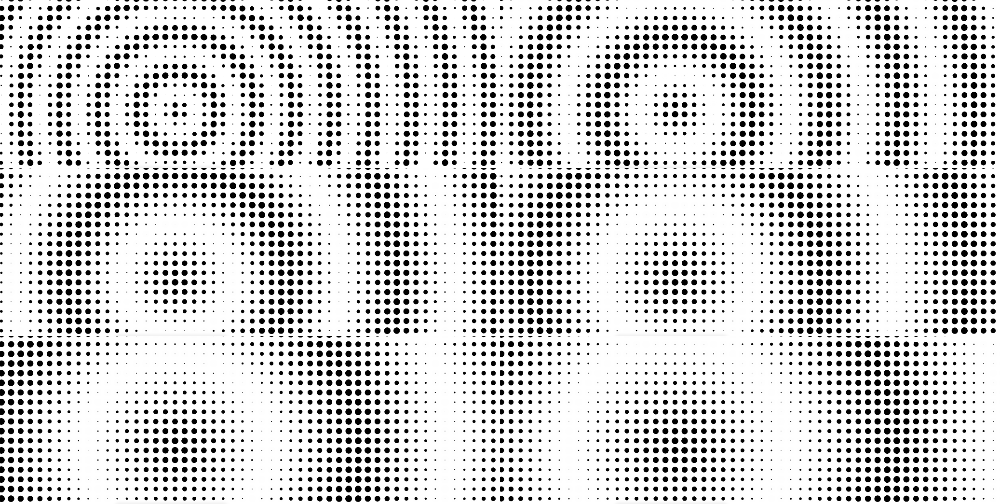
}
filter: hue-rotate() 色相滤镜吗。再加上它,我们可以让颜色也变化起来。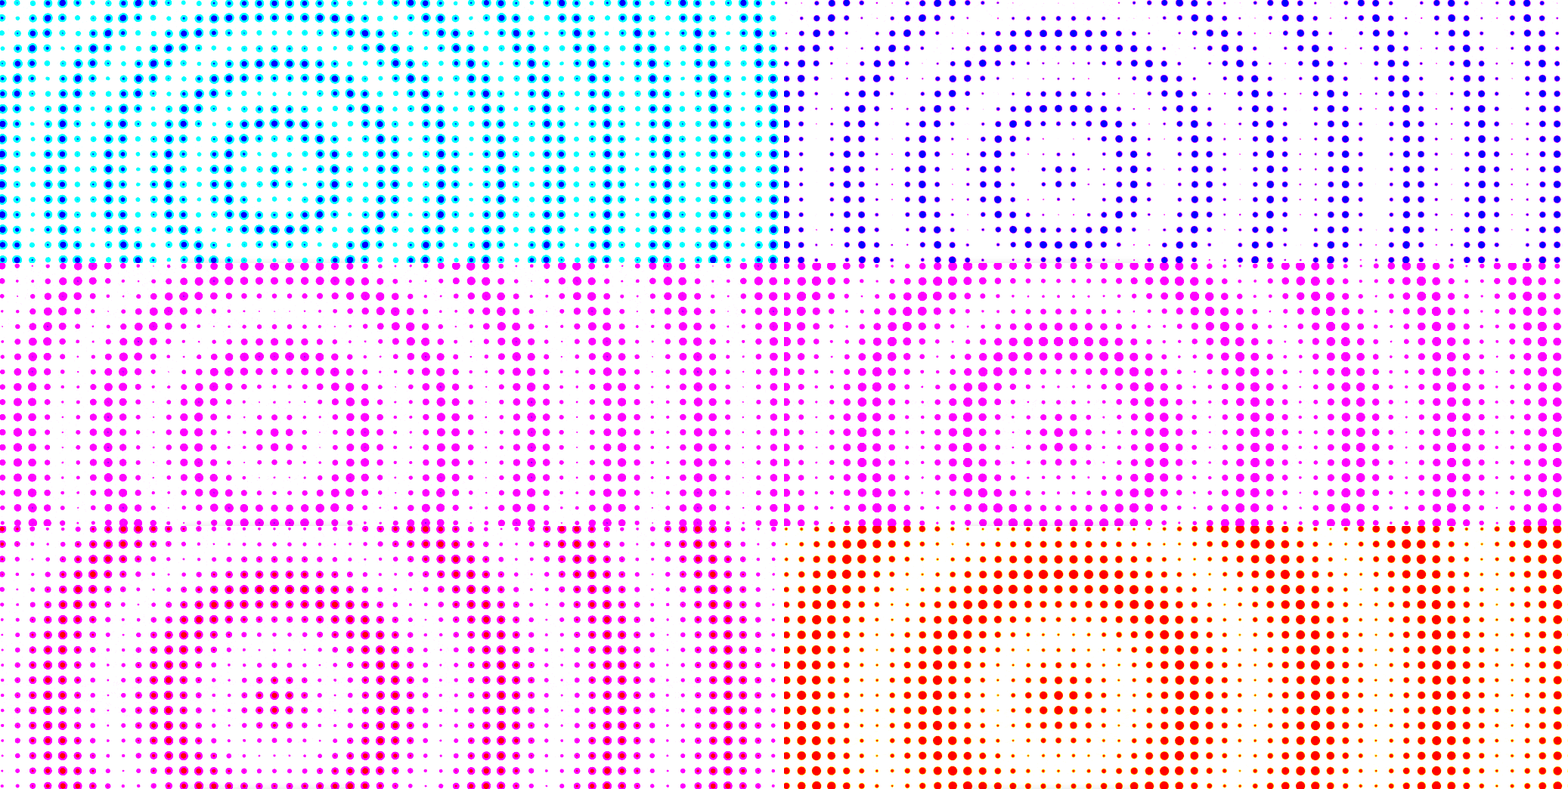
mask & 滤镜 filter: contrast() & 混合模式
#fff。mask,重新构造一下结构,最终的伪代码带个是这样:<div class="wrap">
<div class="inner"></div>
</div>.wrap {
position: relative;
height: 100%;
background: linear-gradient(45deg, #f44336, #ff9800, #ffeb3b, #8bc34a, #00bcd4, #673ab7);
}
.inner {
height: 100%;
background: #000;
filter: contrast(700%);
mix-blend-mode: multiply;
&::before {
content: "";
position: absolute;
top: 0; right: 0; bottom: 0; left: 0;
background: radial-gradient(#fff, transparent);
background-size: 12px 12px;
}
}

.wrap {
    background: linear-gradient(45deg, #f44336, #ff9800, #ffeb3b, #8bc34a, #00bcd4, #673ab7);
}
 .inner {
    ...
    filter: contrast(700%);
    mix-blend-mode: multiply;
         &::before {
        background: radial-gradient(#fff, transparent);
        background-size: 12px 12px;
      + mask: linear-gradient(#000, rgba(0, 0, 0, .5));
    }
}
mix-blend-mode: multiply ,可以尝试其他混合模式,得到其他不一样的效果。mix-blend-mode: difference,等等等等:
mask 与图片


.img1 {
    background: url(image1.jpg) no-repeat left top;
}

.img2 {
    mask: url(https://i.imgur.com/AYJuRke.png);
    mask-size: 3000% 100%;
    animation: maskMove 2s steps(29) infinite;
}

.img2::before {
    background: url(image2.jpg) no-repeat left top;
}

@keyframes maskMove {
    from {
        mask-position: 0 0;
    }
    to {
        mask-position: 100% 0;
    }
}
当然,这个也是可以加上各种动画的。上面已经演示了很多次了,感兴趣的同学可以自己尝试尝试。
说了这么多,mask 其实还是属于一个比较冷门的属性。在日常业务中能运用上的机会不多。
而且兼容性不算特别好,打开 MDN,可以看到,除了 mask 本身,还有很多与 mask 相关的属性,只是目前大部分还属于实验室阶段。本文只是初略的介绍了 mask 本身,对 mask 相关的一些属性将会另起一文。

当然,即便如此,从属性本身而言,我觉得 mask 还是非常有意思的,带来了 CSS 更多可能性。
好了,本文到此结束,希望对你有帮助 :)
(学习视频分享:web前端)
The above is the detailed content of Learn more about mask, a very interesting property in CSS. For more information, please follow other related articles on the PHP Chinese website!