
Selenium PHP environment setup method: 1. Download the latest thread-safe version of PHP zip compressed package; 2. Copy a copy of "php.ini-development" and rename it to "php.ini" and place it in the installation path; 3. . Set the Path under system variables to "D:\Software\php-7.2.28-Win32-VC15-x64;".
The operating environment of this tutorial: Windows 7 system, PHP version 8.1, Dell G3 computer.
How to set up selenium php environment?
PHP selenium environment construction in windows environment
I recently wanted to get started with automated testing. I have also written about using codeception for unit testing and interface testing, UI I chose the selenium framework for the testing part, and then we will set up the relevant environment.
1. Go to the PHP download address http://windows.php.net/download to download the latest thread-safe version of the PHP zip package and unzip it. Compress and place it in the path where you want to install it. (It should be noted here that the win7 system cannot use the php7.4 version, and it will prompt that VCRUNTIME140.dll is missing)
2. Enter the PHP installation directory and make a copy of php.ini-development Rename Place php.ini in the installation path, open it and find ;extension_dir=ext, remove the comment character, and change the value to PHP installation path\ext.
3. Right-click Computer->Properties->Advanced System Settings->Environment Variables->Path under System Variables, click Edit, and add the PHP path D:\Software\php -7.2.28-Win32-VC15-x64;
At this point, the PHP installation is completed. You can open cmd to view the corresponding version, as shown in the figure:

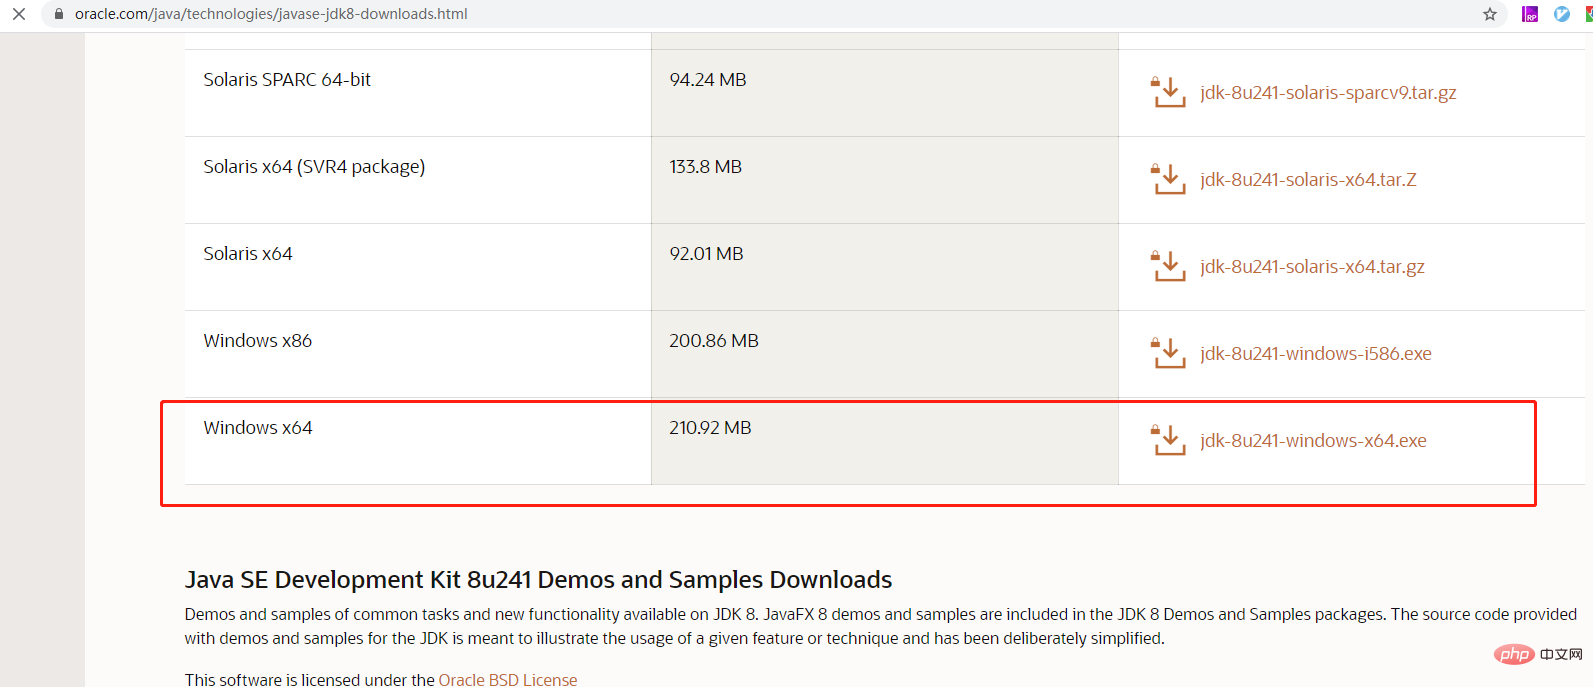
Enter the official website, https://www.oracle.com/technetwork/java/javase/downloads/jdk8-downloads-2133151.html, find the adapted version, and download jdk.
Download the selenium file, http://selenium-release.storage.googleapis.com/index.html (selenium download address) Download selenium- The jar package file of server-standalone-3.8.0.jar, the version can be selected by yourself
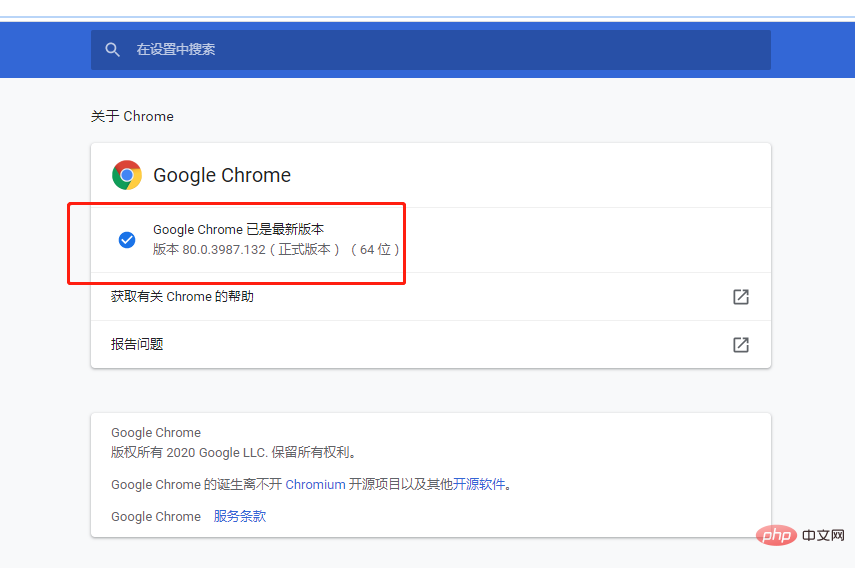
The corresponding versions of chrom and chromedriver can be viewed Note in each version, the chrome version number can be viewed through chrome://settings/help

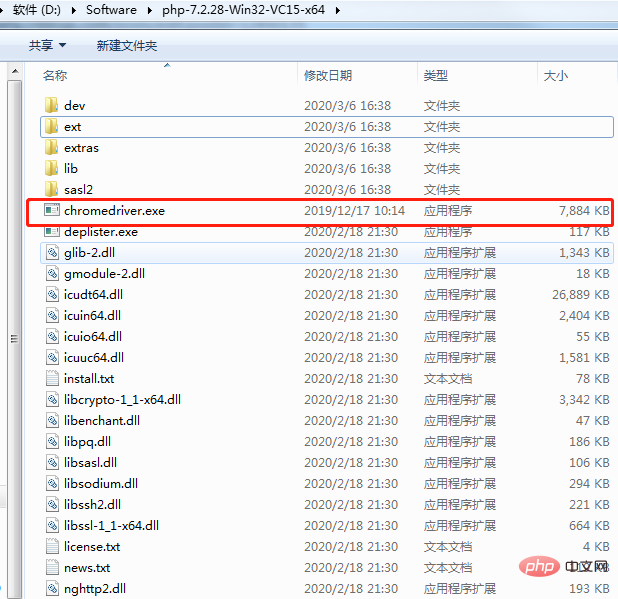
Note: Download completed The driver file should be placed in the root directory of php
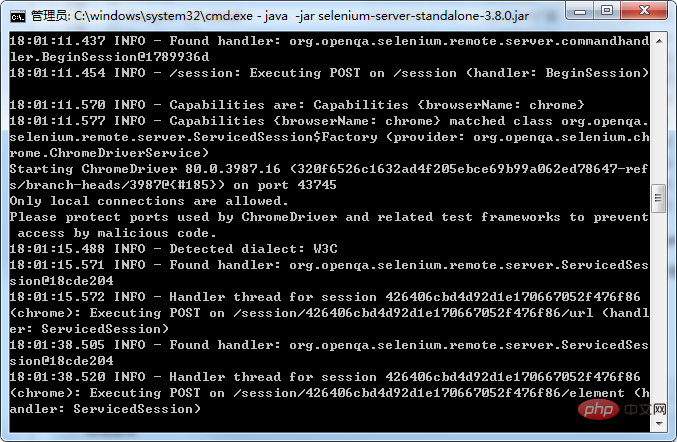
After writing the demo, you can test it. First run the downloaded selenium jar package file, enter the directory where you placed the selenium file on the cmd command line and execute the following command (note: required Configure the java running environment variables in the second step) java -jar selenium-server-standalone-3.8.0.jar. If the following prompt appears on your command line, it means the startup is successful.
When executing example.php, Notice: Undefined index: ELEMENT in D:\test\vendor\facebook\webdriver\lib\Remote \RemoteWebDriver.php on line 178,
After investigation, it is caused by changes in the communication protocol of the newer version of selenium. You can add relevant parameter control at startup:
java -jar selenium-server-standalone-3.8.0.jar -enablePassThrough false至此,通过编写example.php文件便可实现简单的自动登录流程。
Run Before exam.php, you need to copy the vendor directory under ekwing to the phpDirver directory
You can modify example.php to realize automatic login from other websites. Example.php is as follows:
<?php
// An example of using php-webdriver.
// Do not forget to run composer install before. You must also have Selenium server started and listening on port 4444.namespace Facebook\WebDriver;use Facebook\WebDriver\Remote\DesiredCapabilities;use Facebook\WebDriver\Remote\RemoteWebDriver;require_once('vendor/autoload.php');// This is where Selenium server 2/3 listens by default. For Selenium 4, Chromedriver or Geckodriver, use http://localhost:4444/$host = 'http://localhost:4444/wd/hub';$capabilities = DesiredCapabilities::chrome();$driver = RemoteWebDriver::create($host, $capabilities);$driver->manage()->window()->maximize();// navigate to Selenium page on Wikipedia$driver->get('http://www.baidu.com/Login/s?name=lzxx');// write 'PHP' in the search box$driver->findElement(WebDriverBy::id('name')) // find search input element->sendKeys('xxxx'); // fill the search box$driver->findElement(WebDriverBy::id('xxxx')) ->sendKeys('88888888');//$driver->submit(); // submit the whole form
// wait until 'PHP' is shown in the page heading element
//$driver->wait()->until(
// WebDriverExpectedCondition::elementTextContains(WebDriverBy::id('firstHeading'), 'PHP')
//);
// print title of the current page to outputecho "The title is '" . $driver->getTitle() . "'\n";// print URL of current page to outputecho "The current URL is '" . $driver->getCurrentURL() . "'\n";// find element of 'History' item in menu
//$historyButton = $driver->findElement(
// WebDriverBy::cssSelector('#jsLoginBtn')
//);$historyButton = $driver->findElement(
WebDriverBy::id('jsLoginBtn')
);// read text of the element and print it to outputecho "About to click to button with text: '" . $historyButton->getText() . "'\n";// click the element to navigate to revision history page$historyButton->click();// wait until the target page is loaded$driver->wait()->until(
WebDriverExpectedCondition::titleContains('教师首页')
);// print the title of the current pageecho "The title is '" . $driver->getTitle() . "'\n";// print the URI of the current pageecho "The current URI is '" . $driver->getCurrentURL() . "'\n";// delete all cookies
//$driver->manage()->deleteAllCookies();
// add new cookie$cookie = new Cookie('cookie_set_by_selenium', 'cookie_value');$driver->manage()->addCookie($cookie);// dump current cookies to output$cookies = $driver->manage()->getCookies();print_r($cookies);$driver->get('http://www.ekwing.com/exam/teacher/selflist');// close the browser
//$driver->quit();Off-topic: Because selenium does not support the integrated framework of PHP language, if we want to use selenium to conduct functional testing in the project, we need to combine the various scripts ourselves, which is almost like writing a framework.
Recommended learning: "PHP Video Tutorial"
The above is the detailed content of How to set up selenium php environment. For more information, please follow other related articles on the PHP Chinese website!