 Web Front-end
 JS Tutorial
 Douyin's very popular picture multiple-choice special effects can be quickly implemented using the front end!
Douyin's very popular picture multiple-choice special effects can be quickly implemented using the front end!
This article brings you relevant knowledge about front-end picture special effects. It mainly introduces to you how the front-end implements a picture multiple-choice special effect that has been very popular on Douyin recently. It is very comprehensive and detailed. Let’s take a look at it together. I hope Help those in need.
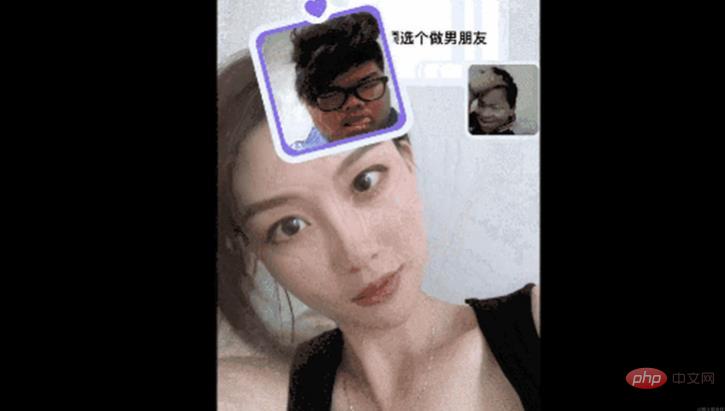
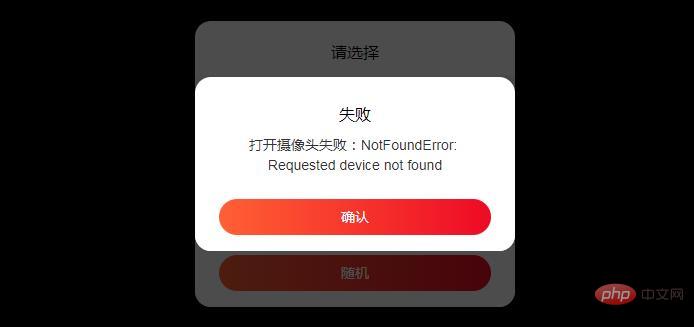
Due to security reasons, the Nuggets did not set allow="microphone *;camera *" on the iframe tag, causing the camera to open fail! Please click "View Details" in the upper right corner to view! Or click the link below to view
//复制链接预览
https://code.juejin.cn/pen/7160886403805970445
Preface
Recently, there is a Picture Multiple Choice Question in Douyin special effects that is particularly popular. Today, let’s talk about how to implement the front-end. Next, I will mainly talk about how to judge the left and right head swing.
Architecture and Concept
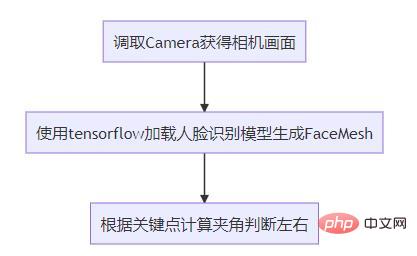
The abstract overall implementation idea is as follows
import '@mediapipe/face_mesh';
import '@tensorflow/tfjs-core';
import '@tensorflow/tfjs-backend-webgl';
import * as faceLandmarksDetection from '@tensorflow-models/face-landmarks-detection';
Copy after login
Create face modelIntroduce tensorflow trained import '@mediapipe/face_mesh'; import '@tensorflow/tfjs-core'; import '@tensorflow/tfjs-backend-webgl'; import * as faceLandmarksDetection from '@tensorflow-models/face-landmarks-detection';
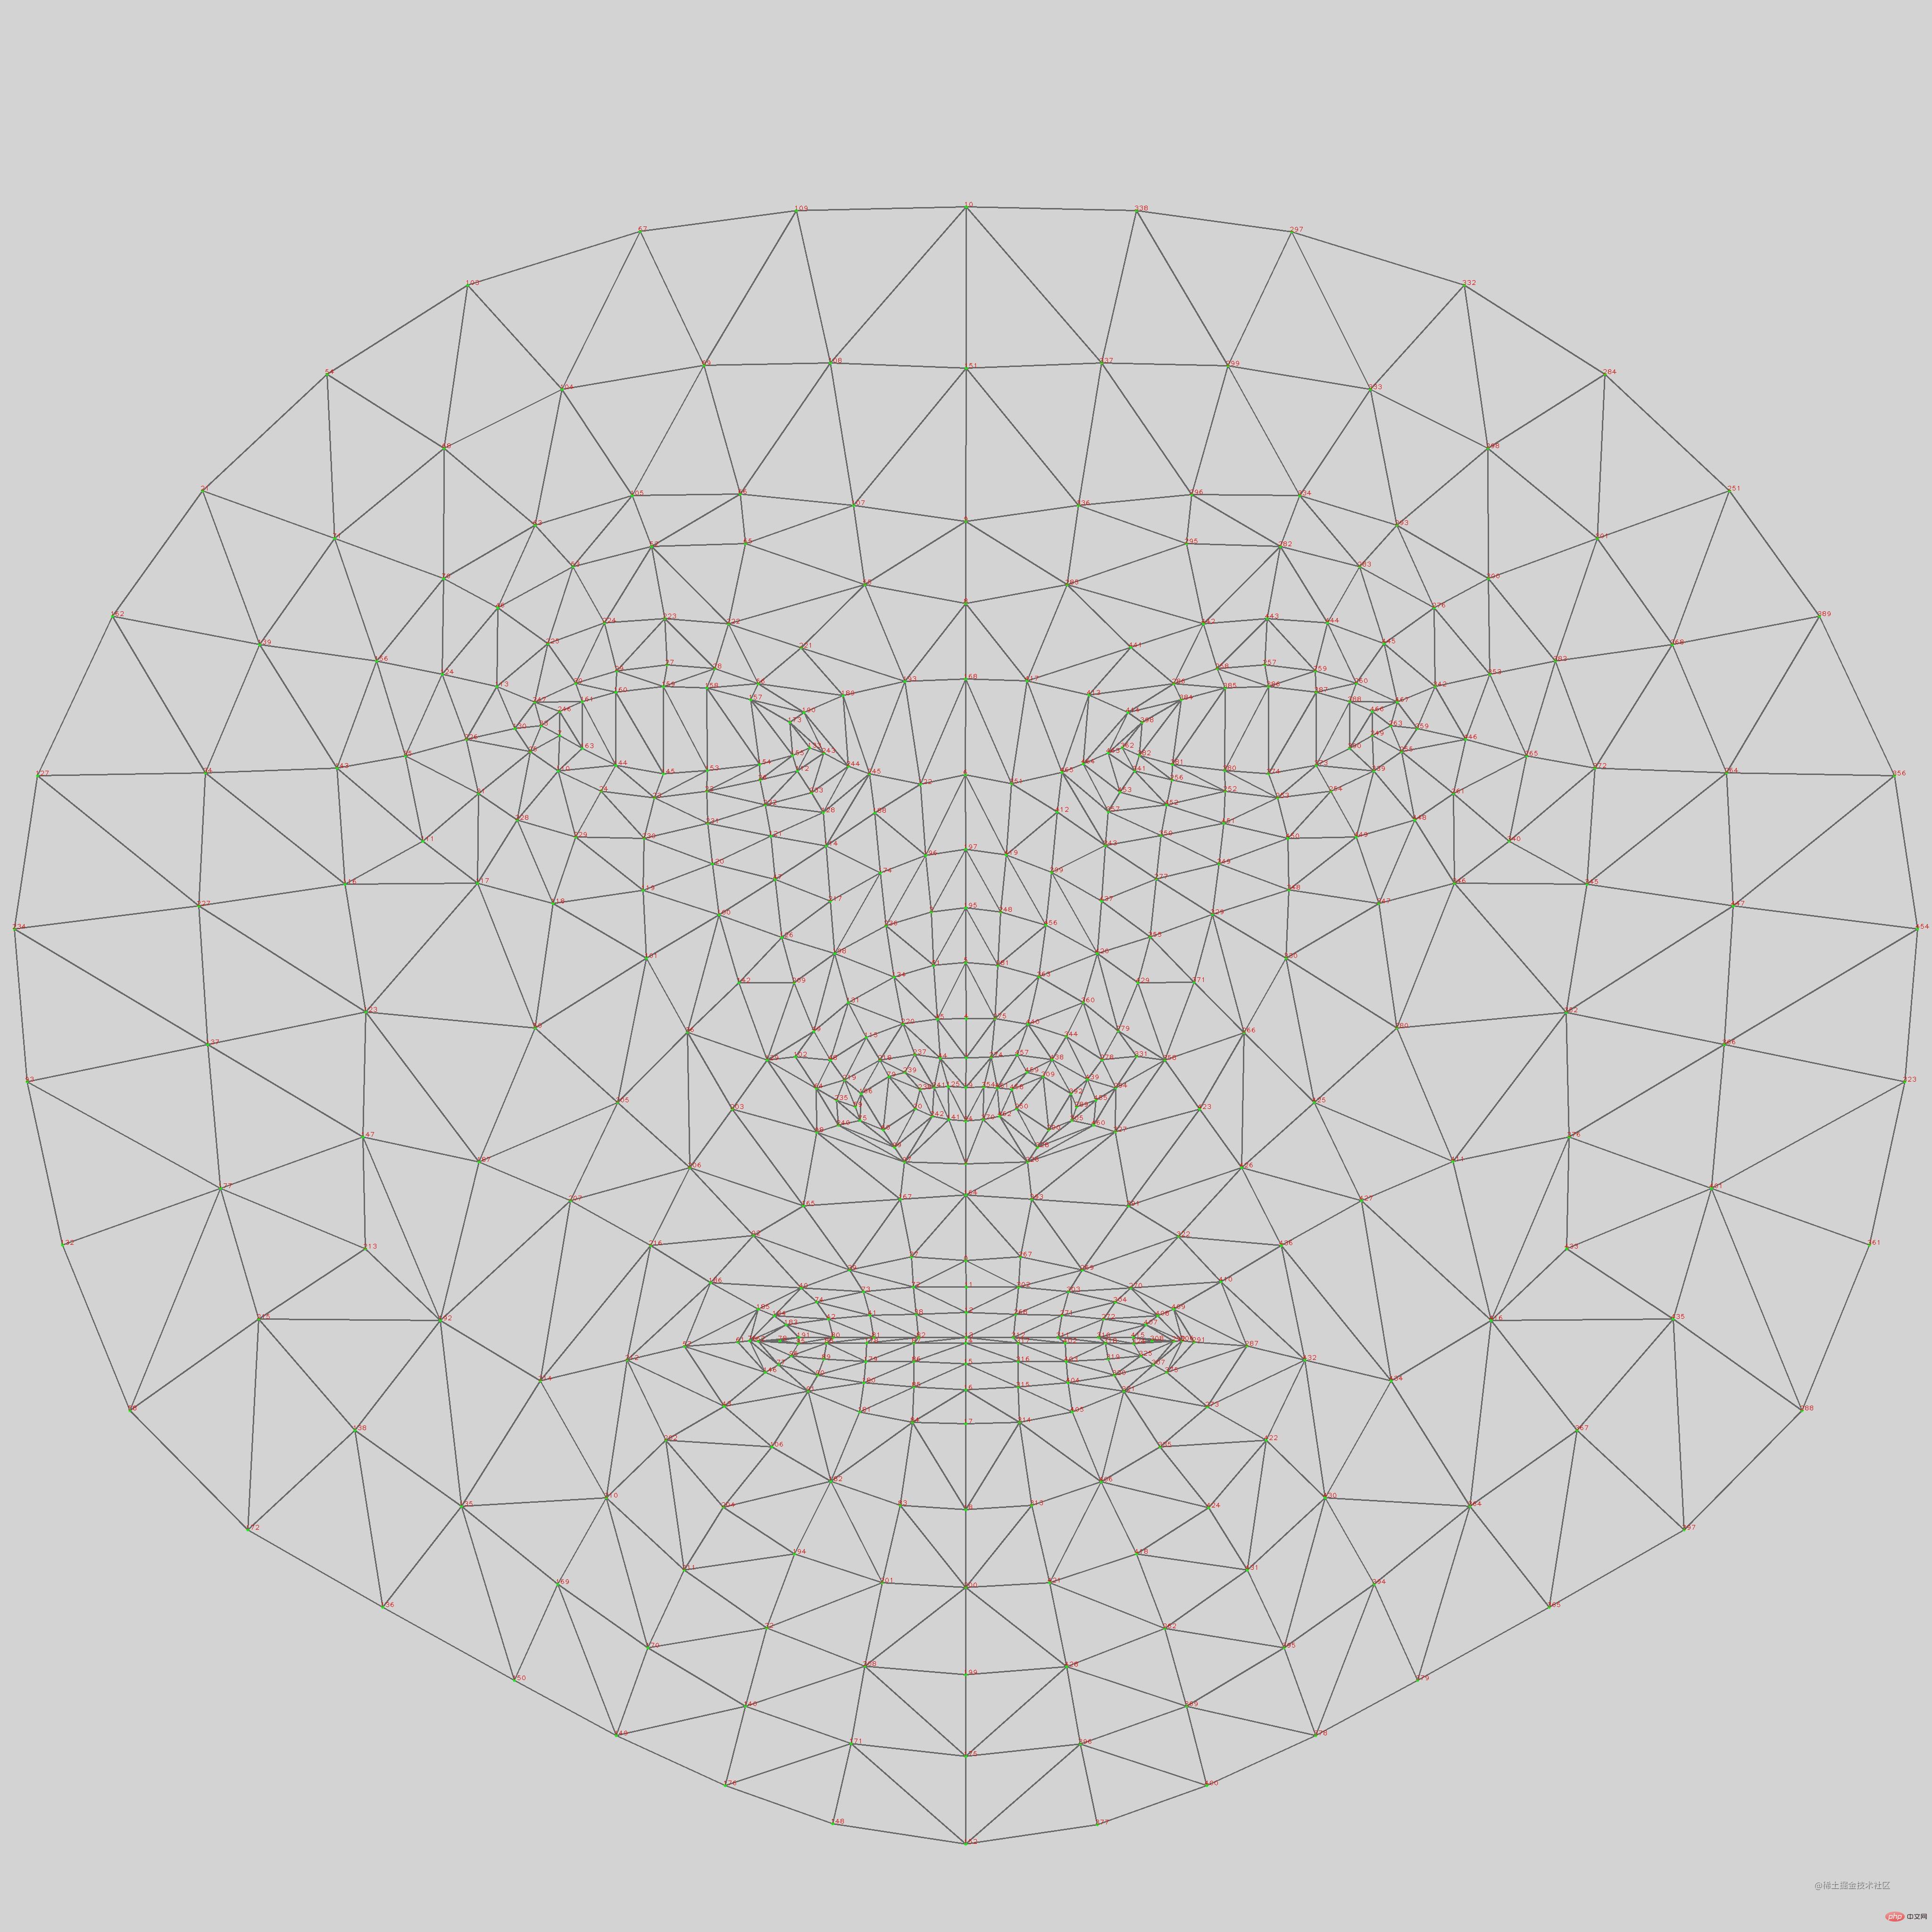
face feature point detection model, prediction486 3D facial feature points are used to infer the approximate facial geometry of the human face.
- maxFaces
Default is 1. The maximum number of faces the model will detect. The number of faces returned can be less than the maximum (for example, when there are no faces in the input). It is strongly recommended to set this value to the maximum expected number of faces, otherwise the model will continue to search for missing faces, which may slow down performance. - refineLandmarks
The default is false. If set to true, refines landmark coordinates around the eyes and lips, and outputs additional landmarks around the iris. (I can setfalsehere because we are not using eye coordinates) - solutionPath
The path to the location of the am binary and model files. (It is strongly recommended to put the model into domestic object storage. The first load can save a lot of time. The size is about10M)
async createDetector(){
    const model = faceLandmarksDetection.SupportedModels.MediaPipeFaceMesh;
    const detectorConfig = {
        maxFaces:1, //检测到的最大面部数量
        refineLandmarks:false, //可以完善眼睛和嘴唇周围的地标坐标,并在虹膜周围输出其他地标
        runtime: 'mediapipe',
        solutionPath: 'https://cdn.jsdelivr.net/npm/@mediapipe/face_mesh', //WASM二进制文件和模型文件所在的路径
    };
    this.detector = await faceLandmarksDetection.createDetector(model, detectorConfig);
} ##人Face recognition
The faces list returned contains the detected faces for each face in the image. If the model cannot detect any faces, the list will be empty. For each face, it contains a bounding box of the detected face, and an array of keypoints. MediaPipeFaceMesh returns 468 keypoints. Each keypoint contains x and y, as well as a name.
Now you can use the detector to detect faces. The estimateFaces method accepts images and videos in a variety of formats, including:HTMLVideoElement,
HTMLImageElement,HTMLCanvasElement, andTensor3D.
- flipHorizontal
- Optional. Default is false. When image data comes from a camera, the result must be flipped horizontally.
async renderPrediction() {
    var video = this.$refs['video'];
    var canvas = this.$refs['canvas'];
    var context = canvas.getContext('2d');
    context.clearRect(0, 0, canvas.width, canvas.height);
    const Faces = await this.detector.estimateFaces(video, {
        flipHorizontal:false, //镜像
    });
    if (Faces.length > 0) {
        this.log(`检测到人脸`);
    } else {
        this.log(`没有检测到人脸`);
    }
}
Copy after login
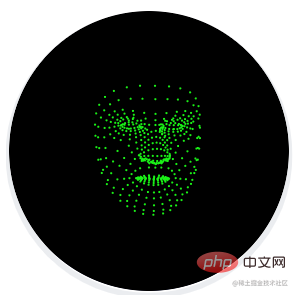 This box represents the bounding box of the face in the image pixel space, xMin, xMax represent x-bounds, yMin, yMax represent y-bounds, width, height Represents the dimensions of the bounding box.
For keypoints, x and y represent the actual keypoint location in the image pixel space. z represents the depth at which the center of the head is the origin. The smaller the value, the closer the key point is to the camera. The size of Z uses roughly the same scale as x.
This name provides a label for some key points, such as "lips", "left eye", etc. Note that not every keypoint has a label.
How to judge
Find the two points on the face
The first point
The center position of the foreheadThe second point Chin center position <div class="code" style="position:relative; padding:0px; margin:0px;"><pre class='brush:php;toolbar:false;'>const place1 = (face.keypoints || []).find((e,i)=>i===10); //额头位置
const place2 = (face.keypoints || []).find((e,i)=>i===152); //下巴位置
/*
x1,y1
|
|
|
x2,y2 -------|------- x4,y4
x3,y3
*/
const [x1,y1,x2,y2,x3,y3,x4,y4] = [
place1.x,place1.y,
0,place2.y,
place2.x,place2.y,
this.canvas.width, place2.y
];</pre><div class="contentsignin">Copy after login</div></div> Calculate
forehead center position and chin center position ,y3,x4,y4
getAngle({ x: x1, y: y1 }, { x: x2, y: y2 }){
    const dot = x1 * x2 + y1 * y2
    const det = x1 * y2 - y1 * x2
    const angle = Math.atan2(det, dot) / Math.PI * 180
    return Math.round(angle + 360) % 360
}
const angle = this.getAngle({
        x: x1 - x3,
        y: y1 - y3,
    }, {
        x: x2 - x3,
        y: y2 - y3,
    });
console.log('角度',angle)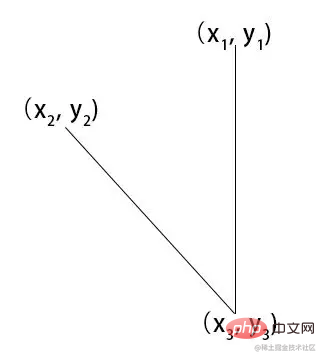
通过获取角度,通过角度的大小来判断左右摆头。
推荐:《web前端开发视频教程》
The above is the detailed content of Douyin's very popular picture multiple-choice special effects can be quickly implemented using the front end!. For more information, please follow other related articles on the PHP Chinese website!

Hot AI Tools

Undresser.AI Undress
AI-powered app for creating realistic nude photos

AI Clothes Remover
Online AI tool for removing clothes from photos.

Undress AI Tool
Undress images for free

Clothoff.io
AI clothes remover

AI Hentai Generator
Generate AI Hentai for free.

Hot Article

Hot Tools

Notepad++7.3.1
Easy-to-use and free code editor

SublimeText3 Chinese version
Chinese version, very easy to use

Zend Studio 13.0.1
Powerful PHP integrated development environment

Dreamweaver CS6
Visual web development tools

SublimeText3 Mac version
God-level code editing software (SublimeText3)

Hot Topics
 1378
1378
 52
52
 A complete collection of expression packs of foreign women
Jul 15, 2024 pm 05:48 PM
What are the emoticons of foreign women? Recently, a foreign woman's emoticon package has become very popular on the Internet. I believe many friends will encounter it when watching videos. Below, the editor will share with you some corresponding emoticon packages. If you are interested, come and take a look. A complete collection of expression packs of foreign women
 Bytedance Cutting launches SVIP super membership: 499 yuan for continuous annual subscription, providing a variety of AI functions
Jun 28, 2024 am 03:51 AM
This site reported on June 27 that Jianying is a video editing software developed by FaceMeng Technology, a subsidiary of ByteDance. It relies on the Douyin platform and basically produces short video content for users of the platform. It is compatible with iOS, Android, and Windows. , MacOS and other operating systems. Jianying officially announced the upgrade of its membership system and launched a new SVIP, which includes a variety of AI black technologies, such as intelligent translation, intelligent highlighting, intelligent packaging, digital human synthesis, etc. In terms of price, the monthly fee for clipping SVIP is 79 yuan, the annual fee is 599 yuan (note on this site: equivalent to 49.9 yuan per month), the continuous monthly subscription is 59 yuan per month, and the continuous annual subscription is 499 yuan per year (equivalent to 41.6 yuan per month) . In addition, the cut official also stated that in order to improve the user experience, those who have subscribed to the original VIP
 I have been honest and asked to let go of the meme introduction.
Jul 17, 2024 am 05:44 AM
What does it mean to be honest and let go? As an Internet buzzword, "I've been honest and begging to be let go" originated from a series of humorous discussions about rising commodity prices. This expression is now mostly used in self-deprecation or ridicule situations, meaning that individuals face specific situations (such as pressure, When you are teasing or joking), you feel that you are unable to resist or argue. Let’s follow the editor to see the introduction of this meme. Source of introduction to the meme of "Already Begging to Let It Go": "Already Begging to Let It Go" originated from "If you add a punctual treasure, you will be honest", and later evolved into "If Liqun goes up by two yuan, you will be honest" and "Iced black tea will go up by one yuan. Be honest." Netizens shouted "I have been honest and asked for a price reduction", which eventually developed into "I have been honest and asked to be let go" and an emoticon package was born. Usage: Used when breaking defense, or when you have no choice, or even for yourself
 I worship you, I worship you, a complete list of emoticons
Jul 15, 2024 am 11:25 AM
What are some of the emoticons of "I worship you, I worship you"? The expression pack "I worship you, I worship you" originated from the "Big Brother and Little Brother Series" created by the online blogger He Diudiu Buchuudi. In this series, the elder brother helps the younger brother in time when he faces difficulties, and then the younger brother will use this line to express The extreme admiration and gratitude have formed a funny and respectful Internet meme. Let’s follow the editor to enjoy the emoticons. I worship you, I worship you, a complete list of emoticons
 Introduction to the meaning of red warm terrier
Jul 12, 2024 pm 03:39 PM
What is red temperature? The red-warm meme originated from the e-sports circle, specifically referring to the phenomenon of former "League of Legends" professional player Uzi's face turning red when he is nervous or excited during the game. It has become an interesting expression on the Internet to describe people's faces turning red due to excitement and anxiety. The following is Let’s follow the editor to see the detailed introduction of this meme. Introduction to the meaning of the Hongwen meme "Red Wen" as an Internet meme originated from the live broadcast culture in the field of e-sports, especially the community related to "League of Legends" (League of Legends). This meme was originally used to describe a characteristic phenomenon of former professional player Uzi (Jian proudly) in the game. When Uzi is playing, his face will become extremely rosy due to nervousness, concentration or emotion. This state is jokingly likened to the in-game hero "Rambo" by the audience.
 Because he is good at introductions
Jul 16, 2024 pm 08:59 PM
What does it mean because he is good at stalking? I believe that many friends have seen such a comment in many short video comment areas. So what does it mean because he is good? Today, the editor has brought you an introduction to the meme "because he is good". For those who don’t know yet, come and take a look. The origin of the meme “because he is good”: The meme “because he is good” originated from the Internet, especially a popular meme on short video platforms such as Douyin, and is related to a joke by the well-known cross talk actor Guo Degang. In this paragraph, Guo Degang listed several reasons not to do something in a humorous way. Each reason ended with "because he is good", forming a humorous logical closed loop. In fact, there is no direct causal relationship. , but a nonsensical and funny expression. Hot memes: For example, “I can’t do it
 Why is there no air conditioner in the dormitory?
Jul 11, 2024 pm 07:36 PM
Why is there no air conditioner in the dormitory? The Internet meme "Where is the air conditioning in the dormitory?" originated from the humorous complaints made by students about the lack of air conditioning in dormitories. Through exaggeration and self-deprecation, it expresses the desire for a cool and comfortable environment in the hot summer and the realistic conditions. The contrast, let’s follow the editor to take a look at the introduction of this meme. Where is the air conditioning in the dormitory? The origin of the meme: "Where is the air conditioning in the dormitory?" This meme comes from a ridicule of campus life, especially for those school dormitories with relatively basic accommodation conditions and no air conditioning. It reflects students' desire for improved accommodation conditions, especially the need for air conditioning during the hot summer months. This meme is circulated on the Internet and is often used in communication between students to humorously express frustration and frustration with the lack of air conditioning in hot weather.
 Align the granularity stalk introduction
Jul 16, 2024 pm 12:36 PM
What does it mean to align the granularity? "Align the granularity" first appeared in the movie "The Annual Meeting Can't Stop!" and was proposed by actor Dapeng in an interview. Let's take a look at what happened in detail. I hope it can be helpful to everyone. Introduction to the meme "Align the granularity" [Align the granularity] is not a standard English or professional term, but a kind of workplace slang in a specific situation. The meaning of workplace slang is that the two parties synchronize information and form a common understanding. What the movie refers to is making all the details known to both parties.


