Hello, everyone.
Have you ever seen a video like this when you are watching short videos? A static picture of a person in the video can move, such as tilting the head or blinking.
Similar to the effect below

The character on the far left is the original action, and the above is a static picture. Through AI technology, the movements of the character on the far left can be applied to the static picture above, so that all pictures can make the same movement.
This technology is generally implemented based on GAN (Generative Adversarial Network). Today I will share with you an open source project that can reproduce the above effect. You can do interesting projects and remember old friends.
Project address: https://github.com/AliaksandrSiarohin/first-order-model
First, git clone downloads the project to the local, Enter the project to install dependencies.
git clone https://github.com/AliaksandrSiarohin/first-order-model.git<br>cd first-order-model<br>pip install -r requirements.txt
Then, under the title Pre-trained checkpoint on the project homepage, find the model download link and download the model file. There are many models. I use vox-adv-cpk.pth.tar.
After preparing the model file, execute the following command in the project root directory.
python demo.py<br>--config config/vox-adv-256.yaml <br>--driving_video src_video.mp4 <br>--source_image src_img.jpg <br>--checkpoint weights/vox-adv-cpk.pth.tar
Explain the parameters:
After the execution is completed, you will see the following input.

This project uses PyTorch to build a neural network and supports GPU and CPU operation, so if your computer only has a CPU, the operation will be slower.
I run it under CPU. As you can see from the picture above, driving_video only has 31 frames. If you are also running on CPU, it is best to control the duration of the driving_video video, otherwise the running time will be longer.
With this project, you can make some interesting attempts on your own.

The above teaches you how to run the project on the command line according to the official website.
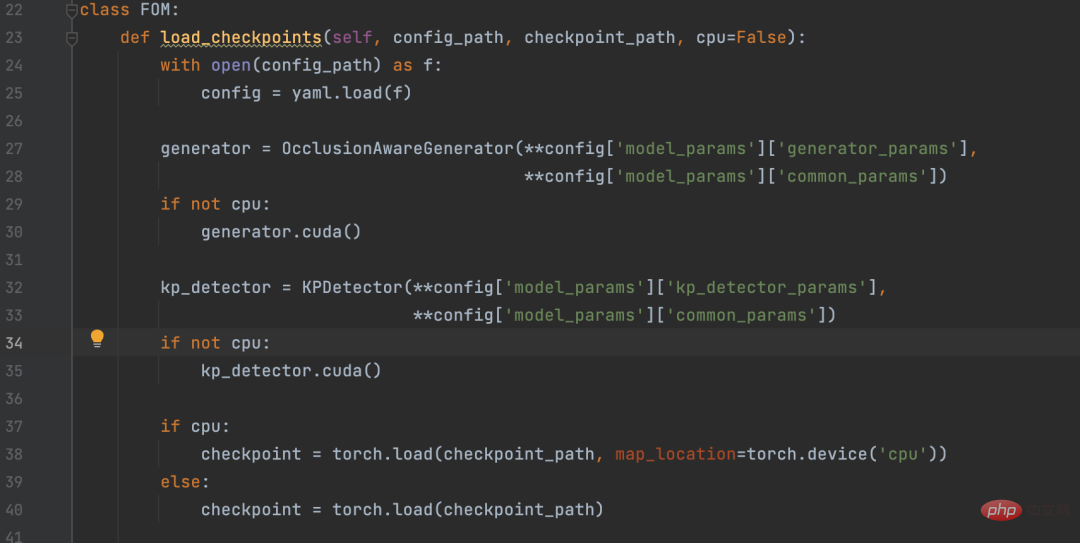
Some friends may want to call it in Python projects, so I extracted the core code in demo.py and encapsulated a Python API.

Friends in need can download this file, put it in the same directory as first-order-model, and call it according to the following code.
fom = FOM()<br><span style="color: rgb(106, 115, 125); margin: 0px; padding: 0px; background: none 0% 0% / auto repeat scroll padding-box border-box rgba(0, 0, 0, 0);"># 查看驱动视频,驱动视频最好裁剪为480 x 640 大小的视频</span><br>driving_video = <span style="color: rgb(102, 153, 0); margin: 0px; padding: 0px; background: none 0% 0% / auto repeat scroll padding-box border-box rgba(0, 0, 0, 0);">''</span><br><span style="color: rgb(106, 115, 125); margin: 0px; padding: 0px; background: none 0% 0% / auto repeat scroll padding-box border-box rgba(0, 0, 0, 0);"># 被驱动的画面</span><br>source_image = <span style="color: rgb(102, 153, 0); margin: 0px; padding: 0px; background: none 0% 0% / auto repeat scroll padding-box border-box rgba(0, 0, 0, 0);">''</span><br><span style="color: rgb(106, 115, 125); margin: 0px; padding: 0px; background: none 0% 0% / auto repeat scroll padding-box border-box rgba(0, 0, 0, 0);"># 输出视频</span><br>result_video = <span style="color: rgb(102, 153, 0); margin: 0px; padding: 0px; background: none 0% 0% / auto repeat scroll padding-box border-box rgba(0, 0, 0, 0);">''</span><br><span style="color: rgb(106, 115, 125); margin: 0px; padding: 0px; background: none 0% 0% / auto repeat scroll padding-box border-box rgba(0, 0, 0, 0);"># 驱动画面</span><br>fom.img_to_video(driving_video, source_image, result_video)
The above is the detailed content of Python+AI makes static pictures move. For more information, please follow other related articles on the PHP Chinese website!


