

How to remove an IP address from Remote Desktop connection history

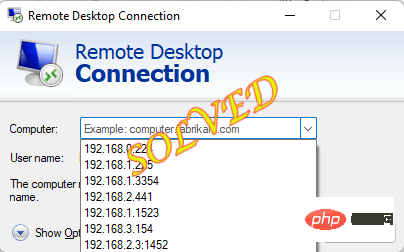
Remote Desktop Connection or RDC stores your previous remote desktop connection information. This is a great feature because you don't have to enter the IP address, username repeatedly. However, this can also get you into trouble if you have multiple remote connections connected. You can't even delete these credentials from the RDC panel itself as there isn't any direct option available! In this article, we show you how to remove old IP addresses from RDC.
Fix 1 – Use Registry Editor
You can use Registry Editor to find and delete the value associated with an IP address.
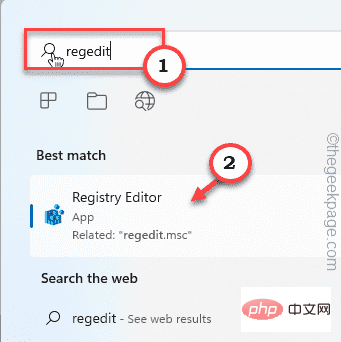
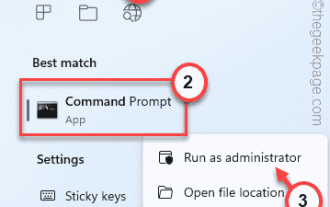
1. Press the Windows key once and enter "regedit".
2. Next, just click "Registry Editor" once in the search results.
NOTE ——
Registry editing is dangerous to your system and may sometimes lead to fatal errors. You should always create a registry backup before performing registry edits. Just follow these steps -
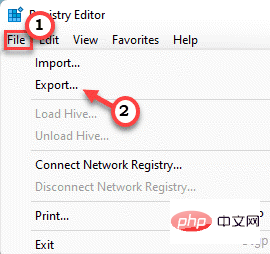
a. After opening the Registry Editor, click "File" in the menu bar, and then click the "Export..." option.
Bay. Now, just save this backup in a safe location.
3. Go like this in the left pane -
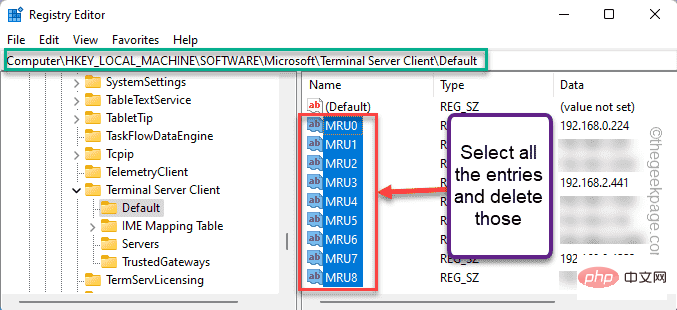
HKEY_CURRENT_USER\Software\Microsoft\Terminal Servers Client\Default
4. On the right side you will notice several MRUs Binary value.
5. Simply select all MRU values except "Default" value and press the "Delete" key on your keyboard All values will be deleted.
#6. Now, proceed to the next step and you will notice another subkey "Server" in the left pane.
7. Simply right-click on the key and click "Delete" to delete it. This will delete every entry in that subkey.

8. The one thing left to do is to recreate the deleted subkey.
9. So just right click on "Terminal Server Client" and click on "New" and "Key>" Create a key.
10. Name it "Server".
After completing all these operations, close the Registry Editor page.
11. Now, open File Explorer.
12. Click on the " Documents " folder to access it.
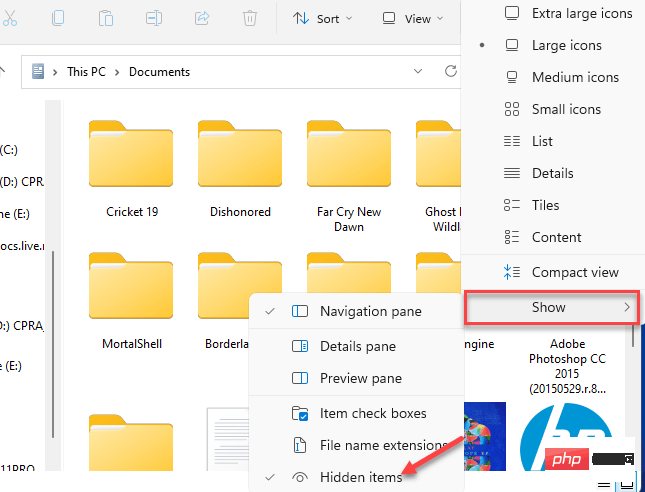
13. Once you are there, just click on the "View" tab and click on "Hidden Items>" and then further click on "Hide s project".
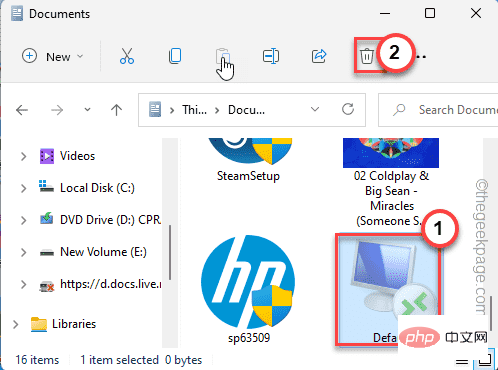
14. Once you find it, select the " Default.rdp " file and click the " Delete " icon on the bin icon to remove it from deleted from the system.
# After that, close everything and reboot the system. Check if this works for you.
Fix 2 – Create and use a batch file
If you don’t want to go into Registry Editor, you can create and use a batch file to clean up IP addresses.
[NOTE– We have created and uploaded the batch file for you. So if you just want to download and run the file, scroll down to the bottom of the post to find more instructions. ]
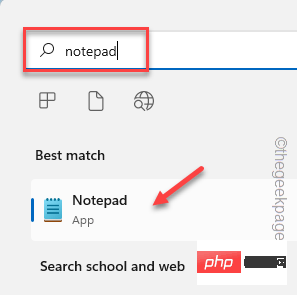
1. Use the search box to search for "Notepad".
2. Click "Notepad" that appears in the search results.
#3. On the Notepad page, copy and paste these lines.
回声reg delete "HKEY_CURRENT_USER\Software\Microsoft\Terminal Server Client\Default" /va /freg delete "HKEY_CURRENT_USER\Software\Microsoft\Terminal Server Client\Servers" /f注册添加“HKEY_CURRENT_USER\Software\Microsoft\Terminal Server Client\Servers”cd %userprofile%\documents\属性 Default.rdp -s -h删除默认.rdpecho "IP 地址已从远程桌面连接中删除,请按任意键继续"暂停
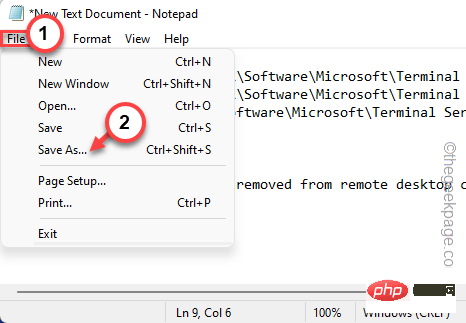
4. Just click on "File" on the menu bar and then click on the "Save as" option.
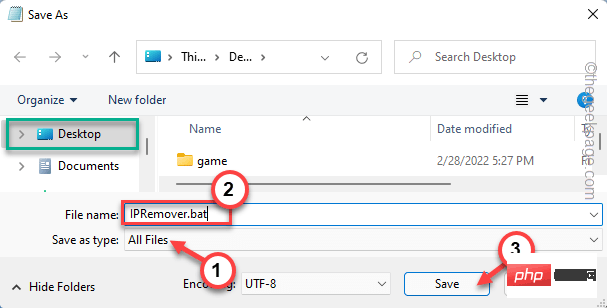
5. Now, before you make any changes, set "Files of type:" to "All files".
6. Name it "IPremover.bat".
7. Select an appropriate location to store the file (eg - Desktop) and click on "Save" to save the file on your system.
保存文件后,只需关闭记事本窗口即可。
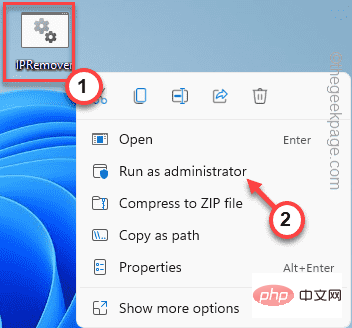
8. 只需转到保存批处理文件的位置。
9. 右键单击批处理文件并点击“以管理员身份运行”以管理员权限运行批处理文件。
这将在您的系统上运行批处理文件。完成后,打开远程桌面连接面板并检查是否成功。
注意——
如果您不想创建批处理文件,请按照以下步骤操作。
1. 在您的系统上下载IPRemover文件。
2. 现在,您可以将 zip 文件解压缩到您想要的任何位置。
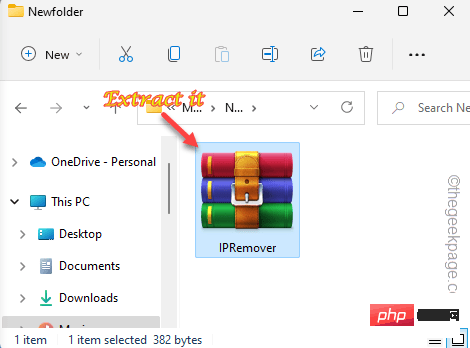
3.只需右键单击“ IPRemover ”并点击“以管理员身份运行”。
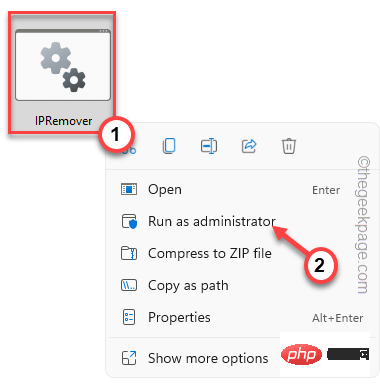
这样,您可以在系统上执行批处理文件。
修复 3 – 运行 PowerShell 命令
如果前两种方法都失败了,你可以运行这些 powershell 命令来尝试同样的事情。
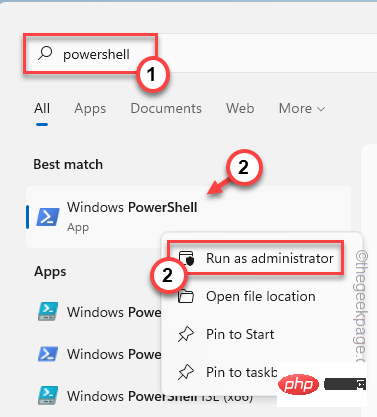
1. 按 Windows 键并开始输入“ powershell ”。
2、当你看到“ Windows PowerShell ”出现在搜索结果中时,只需右键点击它并单击“以管理员身份运行”即可运行powershell。
3. 然后,将这些代码复制粘贴到终端并按Enter。
Get-ChildItem "HKCU:\Software\Microsoft\Terminal Server Client" -Recurse | Remove-ItemProperty -Name UsernameHint -Ea 0Remove-Item -Path 'HKCU:\Software\Microsoft\Terminal Server Client\servers' -Recurse 2>&1 | 外空Remove-ItemProperty -Path 'HKCU:\Software\Microsoft\Terminal Server Client\Default' 'MR*' 2>&1 | 外空$docs = [环境]::getfolderpath("mydocuments") + '\Default.rdp'删除项目 $docs -Force 2>&1 | 外空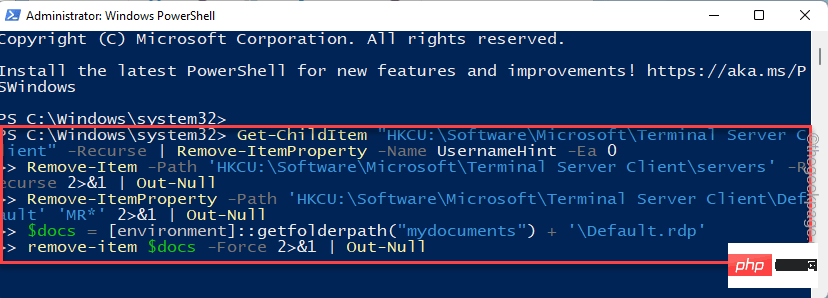
运行此代码后,关闭 PowerShell 屏幕。然后,重新启动系统。
修复 4 – 从 Windows 凭据中删除
您还可以使用 Windows 凭据管理器删除旧的 IP 凭据。
1. 只需右键点击任务栏上的 Windows 图标,然后点击“运行”。
2. 然后,粘贴这些术语并按Enter。
控制/名称 Microsoft.CredentialManager

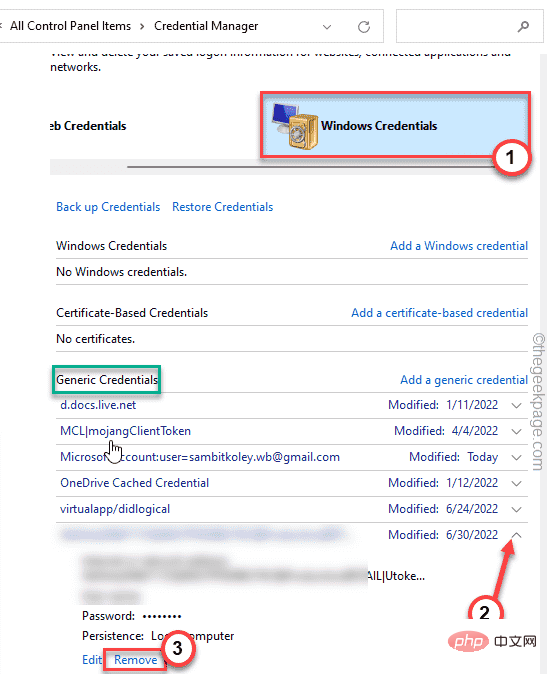
3. 当凭据管理器页面打开时,单击“ Windows 凭据”进行管理。
4. 在这里,您会发现列出的几个凭据。展开“通用凭证”。
您在此系统上注册的所有远程连接都存储在这里。因此,请一一检查所有凭据并查找您不想要的那些 RDC 凭据。
5. 现在,单击“删除”以删除凭据。
这样,重复这些步骤以确保没有遗漏任何不必要的凭据。
完成后,关闭 Credential Manager 页面并打开 RDC 面板。检查您是否仍然看到那些旧 IP 地址。
如何防止 Windows 保存 RDP 连接历史记录?
一旦您清除了所有凭据,它们可能会永远消失。但是当您登录到更多远程计算机时,Windows 也会继续存储这些凭据。您实际上可以阻止 Windows 存储 RDP 连接历史记录。
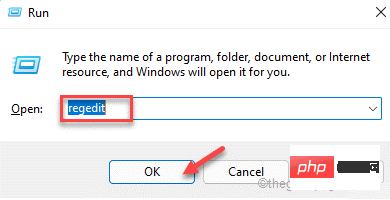
1. 按Win 键和R键。
2. 然后,在窗格中输入“ regedit ”并单击“ OK ”。
3.一旦你登陆注册表编辑器页面,直接前往这个地址 -
HKEY_CURRENT_USER\Software\Microsoft\终端服务器客户端\
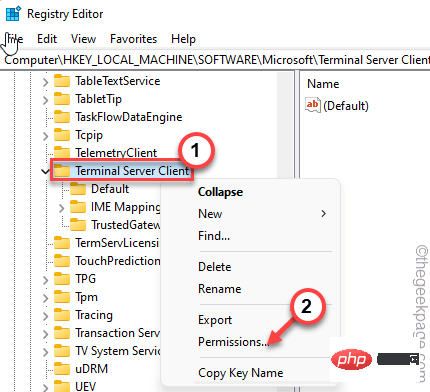
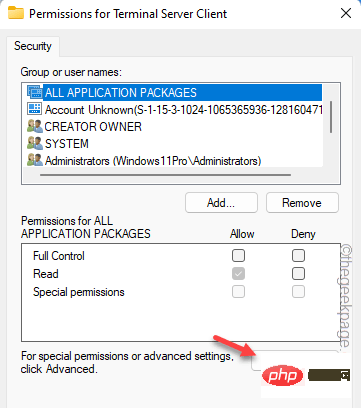
4. 现在,右键单击“终端服务器客户端”并点击“权限... ”。
5. 在权限窗口中,点击“高级”设置进行访问。
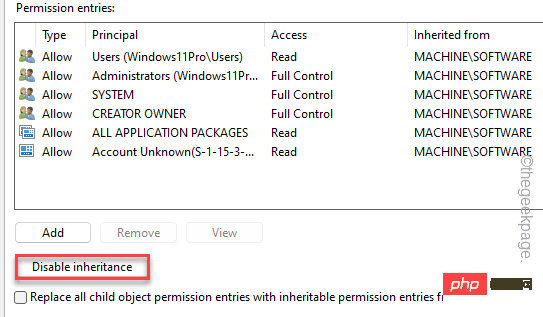
6. 在屏幕底部,您必须单击“禁用继承”来禁用继承。
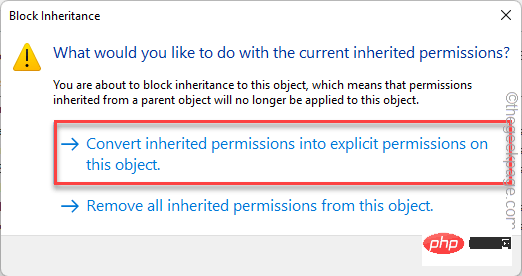
7. 您将看到一个提示来决定如何处理已经继承的权限。您可以选择“从该对象中删除所有继承的权限”。以避免任何冲突。
或者,您可以使用“将继承的权限转换为此对象的显式权限”来转换权限。“ 选项。
8. When finished, first click "Apply" to apply the changes, then click "OK".

9. Return to the original permissions page and select the "User" account from the list.
[Also, if you don't want to disturb other users, you can choose your username and continue. ]
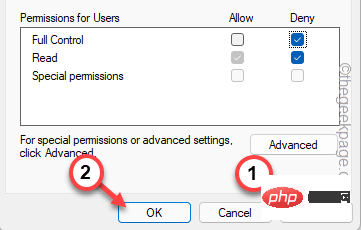
10. Just check the "Deny" box in the "Full Control" option.
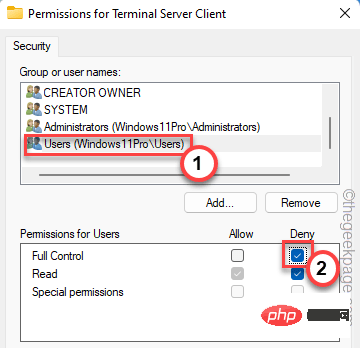
11. Finally, just click "Apply" and "OK" to save all of this.
After completing all these operations, close the Registry Editor screen. Then, restart the system. MSTC does not log further RDP connections. This should resolve the issue once and for all.
The above is the detailed content of How to remove an IP address from Remote Desktop connection history. For more information, please follow other related articles on the PHP Chinese website!

Hot AI Tools

Undresser.AI Undress
AI-powered app for creating realistic nude photos

AI Clothes Remover
Online AI tool for removing clothes from photos.

Undress AI Tool
Undress images for free

Clothoff.io
AI clothes remover

Video Face Swap
Swap faces in any video effortlessly with our completely free AI face swap tool!

Hot Article
Hot Tools

Notepad++7.3.1
Easy-to-use and free code editor

SublimeText3 Chinese version
Chinese version, very easy to use

Zend Studio 13.0.1
Powerful PHP integrated development environment

Dreamweaver CS6
Visual web development tools

SublimeText3 Mac version
God-level code editing software (SublimeText3)
Hot Topics
 1386
1386
 52
52

 How to disable display scaling for high DPI settings in Windows 11 or 10
May 22, 2023 pm 10:11 PM
How to disable display scaling for high DPI settings in Windows 11 or 10
May 22, 2023 pm 10:11 PM
The default display scaling feature on Windows 10 or later is a core component of the Windows operating system. But sometimes, this feature of certain apps can cause compatibility issues, unreadable text, blurry logos, and ultimately, app crashes. This can be a huge headache if you're dealing with 2160p or higher resolutions. There are many ways to disable the default display scaling feature on high DPI settings. We've selected the best ones and detailed step-by-step instructions for each process. How to Disable Display Scaling on High DPI Settings There is a way, all you have to do is disable high DPI scaling for a single application, and there is a way to do it for the entire Window
 Select where to get apps missing issue in Windows 11/10
Apr 14, 2023 am 11:22 AM
Select where to get apps missing issue in Windows 11/10
Apr 14, 2023 am 11:22 AM
Windows provides users with an option so that they can choose to get their apps from "Anywhere" to "Microsoft Store Only." However, in some cases, Windows users have reported an issue where they cannot find the "Choose where to get apps" option that is missing from the Settings page. This can be a nightmare situation for you, like setting it to app store only mode, you can't sideload any apps from anywhere! Don't worry. You can apply a registry fix to resolve this issue. Workaround –1. Restart the system. If this is a one-time failure, restarting should fix it. 2. You need an administrator account to
 How to Fix Black Screen on Windows 7 Remote Desktop: 11 Ways
Apr 25, 2023 pm 05:46 PM
How to Fix Black Screen on Windows 7 Remote Desktop: 11 Ways
Apr 25, 2023 pm 05:46 PM
Remote Desktop Connection (RDC) is a useful feature on Professional and Enterprise editions of Windows that allows users to connect to another computer remotely without the need for additional software. But a black screen on Windows 11 Remote Desktop can ruin it all. The black screen issue is one of the most common problems encountered by users. Do you want to know why the screen goes black? how to solve this problem? Here are some quick ways to fix black screen on remote desktop in Windows 11. Why is my remote desktop completely black? The first step is to find out what is causing the black screen on the remote desktop. Below, we will cover some of the most important causes of this problem. Windows Update: One of the most important reasons for black screen issue in remote desktop is updates
 Fix: An error occurred and not all updates were successfully uninstalled
May 23, 2023 pm 09:07 PM
Fix: An error occurred and not all updates were successfully uninstalled
May 23, 2023 pm 09:07 PM
Windows updates often make Windows devices better and more useful to billions of users. But sometimes some updates may not work properly, so you can easily choose to uninstall some recently installed updates. The process is very simple and Windows will roll back the current update. After uninstalling updates, you may see this prompt on your screen "An error occurred and not all updates were successfully uninstalled." If you get this, the uninstall process did not complete successfully, so you have to resolve the issue manually. Fix 1 – Uninstall updates using CMD There is a very easy way to uninstall the required updates. 1. Just click on the Windows icon in the middle of the taskbar. 2. Next start writing "cmd" in the search box at the top
 How to fix Registry Editor not opening in Windows 11, 10
May 23, 2023 pm 11:31 PM
How to fix Registry Editor not opening in Windows 11, 10
May 23, 2023 pm 11:31 PM
Registry Editor is the tool we use to fix Windows system errors. It is the center of registry keys and, with appropriate adjustments, can solve most problems. But in rare cases, Registry Editor may also hang. Many users have reported seeing errors when trying to search for a key that does not exist on their system. If you try to cancel the search the application will hang and even if you don't cancel the search the application will freeze with the following message. Registry Editor has stopped working. The root cause of the problem is the length of the subkey. This error occurs if the length of the subkey exceeds 255 bytes. However, sometimes, it can also be because of a virus or malware. If you notice this issue on your system, don't panic. In this article, let us discuss solving
 Windows search highlight option grayed out issue fixed
Apr 27, 2023 pm 11:55 PM
Windows search highlight option grayed out issue fixed
Apr 27, 2023 pm 11:55 PM
Search highlighting shows your recently completed past searches. But what if you can't enable the Search Highlight option in Settings because it's grayed out? If that's the case, you're missing out on a lot of aspects. Search highlighting greatly enhances your search experience and makes it easy for you to perform repeat queries very quickly. There is a very simple fix for this issue and you can fix the grayed out search highlight issue in just a few minutes. Fix 1 – Change the value of Disable Search Box Suggestion Use Registry Editor to change the value of DisableSearchBoxSuggetion to resolve this issue. Step 1 – Click Windows+R keys to open a run box. Then, type "Note" in the box
 How to fix Windows Security automatic sample submission being turned off?
Apr 21, 2023 pm 05:43 PM
How to fix Windows Security automatic sample submission being turned off?
Apr 21, 2023 pm 05:43 PM
Automatic sample submission is an underlying feature of Windows Security Center that automatically sends suspicious files from your computer to Microsoft for further inspection. It usually runs in the background and doesn't bother you at all. But what if this automatic sample submission keeps turning off automatically. There are multiple users with the same issue and they have escalated the issue to multiple forums. Implement these solutions on your system and the problem will disappear in no time. Fix 1 – Try a registry hack where you have to create a subkey and some value to keep autosampling off automatically. 1. You have to open the Registry Editor. So, press Win key + S key at the same time and type “regedit”. 2. See "Registry Editor"
 How to open Remote Desktop Connection Service using command
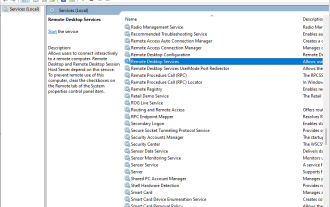
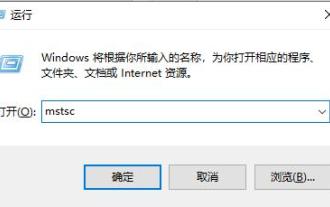
Dec 31, 2023 am 10:38 AM
How to open Remote Desktop Connection Service using command
Dec 31, 2023 am 10:38 AM
Remote desktop connection has brought convenience to many users' daily lives. Some people want to use commands to connect remotely, which is more convenient to operate. So how to connect? Remote Desktop Connection Service can help you solve this problem by using a command to open it. How to set up the remote desktop connection command: Method 1. Connect remotely by running the command 1. Press "Win+R" to open "Run" and enter mstsc2, then click "Show Options" 3. Enter the IP address and click "Connect". 4. It will show that it is connecting. Method 2: Connect remotely through the command prompt 1. Press "Win+R" to open "Run" and enter cmd2. In the "Command Prompt" enter mstsc/v:192.168.1.250/console