

Three ways to stop automatic updates on Windows 11
Apr 13, 2023 pm 05:40 PMHow to stop automatic updates on Windows 11
One way to stop automatic updates on Windows 11 is to adjust update settings. When using this method, you can pause updates for up to five weeks on Windows 11 Home or Pro.
To pause updates on Windows 11, use the following steps:
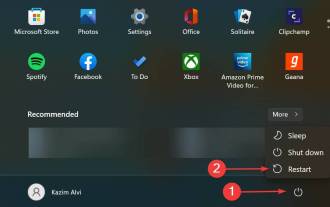
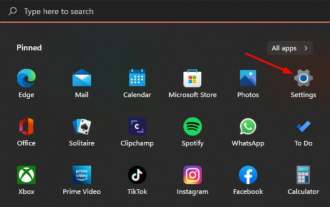
- Click the Start buttonor press the Windows keyand click Click Settings.
- Alternatively, use the keyboard shortcut Windows key I to open Settings directly.
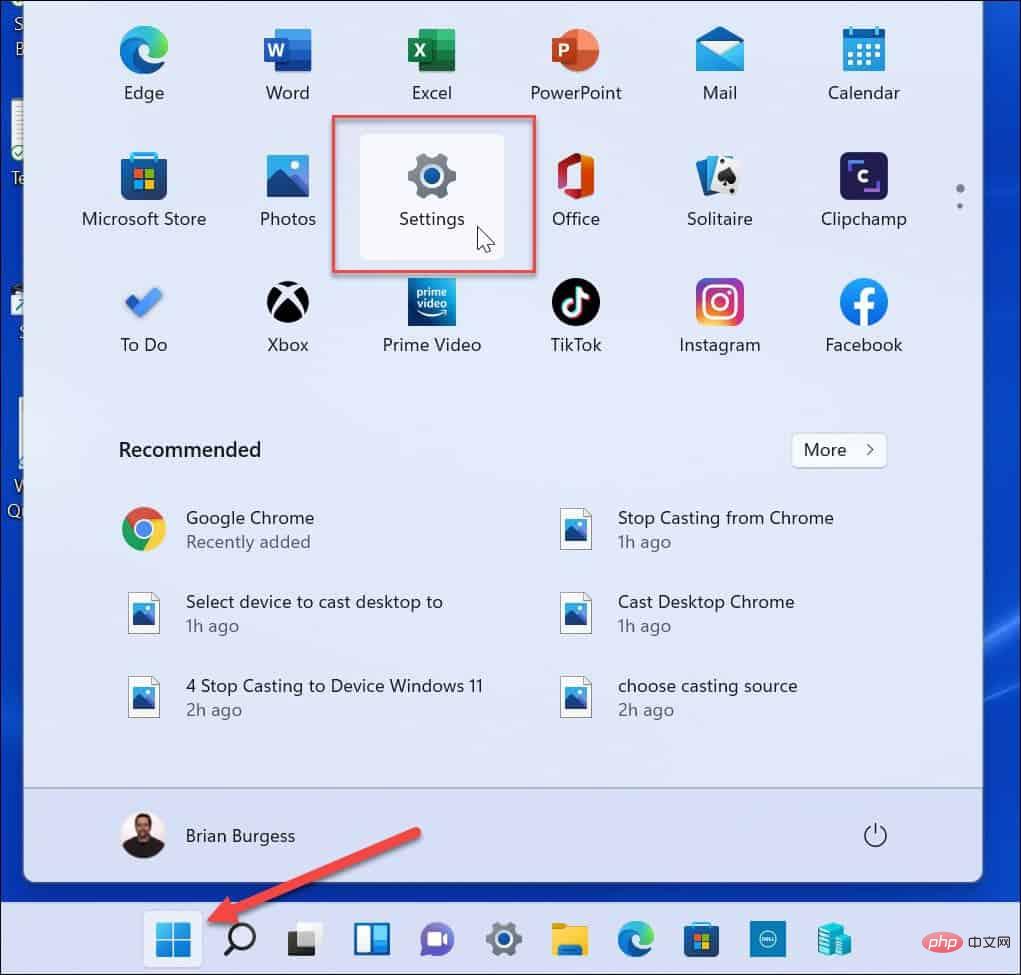
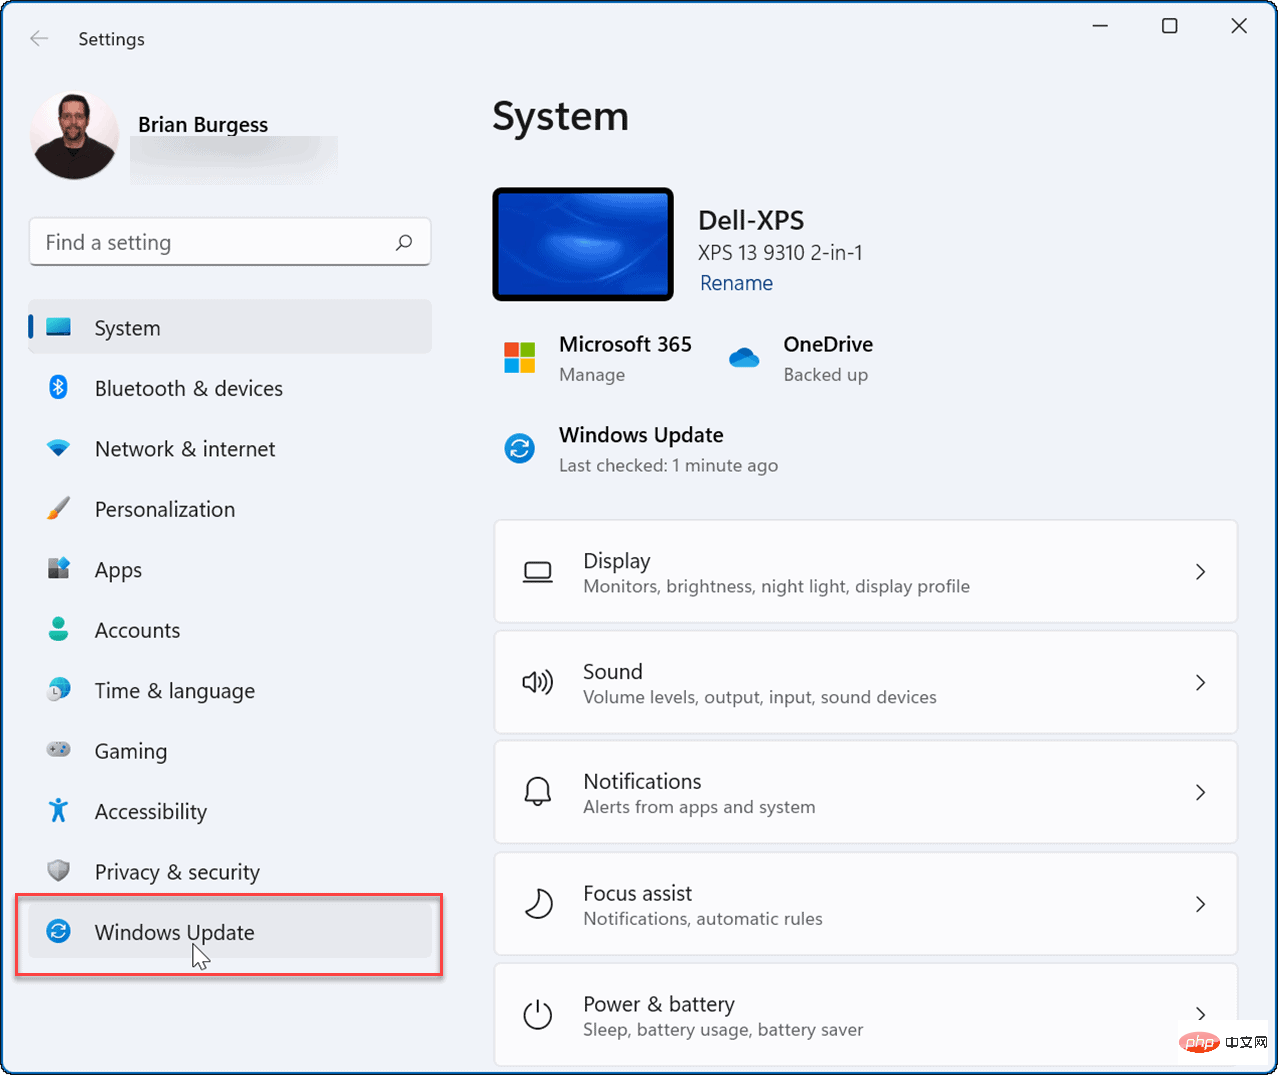
- ##In
- Settings, select the Windows Update option on the left.
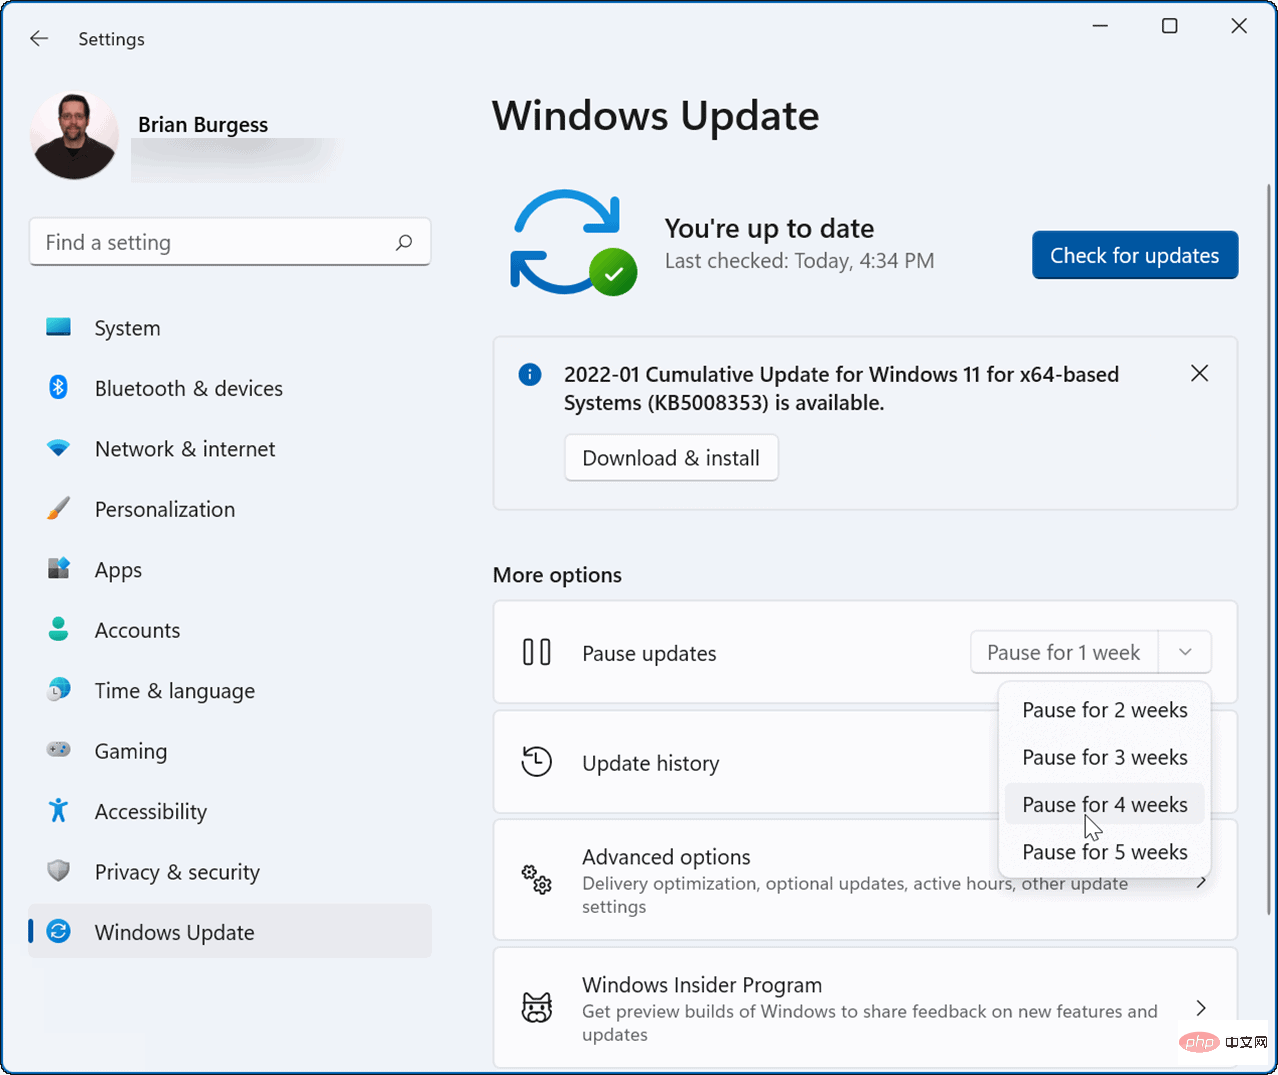
- In the
- Windows Update menu, press the Pause Updates drop-down menu next to the option . Select the amount of time to pause automatic updates, from one to five weeks.
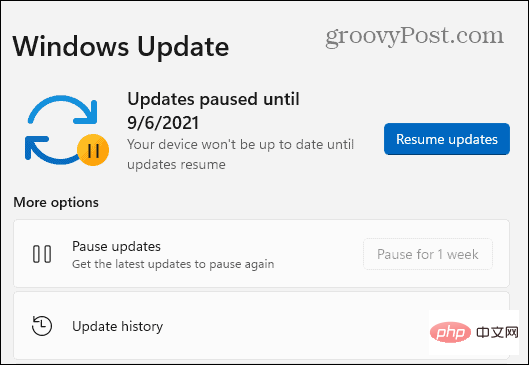
Start > Settings > Windows Update and click the Resume updates button.
Group Policy Rules to completely stop automatic Windows updates.
To disable automatic updates using Group Policy, use the following steps:- Click the
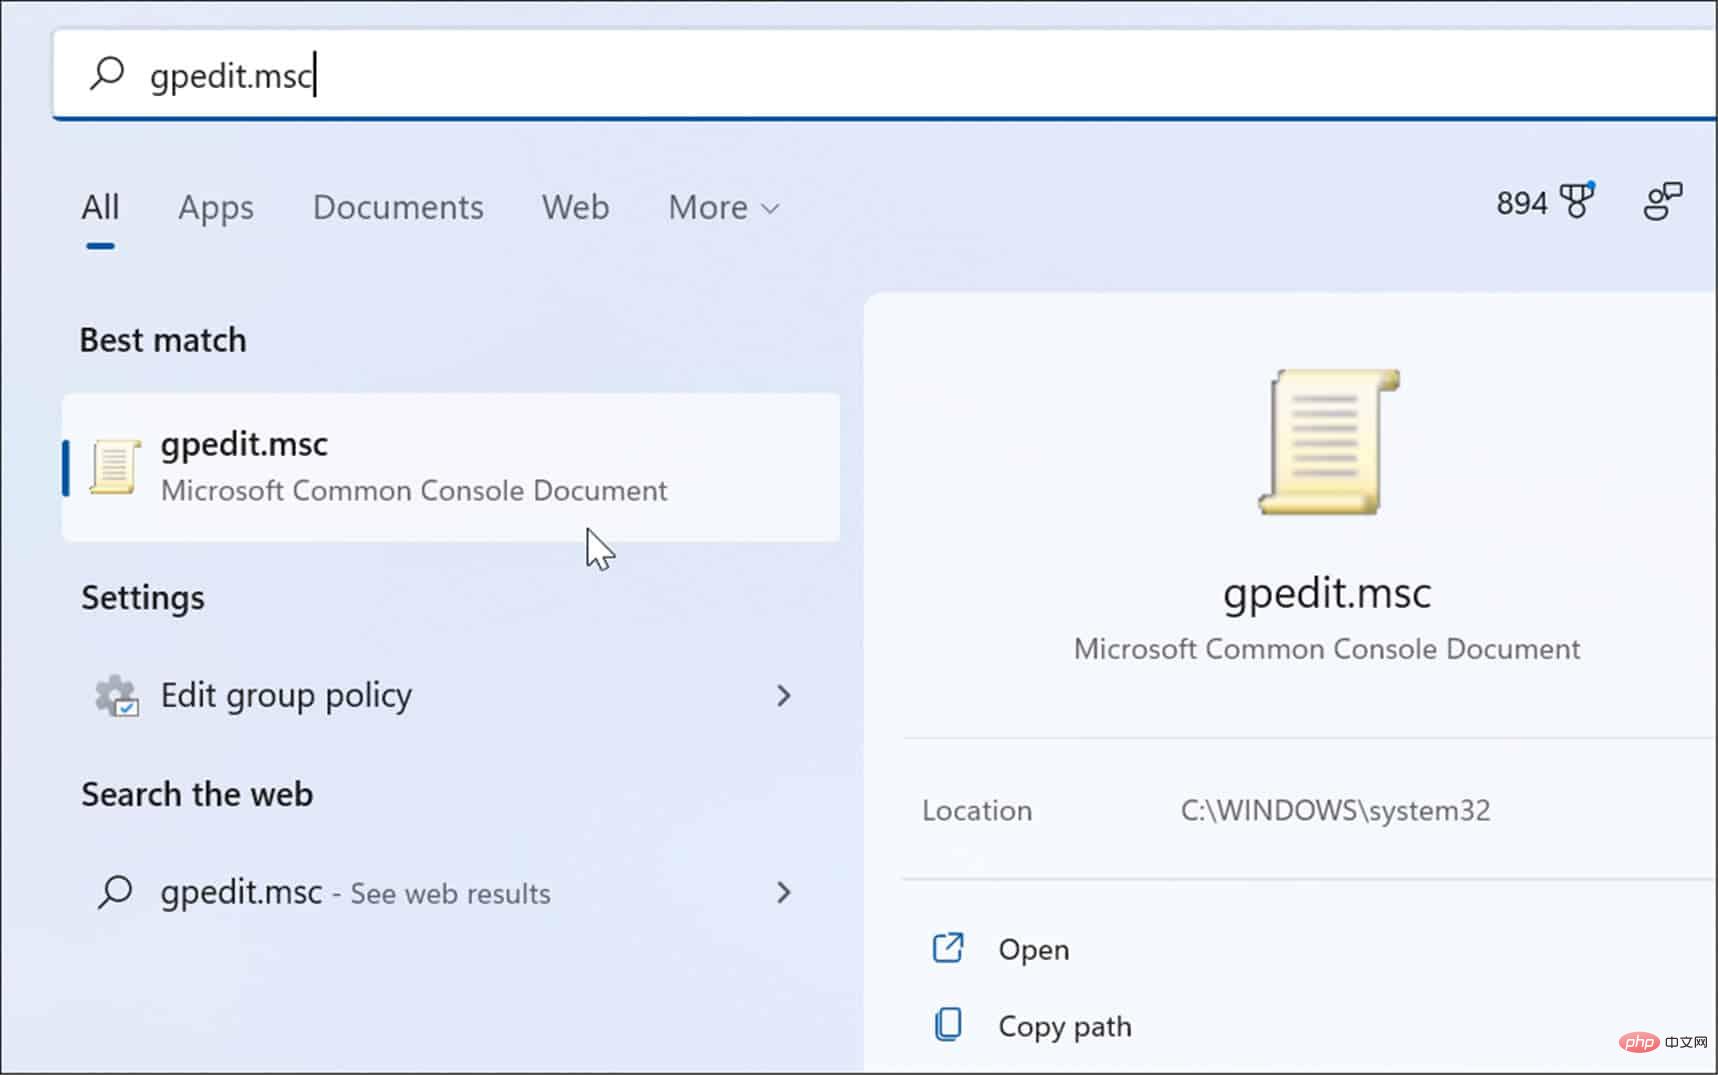
- Start button or press the Windows keyand type gpedit.msc and select the top result.
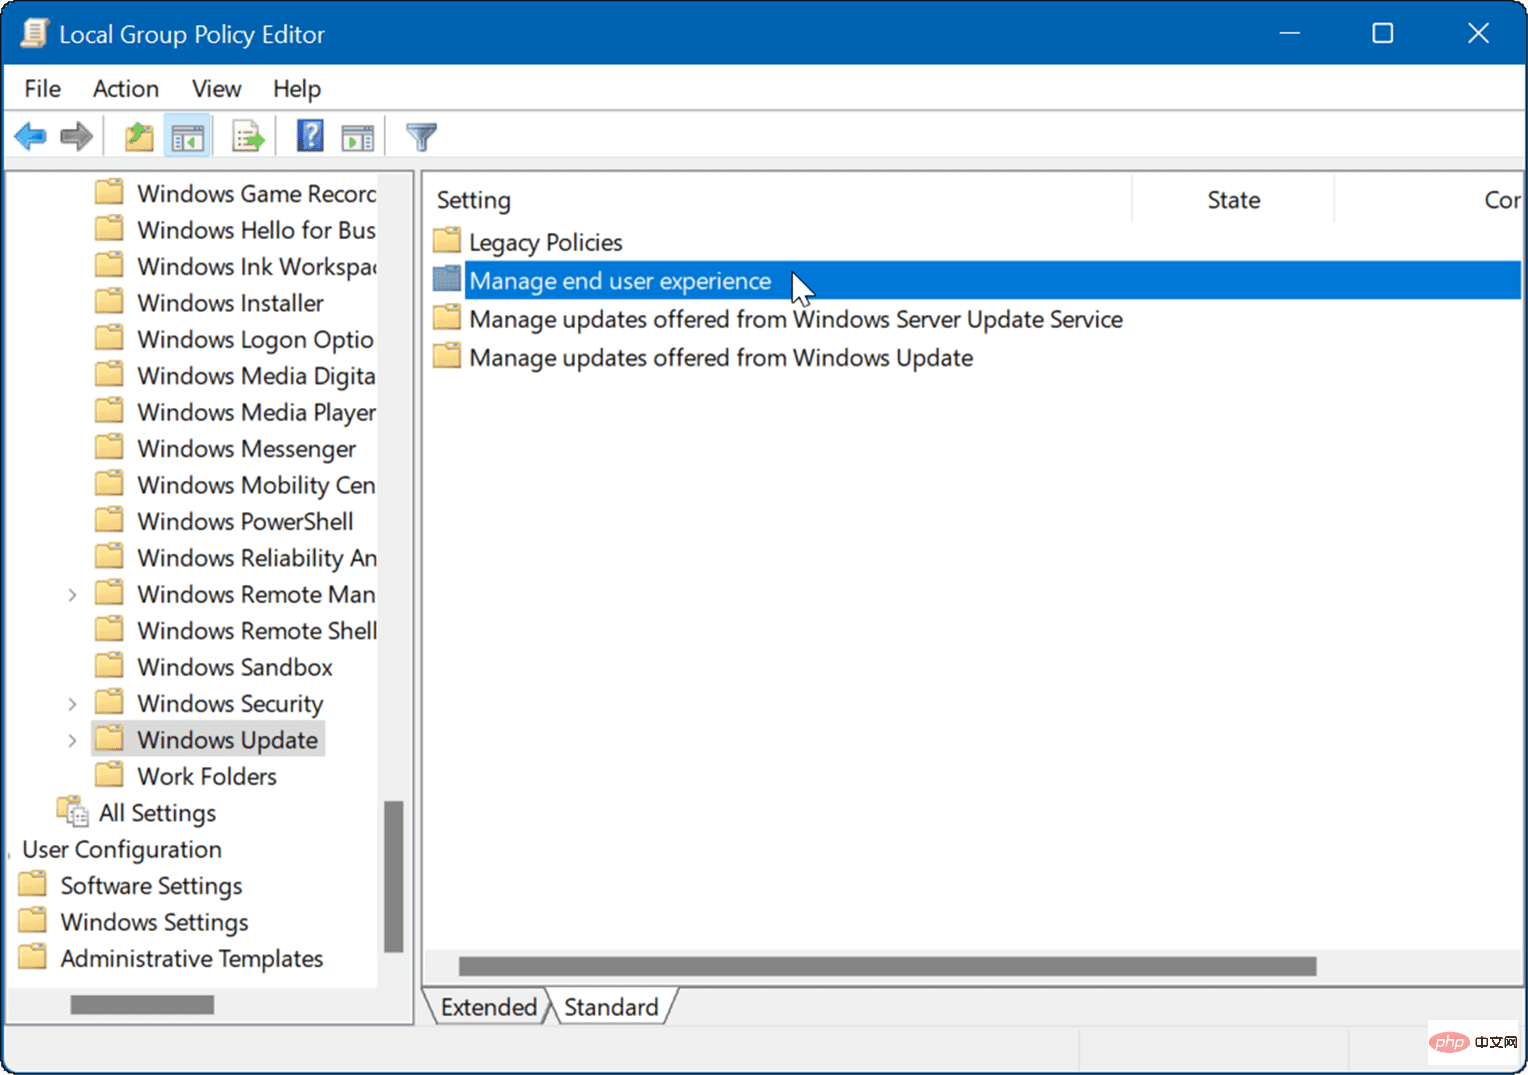
- When
- Local Group Policy Editor opens, go to the following path:
1 |
|
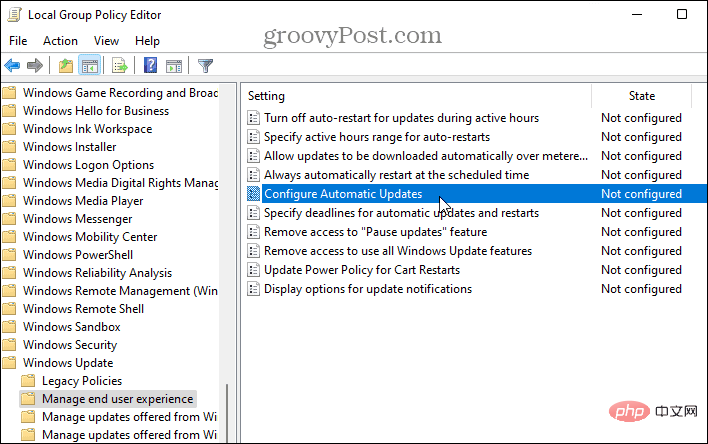
- Double-click
- to configure automatic update policy.
- Check the
- Disabled option to permanently turn off automatic updates on Windows 11. Click
- OK at the bottom of the screen.
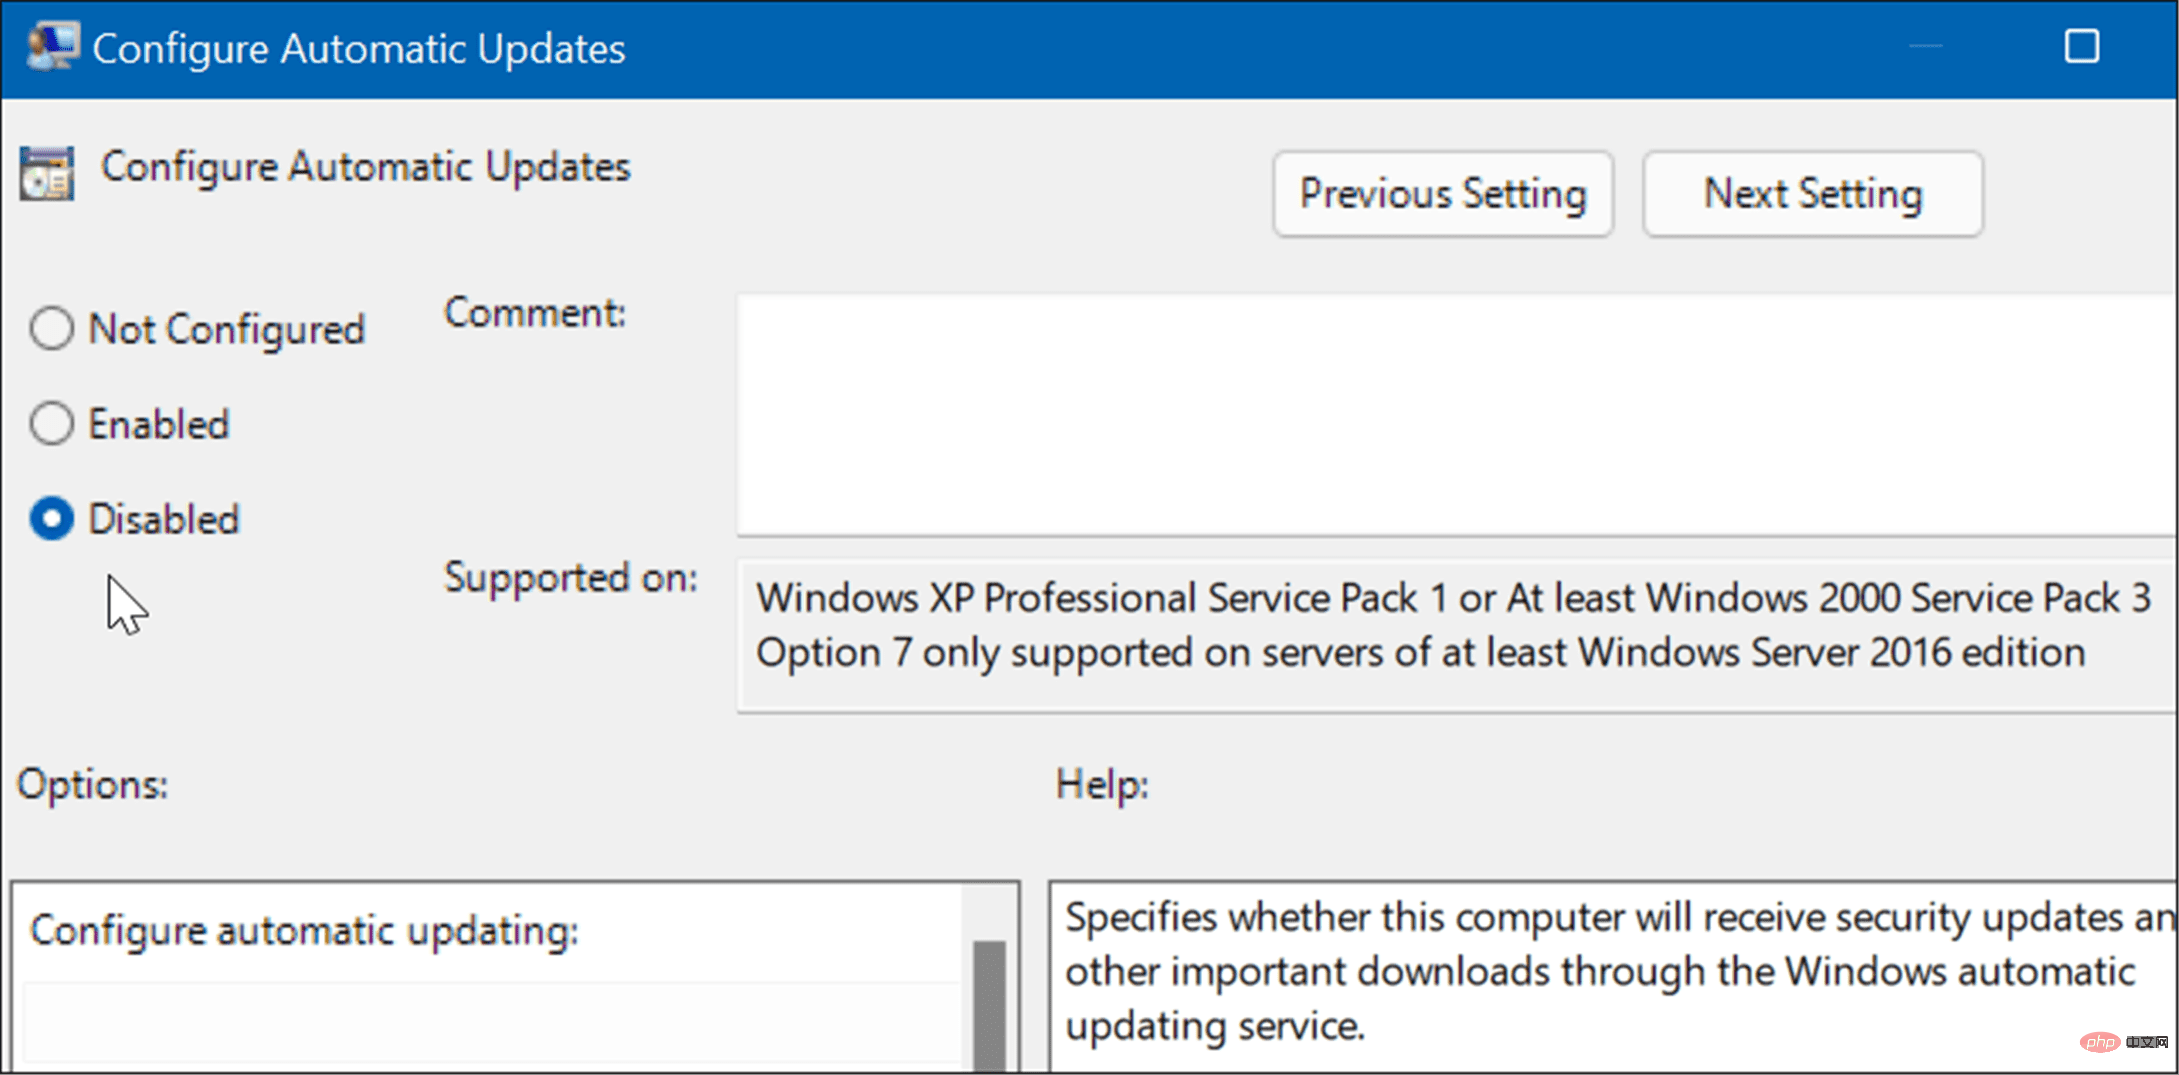
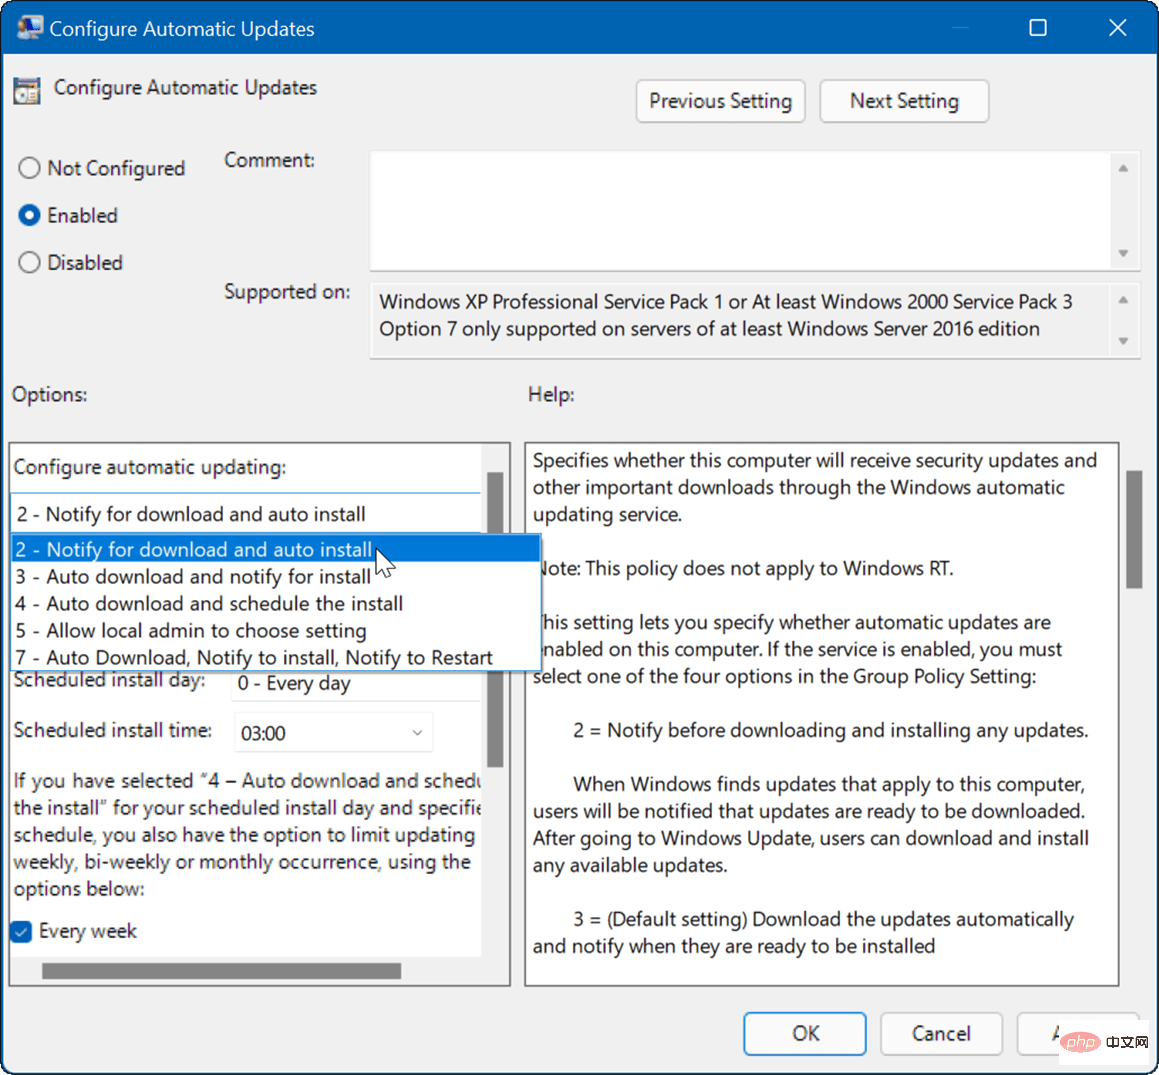
NOTE: It’s worth mentioning that you can set Windows 11 to notify you of updates instead of stopping automatic updates entirely. To do this, change the policy to Enabled and set the Options section to 2 – Notify for download and auto install.
ClickApply and OK at the bottom to save your selection.
Install now" button.
How to stop automatic updates using the registryFor users running Windows 11 Home Edition, there is no Group Policy Editor, but you can use the registry to stop automatic updates. Note: Incorrectly modifying the registry may cause irreversible damage to your PC. Before you begin, be sure to manually back up the registry, create a system restore point, and for best practices, create a full system backup. To stop automatic updates on Windows 11 using the registry, use the following steps:- Press the
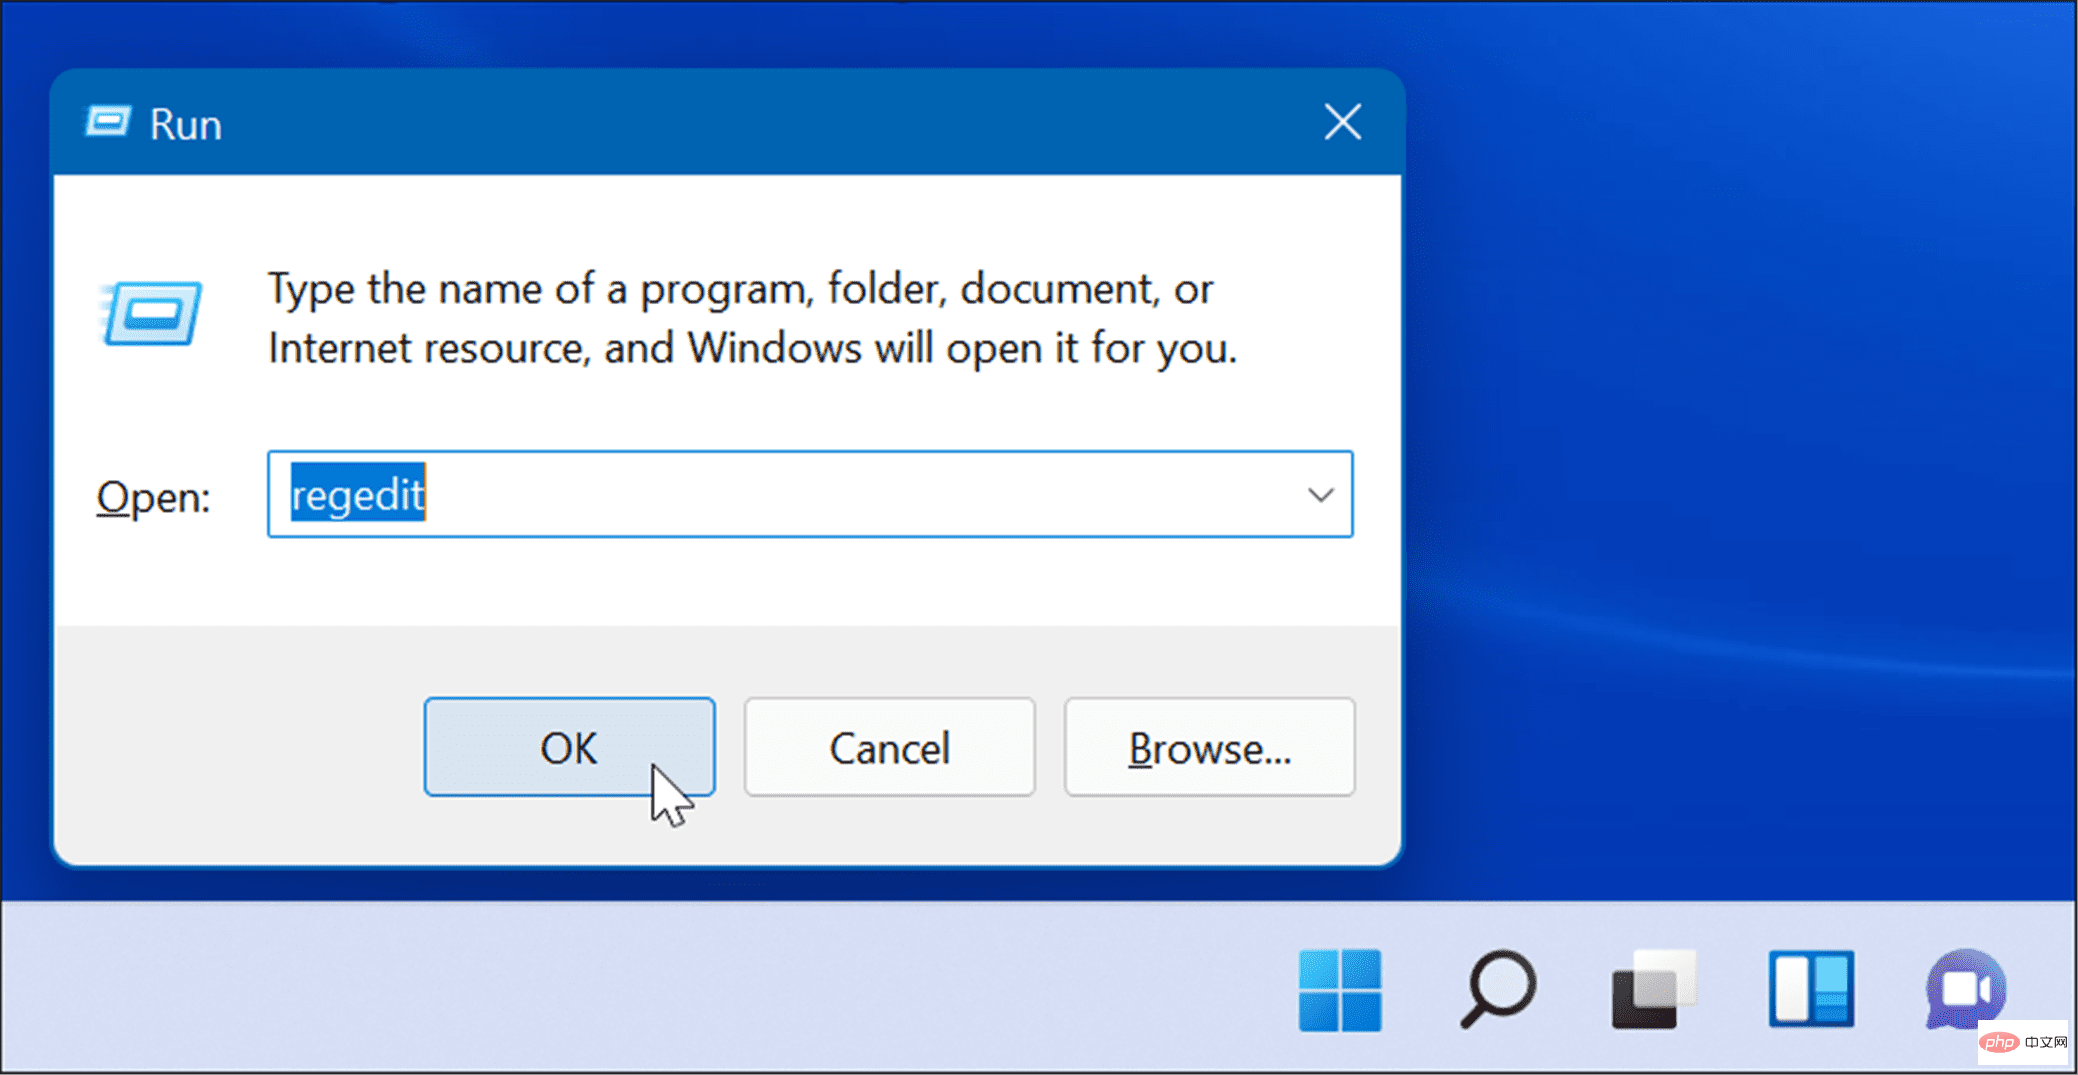
- Windows key R to launch the Run dialog box, type regedit and click "OK".
- Navigate to the following path - you can copy and paste it into the Registry Editor address field at the top:
1 |
|
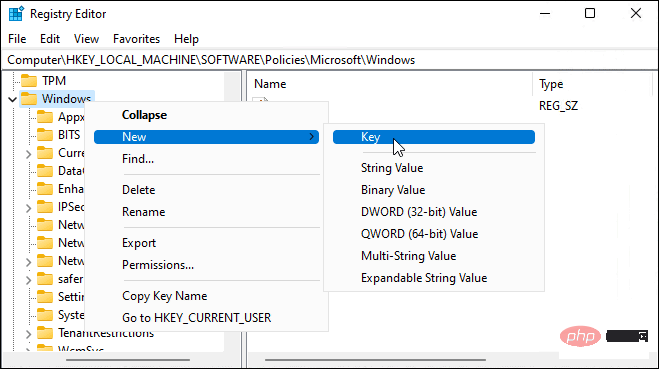
- Right-click the
- Windows folder and select New > Key from the submenu.
- Name the new key WindowsUpdate, right-click it and select New > Key from the submenu.
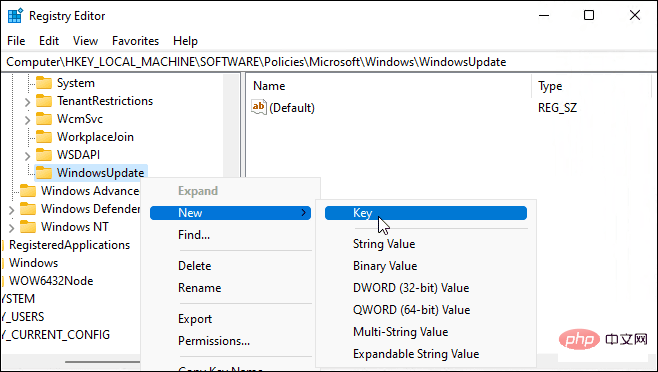
- Name the new key folder AU.
- Right-click AU and select New > DWORD (32-bit value) from the menu.
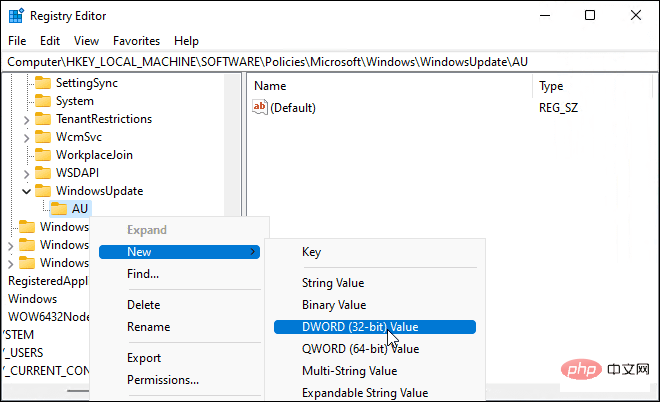
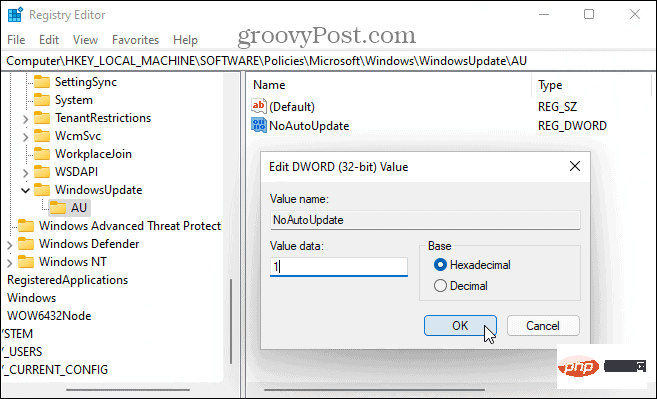
- ##Name the new DWORD key
- NoAutoUpdate, double-click it, and then change its numeric data is changed to 1. Click
- OK Save.
The above is the detailed content of Three ways to stop automatic updates on Windows 11. For more information, please follow other related articles on the PHP Chinese website!

Hot Article
Hot tools Tags
Hot Article
Hot Article Tags

Notepad++7.3.1
Easy-to-use and free code editor

SublimeText3 Chinese version
Chinese version, very easy to use

Zend Studio 13.0.1
Powerful PHP integrated development environment

Dreamweaver CS6
Visual web development tools

SublimeText3 Mac version
God-level code editing software (SublimeText3)
Hot Topics


 How to disable driver signature enforcement in Windows 11
May 20, 2023 pm 02:17 PM
How to disable driver signature enforcement in Windows 11
May 20, 2023 pm 02:17 PM
How to disable driver signature enforcement in Windows 11
 How to fix Windows 11 activation error 0xc004c060
May 17, 2023 pm 08:47 PM
How to fix Windows 11 activation error 0xc004c060
May 17, 2023 pm 08:47 PM
How to fix Windows 11 activation error 0xc004c060
 0x80010105: How to fix this Windows update error
May 17, 2023 pm 05:44 PM
0x80010105: How to fix this Windows update error
May 17, 2023 pm 05:44 PM
0x80010105: How to fix this Windows update error
 How to disable display scaling for high DPI settings in Windows 11 or 10
May 22, 2023 pm 10:11 PM
How to disable display scaling for high DPI settings in Windows 11 or 10
May 22, 2023 pm 10:11 PM
How to disable display scaling for high DPI settings in Windows 11 or 10
 Fix: WD My Cloud doesn't show up on the network in Windows 11
Oct 02, 2023 pm 11:21 PM
Fix: WD My Cloud doesn't show up on the network in Windows 11
Oct 02, 2023 pm 11:21 PM
Fix: WD My Cloud doesn't show up on the network in Windows 11
 NET HELPMSG 3774: How to fix this error in 5 steps
May 17, 2023 pm 09:27 PM
NET HELPMSG 3774: How to fix this error in 5 steps
May 17, 2023 pm 09:27 PM
NET HELPMSG 3774: How to fix this error in 5 steps
 Tiny10 makes Windows 10 durable on (very old) PCs
May 22, 2023 pm 04:02 PM
Tiny10 makes Windows 10 durable on (very old) PCs
May 22, 2023 pm 04:02 PM
Tiny10 makes Windows 10 durable on (very old) PCs
![Event ID 157: Disk has been removed unexpectedly [Fixed]](https://img.php.cn/upload/article/000/887/227/168576249277516.jpg?x-oss-process=image/resize,m_fill,h_207,w_330) Event ID 157: Disk has been removed unexpectedly [Fixed]
Jun 03, 2023 am 11:21 AM
Event ID 157: Disk has been removed unexpectedly [Fixed]
Jun 03, 2023 am 11:21 AM
Event ID 157: Disk has been removed unexpectedly [Fixed]