

Teach you step by step how to build a UI component library from scratch

This article brings you relevant knowledge about UI components. It mainly talks about how to build a UI component library from scratch. There are code examples. Friends who are interested can take a look below. I hope everyone has to help.

1. Environment preparation
Before we write the components of our component library, we first need an environment, including the following items:
- Need to create a new project separately for the component library
- Need to plan a suitable directory structure
- Need to define the writing of component documents
- Need to build Complete unit testing
1.1 Project construction
Our current project is based on the vue2 version, so this component library project will also be created using the vue cli version 2.0.
// 全局安装 vue-cli

npm install --global vue-cli


// 基于 webpack 创建一个的新项目

vue init webpack my-project


// 安装依赖

npm install


// 运行

npm run dev
The relevant options during the installation process are as follows:
We install jest by default as the unit testing framework for our component library, and the code inspection tool defaults to eslint
1.2 Directory Optimization
After successfully creating the project, the directory structure of our new project should now be like this:
- build package related directories and configuration
- config configuration file directory
- node_modules Dependent modules installed in the project
- src source code directory
- static static file directory
- test unit test directory
We need to Make some adjustments to the existing directory. First of all, we have come into contact with some mainstream UI component libraries such as vant/ant. We know that the official websites of these component libraries provide very intuitive sample pages. At this time, our component library will rename the src directory. for examples, as our official examples directory.
In addition, we add a new packages directory to store our components.
Now our directory structure becomes as follows:

#If you rerun the project at this time, you will find an error, because our src directory name has changed, and the webpack configuration The default entry file is still src/main.js. We need to change the configuration and replace src with examples in the build/webpack.base.conf file. At the same time, we need to add the new packages directory to the webpack compilation queue.
The changed webpack.base.conf should look like this.
'use strict'

const path = require('path')

const utils = require('./utils')

const config = require('../config')

const vueLoaderConfig = require('./vue-loader.conf')


function resolve (dir) {

  return path.join(__dirname, '..', dir)

}


const createLintingRule = () => ({

  test: /.(js|vue)$/,

  loader: 'eslint-loader',

  enforce: 'pre',

  include: [resolve('examples'), resolve('packages'),resolve('test')],

  options: {

    formatter: require('eslint-friendly-formatter'),

    emitWarning: !config.dev.showEslintErrorsInOverlay

  }

})


module.exports = {

  context: path.resolve(__dirname, '../'),

  entry: {

    app: './examples/main.js' // 打包入口

  },

  output: {

    path: config.build.assetsRoot,

    filename: '[name].js',

    publicPath: process.env.NODE_ENV === 'production'

      ? config.build.assetsPublicPath

      : config.dev.assetsPublicPath

  },

  resolve: {

    extensions: ['.js', '.vue', '.json'],

    alias: {

      'vue$': 'vue/dist/vue.esm.js',

      '@': resolve('examples'),

    }

  },

  module: {

    rules: [

      ...(config.dev.useEslint ? [createLintingRule()] : []),

      {

        test: /.vue$/,

        loader: 'vue-loader',

        options: vueLoaderConfig

      },

      {

        test: /.js$/,

        loader: 'babel-loader',

        include: [resolve('examples'), resolve('test'), resolve('node_modules/webpack-dev-server/client')]

      },

      {

        test: /.(png|jpe?g|gif|svg)(?.*)?$/,

        loader: 'url-loader',

        options: {

          limit: 10000,

          name: utils.assetsPath('img/[name].[hash:7].[ext]')

        }

      },

      {

        test: /.(mp4|webm|ogg|mp3|wav|flac|aac)(?.*)?$/,

        loader: 'url-loader',

        options: {

          limit: 10000,

          name: utils.assetsPath('media/[name].[hash:7].[ext]')

        }

      },

      {

        test: /.(woff2?|eot|ttf|otf)(?.*)?$/,

        loader: 'url-loader',

        options: {

          limit: 10000,

          name: utils.assetsPath('fonts/[name].[hash:7].[ext]')

        }

      }

    ]

  },

  node: {

    // prevent webpack from injecting useless setImmediate polyfill because Vue

    // source contains it (although only uses it if it's native).

    setImmediate: false,

    // prevent webpack from injecting mocks to Node native modules

    // that does not make sense for the client

    dgram: 'empty',

    fs: 'empty',

    net: 'empty',

    tls: 'empty',

    child_process: 'empty'

  }

}Rerun and the compilation passes.
1.3 Writing component documents
After setting up the basic coding environment, we need to consider how to write the component documentation for our new components.
We recommend using markdown to write component documents. Then how do we use markdown to write our component documents in vue? Here we recommend a useful tool.
##1.3.1 Installation method# vue1版本
npm i vue-markdown-loader@0 -D
# vue2版本
npm i vue-markdown-loader -D
npm i vue-loader vue-template-compiler -D
Copy after login
1.3.2 webpack configurationWe are making the following modifications to webpack.base.conf: # vue1版本 npm i vue-markdown-loader@0 -D # vue2版本 npm i vue-markdown-loader -D npm i vue-loader vue-template-compiler -D
const VueLoaderPlugin = require('vue-loader/lib/plugin');


  module: {

    rules: [

      ...,

      {

        test: /.md$/,

        use: [

          {

            loader: 'vue-loader'

          },

          {

            loader: 'vue-markdown-loader/lib/markdown-compiler',

            options: {

              raw: true

            }

          }

        ]

      },

      ...

      ]

      },

plugins: [new VueLoaderPlugin()]# hello world
const docs = [

 {

 path: '/test',

 name: 'test',

 component: r => require.ensure([], () => r(require('../docs/test.md')))

 }

 ]

export default docs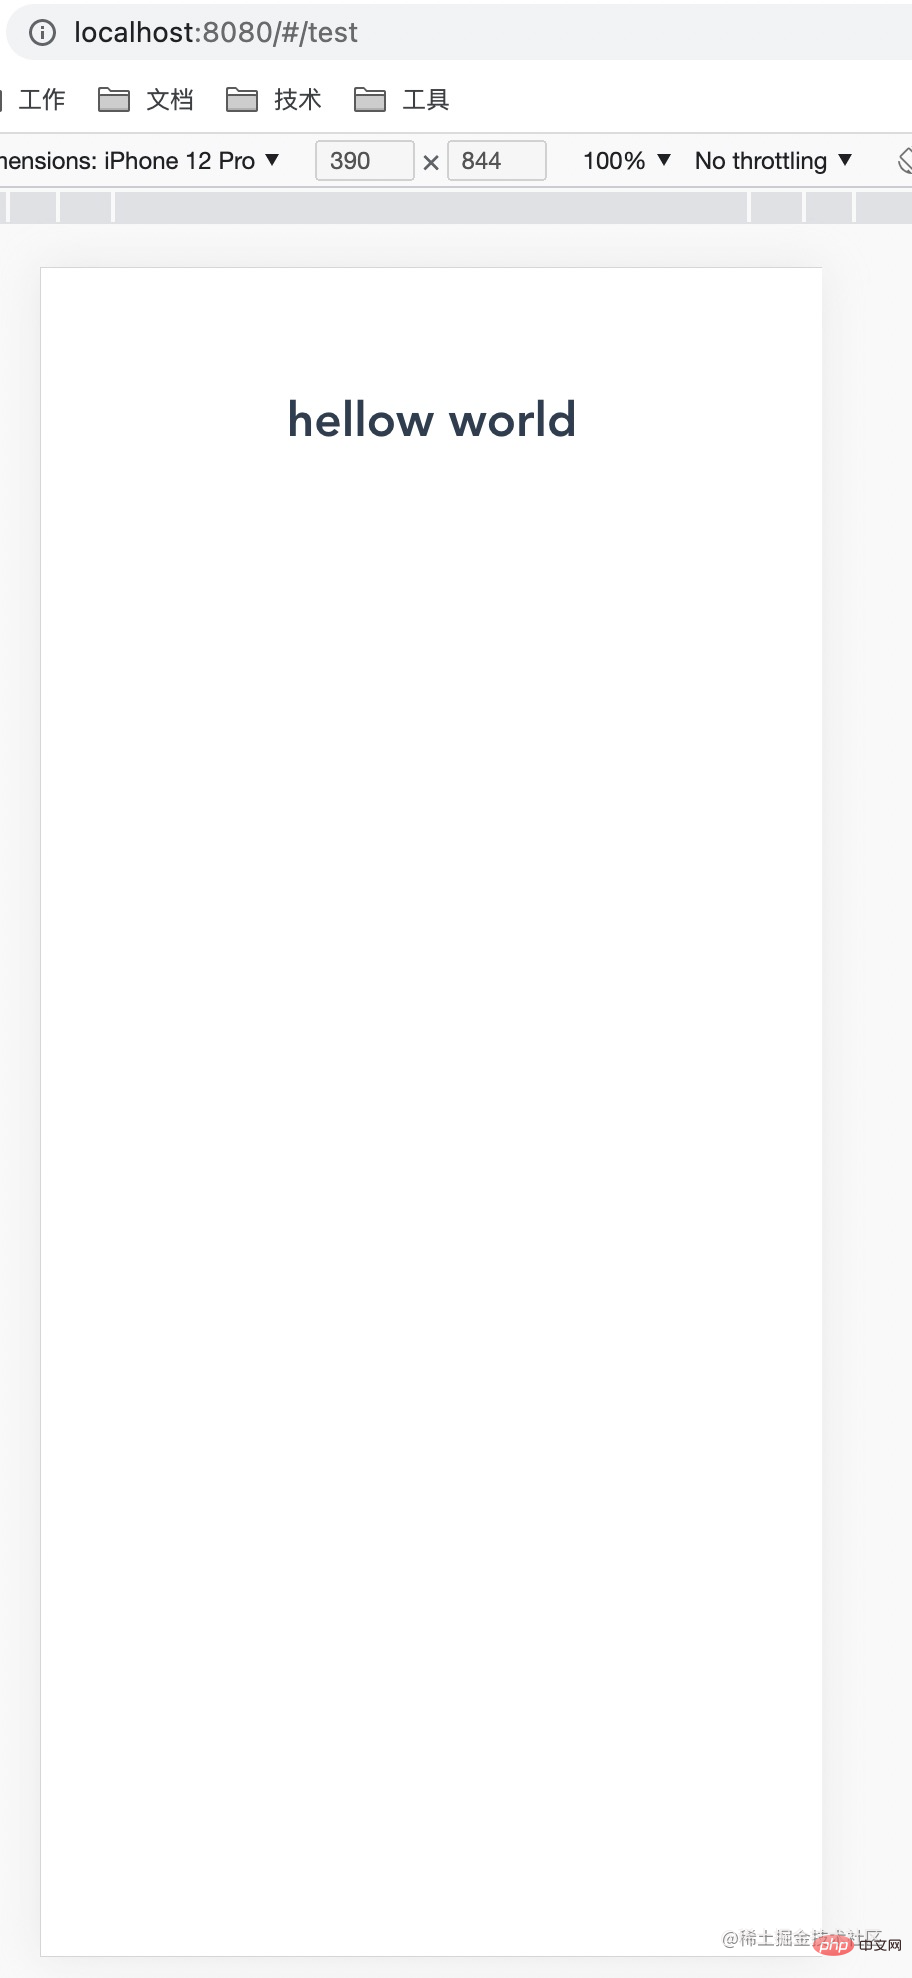
- Component creation
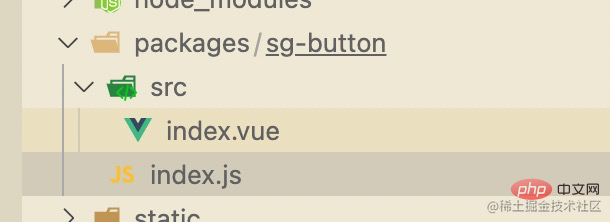
- sg-button component directoryindex. js component installation entry programsrc component source code
<template>
<div :class="[size]" @click="click()">
<span><slot></slot></span>
</div>
</template>
<script>
/**
* 全局统一弹窗
*/
export default {
name: 'sgButton',
props: {
size: {
type: String,
default: ''
} // 按钮大小 :small large
},
methods: {
click () {
this.$emit('click')
}
}
}
</script>
<style scoped>
.container{
height: 50px;
display: flex;
justify-content: center;
align-items: center;
border: 1px solid #ccc;
}
.container.small{
height: 40px;
}
.container.large{
height: 60px;
}
</style> // 导入组件,组件必须声明 name
import sgButton from './src'
// 为组件提供 install 安装方法,供按需引入
sgButton.install = function (Vue) {
Vue.component(sgButton.name, sgButton)
}
// 导出组件
export default sgButton // 导入button组件
import sgButton from './sg-button'
// 组件列表
const components = [
sgButton
]
// 定义 install 方法,接收 Vue 作为参数。如果使用 use 注册插件,那么所有的组件都会被注册
const install = function (Vue) {
// 判断是否安装
if (install.installed) return
// 遍历注册全局组件
components.map(component => Vue.component(component.name, component))
}
// 判断是否是直接引入文件
if (typeof window !== 'undefined' && window.Vue) {
install(window.Vue)
}
export default {
// 导出的对象必须具有 install,才能被 Vue.use() 方法安装
install,
// 以下是具体的组件列表
sgButton
}import sgUi from '../packages/index' Vue.use(sgUi.sgButton)
import sgUi from '../packages/index'


Vue.use(sgUi)
2.4 测试代码
我们在examples目录的入口文件中全局引入了组件库
// The Vue build version to load with the `import` command
// (runtime-only or standalone) has been set in webpack.base.conf with an alias.
import Vue from 'vue'
import App from './App'
import router from './router'
import sgUi from '../packages/index'
Vue.config.productionTip = false
Vue.use(sgUi)
/* eslint-disable no-new */
new Vue({
el: '#app',
router,
components: { App },
template: '<App/>'
})然后我们编写一个vue页面来看看是否引入成功。
首先examples中新增pages目录,存放我们以后为每个组件单独编写的示例页面,新增examples/pages/buttonExample/index.vue 页面
<template>
<div class="container">
<sg-button>默认按钮</sg-button>
<sg-button :size="'large'">大按钮</sg-button>
<sg-button :size="'small'">小按钮</sg-button>
</div>
</template>
<script>
/**
* button 示例
*/
export default {
name: 'buttonExample',
methods: {
}
}
</script>在这里我们直接调用了三种尺寸的button,运行看下效果:
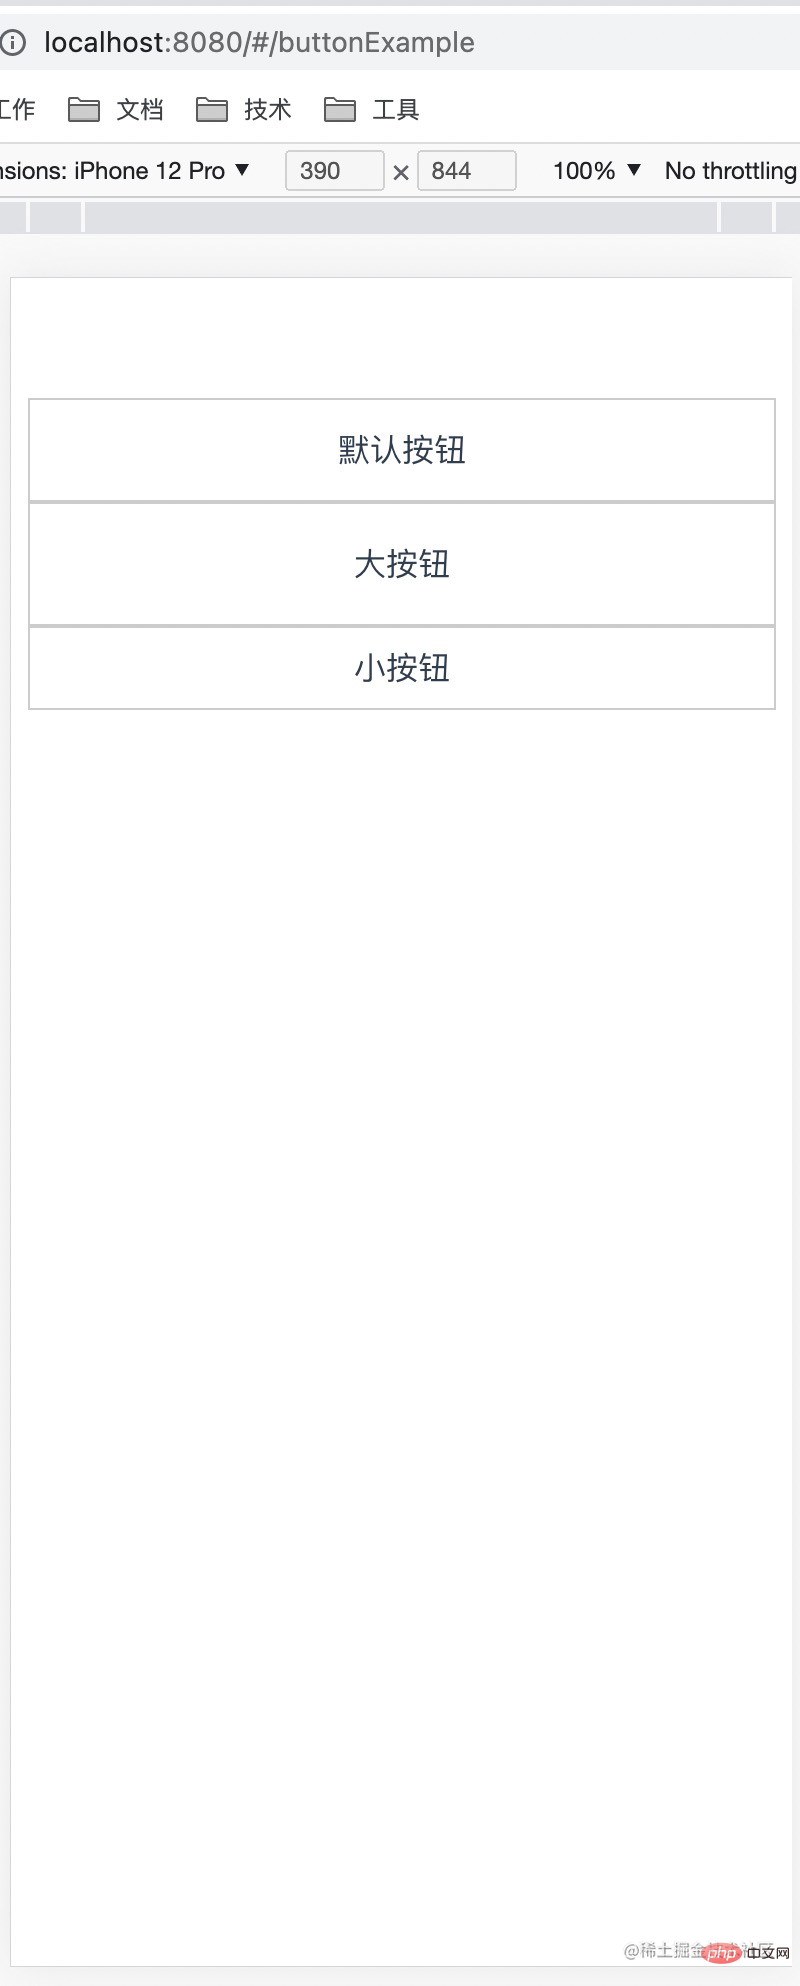
效果完美,代表我们组件库第一个组件以及整体流程打通!
组件库发布
之前的环节,我们成功实现了我们组件库的第一个组件,但考虑到这只是组件库,组件库内能调用肯定是不够的,类似 vant/ant 这些组件库,我们怎么让其他用户可以使用我们的组件库组件内?
我们可以考虑发布到npm上,后续项目需要的话,我们直接通过npm安装引入的方式来调用。
发布到npm的方法也很简单, 首先我们需要先注册去npm官网注册一个账号, 然后控制台登录即可,最后我们执行npm publish即可.具体流程如下:
// 本地编译组件库代码

yarn lib

// 登录

 npm login

 // 发布

 npm publish

 // 如果发布失败提示权限问题,请执行以下命令

 npm publish --access public
单元测试
The above is the detailed content of Teach you step by step how to build a UI component library from scratch. For more information, please follow other related articles on the PHP Chinese website!

Hot AI Tools

Undresser.AI Undress
AI-powered app for creating realistic nude photos

AI Clothes Remover
Online AI tool for removing clothes from photos.

Undress AI Tool
Undress images for free

Clothoff.io
AI clothes remover

Video Face Swap
Swap faces in any video effortlessly with our completely free AI face swap tool!

Hot Article
Hot Tools

Notepad++7.3.1
Easy-to-use and free code editor

SublimeText3 Chinese version
Chinese version, very easy to use

Zend Studio 13.0.1
Powerful PHP integrated development environment

Dreamweaver CS6
Visual web development tools

SublimeText3 Mac version
God-level code editing software (SublimeText3)
Hot Topics
 1389
1389
 52
52

 PHP and Vue: a perfect pairing of front-end development tools
Mar 16, 2024 pm 12:09 PM
PHP and Vue: a perfect pairing of front-end development tools
Mar 16, 2024 pm 12:09 PM
PHP and Vue: a perfect pairing of front-end development tools. In today's era of rapid development of the Internet, front-end development has become increasingly important. As users have higher and higher requirements for the experience of websites and applications, front-end developers need to use more efficient and flexible tools to create responsive and interactive interfaces. As two important technologies in the field of front-end development, PHP and Vue.js can be regarded as perfect tools when paired together. This article will explore the combination of PHP and Vue, as well as detailed code examples to help readers better understand and apply these two
 Simple JavaScript Tutorial: How to Get HTTP Status Code
Jan 05, 2024 pm 06:08 PM
Simple JavaScript Tutorial: How to Get HTTP Status Code
Jan 05, 2024 pm 06:08 PM
JavaScript tutorial: How to get HTTP status code, specific code examples are required. Preface: In web development, data interaction with the server is often involved. When communicating with the server, we often need to obtain the returned HTTP status code to determine whether the operation is successful, and perform corresponding processing based on different status codes. This article will teach you how to use JavaScript to obtain HTTP status codes and provide some practical code examples. Using XMLHttpRequest
 Questions frequently asked by front-end interviewers
Mar 19, 2024 pm 02:24 PM
Questions frequently asked by front-end interviewers
Mar 19, 2024 pm 02:24 PM
In front-end development interviews, common questions cover a wide range of topics, including HTML/CSS basics, JavaScript basics, frameworks and libraries, project experience, algorithms and data structures, performance optimization, cross-domain requests, front-end engineering, design patterns, and new technologies and trends. . Interviewer questions are designed to assess the candidate's technical skills, project experience, and understanding of industry trends. Therefore, candidates should be fully prepared in these areas to demonstrate their abilities and expertise.
 Is Django front-end or back-end? check it out!
Jan 19, 2024 am 08:37 AM
Is Django front-end or back-end? check it out!
Jan 19, 2024 am 08:37 AM
Django is a web application framework written in Python that emphasizes rapid development and clean methods. Although Django is a web framework, to answer the question whether Django is a front-end or a back-end, you need to have a deep understanding of the concepts of front-end and back-end. The front end refers to the interface that users directly interact with, and the back end refers to server-side programs. They interact with data through the HTTP protocol. When the front-end and back-end are separated, the front-end and back-end programs can be developed independently to implement business logic and interactive effects respectively, and data exchange.
 Exploring Go language front-end technology: a new vision for front-end development
Mar 28, 2024 pm 01:06 PM
Exploring Go language front-end technology: a new vision for front-end development
Mar 28, 2024 pm 01:06 PM
As a fast and efficient programming language, Go language is widely popular in the field of back-end development. However, few people associate Go language with front-end development. In fact, using Go language for front-end development can not only improve efficiency, but also bring new horizons to developers. This article will explore the possibility of using the Go language for front-end development and provide specific code examples to help readers better understand this area. In traditional front-end development, JavaScript, HTML, and CSS are often used to build user interfaces
 Django: A magical framework that can handle both front-end and back-end development!
Jan 19, 2024 am 08:52 AM
Django: A magical framework that can handle both front-end and back-end development!
Jan 19, 2024 am 08:52 AM
Django: A magical framework that can handle both front-end and back-end development! Django is an efficient and scalable web application framework. It is able to support multiple web development models, including MVC and MTV, and can easily develop high-quality web applications. Django not only supports back-end development, but can also quickly build front-end interfaces and achieve flexible view display through template language. Django combines front-end development and back-end development into a seamless integration, so developers don’t have to specialize in learning
 Combination of Golang and front-end technology: explore how Golang plays a role in the front-end field
Mar 19, 2024 pm 06:15 PM
Combination of Golang and front-end technology: explore how Golang plays a role in the front-end field
Mar 19, 2024 pm 06:15 PM
Combination of Golang and front-end technology: To explore how Golang plays a role in the front-end field, specific code examples are needed. With the rapid development of the Internet and mobile applications, front-end technology has become increasingly important. In this field, Golang, as a powerful back-end programming language, can also play an important role. This article will explore how Golang is combined with front-end technology and demonstrate its potential in the front-end field through specific code examples. The role of Golang in the front-end field is as an efficient, concise and easy-to-learn
 How to get HTTP status code in JavaScript the easy way
Jan 05, 2024 pm 01:37 PM
How to get HTTP status code in JavaScript the easy way
Jan 05, 2024 pm 01:37 PM
Introduction to the method of obtaining HTTP status code in JavaScript: In front-end development, we often need to deal with the interaction with the back-end interface, and HTTP status code is a very important part of it. Understanding and obtaining HTTP status codes helps us better handle the data returned by the interface. This article will introduce how to use JavaScript to obtain HTTP status codes and provide specific code examples. 1. What is HTTP status code? HTTP status code means that when the browser initiates a request to the server, the service
