

How to upgrade storage/hard drive in Surface Laptop 5

Step 1: Back up your data
To start the replacement process, you'll need to prepare your Surface Laptop 5. The most important thing is to back up all data. We recommend using a service like OneDrive or using an offline solution like an external SSD or hard drive. You will install a new SSD and a clean version of Windows. Once the process is complete, you can copy and restore these files back to Surface Laptop 5.
If you are looking for external storage for backup, the Samsung T5 Portable SSD is a great choice.
Step 2: Download Surface Laptop 5 recovery media
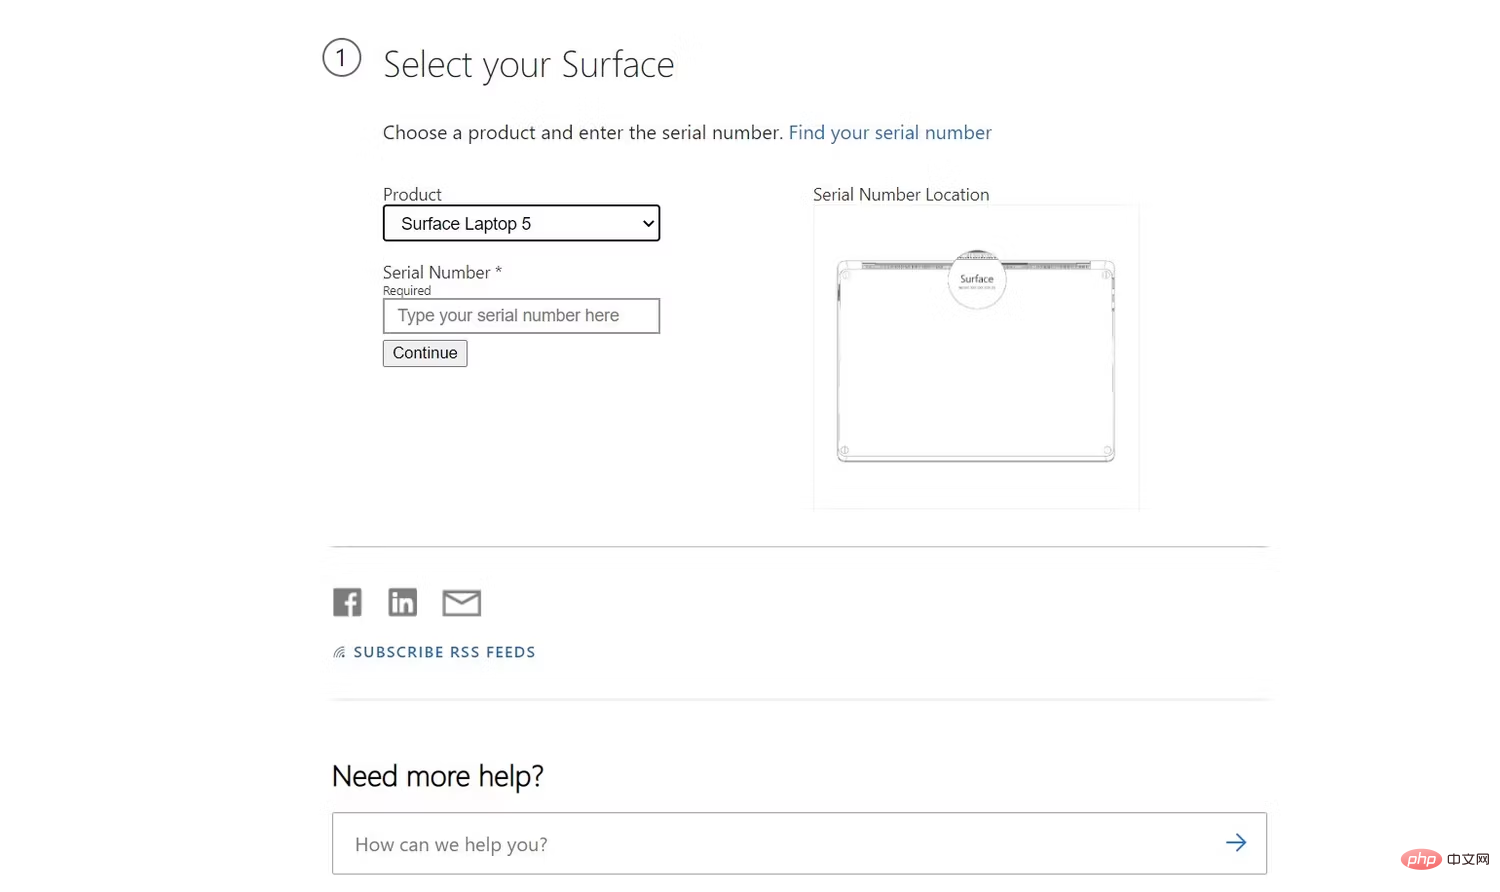
- ## In one step, you'll create a recovery drive for Surface Laptop 5. After putting in the new SSD, you can use it to boot Windows 11. Here's how to do it. Access SurfaceRestore Page. Scroll down to Select your Surface, Select Surface Laptop 5,
- Then enter your serial number. Click to continue.
- Click the Download image link listed next to your device in the list.
- Wait for it to download. The downloaded file will be a .ZIP file. Plug the USB drive you're using into your Surface Laptop 5's USB port
- . In the search box on the taskbar, type "recovery drive" and then select Create recovery drive
- or ## from the results #recoverydrive. Click
- Yes and select your USB drive from the list. Then click
- Create. Follow the on-screen instructions and click Finish.
- Find the file you just downloaded and double-click the previously downloaded .ZIP file to open it.
CTRL A
on your keyboard. Then, pressCTRL C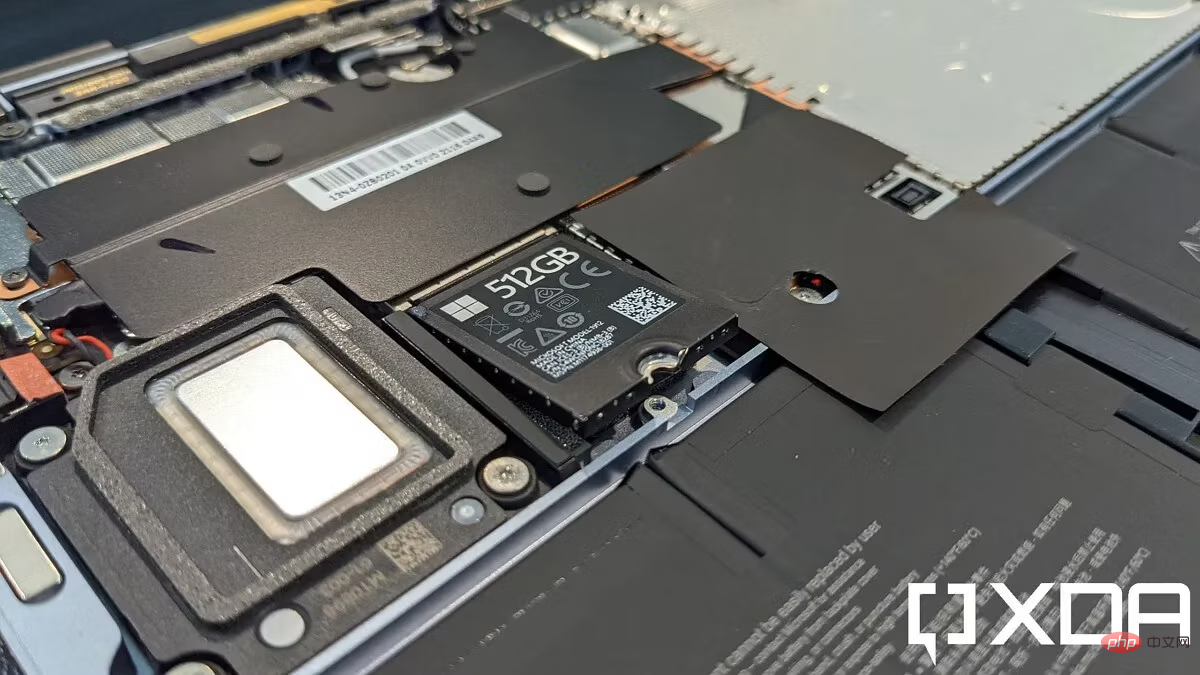
- Turn Surface Laptop 5 over.
- Look for the four rubber feet in the corner.
-
Remove the rubber feet. This is best done using an opening tool.
- The feet are glued in place and have spikes to hold them in place, so be careful not to damage the feet with your tools. Try sliding the tool under your feet.
- There are two different kinds of feet. The front feet have three plastic claws and the back feet have no claws. The back foot is also deeper, so be careful to pay attention to which foot goes where.
- Loosen the feet and use a Torx 5 screwdriver to remove the four Torx screws. Make sure the screws are secure, preferably by positioning them on a separate surface so you can remember how to put them back in later.
- Turn Surface Laptop 5 over and open it as usual.
- Slide the open tool (or your fingernail) from front to back to remove the keyboard panel from the base . The deck is magnetically attached.
- Put on an anti-static wrist strap and connect it to the side of the laptop case to ground it.
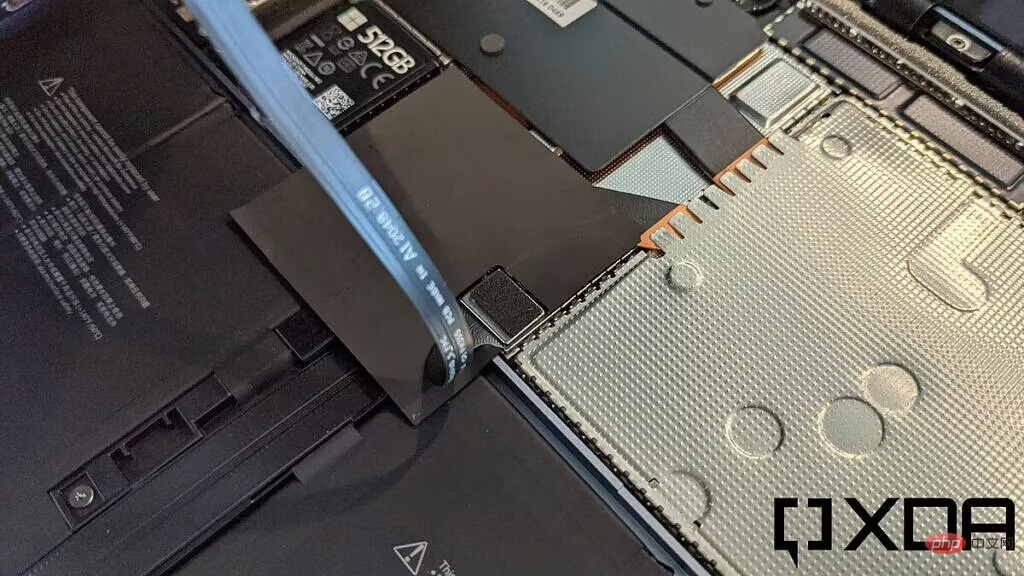
- Remove the ribbon that connects the keyboard to the base. We recommend taking a photo so you know how it is placed.
- Using a Torx 5 screwdriver, Remove the screw on the front of the SSD.
- Slide the SSD out of the slot.
These are the steps to remove the original SSD on Surface Laptop 5. If you need to send your device back for a warranty claim, we do not recommend that you wipe it and keep it safe.
Step 4: Install the new SSD
 In this step, you will install the new SSD to replace the old SSD.
- Take thenew SSD out of the box.
- Plug it into the same slot as the old slot. Make sure the pins are aligned.
- Use the Torx screws to secure the SSD in place.
- Reconnect the keyboard's ribbon cable. It should click into place.
- Put the keyboard back on the bottom base. It locks magnetically into place.
- Remove the anti-static wrist strap from your hand.
- Close the laptop and turn Surface Laptop 5 over again, just like you started.
- Screw the Torx screws back into place, noting the original position and direction you took them out. Snap the rubber feet back into the holes. Make sure the pointed feet click in correctly. If you damage your rubber feet, try using our recommended replacement feet. If that doesn't work, you can also try gluing the original feet back into place.
In the last step, you will reinstall Windows 11. Here are the required steps: 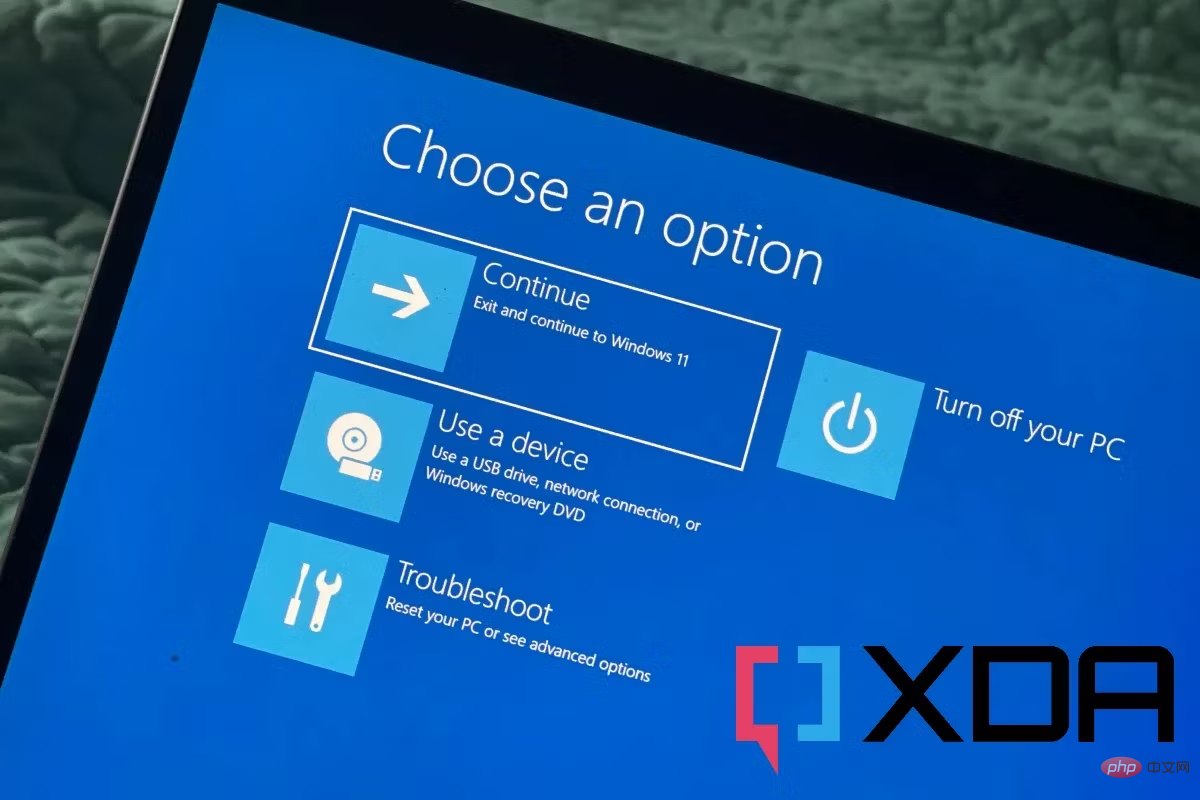
- Connect Surface Laptop 5 to a power source.
- Insert the
- USB drive you created earlier into your Surface. Press and hold the
- Volume Down button on your Surface. At the same time, press and release the Power button. The Microsoft logo will appear. Press and hold the
- Volume down button, then release the button when you see the spinning wheel. Select language and layout.
- Select
- Troubleshoot. Select
- to recover from the drive. Select your
- recovery drive and follow the on-screen steps to reinstall Windows.
The above is the detailed content of How to upgrade storage/hard drive in Surface Laptop 5. For more information, please follow other related articles on the PHP Chinese website!

Hot AI Tools

Undresser.AI Undress
AI-powered app for creating realistic nude photos

AI Clothes Remover
Online AI tool for removing clothes from photos.

Undress AI Tool
Undress images for free

Clothoff.io
AI clothes remover

Video Face Swap
Swap faces in any video effortlessly with our completely free AI face swap tool!

Hot Article
Hot Tools

Notepad++7.3.1
Easy-to-use and free code editor

SublimeText3 Chinese version
Chinese version, very easy to use

Zend Studio 13.0.1
Powerful PHP integrated development environment

Dreamweaver CS6
Visual web development tools

SublimeText3 Mac version
God-level code editing software (SublimeText3)
Hot Topics
 1386
1386
 52
52

 How to convert XML to PDF on your phone?
Apr 02, 2025 pm 10:18 PM
How to convert XML to PDF on your phone?
Apr 02, 2025 pm 10:18 PM
It is not easy to convert XML to PDF directly on your phone, but it can be achieved with the help of cloud services. It is recommended to use a lightweight mobile app to upload XML files and receive generated PDFs, and convert them with cloud APIs. Cloud APIs use serverless computing services, and choosing the right platform is crucial. Complexity, error handling, security, and optimization strategies need to be considered when handling XML parsing and PDF generation. The entire process requires the front-end app and the back-end API to work together, and it requires some understanding of a variety of technologies.
 What is the reason why PS keeps showing loading?
Apr 06, 2025 pm 06:39 PM
What is the reason why PS keeps showing loading?
Apr 06, 2025 pm 06:39 PM
PS "Loading" problems are caused by resource access or processing problems: hard disk reading speed is slow or bad: Use CrystalDiskInfo to check the hard disk health and replace the problematic hard disk. Insufficient memory: Upgrade memory to meet PS's needs for high-resolution images and complex layer processing. Graphics card drivers are outdated or corrupted: Update the drivers to optimize communication between the PS and the graphics card. File paths are too long or file names have special characters: use short paths and avoid special characters. PS's own problem: Reinstall or repair the PS installer.
 xml online formatting
Apr 02, 2025 pm 10:06 PM
xml online formatting
Apr 02, 2025 pm 10:06 PM
XML Online Format Tools automatically organizes messy XML code into easy-to-read and maintain formats. By parsing the syntax tree of XML and applying formatting rules, these tools optimize the structure of the code, enhancing its maintainability and teamwork efficiency.
 How to solve the problem of loading when PS is always showing that it is loading?
Apr 06, 2025 pm 06:30 PM
How to solve the problem of loading when PS is always showing that it is loading?
Apr 06, 2025 pm 06:30 PM
PS card is "Loading"? Solutions include: checking the computer configuration (memory, hard disk, processor), cleaning hard disk fragmentation, updating the graphics card driver, adjusting PS settings, reinstalling PS, and developing good programming habits.
 Does H5 page production require continuous maintenance?
Apr 05, 2025 pm 11:27 PM
Does H5 page production require continuous maintenance?
Apr 05, 2025 pm 11:27 PM
The H5 page needs to be maintained continuously, because of factors such as code vulnerabilities, browser compatibility, performance optimization, security updates and user experience improvements. Effective maintenance methods include establishing a complete testing system, using version control tools, regularly monitoring page performance, collecting user feedback and formulating maintenance plans.
 How to speed up the loading speed of PS?
Apr 06, 2025 pm 06:27 PM
How to speed up the loading speed of PS?
Apr 06, 2025 pm 06:27 PM
Solving the problem of slow Photoshop startup requires a multi-pronged approach, including: upgrading hardware (memory, solid-state drive, CPU); uninstalling outdated or incompatible plug-ins; cleaning up system garbage and excessive background programs regularly; closing irrelevant programs with caution; avoiding opening a large number of files during startup.
 The XML file is too large, can I convert PDFs on my phone?
Apr 02, 2025 pm 09:54 PM
The XML file is too large, can I convert PDFs on my phone?
Apr 02, 2025 pm 09:54 PM
It is difficult to directly convert super large XML to PDF on mobile phones. It is recommended to adopt a partition strategy: cloud conversion: upload to the cloud platform and processed by the server. It is efficient and stable but requires network and possible payment; segmented processing: Use programming tools to split large XML into small files and convert them one by one, requiring programming capabilities; find conversion tools that specialize in processing large files, pay attention to checking user reviews to avoid choosing software that is prone to crash.
 How to solve the problem of loading when the PS opens the file?
Apr 06, 2025 pm 06:33 PM
How to solve the problem of loading when the PS opens the file?
Apr 06, 2025 pm 06:33 PM
"Loading" stuttering occurs when opening a file on PS. The reasons may include: too large or corrupted file, insufficient memory, slow hard disk speed, graphics card driver problems, PS version or plug-in conflicts. The solutions are: check file size and integrity, increase memory, upgrade hard disk, update graphics card driver, uninstall or disable suspicious plug-ins, and reinstall PS. This problem can be effectively solved by gradually checking and making good use of PS performance settings and developing good file management habits.