

How to project your laptop to your TV on Windows 11

Wirelessly projecting your display can be a boon, especially when you're trying to share content with more people. Most modern TVs support some kind of wireless projection, as do laptops. But how do you get started? Let’s find out!
Does Windows 11 natively support projected screens?
Yes and no, Windows 11 natively uses Miracast for wireless display projection, and also supports Chromecast through the Chromium browser.
TVs, on the other hand, come bundled with Miracast or Chromecast. This makes it difficult to find the right compatibility and get everything working properly on your device. Thankfully, most TV manufacturers prefer to label their products on the box, and Microsoft lets you check your device compatibility using the DirectX diagnostic tool.
How to project laptop screen to TV
Here’s how to project laptop screen to TV. Let’s first check the compatibility of your TV and laptop.
Before you begin: Check device compatibility
Here’s how to check device compatibility. Follow any of the following sections based on your preference.
On your computer
Press Windows R to start the Run dialog box.
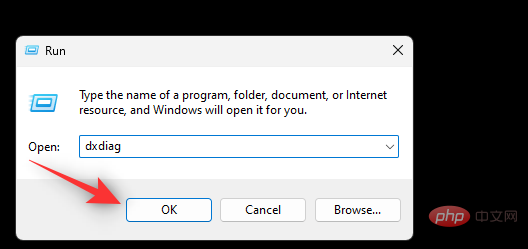
Use the following command to start the diagnostic tool. Press Enter or click OK when finished.
dxdiag
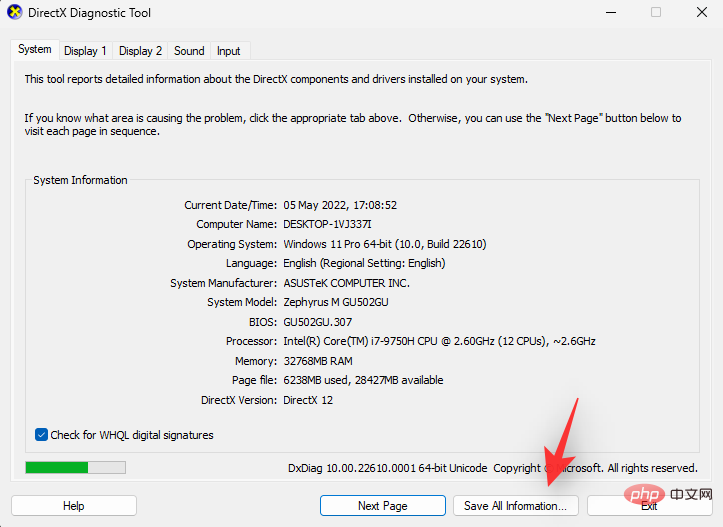
Click to save all information.
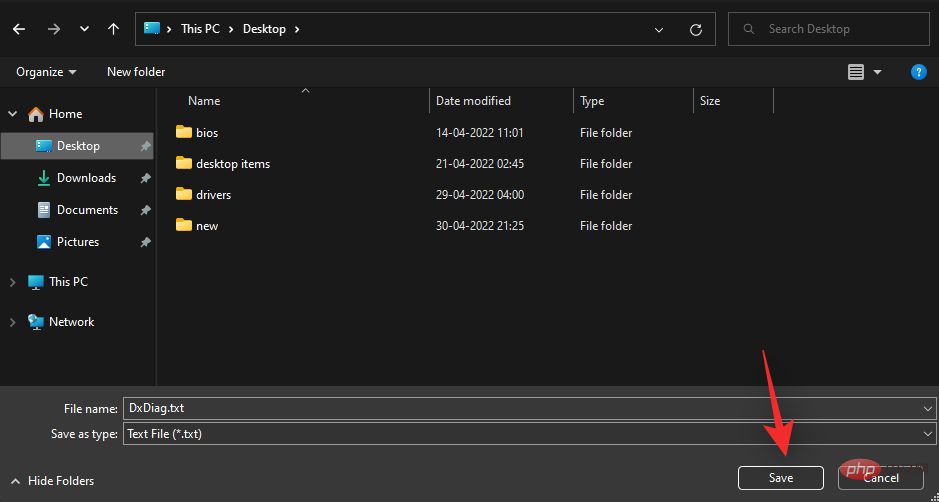
Select the desired location on your laptop to save the information and click Save.
#Open the file in your favorite text editor. Press Ctrl F to start document search.
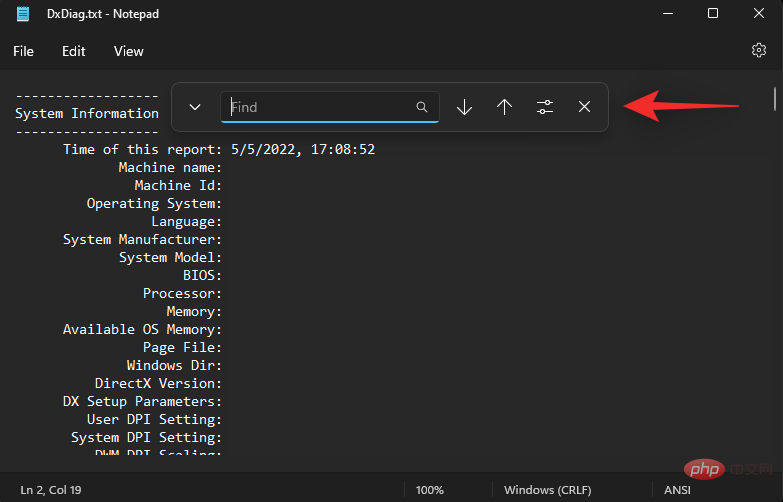
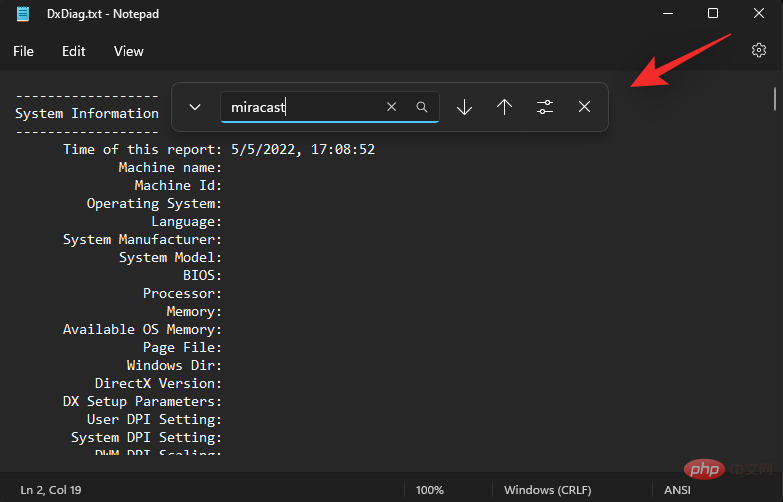
Search Miracast.
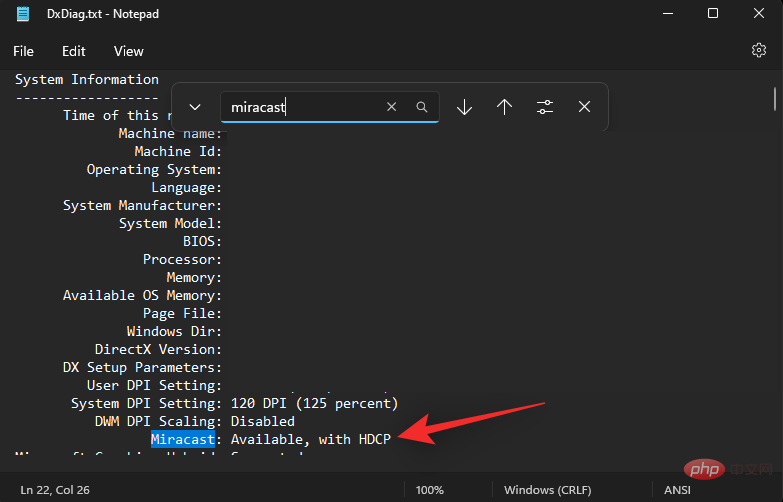
If your system supports Miracast, it should display Miracast: Available, with HDCP. If your laptop does not support Miracast, it will read "Not Available" instead.
If your laptop supports Miracast, then you can use option 1 in the tutorial below to connect your laptop to your TV. Of course, in this case your TV should support Miracast as well, you can check using the next section.
If your laptop doesn't support Miracast, you can use Chromecast instead, which can be accessed from your browser. In this case, your TV should also support Chromecast and you can use option 3 in the tutorial below.
On TV
Depending on when you purchased your device, finding your TV’s compatibility can sometimes be a tedious task. If you own a smart TV made in the last 4 years, you probably have one that supports Miracast or Chromecast. To check compatibility, we recommend checking the locations below based on your specific TV model.
1. Check your OEM support website: We recommend that you check your OEM website for a listing, whether it is sales or advertising for your specific TV model. You'll often find wireless casting capabilities listed under features on such lists. You can also check out the support page to download manuals specific to your device. These are usually guaranteed to contain all specifications specific to your model.
- Samsung Support Website
- LG Support Website
- Sony Support Website
- TCL Support Website
- Vizio Support Website
- Hisense Support Website
- Panasonic Support Website
2. Check your TV box: We recommend that you check the box your TV received Package. The outside box will usually list most of the features, which should include wireless display compatibility with your specific model of TV.
3. Check your TV manual: Most TVs come with documentation that contains manuals and maintenance tutorials. It also includes all the technical specifications of the TV and instructions on how to set up and use its features. We recommend you to check the same to get more information about whether your TV supports Miracast or Chromecast.
After you determine your TV’s compatibility, you can use the appropriate section below to help connect your laptop to the same device.
3 Ways to Cast Laptop Screen to TV
Here’s how to connect your laptop to your TV based on device compatibility. let's start.
Method 1: Using Miracast
We will first add wireless display functionality to Windows 11 and then connect our devices accordingly.
Step 1: Add Wireless Display
Here’s how to add Wireless Display to your laptop running Windows 11.
1.1 – Using the Settings app
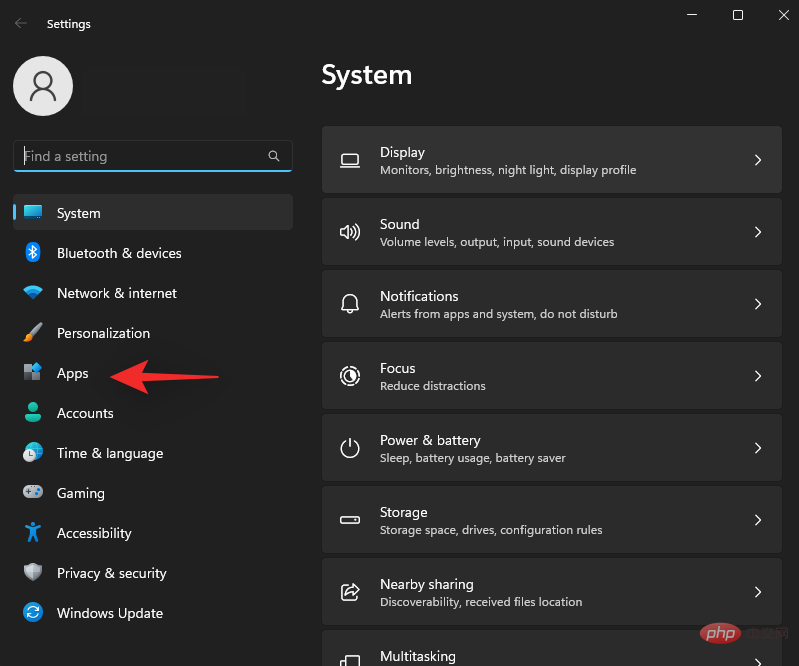
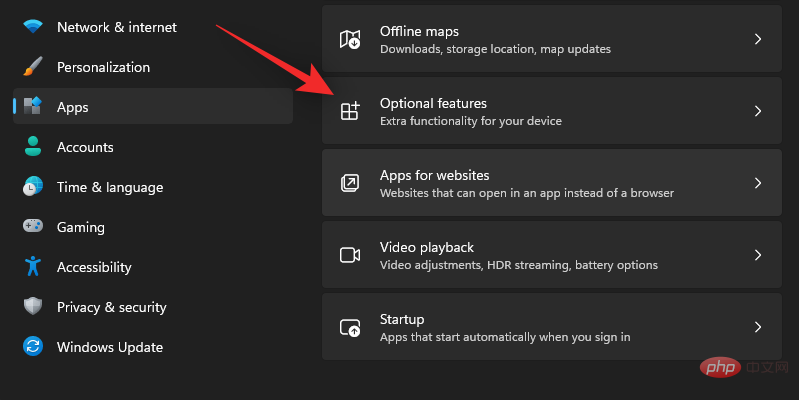
Press Windows i and click Apps.
Click Optional function.
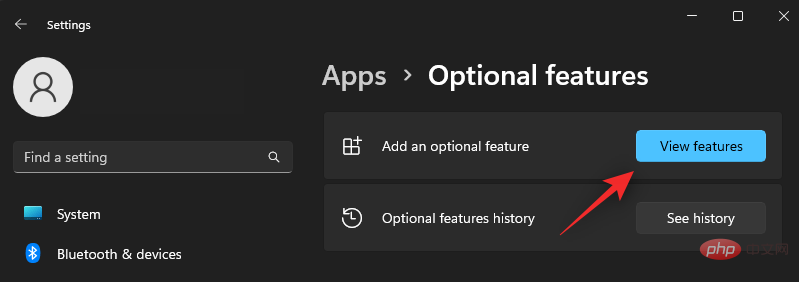
Click at the top to see the features.
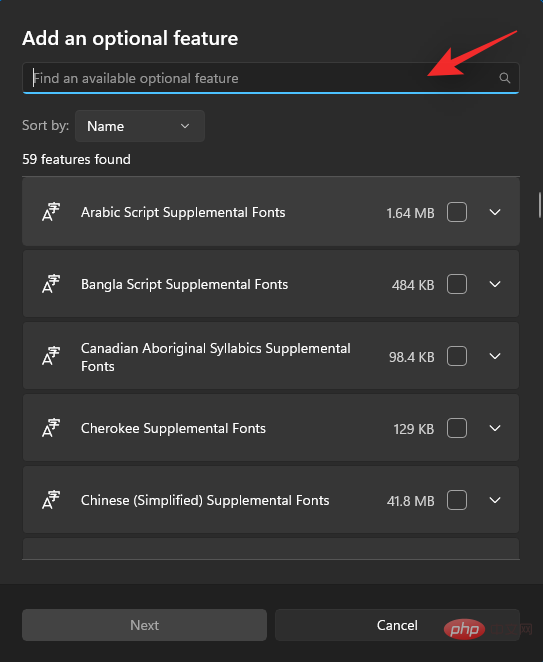
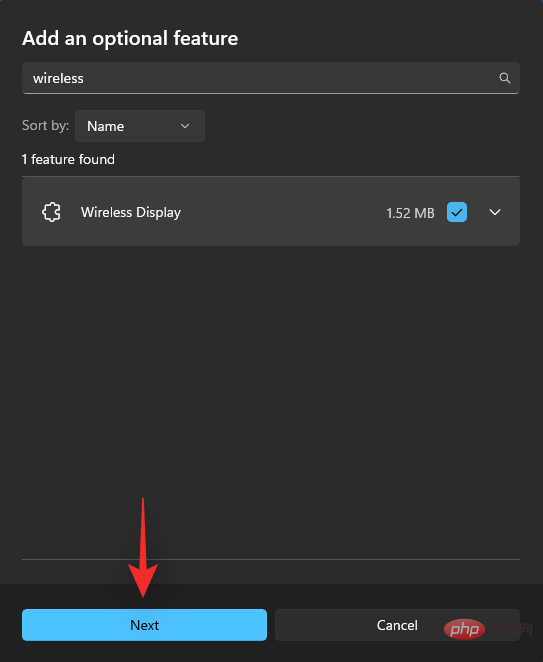
Search Wireless display.
#Check the same box once it appears in your search results.
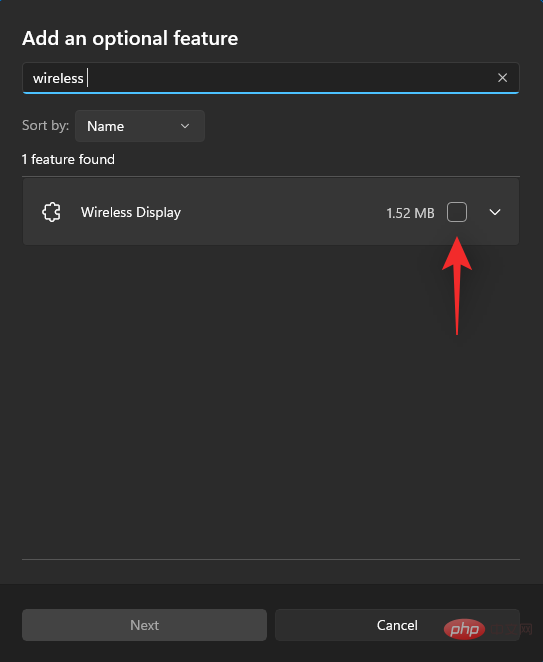
Click Next.
#Now click Install.
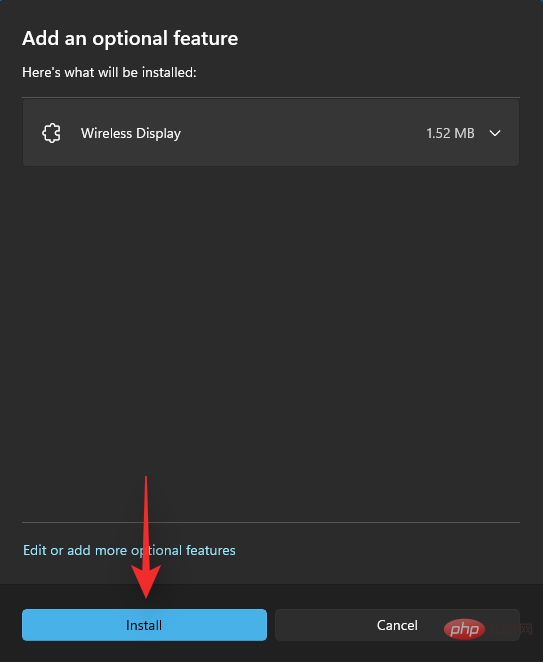
Wait for the feature to be installed. Once completed, press Windows K to test.
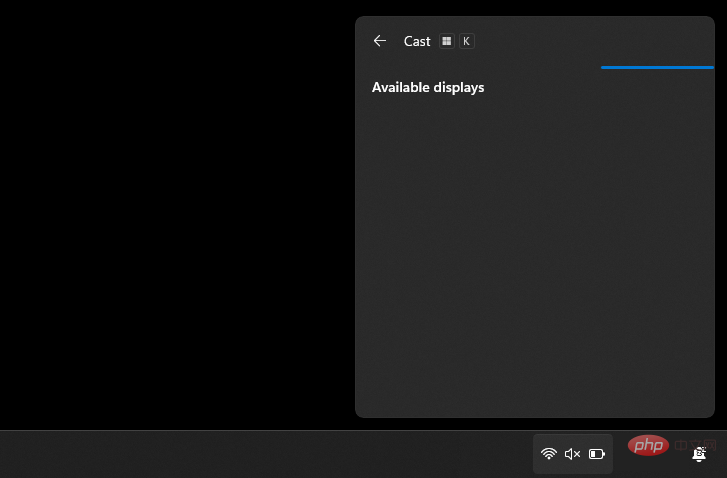
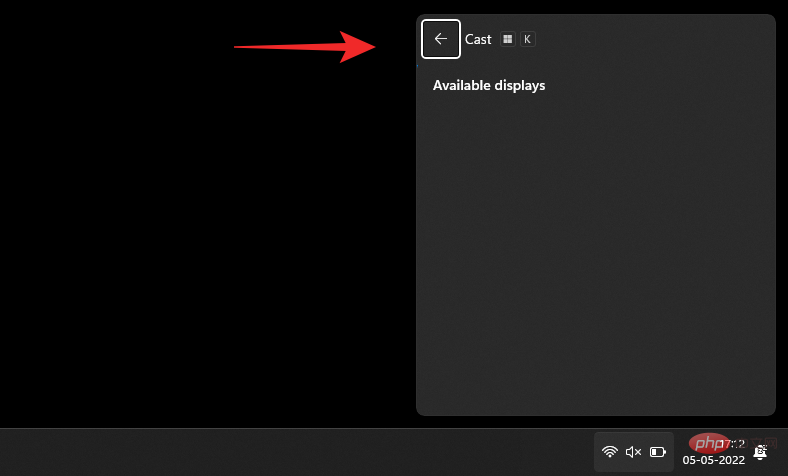
If you see a Cast dialog box on the right, you're good to go.
1.2 – Using Command Prompt (CMD)
You can also use CMD to add wireless display functionality. Follow the tutorial below to get started.
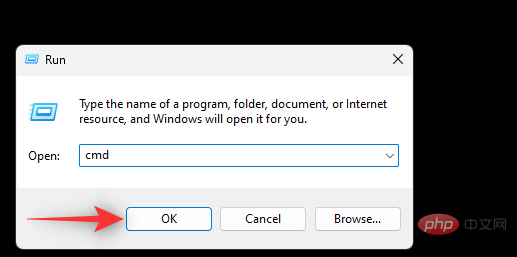
Press Windows R to start the run dialog box.

Enter the following command and press Ctrl Shift Enter on the keyboard.
cmd
Enter the following command and press Enter.
DISM/Online/Add-Capability/CapabilityName:App.WirelessDisplay.Connect~~~~0.0 1.0
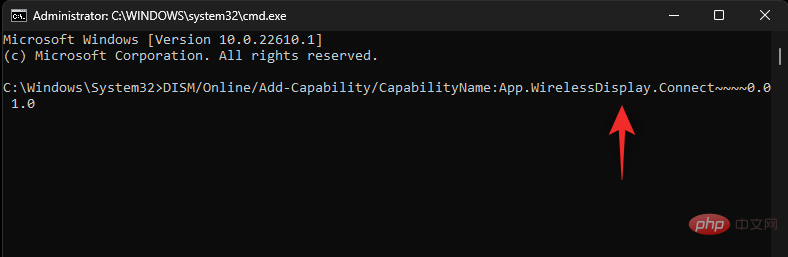
Waiting for the The process is complete and Wireless Display should be added to your PC. Once done, press Windows K to test it on your PC.
You can now use the next step to connect your laptop to your TV.
Step 2: Connect your laptop to your TV
Start by enabling casting on your smart TV. Most TVs require you to turn it on from the Settings app. This option can be simply named Cast or Miracast. Once enabled, switch to your laptop and press the Windows K keyboard to launch the Cast dialog box.
Once the TV appears under Available Displays, click on it.
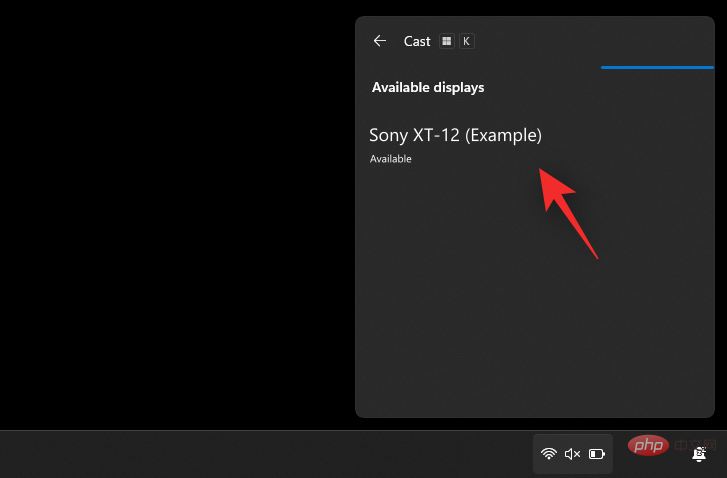
#Windows will now initiate a wireless display connection to the TV. Verify the PIN or prompt on your PC when prompted and your laptop screen should appear on your TV shortly.
Method 2: Use Miracast from Control Panel
You can also enable network discovery in Control Panel and use it to cast media and other files locally to your TV. Please follow the tutorial below to help you.
Step 1: Turn on Network Discovery
Let’s first turn on Network Discovery in the Control Panel. Please follow the tutorial below to help you through the process.
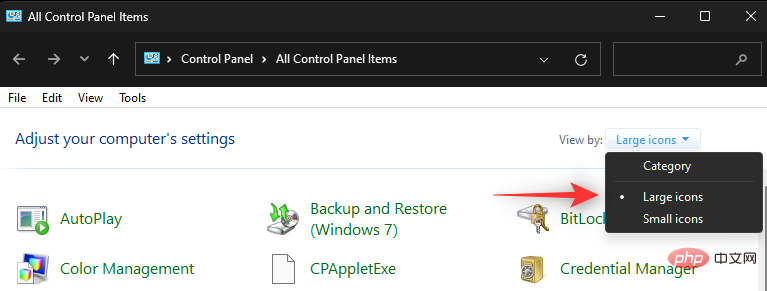
Press the Windows keys on your keyboard and enter Control Panel. Click and launch the same content from search results.

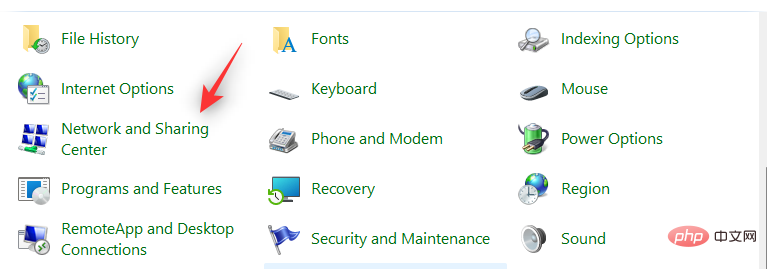
Click the drop-down menu in the upper right corner and select Large Icon.
Click Network and Sharing Center.
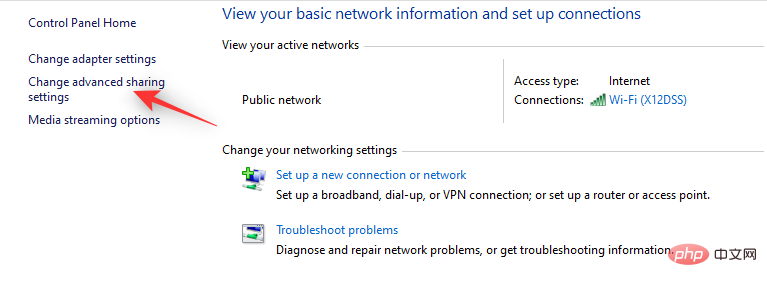
#Select Change advanced sharing settings on the left.
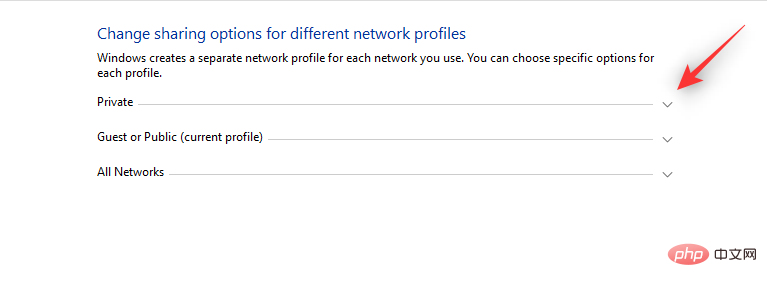
Click and expand Private.
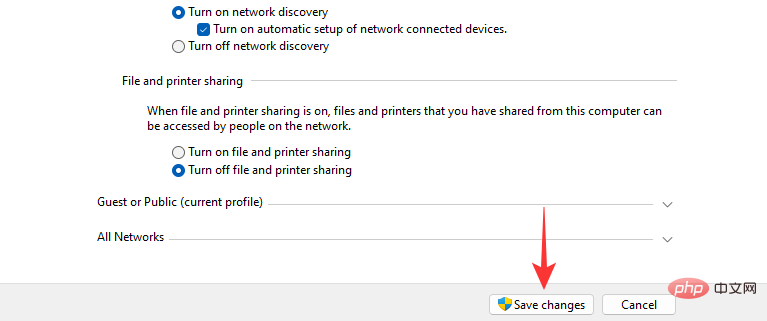
Select to open network discovery. When completed, select the Enable automatic setup for network-connected devices checkbox.
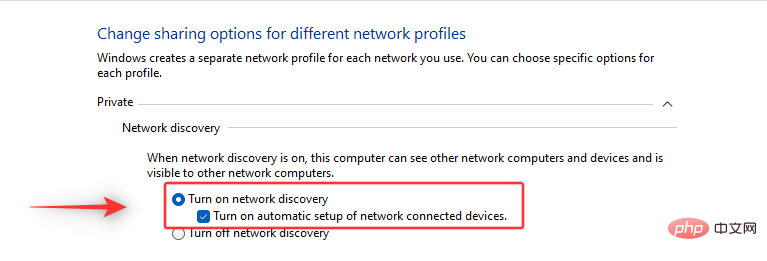
Click at the bottom to save changes.
#Network discovery is now turned on on your device. You can now use the next step to cast your media to your TV.
Step 2: Cast Media to TV
Find the media file you want to share and Shift Right-clickthe same. Hover over Cast to device and select your TV from the list.
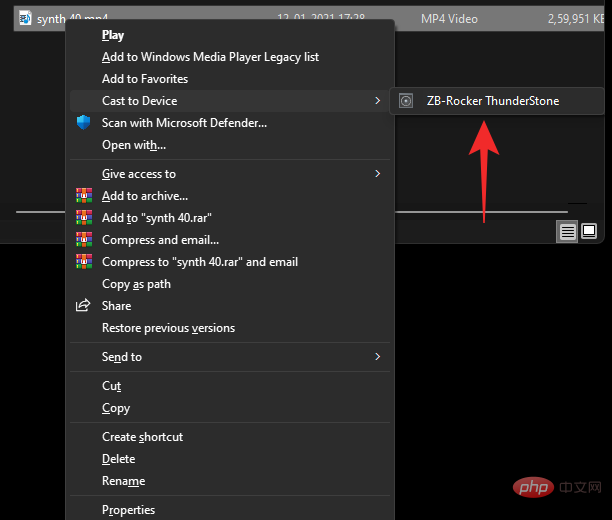
#The file will now be sent to your device and you should now be able to view it on your TV.
Method 3: Use Chromecast
While the name may be confusing at first, Chromecast is both a physical device and a protocol. Most chromium browsers come bundled with this protocol, and Chromecast helps provide the same functionality to incompatible devices like unsupported TVs, etc.
We can use Chromecast to view our laptop screen on a Chromecast compatible TV. Please follow the tutorial below to help you through this process.
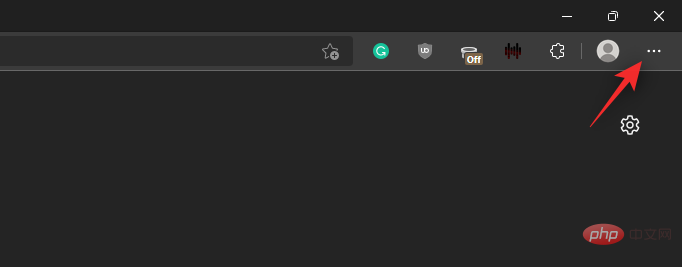
Launch your preferred chromium browser. We will use Edge in this tutorial. Once done, click the icon  in the upper right corner.
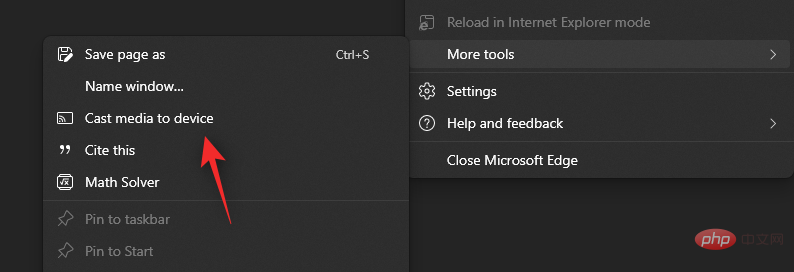
Select More tools.
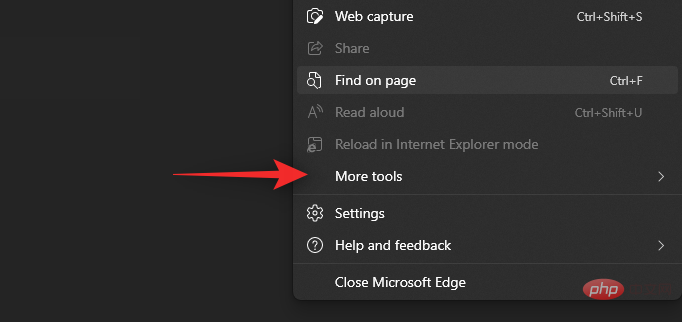
Click to cast media to your device.
#Your browser will now look for nearby devices. Once the TV appears in the list, click and select it.
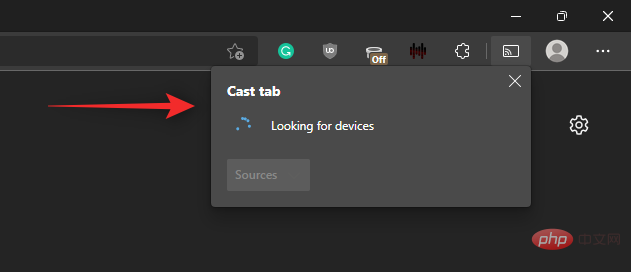
That's it! You should now be able to use Chromecast to cast your laptop screen to your TV.
Can’t connect to your TV? Try these fixes!
Casting or projecting to a TV can be a complicated process depending on compatibility and your TV manufacturer. If you're having issues, here are some common fixes you can try to resolve your issue. let's start.
Fix 1: Check your compatibility
We recommend that you make sure your PC is compatible with your TV and vice versa. You may be using a different method or protocol that is incompatible with one of your devices, which in turn prevents you from projecting your laptop screen to your TV. We recommend that you refer to the section at the top and re-verify your device's compatibility to make sure everything matches your setup.
Fix 2: Update Miracast Drivers
If you've been trying to connect to a recently released TV, the Miracast driver on your PC may be out of date. Casting protocols are constantly changing to accommodate security vulnerabilities, and it's possible that your laptop is using outdated drivers. Here's how you can get started.
- Snappy Driver Installer | Download Link
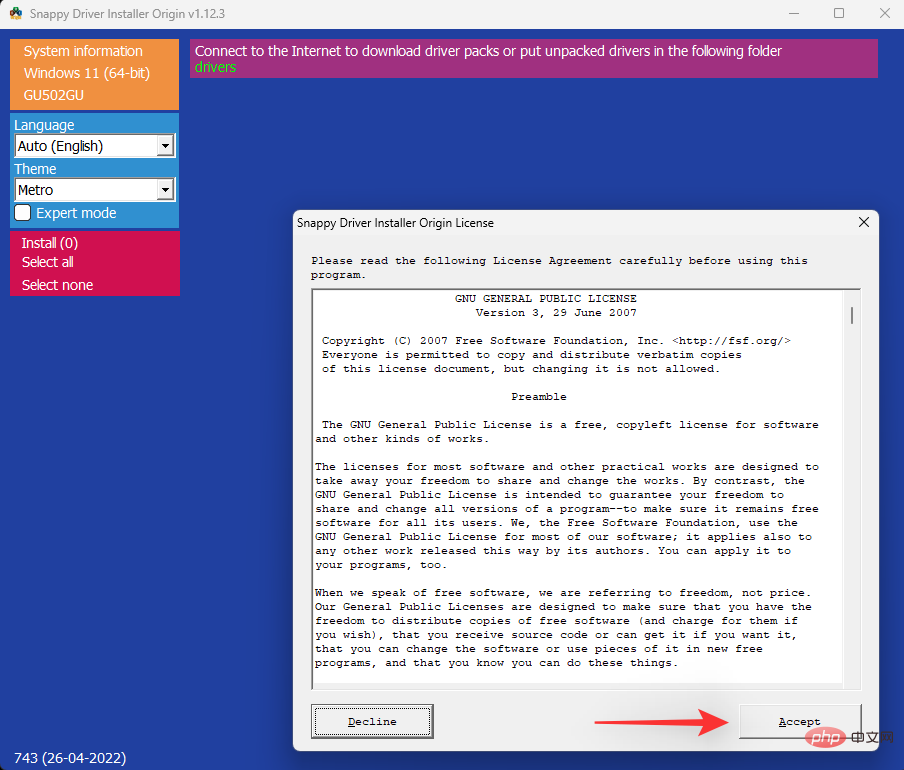
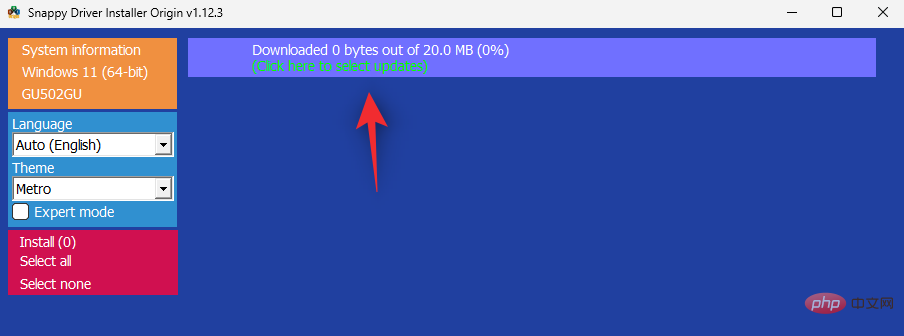
Download the application linked above and extract the archive to a convenient location. After unzipping, launch the relevant .exe based on your CPU architecture. Click Accept to accept the TOC and Privacy Policy.
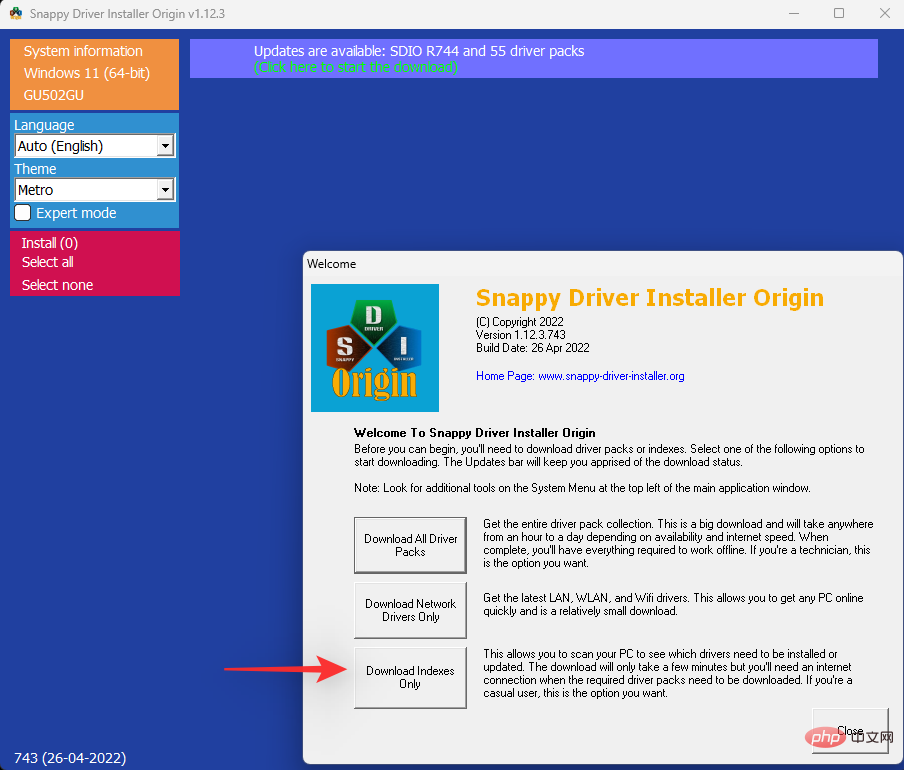
Now click and selectDownload Index Only.
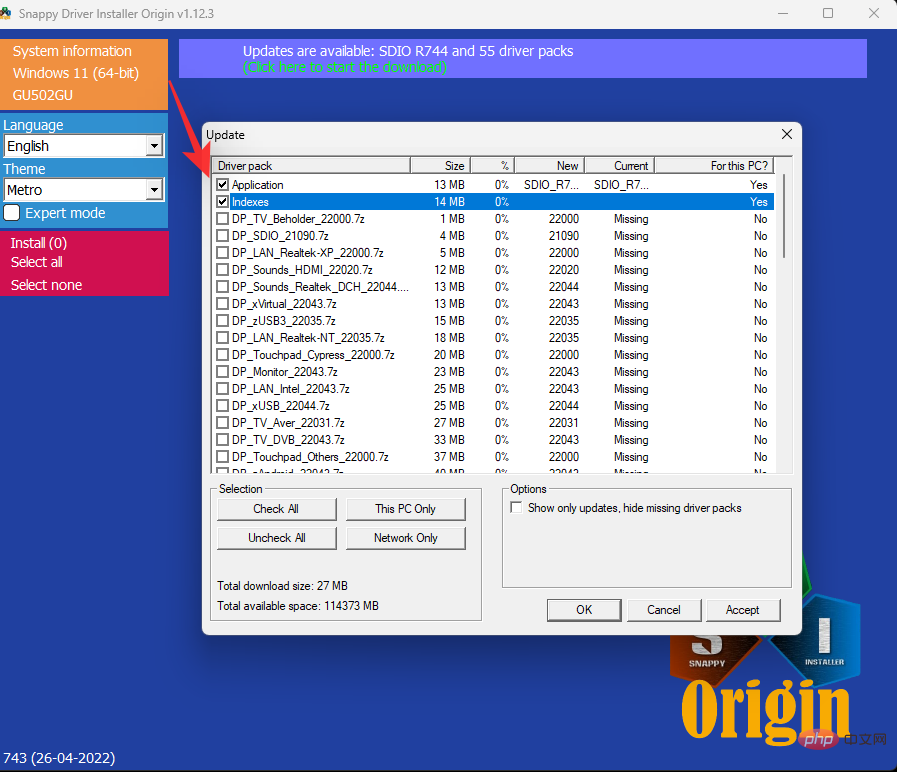
Waiting for index update. After updating, you will see all available drivers for your PC. Select Click here to select Update at the top.
Check the Miracast driver box from the list.
Click OK.
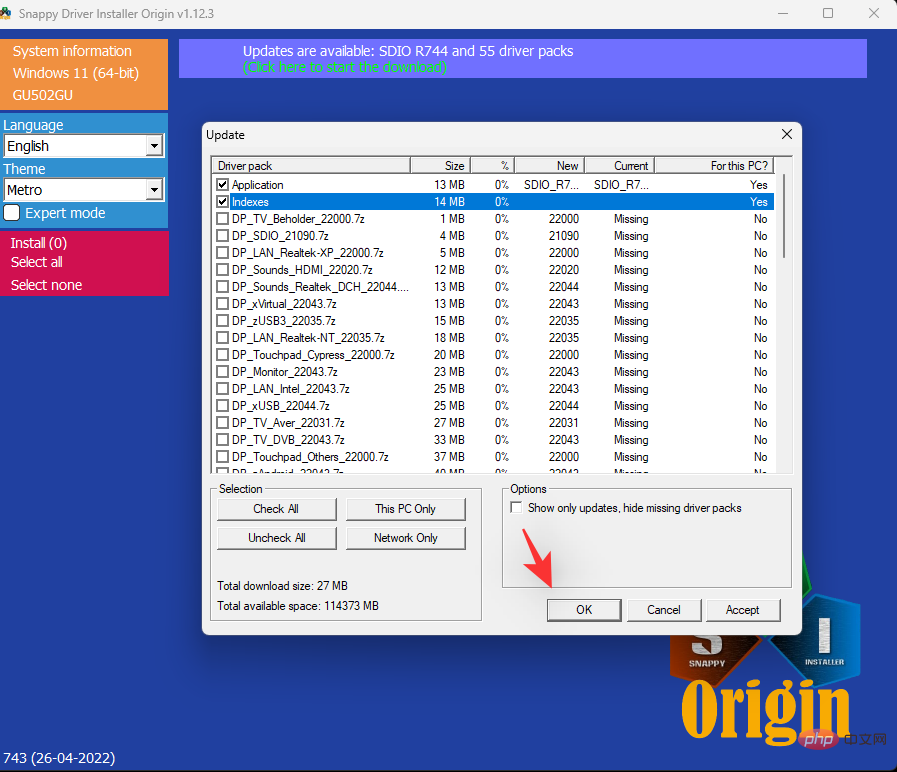
#Proceed to install the selected driver and restart the system. After restarting, your Miracast driver will be updated and you should now be able to connect to your TV without any issues.
Fix 3: Use an HDMI cable
At this point, we recommend that you try using an HDMI cable. One of your devices may be facing major issues related to this feature that require more troubleshooting. HDMI cable will help you cast your monitor to your screen without any third-party application or any other functionality.
Once plugged in, your laptop screen should automatically appear on your TV.
Fix 4: Use an external device
If your TV does not have wireless display capabilities, then you can add the same functionality by adding an external device. You can choose a simple USB/HDMI Miracast receiver or opt for more comprehensive options like Chromecast, FireTV Stick, and more.
If you use a simple USB/HDMI receiver, it will only add Miracast functionality to your device. We recommend that you pay attention to the receiver's agreement when purchasing. Some receivers on the market use outdated protocols that may not be compatible with modern laptops.
If you choose a device like a Chromecast, Amazon FireTV Stick, or Roku Stick, you'll be able to enjoy native streaming and browsing directly from the peripheral. It also allows you to project your laptop screen to your device at any time.
FAQ
Here are some frequently asked questions about projecting to a TV that should help answer some burning questions. let's start.
What is the difference between Miracast and Chromecast?
Miracast and Chromecast are both proprietary wireless display protocols. These are not cross-compatible, which makes finding compatible devices a bit difficult. These protocols help you project your screen to compatible devices over a wireless network.
Should I invest in new equipment?
If you wish to temporarily project to a larger screen, we do not recommend investing in new equipment. HDMI cables will help you achieve the same effect with better visual quality and resolution.
However, if you encounter an incompatible device and wish to continue projecting to a larger screen, we recommend purchasing a new device.
If your TV lacks this feature, then you can opt for a simple USB/HDMI receiver or opt for something like a Chromecast or Roku stick.
But don’t worry if your PC lacks compatibility with Miracast, you don’t need to buy a new device. Just use the Chromium browser to cast to compatible Chromecast devices.
Can anyone connect to my TV?
Yes, if your TV has connection and discovery enabled, almost any compatible device can connect to your PC.
However, depending on the security settings on your TV, you may need to approve the submission
The above is the detailed content of How to project your laptop to your TV on Windows 11. For more information, please follow other related articles on the PHP Chinese website!

Hot AI Tools

Undresser.AI Undress
AI-powered app for creating realistic nude photos

AI Clothes Remover
Online AI tool for removing clothes from photos.

Undress AI Tool
Undress images for free

Clothoff.io
AI clothes remover

Video Face Swap
Swap faces in any video effortlessly with our completely free AI face swap tool!

Hot Article
Hot Tools

Notepad++7.3.1
Easy-to-use and free code editor

SublimeText3 Chinese version
Chinese version, very easy to use

Zend Studio 13.0.1
Powerful PHP integrated development environment

Dreamweaver CS6
Visual web development tools

SublimeText3 Mac version
God-level code editing software (SublimeText3)
Hot Topics
 1393
1393
 52
37
110
52
37
110

 What is the reason why PS keeps showing loading?
Apr 06, 2025 pm 06:39 PM
What is the reason why PS keeps showing loading?
Apr 06, 2025 pm 06:39 PM
PS "Loading" problems are caused by resource access or processing problems: hard disk reading speed is slow or bad: Use CrystalDiskInfo to check the hard disk health and replace the problematic hard disk. Insufficient memory: Upgrade memory to meet PS's needs for high-resolution images and complex layer processing. Graphics card drivers are outdated or corrupted: Update the drivers to optimize communication between the PS and the graphics card. File paths are too long or file names have special characters: use short paths and avoid special characters. PS's own problem: Reinstall or repair the PS installer.
 How to solve the problem of loading when PS is always showing that it is loading?
Apr 06, 2025 pm 06:30 PM
How to solve the problem of loading when PS is always showing that it is loading?
Apr 06, 2025 pm 06:30 PM
PS card is "Loading"? Solutions include: checking the computer configuration (memory, hard disk, processor), cleaning hard disk fragmentation, updating the graphics card driver, adjusting PS settings, reinstalling PS, and developing good programming habits.
 How to speed up the loading speed of PS?
Apr 06, 2025 pm 06:27 PM
How to speed up the loading speed of PS?
Apr 06, 2025 pm 06:27 PM
Solving the problem of slow Photoshop startup requires a multi-pronged approach, including: upgrading hardware (memory, solid-state drive, CPU); uninstalling outdated or incompatible plug-ins; cleaning up system garbage and excessive background programs regularly; closing irrelevant programs with caution; avoiding opening a large number of files during startup.
 Is slow PS loading related to computer configuration?
Apr 06, 2025 pm 06:24 PM
Is slow PS loading related to computer configuration?
Apr 06, 2025 pm 06:24 PM
The reason for slow PS loading is the combined impact of hardware (CPU, memory, hard disk, graphics card) and software (system, background program). Solutions include: upgrading hardware (especially replacing solid-state drives), optimizing software (cleaning up system garbage, updating drivers, checking PS settings), and processing PS files. Regular computer maintenance can also help improve PS running speed.
 How to solve the problem of loading when the PS opens the file?
Apr 06, 2025 pm 06:33 PM
How to solve the problem of loading when the PS opens the file?
Apr 06, 2025 pm 06:33 PM
"Loading" stuttering occurs when opening a file on PS. The reasons may include: too large or corrupted file, insufficient memory, slow hard disk speed, graphics card driver problems, PS version or plug-in conflicts. The solutions are: check file size and integrity, increase memory, upgrade hard disk, update graphics card driver, uninstall or disable suspicious plug-ins, and reinstall PS. This problem can be effectively solved by gradually checking and making good use of PS performance settings and developing good file management habits.
 Is PS slow loading related to other programs that are running?
Apr 06, 2025 pm 06:03 PM
Is PS slow loading related to other programs that are running?
Apr 06, 2025 pm 06:03 PM
The secrets to mastering Office software include: understanding different versions and platforms, correctly installing and configuring, proficient in using the software interface, in-depth understanding of feature operations, application collaboration and sharing functions, utilizing templates and styles, mastering advanced skills, and solving common problems. In addition, you need to choose a version that suits your needs, make good use of templates and styles, develop backup habits, and learn shortcut keys and advanced techniques to improve efficiency.
 How to use mysql after installation
Apr 08, 2025 am 11:48 AM
How to use mysql after installation
Apr 08, 2025 am 11:48 AM
The article introduces the operation of MySQL database. First, you need to install a MySQL client, such as MySQLWorkbench or command line client. 1. Use the mysql-uroot-p command to connect to the server and log in with the root account password; 2. Use CREATEDATABASE to create a database, and USE select a database; 3. Use CREATETABLE to create a table, define fields and data types; 4. Use INSERTINTO to insert data, query data, update data by UPDATE, and delete data by DELETE. Only by mastering these steps, learning to deal with common problems and optimizing database performance can you use MySQL efficiently.
 How to solve the problem of loading when PS is started?
Apr 06, 2025 pm 06:36 PM
How to solve the problem of loading when PS is started?
Apr 06, 2025 pm 06:36 PM
A PS stuck on "Loading" when booting can be caused by various reasons: Disable corrupt or conflicting plugins. Delete or rename a corrupted configuration file. Close unnecessary programs or upgrade memory to avoid insufficient memory. Upgrade to a solid-state drive to speed up hard drive reading. Reinstalling PS to repair corrupt system files or installation package issues. View error information during the startup process of error log analysis.