Translator|Cui Hao
Reviewer|Sun Shujuan
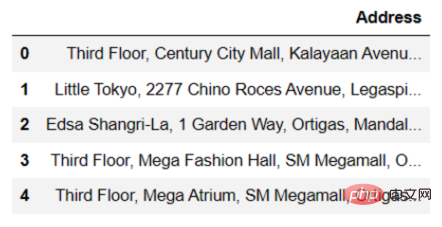
When dealing with large data sets for machine learning, will you encounter the following? address bar?

The location data above is very confusing and difficult to process. Encoding addresses is difficult because they have very high cardinality. If you try to encode a column using a single-pass encoding technique, you will end up with a high-dimensional result, which will lead to poor performance of the machine learning model. The easiest way to solve the problem is to geocode the column.
Geocoding is the conversion of an address into geographical coordinates, which means that the original address will be converted into a longitude/latitude.
There are many different libraries that can help you geocode with Python. The fastest is the API provided by Google Maps. If there are more than 1000 addresses that need to be converted in a short time, I recommend you to use it. However, the Google Maps API is not free, you need to pay about $5 per 1000 requests.
A free alternative to the Google Maps API is the OpenStreetMap API. However, the OpenStreetMap API is much slower and less accurate than Google Maps.
In this article, I will guide you through the geocoding process using the two APIs mentioned above.
Let us first use the Google Maps API to convert the address into precision/latitude. First you need to create a Google Cloud account and enter your credit card information. Although this is a paid service, Google will give you $200 in free credit when you first create a Google Cloud account. This means that you can make approximately 40,000 calls with their geocoding API before you are charged. As long as you don't reach this limit, your account will not be charged.
First, create a free account on Google Cloud. Then, once you've set up an account, you can follow this tutorial to get your Google Maps API key.
Once you receive the API key, you can start coding!
(1) Prerequisites
Use Zomato Restaurant for this tutorial Kaggle dataset. Make sure the dataset is installed in your path. Then, use this command to install the googlemaps API package.
1 |
|
(2) Read the data set
Now, let us read the data set and check the header of the data frame.
1 2 3 |
|

This data set has 21 columns and 9551 rows.
You only need to geocode the address column, so remove all other columns. Then, duplicate records are removed, and finally only the address column information is obtained.
1 2 |
|
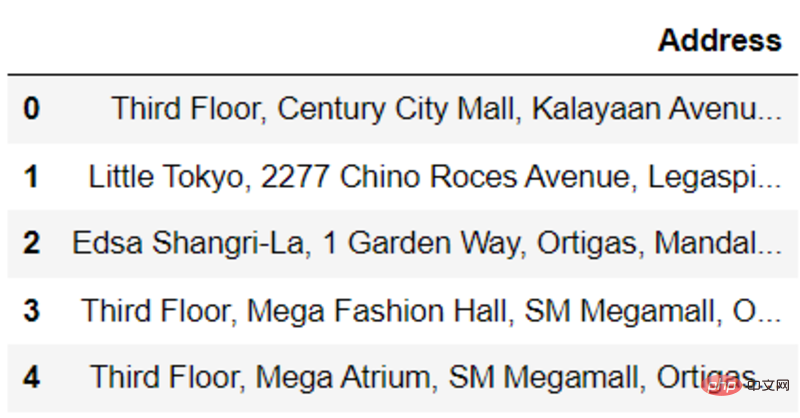
Look at the header of the data frame again. After processing, you only see the address information.

Next, you can start geocoding.
(3) Geocoding
First, use Python to access our API key and run the following lines of code to complete this task.
1 |
|
Now, let’s try geocoding an address and see the output.
1 2 3 4 5 |
|
Run the above code and get output similar to the following.

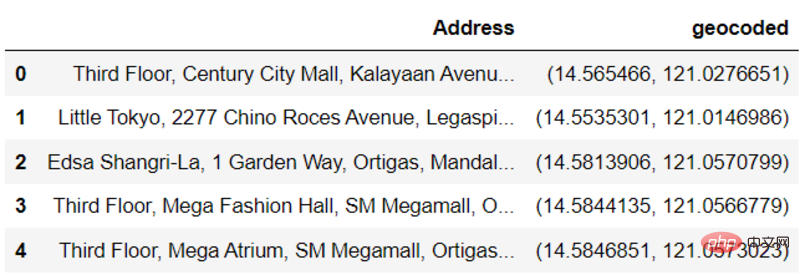
If you get the above output, great! It means everything goes well. We can apply similar processing to the entire data set as follows:
1 2 3 4 5 6 |
|
Check the header of the data set again to see if the code works.
1 |
|

If the output is similar to the screenshot above, congratulations! You have successfully geocoded addresses throughout your data frame.
OpenStreetMap API is completely free, but compared with Google Maps API, it is slower and less accurate. This API cannot locate many addresses in the dataset, so this time we will use the location column instead. Before starting the tutorial, let’s look at the difference between the address bar and the location bar. Run the following lines of code to accomplish this task.
1 |
|

地址栏(Address)比地点(Locality)栏细化得多,它提供了餐厅的确切位置,包括楼层号。这可能是地址不被OpenStreetMap API识别,而地点却被识别的原因。
让我们对第一个Locality进行地理编码,看看输出结果。
地理编码
运行以下几行代码。
1 2 3 4 5 6 7 8 |
|
左右滑动查看完整代码
上述代码的输出与谷歌地图API生成的结果非常相似。

现在,让我们创建一个函数来寻找整个数据集合的坐标。
1 2 3 4 5 6 7 8 9 |
|
很好!现在,让我们来看看数据集合的头部。
1 |
|
请注意,这个API无法为数据集合中的一些地方提供坐标。
虽然它是谷歌地图API的免费替代品,如果用OpenStreetMap进行地理编码,有可能会失去大量的数据。本教程到此结束!希望你从这里学到了一些新的东西,并对处理地理空间数据有了更好的理解。
原文链接:https://www.kdnuggets.com/2022/11/geocoding-python-complete-guide.html
崔皓,51CTO社区编辑,资深架构师,拥有18年的软件开发和架构经验,10年分布式架构经验。
The above is the detailed content of Full solution to geocoding in Python. For more information, please follow other related articles on the PHP Chinese website!


